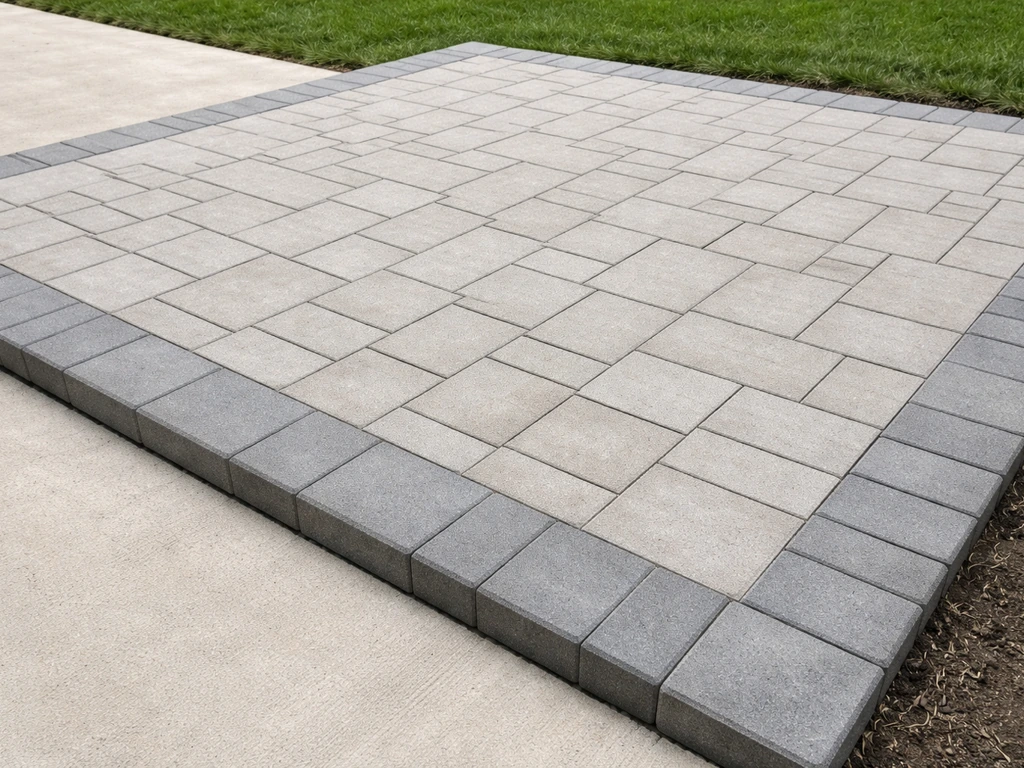
Setting patio pavers comes down to seven steps: plan and measure, prep the site, build a compacted gravel base, screed a 1-inch sand bedding layer, set the pavers in your chosen pattern with consistent spacing and a slight drainage slope, cut pieces to fit the edges, then compact, install edge restraints, sweep in jointing sand, and seal. Do all of that in the right order with the right materials and you'll end up with a flat, gap-free patio that stays put for decades. Skip or rush any one of those steps and you'll be pulling pavers back up in a few years to fix rocking, weeds, or standing water. If you're wondering about the best way to lay patio pavers, start with proper layout and site prep so the base and bedding stay stable.
How to Set Patio Pavers Step by Step for a Solid Patio

Felix Rowe
1 May 2026
Plan and measure your patio layout first
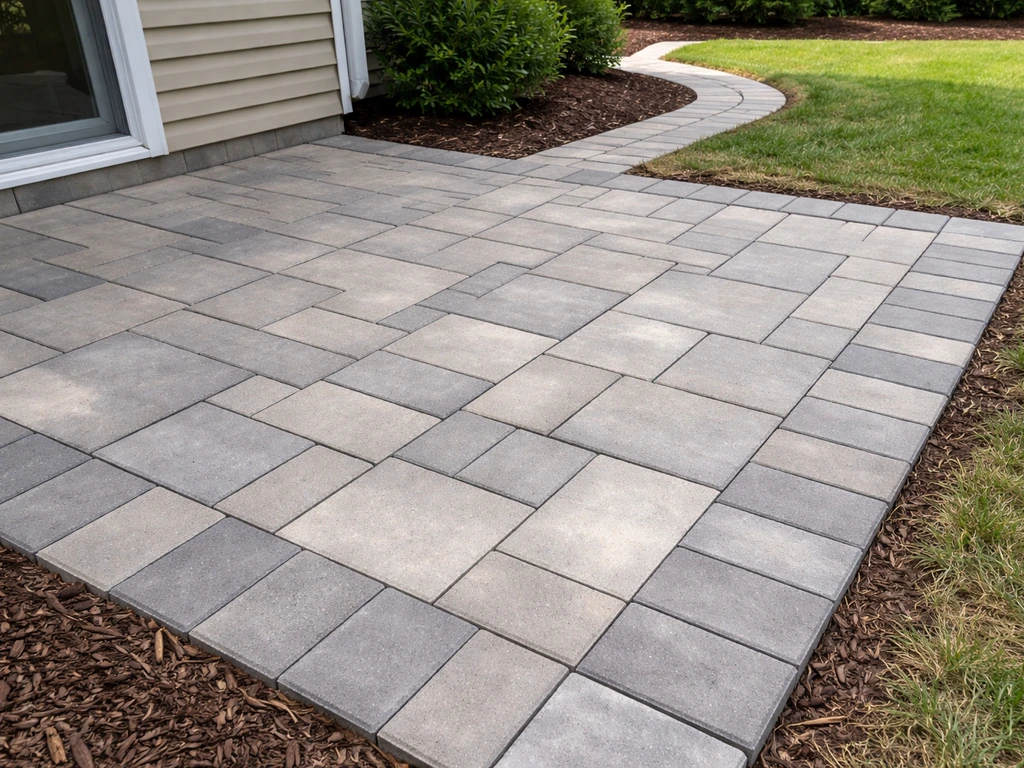
Before you order a single paver, get your layout right on paper. Measure the space, sketch it to scale, and decide on a pattern (running bond, herringbone, basketweave). Pattern choice affects how many cuts you'll make and how much waste you'll have. Herringbone at 45 degrees looks great but generates noticeably more cuts along the edges than a straight running bond.
For patio use, a paver thickness of about 2 3/8 inches (60 mm) is the standard minimum. That's enough for foot traffic and outdoor furniture. Driveways need thicker units (at least 3 1/8 inches per ICPI guidance), so if your patio connects to a driveway or will see vehicle overhang, size up accordingly.
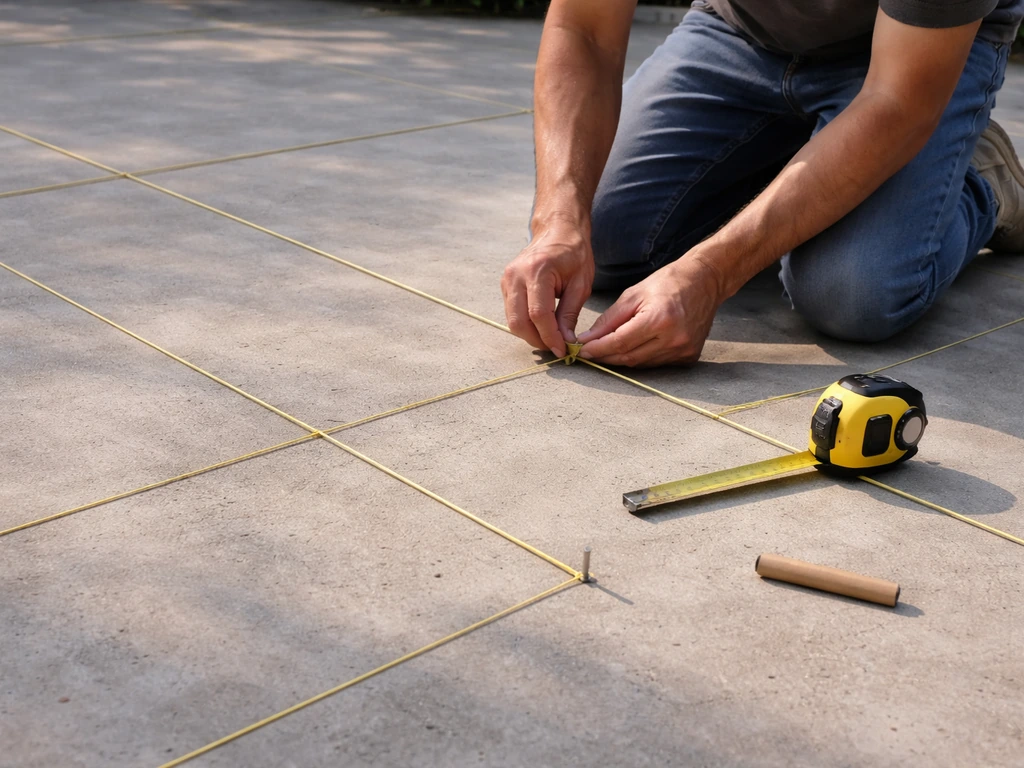
Once you have dimensions, mark the perimeter with stakes and string lines. These strings will serve double duty: they define the shape now and become your slope and level reference during installation. Add 5 to 10 percent to your paver order to cover cuts and breakage. Running out mid-project and trying to match a discontinued color or texture is a genuine headache.
- Measure the area twice and sketch a scale drawing with pattern orientation noted
- Mark the perimeter with stakes and string lines before any digging begins
- Choose paver thickness based on use: 2 3/8 in. minimum for patios, thicker for driveways
- Order 5–10% extra pavers to cover cuts and potential breakage
- Check for underground utilities before digging (call 811 in the US)
Site prep: grass, concrete, and uneven ground
What you're starting with changes your approach more than anything else. Here's how to handle the three most common situations.
Starting on grass or bare soil
This is the most common starting point and requires the most excavation. Strip the sod and excavate down far enough to fit your base, bedding sand, and pavers while ending up at or slightly above the surrounding grade. For a standard patio paver about 2 3/8 inches thick, a 4-to-6-inch compacted gravel base, and 1 inch of bedding sand, you're typically digging 8 to 9 inches below finished grade. Mark that depth on your stakes so you can check as you dig. After excavation, compact the exposed subgrade with a plate compactor. Don't skip this step even if the soil feels firm. Loose or soft subgrade is what causes pavers to sink over time.
Setting pavers over existing concrete
Laying over a concrete slab is possible and can save excavation time, but you need to assess a few things first. Check that the slab drains away from the house properly. If it doesn't, or if you're adding paver height that would cause clearance issues at doors or transitions, you may need to remove it and rebuild from scratch with crushed stone. If the concrete is in reasonable shape and drains correctly, a thin sand bedding layer or a specialty paver adhesive can work. Be aware that cracks in the concrete can telegraph up into the paver joints over time, so document them and monitor after installation.
Dealing with uneven or sloped ground
A gently sloped yard isn't a problem as long as you build in the right drainage slope from the start. Severely uneven ground needs to be cut and filled to create a stable base plane before you add any gravel. Cuts (removing high spots) are fine. Fills need to be compacted in lifts of no more than 4 inches at a time to avoid settling. If you have a significant grade change across the patio area, a raised patio with a retaining wall on the low side is often a cleaner solution than trying to level with a deep fill.
Building the base and bedding layer
The base is the most important part of the whole project. Everything above it is only as good as what's underneath. Use crushed angular gravel (often called compacted gravel base, Class II base, or road base depending on your region). Rounded river gravel doesn't compact properly and will shift. Spread and compact the gravel in layers, not all at once. For a 4-to-6-inch finished base, work in 2-to-3-inch lifts, compacting each one before adding the next. Check your depth and grade against the string lines as you go.
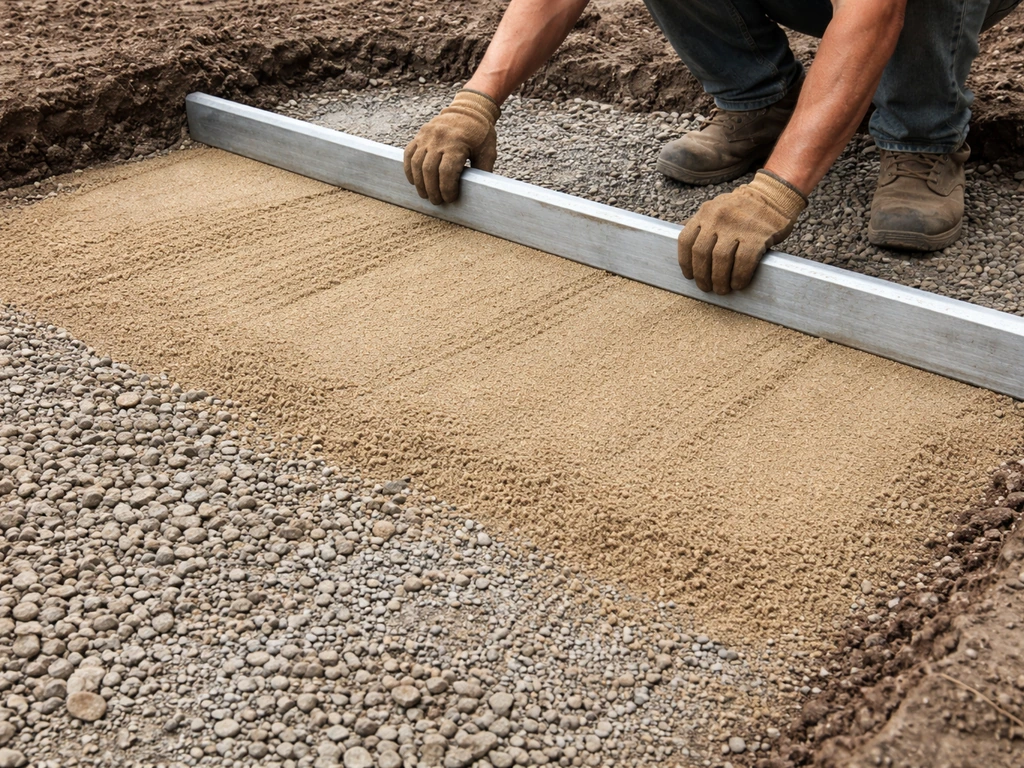
Once the gravel base is compacted and sitting at the right elevation, you're ready for bedding sand. blank" rel="noopener noreferrer">Use coarse concrete sand that meets ASTM C33 gradation. Don't use play sand, mason sand, or decomposed granite here. These don't compact into a stable bed the way ASTM C33 sand does. Screed the sand to a nominal 1-inch (25 mm) thickness. Keep it between 1 inch and a maximum of about 1.5 inches. If you go thicker than that to make up for base inconsistencies, the extra sand will compress unevenly under the pavers and cause rocking later. Fix any high or low spots in the gravel base before screeding sand, not after.
To screed the sand evenly, set two parallel screed pipes or rails at the right height across the area, dump sand between them, and drag a straight board (a screed board) across the pipes to create a perfectly flat, consistent 1-inch layer. Pull the pipes out carefully after screeding and fill those channels with sand by hand before you start laying pavers. Once the sand is screeded, don't walk on it. Step on it and you'll leave footprints that throw off your level.
Setting pavers: leveling, spacing, and slope
Start laying pavers from a straight, fixed reference edge, typically a house wall or a string line you've established. Work outward and away from yourself so you're always setting pavers onto undisturbed sand, not kneeling on pavers you just set. Place each paver down firmly and flat, don't slide it into position sideways, as sliding disrupts the sand bed and creates uneven spots.
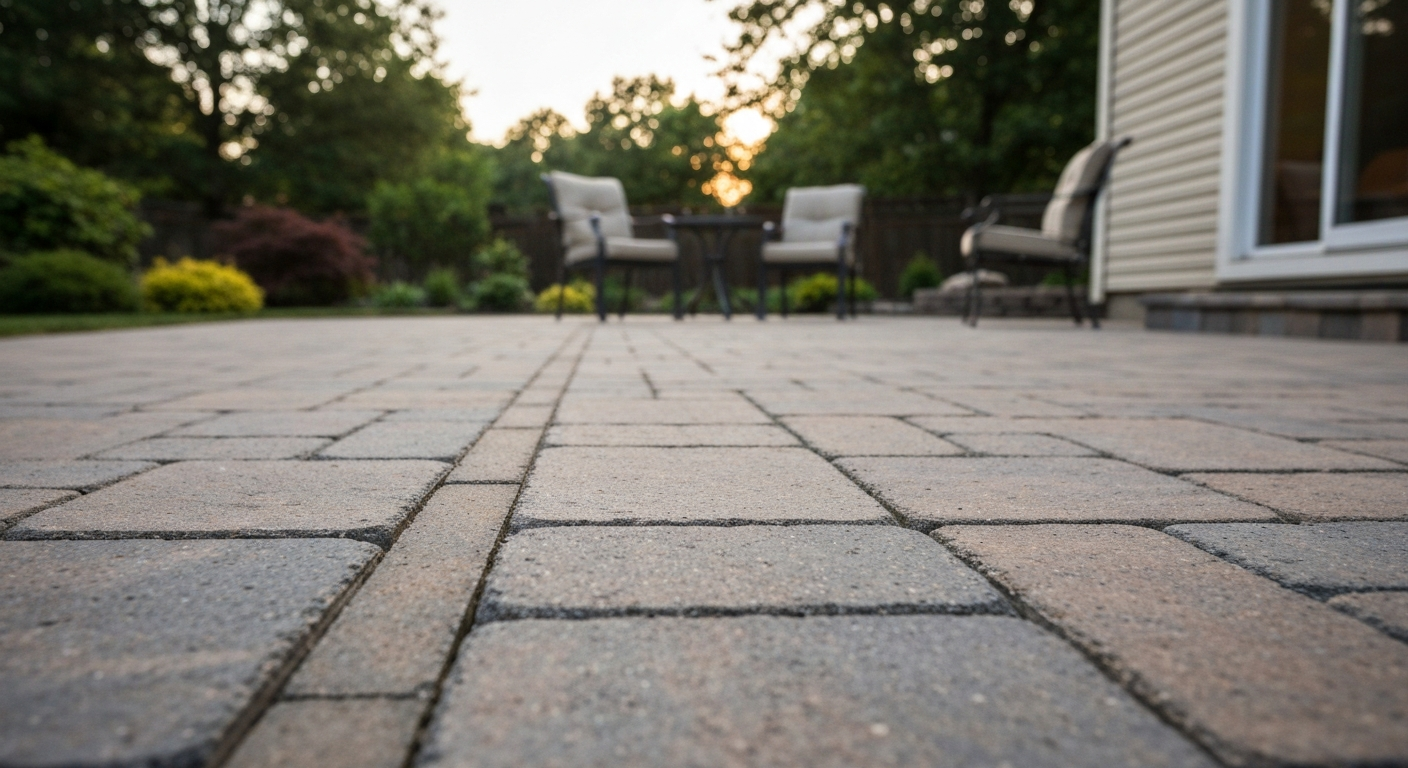
Spacing matters more than most people think. Joint widths should be consistent and fall between 1/16 inch and 3/16 inch (2 to 5 mm). Many concrete pavers have small molded spacer lugs on the sides that automatically give you the right gap. If yours don't, use plastic tile spacers. Consistent joints let jointing sand lock everything together properly. Wider, irregular gaps look sloppy and let weeds establish more easily.
As you lay, check your work constantly with a long level or straightedge. Individual pavers should sit flush with their neighbors, and the overall field should slope away from the house for drainage. The recommended slope is 1.5% to 2%, which works out to about 3/16 to 1/4 inch of drop per foot. Set your string lines at this slope before you screed the sand, and your patio will naturally drain if you follow them accurately. Don't eyeball the slope. Use a level with a slope percentage indicator or a digital level.
| What to check | Target value | Why it matters |
|---|---|---|
| Bedding sand thickness | 1 inch (25 mm), max 1.5 in. | Too thick = rocking and settling |
| Joint width | 1/16 to 3/16 in. (2–5 mm) | Consistent joints lock pavers together |
| Drainage slope | 1.5%–2% away from house | Prevents pooling and freeze-thaw damage |
| Surface tolerance | No more than 3/16 in. variation at center | Prevents trip hazards and uneven wear |
| Gravel base depth | 4–6 in. compacted | Foundation for everything above |
Cutting pavers and fitting edges and obstacles
You will always end up with gaps at the edges, corners, and around obstacles like downspouts, steps, or fire pit rings. The question is just how to fill them cleanly. Lay all full pavers first, then go back and measure, mark, and cut the border pieces. This is much easier than trying to cut as you go.
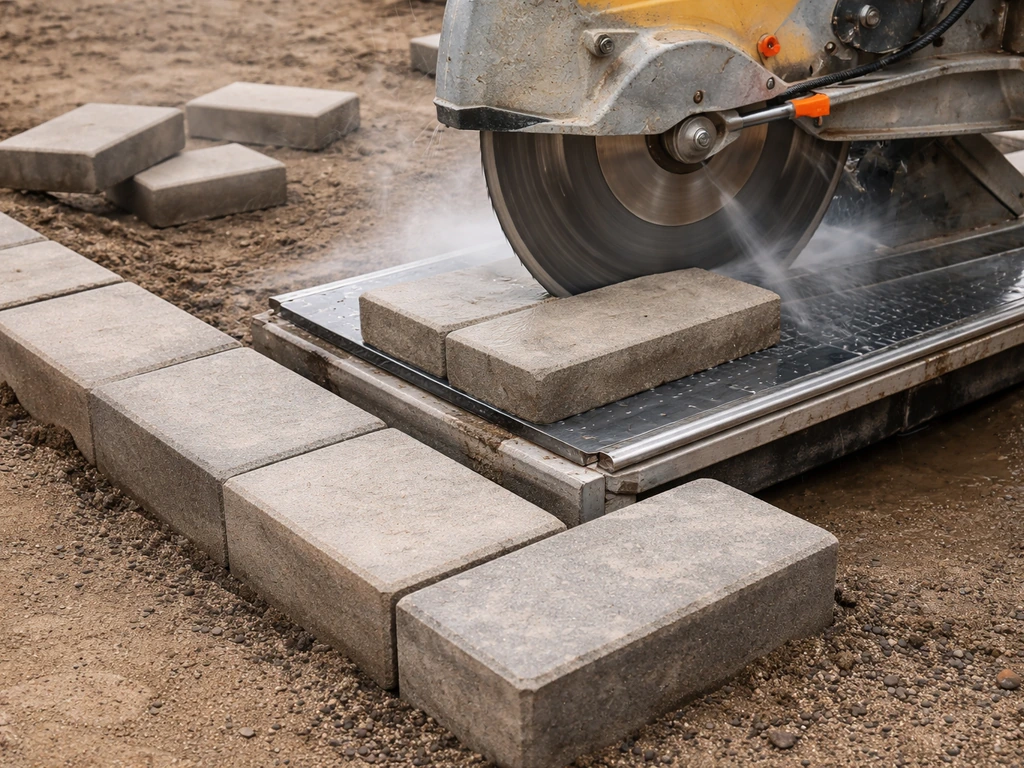
A diamond blade wet saw (also called a masonry saw or paver saw) gives the cleanest, most accurate cuts. Angle grinders with diamond blades work for small notches and curves. Paver splitters (guillotine-style rental tools) are fast for straight cuts but can crack pavers along unexpected fault lines. For a project with lots of curves or a complex pattern, renting a wet saw for a day is worth every penny.
When a gap at the edge is too large to fill with a cut sliver of paver (anything over about 3/8 inch that would leave a structurally weak thin piece), adjust your layout slightly so the border cuts are larger and more even. A sliver less than about 1/3 of a paver width is fragile and will eventually crack or pop out. For obstacles like post bases or fire pit surrounds, score the cut line with multiple light passes before cutting fully through to reduce the risk of cracking.
Compaction, edge restraints, and cleanup
Once all pavers are set and cut pieces are fitted, run a plate compactor over the entire surface. This seats the pavers firmly and evenly into the bedding sand and brings the surface to its final elevation. Put a rubber or carpet pad under the plate to protect the paver surface from scratching. Make two or three passes in different directions. After compaction, the surface should be flat and solid with no rocking when you step on individual pavers.
Edge restraints are non-negotiable. Without them, pavers at the perimeter gradually migrate outward under foot traffic and freeze-thaw cycles, causing joints to open up and the whole field to slowly come apart. Use rigid plastic or metal paver edging (spiked into the compacted gravel base, not just the sand) around the entire perimeter. Space the spikes about 12 inches apart for straight runs and 6 inches apart on curves.
With restraints in place, spread jointing sand over the paver surface and sweep it diagonally into the joints with a stiff push broom. Polymeric sand is the best choice here. It contains a binder that activates with water, locking the grains together to resist erosion, weed growth, and insects. Regular coarse sand works in a pinch but needs to be replenished more often. After sweeping sand into the joints, run the plate compactor over the surface again to consolidate the sand into the joints. Sweep in more sand to top off, then activate polymeric sand by misting the entire surface with water according to the product instructions.
Before you activate the polymeric sand, sweep the paver surface completely clean. Any sand dust left on top of the pavers when you wet them will activate the binder right there on the surface and leave a white haze that's difficult to remove. Use a leaf blower on a low setting to clear the surface after your final sweep, then inspect for residue before misting.
Sealing, maintenance, and fixing common problems
Do you actually need to seal?
Sealing is optional but recommended for most patios. A good sealer enhances color, reduces staining, and helps the jointing sand stay in place. Before you seal, the pavers need to be completely dry, clean, and free of any white efflorescence (the chalky salt deposits that often appear on new pavers). Sealing over efflorescence or moisture traps the problem under the film and makes it worse. Wait at least 60 to 90 days after installation before sealing new pavers to let initial efflorescence work itself out.
Film-forming wet-look sealers need reapplication roughly every 2 to 3 years. Penetrating sealers last longer and don't change the appearance as dramatically. Which you choose depends on whether you want that glossy wet look or a more natural finish. Either way, apply in dry weather with temperatures above 50°F, and keep foot traffic off for 24 hours after application.
Troubleshooting common problems
| Problem | Likely cause | Fix |
|---|---|---|
| Rocking or wobbly pavers | Bedding sand too thick or uneven; soft spot in base | Pull affected pavers, fix base, re-screed sand at 1 in., reset |
| Standing water on patio | Insufficient slope or low spot in layout | Re-level section with adjusted sand bed or regrade base |
| Weeds growing in joints | Standard sand used instead of polymeric; joints not fully filled | Remove weeds, blow out joints, re-sweep with polymeric sand and activate |
| White haze on paver surface | Polymeric sand dust activated on surface; efflorescence | Use efflorescence cleaner per manufacturer instructions; avoid sealing until resolved |
| Pavers shifting outward | Edge restraints missing or improperly installed | Install or re-spike edging into gravel base, reset migrated pavers |
| Uneven surface after compaction | Inconsistent sand bed depth or base variation | Pull pavers in problem area, correct base, re-screed sand, reset and re-compact |
Special scenarios: fire pits and raised patios
If you're building a patio that includes a fire pit area, the process for setting the surrounding pavers is the same, but the fire pit base itself typically sits on a separate footing or compacted gravel pad, not on the bedding sand layer. Keep the fire pit structure independent from the paver field so any settling doesn't crack the surrounding patio. For raised patios, the retaining wall goes in before any base gravel is placed. The wall footing depth, drainage layer behind the wall, and the compacted fill inside all need to be done correctly before you treat the upper surface as a standard patio installation. The paver-setting steps from base prep onward are the same.
Ongoing maintenance
A well-built paver patio needs very little upkeep. Inspect joints each spring and add polymeric sand to any that have eroded. Re-seal on schedule (every 2 to 3 years for film-forming sealers). If a paver cracks or settles, it can be pulled up and reset individually without disturbing the rest of the patio, which is one of the biggest practical advantages of pavers over poured concrete. Keep the surface swept clear of debris that traps moisture, and avoid using metal shovels or picks directly on the paver surface in winter.
If you're tackling a smaller project first to build confidence, starting with a compact, contained space is a smart move. The same principles covered here apply whether you're setting 50 square feet or 500. Get the base right, keep your slope consistent, use polymeric sand in the joints, and install edge restraints. After the layout is planned, you can follow the rest of the steps to lay your paver patio stones correctly from base to joints. Everything else is just practice.
FAQ
What’s the biggest mistake people make when learning how to set pavers for a patio?
Usually it’s burying the drainage and compaction issues inside the base. If the subgrade isn’t compacted and the gravel base isn’t built in lifts, pavers will slowly rock or sink even if the sand layer and pattern look perfect.
Do I need to use ASTM C33 concrete sand, or can I use whatever sand is available?
Use coarse concrete sand that matches ASTM C33 gradation. Play sand, mason sand, or decomposed granite tend to shift or compact unevenly, which shows up as rocking joints after a season or two.
How do I keep pavers level if my yard is sloped?
Don’t try to “average out” the slope by adding extra bedding sand. You either shape the subgrade and base plane with cut and fill, compact in lifts, then build the base and screed to your set slope line (1.5% to 2%).
How can I tell if my base is properly compacted before I lay pavers?
After compacting the gravel in lifts, the surface should resist firm foot pressure and feel like a stable slab, not like it yields or pumps. Also verify elevation with the string lines before you place sand.
Can I lay pavers directly on top of dirt or sand to save time?
Not for a patio that you want to last. Dirt and loose sand will move, causing settlement and weed growth. The correct sequence is compacted gravel base, then a limited thickness bedding sand layer, then pavers.
Why are my pavers rocking even though the patio looks flat at first?
Rocking typically means the sand bed has an uneven thickness or the base has soft spots. Don’t “shim” by adding more sand after the fact. Fix the high or low points in the base before screeding, then reinstall the affected pavers.
What joint width should I aim for, and how do I keep it consistent?
Keep joints consistent between about 1/16 inch and 3/16 inch. Many pavers have molded lugs that set the gap automatically, otherwise use plastic tile spacers and keep your placement routine steady across the whole run.
What slope should my patio have, and where do I measure it?
Plan for 1.5% to 2% slope away from the house, which is roughly 3/16 to 1/4 inch per foot. Measure from your set string line reference as you screed, then confirm with a level or straightedge as you lay.
How do I handle a drain problem if the patio is adjacent to the house?
Start by confirming surface water flows away from the foundation. If the existing yard grade or any connected surfaces force water toward the house, adjust the base plane and slope before installing pavers, not after.
Is polymeric sand required, or can I use regular jointing sand?
Polymeric sand is strongly preferred because it locks the joints and resists erosion and weeds. Regular coarse sand can work short term, but it needs more frequent re-sweeping and re-filling, especially after wash-off or heavy rain.
How do I avoid a white haze when activating polymeric sand?
Before misting, the top of the pavers must be dust-free. Sweep thoroughly and then clear fine residue (for example with a low leaf-blower setting). Any leftover dust can bind on the surface and leave a difficult-to-remove film.
When should I seal my pavers, and what if I see efflorescence?
Wait at least 60 to 90 days for new pavers to shed initial efflorescence. Don’t seal over chalky deposits or trapped moisture, because sealing can worsen the underlying salt or dampness issue under the coating.
Should I seal film-forming or penetrating sealer if I’m worried about maintenance?
Film-forming “wet look” sealers usually need reapplication sooner, about every 2 to 3 years. Penetrating sealers generally last longer and keep a more natural appearance, so they’re often the better low-maintenance option.
Can I reset individual pavers later without taking up the whole patio?
Yes, one practical advantage of pavers is that you can lift and reset single units. For this to be easy, keep edging restraints properly installed and use jointing sand that stays contained, so individual sections can be accessed without disturbing everything.
What’s the best way to protect pavers during cleanup and snow season?
Avoid metal shovels or picks that can chip edges. Use plastic tools where possible, and keep the surface free of debris so trapped moisture doesn’t accelerate freeze-thaw damage.
Next Articles
How to Lay Pavers for a Patio: Step by Step DIY Guide
Step-by-step DIY for laying patio pavers: layout, base prep, compaction, leveling, cutting, jointing, and sealing for dr
How to Use Quikrete Patio Paver Jointing Sand: Guide & Tips
How to use Quikrete Patio Paver Jointing Sand: step-by-step application, tools, timing, coverage, and care.

How to Use Patio Paver Sand: Step by Step DIY Guide
Step-by-step guide to apply patio paver sand correctly: prep base, set pavers, fill joints, compact, and troubleshoot is