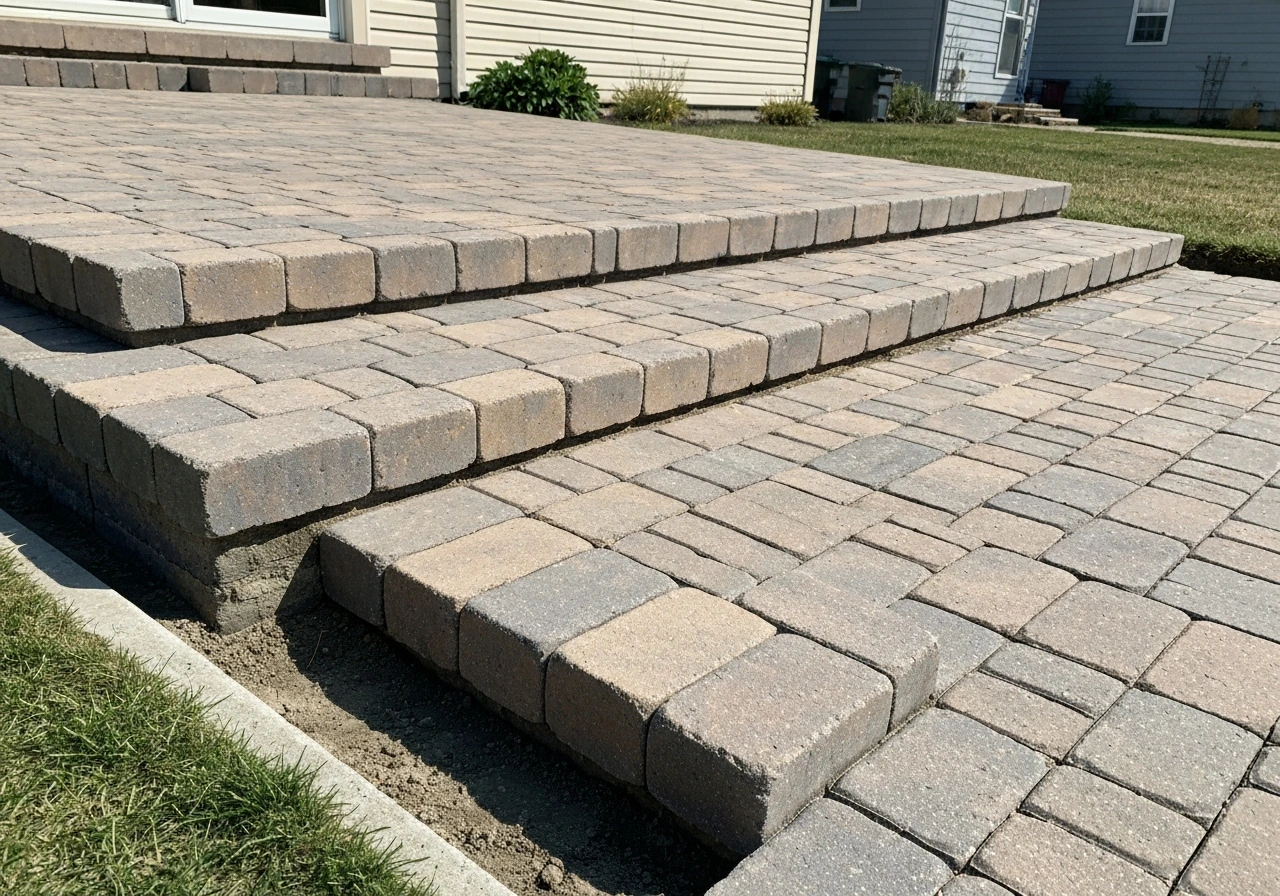
You can build stable, good-looking patio paver steps yourself if you nail three things: a properly compacted gravel base, consistent riser and tread dimensions, and solid edge restraints. Skip any of those and you'll be re-leveling pavers within a couple of seasons. This guide walks you through the full process, from measuring your slope to sweeping in jointing sand, so you can build steps that stay put for years.
Building Steps with Patio Pavers: DIY Guide to Layout, Base, and Finish

Felix Rowe
5 Jul 2026
Planning your paver steps layout
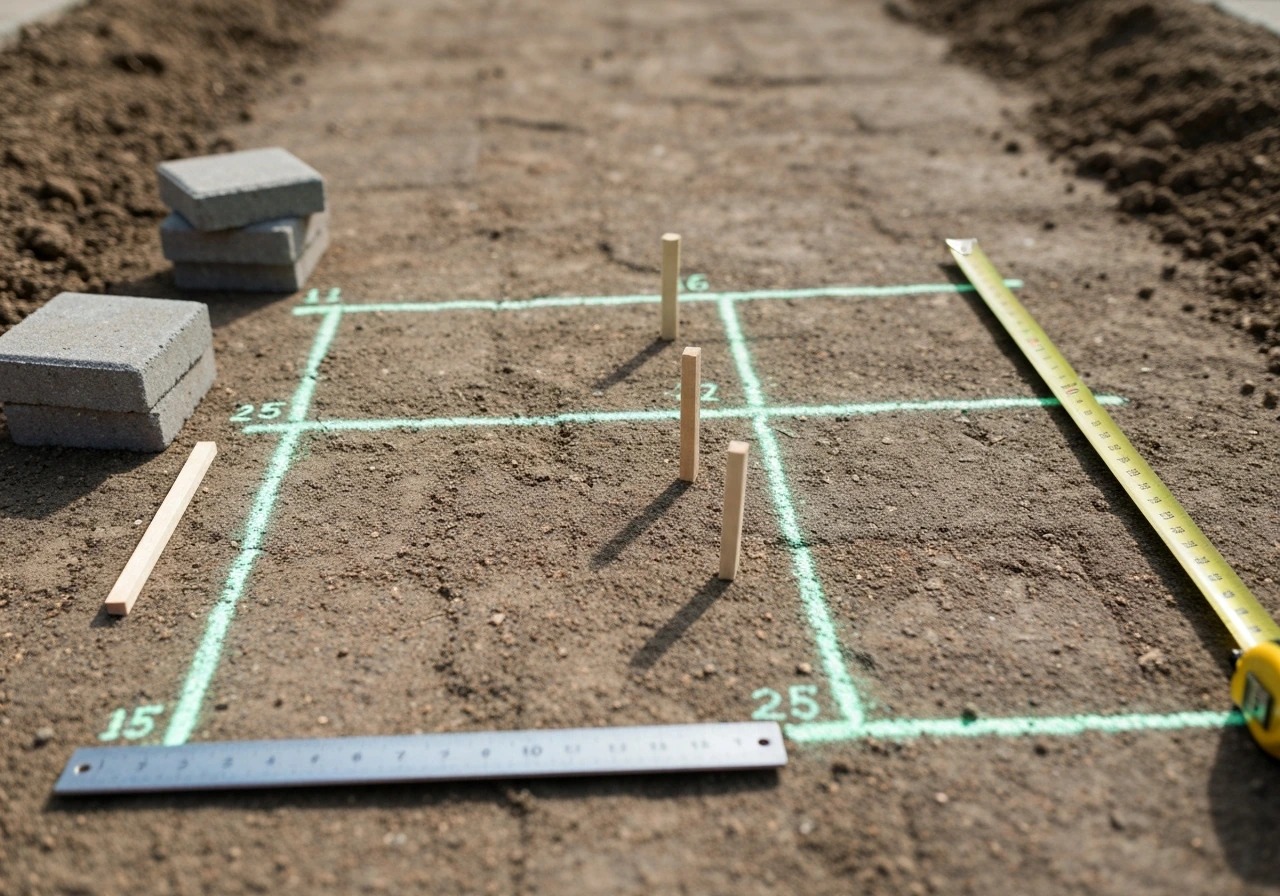
Before you touch a shovel, figure out your riser height and tread depth. The standard starting point is the 7-11 rule: risers no taller than 7 inches and treads at least 11 inches deep. These numbers exist for comfort and safety. Consistent riser height across the full flight is non-negotiable. If one step is 5.5 inches and the next is 7 inches, people will trip. Measure the total rise (the vertical drop from your door threshold or top landing down to grade), then divide by a riser height in the 6-7 inch range to get your number of steps. Round to a whole number and recalculate your exact riser height from there.
For tread depth, account for the paver thickness plus any overhang. A common setup is two rows of standard pavers creating a 12-inch tread, which beats the 11-inch minimum and feels comfortable underfoot. Sketch the whole flight on paper before buying anything. Mark the total rise, number of steps, individual riser height, and tread depth. If your steps connect directly to the house, that sketch also needs to show how the top tread relates to your door threshold and any existing patio surface. Projects connecting paver steps to the house have their own layout considerations worth thinking through before you commit to dimensions.
Tools, materials, and what to measure for each step
Get your material list together before you start, not halfway through. Here's what you'll typically need for a standard DIY paver step project:
- Concrete pavers (enough for treads, risers, and a few extras for cuts)
- 3/4-inch crushed stone or road base gravel (three-quarter minus) for the compacted base
- 1-inch bedding sand (sharp concrete sand, not play sand)
- Polymeric jointing sand conforming to ASTM C936
- Plastic or aluminum edge restraints with 10-inch metal spike spikes
- Filter/landscape fabric for under the gravel
- Plate compactor (rent this, don't skip it)
- Hand tamper for tight spots
- Rubber mallet
- Angle grinder or wet saw for cutting pavers
- Long level and torpedo level
- Tape measure and chalk line
- Screed pipe or board (1-inch diameter pipe works well)
- Stakes and string line
- Shovel and wheelbarrow
For measuring, you need four numbers per step before you order materials: finish surface elevation at the top, individual riser height, tread depth, and step width. From those, you can calculate excavation depth using the layered section: paver thickness plus 1-inch bedding sand plus your base depth equals total dig depth below finish grade. If your pavers are 2 3/8 inches thick and your base is 6 inches of compacted gravel, you're digging about 9.5 inches below where the top of the tread will sit. Write that number down and keep it with you on dig day.
Site prep and base construction
Excavation and grading

Mark out the full footprint of your steps with stakes and string, extending at least 6 inches beyond the planned edge on all sides. That extra width under the base is not optional; it gives the edge of your installation real support instead of leaving it cantilevered over soft soil. Remove all sod, roots, and organic material. You want to dig down to stable, undisturbed mineral soil. If you hit soft or wet spots, dig deeper and fill with additional compacted gravel rather than hoping it firms up on its own.
Step excavations are terraced, not flat. Each step's gravel pad sits at a different elevation, so you're cutting a staircase shape into the soil before the gravel ever goes in. Use your layout stakes and level to establish the elevation of each gravel pad. The base surface for each tread needs to slope very slightly forward (about a 1/8-inch drop per foot) so water runs off the finished step rather than pooling on it.
Filter fabric and gravel base
Lay filter fabric over the native soil before placing any gravel. This keeps the gravel and soil from mixing over time, which is one of the main reasons bases fail and pavers settle. Overlap fabric seams by at least 12 inches. Then fill with 3/4-inch crushed stone (road base or three-quarter minus) in lifts no deeper than 4 inches, compacting each lift with your plate compactor before adding the next. For most residential step projects, 6 inches of compacted gravel base is the minimum. Run at least 4 passes with the plate compactor on each lift, working in overlapping rows. You'll feel and hear the gravel tighten up as it compacts. If an area still feels spongy after compaction, add more gravel and compact again.
One important rule: never use bedding sand to fix base problems. If your gravel base is uneven, level the gravel. The bedding sand layer is only 1 inch thick and exists for fine-tuning paver height, not for compensating for a rough or low base.
Building the step structure
Paver steps need a solid structural framework before the decorative tread pavers go down. These same site prep and base-building principles also apply when you are planning wood steps to paver patio transitions. The most common approach for DIY builds is using concrete blocks or solid concrete cap pavers as the riser (the vertical face of each step), set on the compacted base. These riser blocks form the front edge of each step and carry the load from the tread above.
Set your riser blocks on the compacted gravel base (no bedding sand under the risers themselves). Use a level to confirm each riser is plumb and that the top edge sits at the correct elevation. The top of the riser plus your bedding sand plus your tread paver thickness should equal your planned finish tread height. Double-check this before you move on. Getting this wrong by even half an inch throws off every step above it.
Edge restraints go around the perimeter of every tread area. Drive 10-inch metal spikes through the restraint into the gravel base at roughly 12-inch intervals. The one exception is where a step edge meets a fixed structure like a house foundation or existing concrete, where the structure itself acts as the restraint. For freestanding steps, every exposed edge needs to be pinned. This is what prevents the whole step from slowly spreading outward over time.
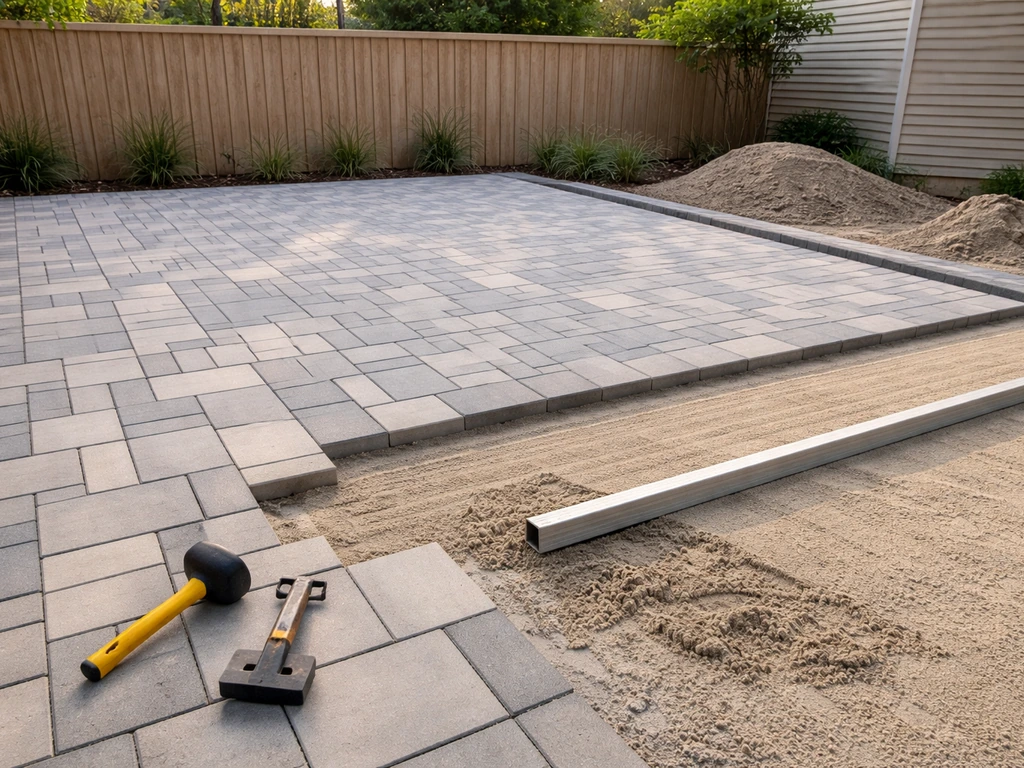
Laying pavers on steps: alignment, slope, and pattern
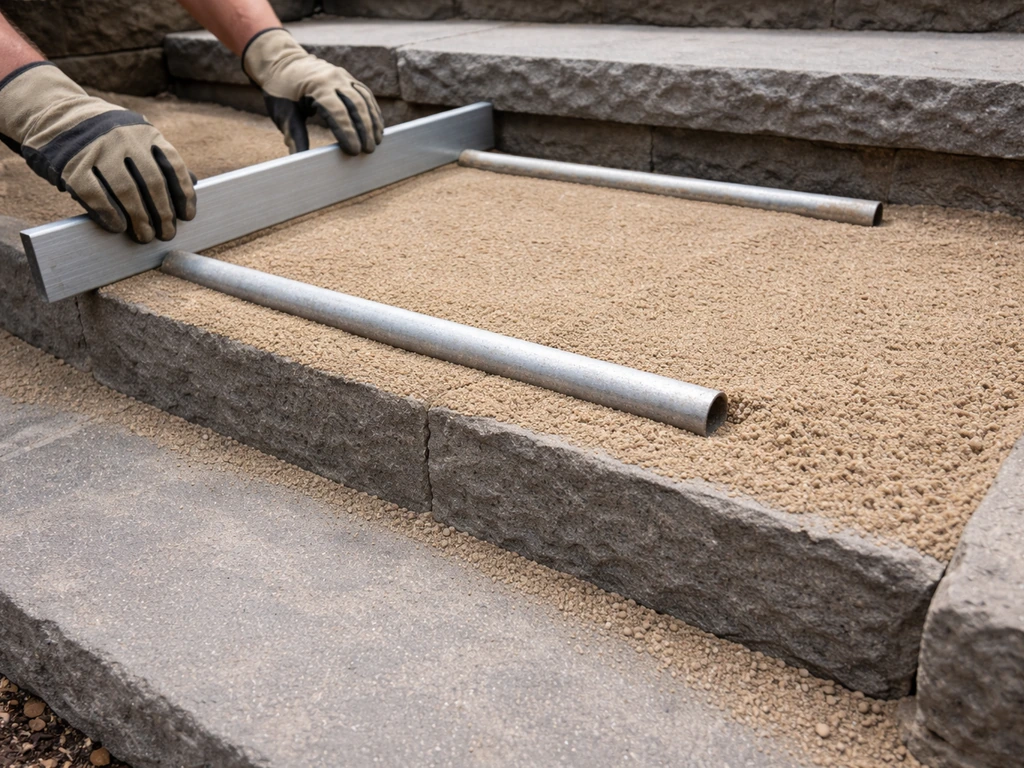
Screed your 1-inch bedding sand layer on each tread area using a 1-inch-diameter pipe as a guide. Pull a screed board across the pipes to create a perfectly consistent 1-inch sand depth. Once screeded, don't walk on it. Start placing tread pavers from the front edge of each tread (right behind the riser) and work back toward the riser of the step above. This way, any cut pieces end up at the back where they're less visible and less structural.
Keep the tread slope consistent at about 1/8 inch per foot toward the front edge. This is enough to shed water without feeling like you're walking downhill. Check slope on every row with a level. Use the pavers' built-in spacer lugs (most concrete pavers have them) to keep joint lines consistent as you lay. Tap each paver down with a rubber mallet until it's flush with its neighbors, and check frequently with your level. If you want more paver patio tips for layout and finishing details that also apply to steps, focus on consistent slope, tight joint lines, and solid base prep. Don't let small height discrepancies build up across the tread.
For pattern layout on steps, a running bond (offset joints by half a paver) is the most stable choice and handles the slightly irregular dimensions of step edges better than a grid pattern. If the tread width doesn't divide evenly by your paver width, center the pattern and cut equal-sized pieces for each side. Symmetrical cuts look intentional; one big cut on one side and a sliver on the other looks like a mistake.
Cutting pavers and finishing the edges cleanly
Most paver step projects require cuts at the sides of each tread and sometimes at the back. Measure each cut individually rather than assuming all the gap pieces are the same width. Slight variations in your base or riser placement add up. For straight cuts, a wet saw gives the cleanest results and works with minimal chipping. An angle grinder with a diamond blade works fine for occasional cuts and angled lines, but it's harder to keep perfectly straight over longer runs.
Coping is the finishing detail at the exposed front edge of each tread. Many paver manufacturers offer a coping piece with a bullnose or chamfered edge specifically designed for this. If yours doesn't, cut a standard paver to the right depth and use it as the front tread row. The coping piece should overhang the riser face by about 1 inch for a clean, defined look and to help direct water away from the riser face. Secure any coping units with a thin bead of construction adhesive in addition to the bedding sand and edge restraints, since the front edge takes the most direct foot traffic stress.
Finishing: jointing sand, sealing, and drainage
Once all your pavers are set, run the plate compactor over each tread (put a piece of plywood or a compaction pad under it to protect the paver faces). This seats the pavers into the bedding sand and locks the whole tread together. Then sweep dry polymeric jointing sand across the surface, working it into the joints with a push broom. Run two or three more compactor passes to drive the sand deeper into the joints, then sweep in another round of sand and compact again until joints are filled to within about 1/8 inch of the paver surface.
Once the joints are filled, activate the polymeric sand by misting the surface with water. Follow the product's instructions here. Temperature matters: most polymeric sands need air temps above 32°F to cure properly, and rain within the first 24 hours can wash the binders out of the joints before they set. Pick a dry weather window. After the sand cures, check that water is still sheeting off the treads rather than pooling. If you see standing water anywhere, the tread slope needs attention before you move on.
Sealing is optional but worthwhile if you want to protect the paver color and make future cleaning easier. For more patio paver installation tips, focus on proper base compaction, correct bedding sand depth, and careful jointing from day one. Before sealing, always re-sand any joints that didn't fill completely. Sealing over empty or half-filled joints traps the gap without fixing it. Use a paver-specific penetrating sealer and apply it in dry conditions. If your pavers are brand new, wait at least 30 days before sealing to let the efflorescence (white salt haze) work out naturally.
Maintenance and fixing common problems
Settling and uneven steps
If a tread paver sinks or tilts within the first year, the most likely cause is base compaction failure or water washing out bedding sand from underneath. Pull the affected pavers, add compacted gravel to bring the base back to the right height, re-screed the bedding sand, and reset. Don't just add more bedding sand on top of an existing sand layer, as you'll just have a double-thick uncompacted layer that will continue to move.
Shifting pavers
Lateral movement means your edge restraints have failed or were never driven in deep enough. Check that all spike spikes are still seated fully. If a restraint has pulled loose, pull it, re-drive with longer spikes (12-inch spikes are better in softer soil), and reset the pavers. For freestanding steps away from the house, also check that your gravel base extends at least 6 inches beyond the paver edge on all sides.
Weeds in the joints
Weeds growing in paver joints are almost always a sign that regular sand was used instead of polymeric sand, or that the polymeric sand wasn't properly activated. The fix is to clear out the old joint material, sweep in fresh polymeric sand, compact, and activate properly. Applying a paver-safe joint stabilizer after the fact can help if you don't want to redo the whole surface.
Water pooling on treads
Pooling water is a slope problem. The tread isn't pitching forward enough. In mild cases, you can sometimes lift individual pavers and add a thin, carefully shimmed bedding layer to correct the slope. In serious cases, the riser blocks or base grading needs to be re-done at the problem step. Going forward, check slope with a level before compacting every single tread.
When to call a pro
Most paver step projects are well within DIY range if you have the physical ability and the patience to check your levels constantly. Where it genuinely makes sense to bring in help: if your total rise is more than 4 feet (more than 6-7 steps), if the soil is consistently wet or poorly draining, or if the steps connect to a structural element of your home and permit-required work is involved. For typical 2-4 step projects connecting a patio to a yard or from a patio to a door, you can confidently handle this yourself. If you are planning a patio paving project instead of step work, the right base prep and drainage details are just as important for long-lasting results.
Quick reference: dimensions and base specs
| Component | Typical Spec | Notes |
|---|---|---|
| Riser height | 6 to 7 inches max | Keep consistent across all steps in the flight |
| Tread depth | 11 inches minimum | 12 inches is more comfortable; measure front to back |
| Gravel base depth | 6 inches compacted minimum | Add more for soft or wet soil conditions |
| Bedding sand depth | 1 inch consistent | Sharp concrete sand only; not play sand or stone dust |
| Base overhang beyond pavers | 6 inches minimum on all sides | Critical for edge support and long-term stability |
| Tread drainage slope | 1/8 inch per foot toward front edge | Enough to shed water without feeling steep |
| Compactor passes per lift | 4 minimum per 4-inch lift | More passes on first lift over native soil |
Building paver steps takes a weekend for most 3-4 step projects, assuming you have materials staged and equipment rented. The first day is almost entirely excavation, base building, and compaction. The second day is where the actual paver work happens. Don't rush the base day. Everything you do on day two only stays put because of what you did on day one. If you are planning patio paving steps, use the same base-building and leveling principles so every tread holds its slope and stays stable.
FAQ
Can I reuse existing patio pavers if I have them on hand?
You can, but only if the pavers are still flat, not cracked, and the edges are intact where they will serve as treads and coping. Also plan for extra thickness variation, since your tread height math depends on a known paver thickness plus bedding sand. If thickness varies, sort pavers by thickness and keep the set consistent per tread run, or you will end up with uneven step heights.
What slope should I target if my steps are short, like 2 or 3 steps?
Use the same drainage target, about a 1/8-inch drop per foot toward the front edge. Even on short flights, small pooling spots can show up after rain, especially at the lower landing. Check slope row-by-row with a level before you place the next paver row, not just once at the end.
How do I handle steps that go sideways into a corner (not a straight run)?
You still need consistent riser heights, but tread slope and cutting get more complex. Lay out the true footprint with string at both the outer and inner edges, then establish separate pad elevations for each tread area. When cutting, measure each gap individually because base and riser placement tolerances will create unequal cut widths.
Is it okay to set riser blocks on bedding sand for easier leveling?
No. Set risers directly on the compacted gravel base. Bedding sand is designed for fine-height adjustment only under tread pavers, and it does not provide the structural support risers need. If you level risers with sand, you increase the chance of settlement and every tread above will shift out of alignment.
What happens if my polymeric joint sand doesn’t activate correctly?
If it is not misted per the product directions or it rains too soon, the sand may wash out and you can get weeds in the joints or loose joints. The practical fix is to remove the failed sand from the joints, sweep in fresh polymeric sand, compact, and then activate in a dry window. Plan for at least one cleanup cycle if you get the weather timing wrong.
Can I use regular (playground) gravel instead of 3/4-inch crushed stone?
Avoid round, washed gravel. The base needs crushed, angular stone that interlocks and compacts firmly in lifts. If you use different material, your compaction behavior changes, and you may still end up with soft spots even after multiple passes. Stick to 3/4-inch crushed road base or three-quarter minus and compact in lifts no deeper than about 4 inches.
How many compactor passes do I actually need on each lift?
For typical residential step projects, aim for at least 4 passes per 4-inch lift, with overlapping rows. More passes are better if you still feel sponginess after compacting. If the area remains soft, do not “fix” it by adding bedding sand later, remove and add compacted base material to rebuild the elevation.
My steps connect to the house, but there is an existing door threshold and patio surface. How do I tie it in?
Your layout sketch must show the door threshold height and where the top tread lands relative to existing hardscape. Build from finish height back downward using your layered thickness (paver plus 1-inch bedding sand plus compacted base). If the connection requires matching elevations across adjacent surfaces, verify before excavating so you do not discover a height mismatch once the base is already built.
Do I need edge restraints on every side if the steps are against a wall?
Yes, but the wall can act as the restraint only where the wall is fixed and able to resist outward movement. Treat every other exposed edge as requiring restraint and pinning. Where you have a structural face like a foundation, you can rely on it instead of a restraint, but still confirm the rest of the perimeter is fully spiked.
How can I prevent weeds without redoing the entire installation?
If weeds appear because polymeric sand failed, removing and replacing the joint sand is the durable fix. After clearing joints, use fresh polymeric sand, compact, and activate correctly. If you want a preventative step after a proper joint fill, a paver-safe joint stabilizer can help, but it should not be used as a substitute for correct base prep and polymeric sand activation.
What is the best way to correct a single sunken paver on a tread?
Pull the affected pavers and evaluate the base first. If the base is uneven, level it with additional compacted gravel and then rebuild the bedding sand to the correct 1-inch depth. Do not add more bedding sand on top of the existing layer, since it can create a thicker, less-compacted bed that will move again.
Can I seal immediately after installation to reduce staining?
Wait about 30 days for brand-new pavers before sealing to let efflorescence (white haze) work out naturally. Also make sure all polymeric joints are fully cured. If you seal too early, you can trap moisture and haze, making it harder to get an even final appearance.
When should I avoid DIY and hire someone instead?
Besides long flights (more than about 4 feet of total rise), avoid DIY if the soil is consistently wet or poorly draining. Also consider hiring help if the steps connect to a home structural element that may involve permit-required work or complex waterproofing transitions. A short, typical 2-4 step run over stable soil is usually manageable for a careful DIYer.
Next Articles
How to Patio Paving: DIY Step-by-Step Installation
DIY how to patio paving: plan, build a solid base, install pavers, fix drainage issues, and maintain or seal long term.
Patio Paving Steps DIY Guide: Design, Build, and Finish
DIY guide to design and install patio paving steps with safe tread-riser sizing, drainage, base prep, and troubleshootin

How to Use Patio Paver Sand: Step by Step DIY Guide
Step-by-step guide to apply patio paver sand correctly: prep base, set pavers, fill joints, compact, and troubleshoot is