To level patio pavers, you pull up the uneven ones, fix what's wrong underneath (usually the bedding sand or the compacted base), reset the pavers on a properly screeded 1-inch bedding layer, and compact everything back into place. Whether you're installing new pavers from scratch or re-leveling an existing patio that's sunk, rocked, or gone wavy, the fix lives below the surface, not on top of it.
How to Level Patio Pavers: DIY Steps for Flat, Stable Results

Felix Rowe
6 May 2026
How to tell if your patio actually needs re-leveling
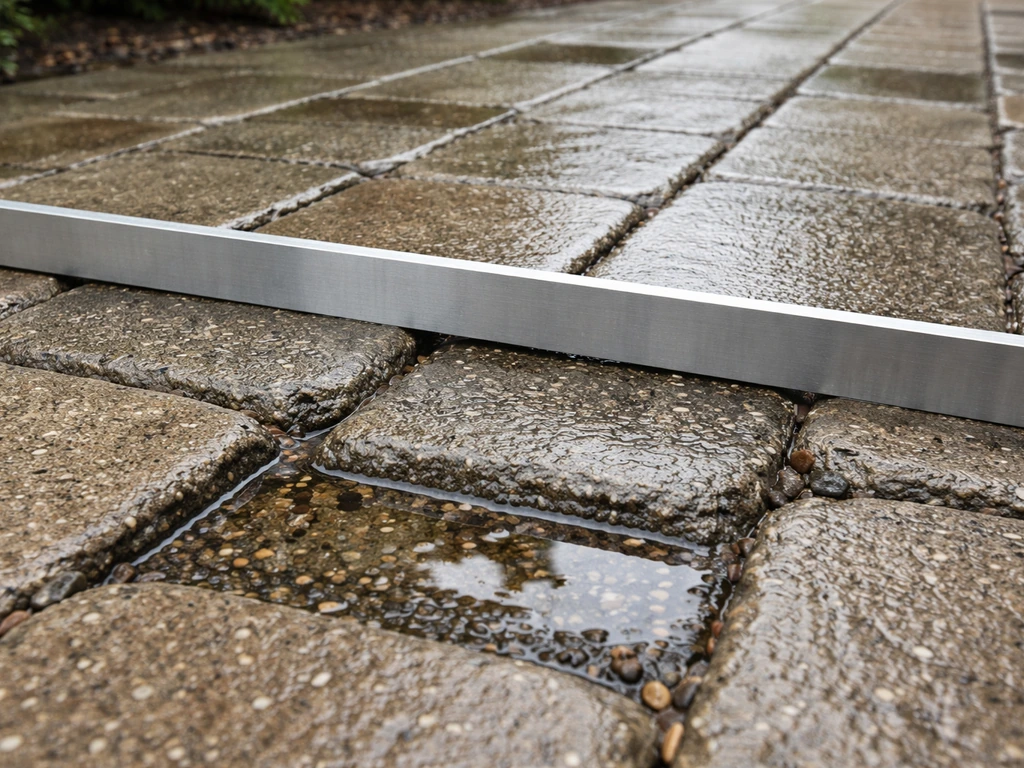
Walk across your patio slowly and pay attention. A paver that rocks underfoot, a low spot that holds water after rain, or a visible dip when you look across the surface from ground level are the clearest signs something is off. For a more precise check, lay a 10-foot straightedge or a long level across the surface in several directions. ICPI (the Interlocking Concrete Pavement Institute) sets the acceptable tolerance at ±3/8 inch over a 10-foot span. If any gap between the straightedge and pavers exceeds that, the surface is out of spec and warrants attention.
Not every imperfection is worth pulling up pavers for. A single paver that's slightly high or low is a spot fix. But if you're finding multiple problem areas clustered together, or if you're seeing a consistent slope running the wrong direction (toward the house rather than away), that points to a base or grading issue that won't fix itself. Also look for pavers that have shifted laterally, that usually means edge restraints have failed, and that's a different repair than a leveling fix.
Tools and materials you'll need
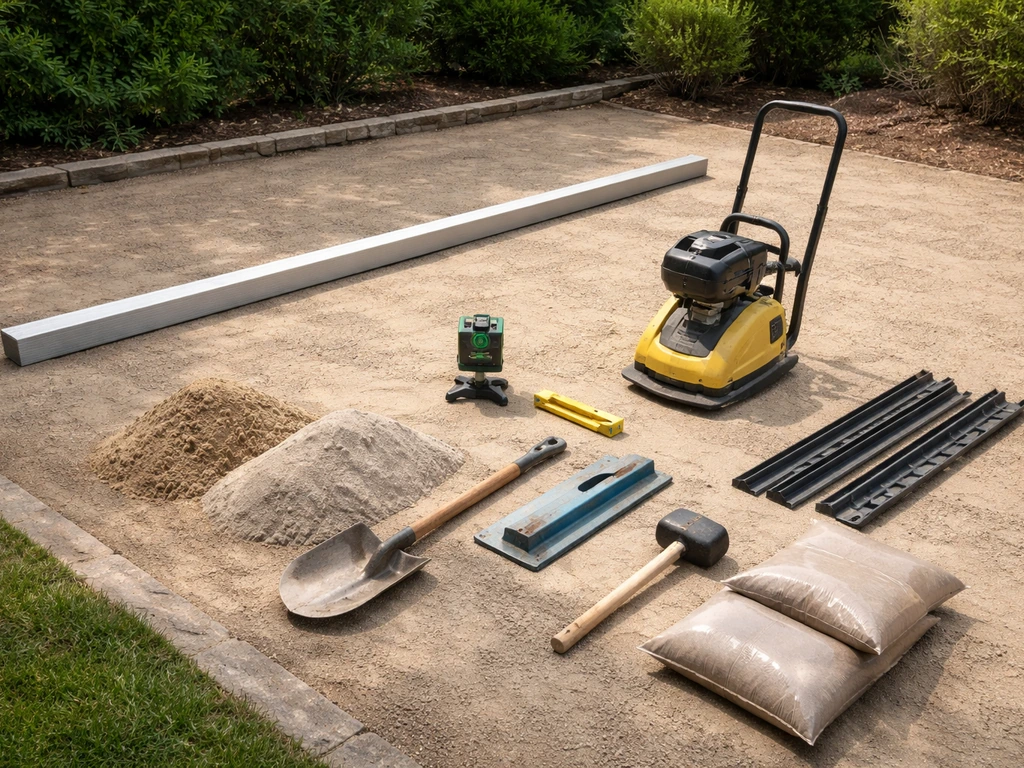
You don't need a truckload of specialty gear for most leveling jobs, but having the right tools makes the difference between a fix that lasts and one that fails again in a year.
- 10-foot straightedge or long level (for measuring surface tolerance)
- Line level or laser level (for checking overall slope and drainage direction)
- Tape measure
- Flat pry bar or paver puller (for lifting pavers without breaking them)
- Screed pipes (1/2-inch to 3/4-inch steel conduit or EMT pipe works fine)
- Long 2x4 or screed board (for striking off the bedding layer between pipes)
- Hand tamper or plate compactor (plate compactor strongly preferred for larger areas)
- Rubber mallet
- Stiff broom
- Coarse bedding sand (ASTM C33 or equivalent — not play sand or fine mason sand)
- Compactable base aggregate (crushed stone, 0–3/4 inch, also called crusher run or road base)
- Polymeric jointing sand
- Replacement edge restraints and spikes if damaged
For the plate compactor: if you're doing a spot repair on a handful of pavers, a hand tamper will do. For anything larger than about 20 square feet, rent a plate compactor. Techo-Bloc specs a minimum 5,000 lbf vibratory plate compactor for base compaction, which is a standard rental unit. Don't skip it, inadequate compaction is one of the top reasons patios sink and shift in the first place.
Step-by-step: re-leveling an existing paver patio
This is the process for lifting and resetting pavers on an already-installed patio. If you're starting from raw ground, skip ahead to the base prep section, then come back here for the screeding and setting steps.
- Mark your problem zone. Walk the whole patio with your straightedge and mark every paver that fails the ±3/8-inch tolerance or rocks underfoot. Use chalk or painter's tape. Get a complete picture before you start pulling anything up.
- Remove the pavers carefully. Slide a flat pry bar into a joint near the edge of your marked area and gently lever the first paver up. Once that one is out, the rest come out much more easily by hand. Stack pavers face-up in a safe spot nearby. Keep them in order if your pattern is complex.
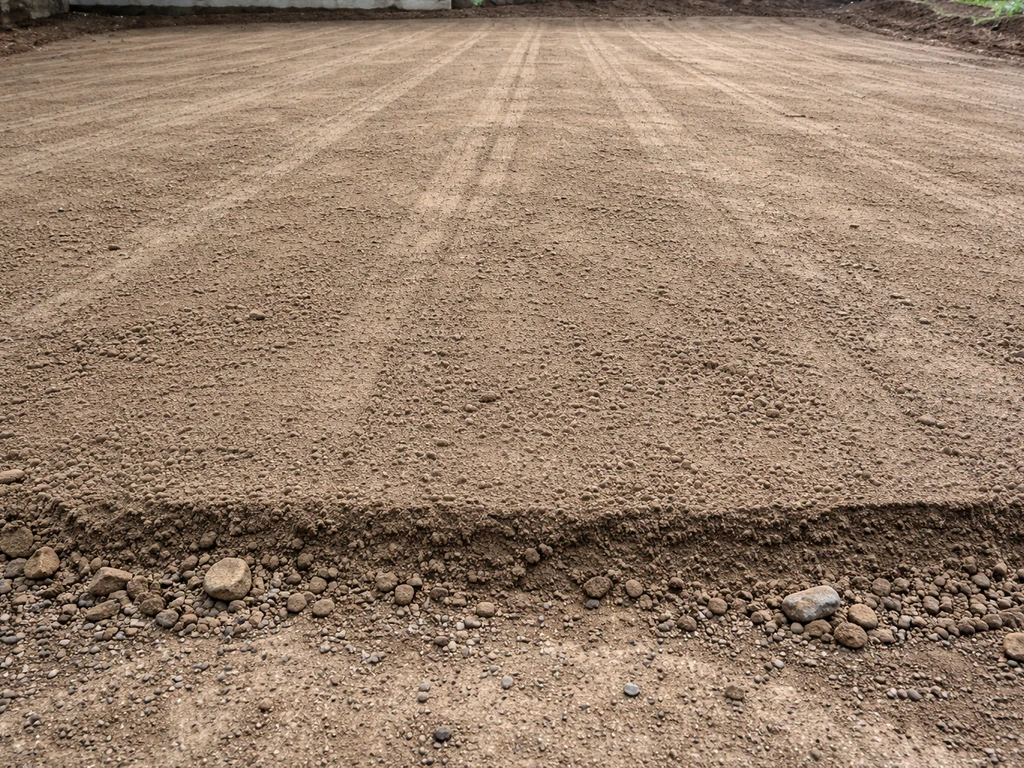
- Assess what's underneath. This is where you diagnose the real problem. Scoop out the existing bedding sand and look at the compacted base. A solid, stable base that's just slightly off-height is an easy fix. If you find soft, muddy, or loose material, washed-out channels, or less than 4 inches of compacted gravel, you have a base problem that needs to be corrected before you do anything else.
- Fix the base if needed. For minor low spots in an otherwise solid base, add fresh crushed stone, rake it level, and compact it thoroughly. For significant voids or soft spots, dig out the weak material, add crusher run in 4-inch lifts, and compact each lift before adding the next. The compacted base surface should hit that ±3/8-inch tolerance before you put any bedding sand down.
- Set your screed pipes. Lay two steel pipes parallel to each other on the compacted base, spaced so your screed board can bridge across them. The pipe diameter should match your target bedding depth — typically around 1 inch (25 mm). For sand bedding, Unilock recommends setting the pipes about 1/2 inch above the finished paver height to account for the sand compressing under the pavers once set.
- Spread and screed the bedding sand. Pour coarse bedding sand between the pipes and drag your screed board across both pipes to create a smooth, consistent layer. You're targeting a loose depth of about 1 to 1.5 inches (25 to 40 mm). Remove the pipes after screeding each section and fill the grooves they left with sand, then lightly smooth by hand. Do not compact the sand before setting pavers.
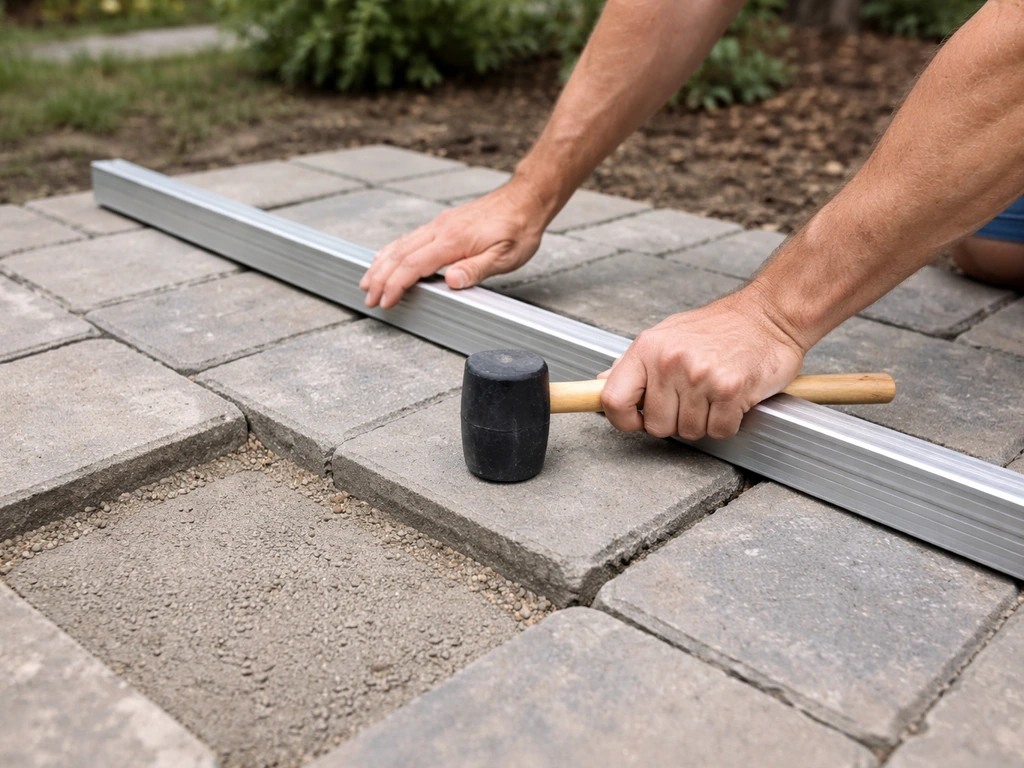
- Reset the pavers. Set each paver gently onto the screeded sand — place it down, don't slide it. Give each one a firm tap with a rubber mallet to seat it. Use your straightedge constantly as you go to check the surface is coming in flat. Make micro-adjustments by adding a pinch of sand under low spots or scraping a little away under high ones.
- Compact the reset area. Run a plate compactor over the finished section (set a rubber pad under the plate if your pavers have a textured or tumbled surface you want to protect). This embeds the pavers firmly into the bedding layer and brings them to their final height.
- Sweep in jointing sand. Spread polymeric sand over the dry paver surface and sweep it into the joints. Per Unilock's guidance, the target fill level is approximately 1/8 inch below the bottom of the paver's beveled edge, or 1/8 inch below the surface on non-beveled pavers. Make sure pavers are completely dry before sweeping in polymeric sand — damp pavers cause the sand to clump and set unevenly. Follow the manufacturer's activation instructions (usually a light water mist after sweeping).
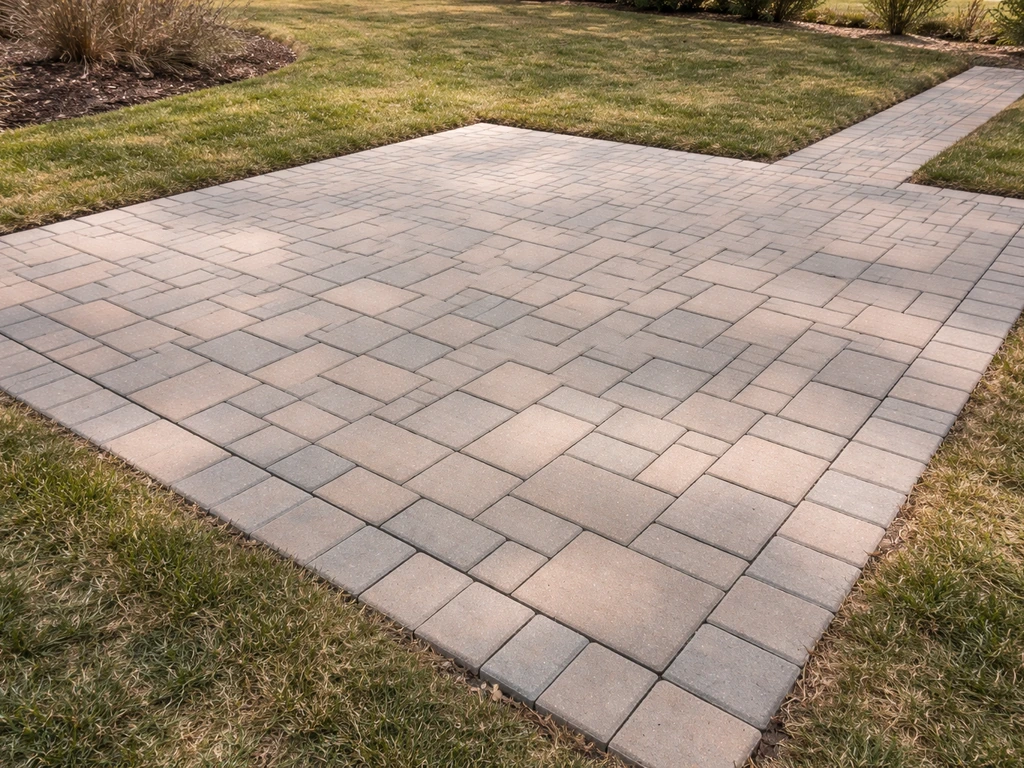
- Do a final flatness check. Lay the straightedge across the repaired area in multiple directions and confirm you're within the ±3/8-inch tolerance. Walk it again. You're done.
Fixing the most common paver problems
Sunken pavers
Sunken areas almost always mean the base or subgrade settled. This can happen from poor compaction during installation, organic material decomposing in the soil (roots, old sod that wasn't removed), or water washing out the base over time. Pulling the pavers and adding more bedding sand on top of a soft or washed-out base won't fix it, the sand will just keep migrating. You need to get down to the base layer, correct it, and rebuild up properly. Unilock recommends installing joint sand about 1/8 inch below the bottom of the paver beveled edge, and about 1/8 inch below the paver surface for non-beveled pavers joint sand approximately 1/8" below.
Rocking or wobbly pavers
A paver that rocks is almost always sitting on a high point rather than lying flat on the bedding layer. Either there's debris under it, the bedding wasn't screeded consistently, or a neighboring paver has shifted and pushed it up at one edge. Pull it, clean out the bedding beneath, re-screed that spot, and reset. Don't just whack a rocking paver harder with a mallet, that just breaks it or pushes the problem to the next paver over.
Uneven surface (waviness across the whole patio)
Widespread waviness that covers most of the patio is a sign the base wasn't built to tolerance before the bedding sand went down. ICPI is very clear that bedding sand can only do so much, it's not meant to compensate for an uneven base. If your whole patio has a rolling, uneven feel and it's been that way since installation, you're looking at a full lift-and-reset where you re-compact and level the base properly before re-laying. That's a bigger job, but trying to shim individual pavers is a losing battle.
Pavers that keep shifting or spreading apart
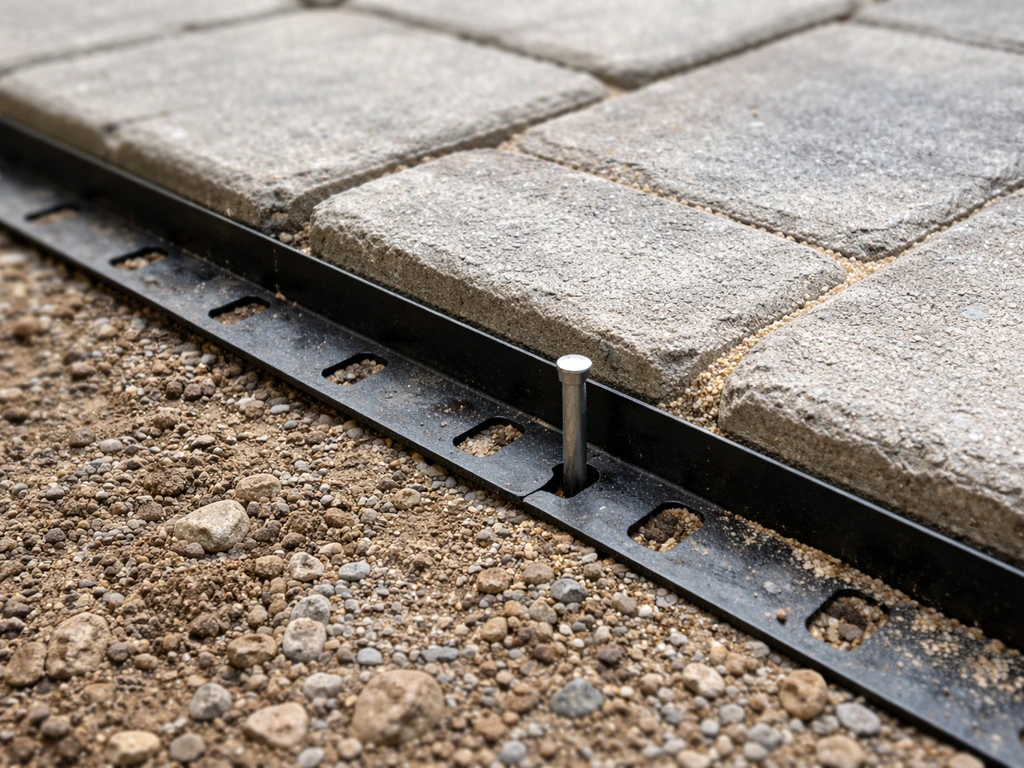
If pavers are migrating laterally or joints are opening up, check your edge restraints first. Sand-set pavers need solid plastic or metal edge restraints spiked into the base along every perimeter edge. If those are missing, loose, or broken, the whole field of pavers will slowly creep outward. Reset the border pavers and install proper restraints before re-leveling the interior, otherwise the fix won't hold.
Building a properly leveled base for new installations
If you're installing new pavers and want to get the leveling right from the start, this is where it all happens. Everything above the base is only as good as the base itself. For a multi level paver patio, you apply the same base-building rules, but you also step the elevations and plan drainage transitions between levels.
- Excavate to depth. Dig out enough depth for your base aggregate (typically 4 to 6 inches for a residential patio), plus 1 inch for bedding sand, plus the paver thickness (usually 2 3/8 to 3 1/8 inches depending on the product). Account for your drainage slope in the excavation — don't plan to create the slope later with bedding sand thickness.
- Build the base in lifts. Add crushed stone (0–3/4 inch crusher run or road base) in 4-inch lifts. Compact each lift before adding the next. Techo-Bloc specifies a minimum 5,000 lbf vibratory plate compactor here — standard rental units qualify. Compacting in lifts is non-negotiable; dumping in 8 inches and making one pass leaves the bottom uncompacted and creates future settlement.
- Check and refine the base surface. Before touching bedding sand, lay your 10-foot straightedge across the compacted base in multiple directions. You want to be within ±3/8 inch. Add small amounts of base material and re-compact any low spots. Shave down high spots. Get this right — it's much harder to correct once the bedding sand and pavers are on top.
- Screed the bedding layer. Set your screed pipes on the compacted base at the correct height (about 1 inch above the base surface for sand bedding), pour in coarse bedding sand, and strike it off. Remove pipes and fill grooves. Keep foot traffic off the screeded sand — one footprint means starting that section over.
- Lay pavers and compact. Set pavers as described in the re-leveling steps above. Compact the finished surface to embed pavers into the bedding sand, then sweep jointing sand into the joints.
Slopes and drainage: level where it counts, sloped where it must be
Here's the thing about "level" patios: a perfectly flat, zero-slope patio is actually a bad patio. Water has nowhere to go, and it pools, stains, and eventually undermines the base. What you want is a patio that feels flat underfoot but has enough pitch to drain. The standard rule from This Old House is 1 inch of drop per 4 feet of run, which is barely perceptible when you're walking on it. Techo-Bloc's spec puts it at about 1.5% (roughly 3/16 inch per foot). Either gets you there.
The critical point is that the drainage slope needs to be built into the excavation and base, not faked with varying bedding sand thickness. If you want to know how to slope a paver patio correctly, focus on the finished grade and build the pitch into the excavation and base, not the bedding drainage slope. Unilock is explicit about this: blank" rel="noopener noreferrer">the base should reflect all finished grades so the bedding course stays a consistent thickness everywhere. If you try to create slope by making the sand thicker on one side, you're setting yourself up for differential settlement, the thicker sand side will compress more over time, and the patio will go out of level within a season or two.
Slope direction matters too. Always slope away from the house, a wall, or any structure. If your yard has a natural grade that runs toward the house, you'll need to either redirect drainage with a channel drain at the patio edge or re-grade the surrounding landscape. This connects directly to how you approach patio design on challenging terrain, if your yard is significantly sloped, the approach for a patio on a slope or for installing pavers on uneven ground involves some additional planning around retaining edges and drainage routing that goes beyond basic leveling. This connects directly to how you approach patio design on challenging terrain, if your yard is significantly sloped, the approach for a patio on a slope or installing pavers on uneven ground involves some additional planning around retaining edges and drainage routing beyond basic leveling.
| Slope Method | Rate | How to Achieve It | Best For |
|---|---|---|---|
| This Old House rule of thumb | 1 in. per 4 ft (about 2%) | Built into excavation and base grade | Simple flat-grade residential patios |
| Techo-Bloc spec | 1.5% (≈3/16 in. per ft) | Graded into compacted base surface | Most residential patio installations |
| Minimum acceptable | 1% (about 1/8 in. per ft) | Requires precise grading and good soil drainage | Only where aesthetic constraints limit slope |
To check your drainage slope during installation, use a line level or a laser level and measure the drop from the high point (near the house) to the low point (outer edge). A 10-foot patio should drop at least 2.5 inches from back to front if you're hitting the 2% target. Mark this into your string lines before you excavate so the whole base follows the right grade from the very start.
Patch it or redo it? And what's actually realistic for DIY
Most leveling jobs are patchable, honestly, if you've got a handful of sunken or rocking pavers and the rest of the patio is solid, a spot repair is the right call. Pull the bad ones, fix the base and bedding in that zone, reset, done. A focused spot repair on 10 to 15 square feet can be knocked out in a half day by someone who's reasonably handy.
Where it makes sense to do a full redo: if more than about 30% of the patio is failing, if the base was never properly built (thin, uncompacted, or organic material left under it), or if water is consistently running toward a structure, a patch job is just delaying the inevitable. A full reset on a 200-square-foot patio typically takes a weekend, Friday afternoon to pull pavers and haul materials, Saturday to fix the base and re-screed, Sunday to set pavers, compact, and sweep in joint sand.
Safety note: when you're using a plate compactor, keep it moving, don't let it vibrate in one spot, which can over-compact or crack pavers. Wear ear protection and safety glasses. For the plate compactor pass over finished pavers, use a rubber attachment pad or lay a sheet of rubber mat under the plate if your pavers have a polished or delicate finish.
When to bring in a pro: if you find consistently soft or waterlogged soil under the base, or if the subgrade is clearly unstable (spongy, saturated, or showing signs of underground drainage issues), that's a geotechnical problem that goes beyond DIY paver work. A contractor with a bobcat and knowledge of proper drainage infrastructure will save you from repeatedly fixing the same sinking patio. Likewise, if your patio is large (over 500 square feet) and significantly out of level in multiple directions, the logistics of pulling, grading, and resetting at scale benefit from professional equipment and experience, it's not that you can't do it, it's that the effort-to-outcome ratio starts favoring a pro.
If you're building from scratch and dealing with a yard that isn't flat to begin with, the leveling process overlaps heavily with slope management and site prep. Topics like how to build a paver patio on a slope, how to install on uneven ground, and how to properly measure and set drainage slope are worth working through before you break ground, the decisions you make at excavation set the ceiling for how good your finished surface can be.
FAQ
Should I aim for a perfectly level patio or a slight slope?
Start by confirming you have the right drainage direction. If you can’t consistently slope away from the house, walls, or structures, re-leveling alone will eventually fail. Use a line level or laser to verify the total drop across the patio before you lift pavers, then rebuild the base to that grade so bedding sand stays uniform.
Can I fix an out-of-level patio by just adding more bedding sand on the low side?
Bedding sand should generally be kept at a consistent thickness. If you find the patio is off because one side has extra sand, that’s a sign the base excavation and grading were wrong. Differential compression of the thicker sand area is what makes the patio re-leveling in a hurry usually break again within a season or two.
If a paver rocks after I reset it, does that mean I should just add more sand?
No. Sand settling can make small rocking and dips recur if you don’t address what’s under the bedding. If a paver rocks again after resetting, pull it up and look for debris, voids, or a base area that wasn’t compacted or was washed out. The fix needs to be rebuilt on the compacted base, not just re-screeded sand.
Why do my pavers shift sideways again after re-leveling?
For joints that are opening and pavers that creep sideways, edge restraints are the priority. Resetting the interior pavers without correcting missing or loose perimeter restraints can cause the whole field to move again. Replace or reinstall edge restraints along every perimeter edge before you re-level and re-sand joints.
How do I decide between a spot repair and a full patio reset?
If more than a handful of pavers are failing in multiple areas, treat it as a base rebuild risk rather than a repeated spot fix. A useful decision aid is the failure coverage, if roughly a third or more of the patio is out of spec, plan for a full lift-and-reset because localized bedding adjustments won’t correct an overall base problem.
Is it okay to use a rubber mallet to fix small high or low spots?
Don’t use a mallet to “seat” uneven pavers permanently. Force can break pavers and can push movement into neighboring units, making the problem spread. Instead, remove the affected pavers, clear and re-screed the bedding under them, reset them flat, then compact in a controlled pass.
What’s the correct way to compact the base and avoid making it worse?
Compact in layers and keep the plate compactor moving. Stopping in one spot can over-compact and crack pavers, or create a base that’s uneven. After base compaction, recheck grade and only then screed the bedding at the intended thickness so you don’t trap soft spots under the pavers.
Can I run a plate compactor over the finished pavers, and will it damage them?
Polished or delicate pavers need careful handling because a direct compactor pass can mar the surface. Use a rubber attachment pad or place a rubber mat sheet under the plate when compacting pavers, and avoid extended contact on any one point.
How can I tell if the problem is bad drainage or just bedding sand?
Check for undermining after rain and test the area’s firmness by carefully pressing near lifted or low zones (without stepping hard on edges). If you find consistently soft, waterlogged, or spongy ground beneath, that points to subgrade or drainage failure. That’s a strong signal to pause DIY re-leveling and bring in help.
My patio still collects water after leveling, what should I check next?
If you’re seeing water run toward a structure even after re-leveling, it’s likely the excavation and base grade were not built to the finished slope. Verify the total measured drop from the high point near the house to the low point at the outer edge, then correct the base grade so the bedding remains consistent.
Will joint sand or joint spacing affect how level the patio looks?
Plan to recheck the pattern and spacing before final set. If your joints are too tight or too wide after resetting, you can create stress during compaction and seasonal movement, which can also make the patio appear uneven. Reinstall pavers with consistent joint gaps, then sweep in joint sand and compact only as appropriate for your paver type.
Next Articles

How to Use Patio Paver Sand: Step by Step DIY Guide
Step-by-step guide to apply patio paver sand correctly: prep base, set pavers, fill joints, compact, and troubleshoot is

How to Install Patio Pavers in Sand: Step-by-Step
DIY step-by-step how to install patio pavers in sand, from excavation and base prep to leveling, cutting, joint sand and
How to Make a Patio With Pavers and Sand Step by Step
Step-by-step guide to install paver patio with sand setting layer, from planning and base to leveling, cutting, joint fi