
A pea gravel and paver patio is one of the most achievable weekend projects a homeowner can tackle, and it looks genuinely great when done right. The core build is straightforward: excavate 8 to 10 inches deep, compact a 4 to 6 inch gravel base, screed 1 inch of bedding sand, set your pavers, lock in edge restraints, and fill the gravel zones with pea gravel. The key to a patio that stays level and drains properly is getting the base right before a single paver goes down.
How to Make a Gravel and Paver Patio DIY Guide

Felix Rowe
8 Jul 2026
Choosing your layout and materials
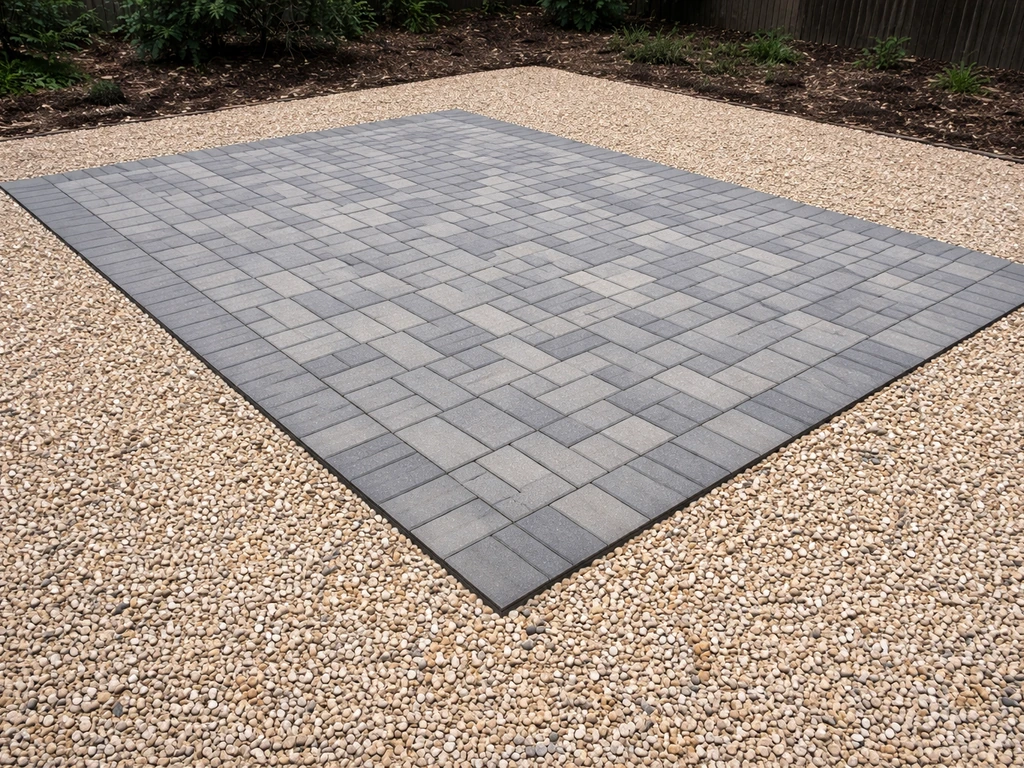
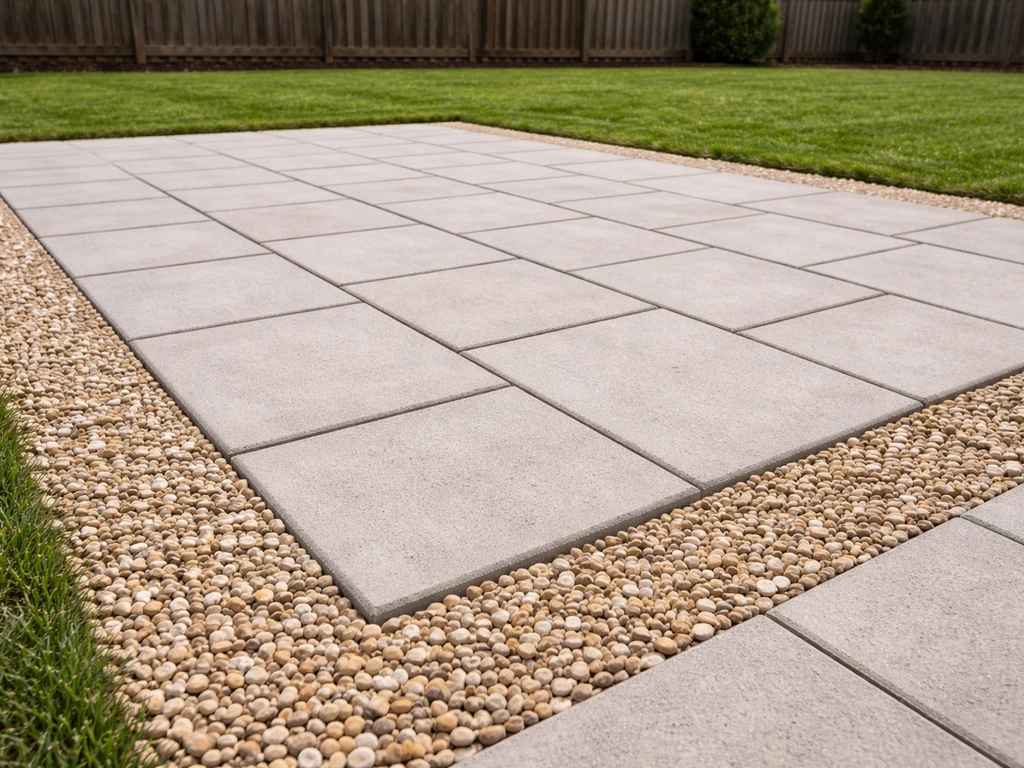
The most popular pea gravel and paver configuration is a paver field or defined paver zones surrounded (or infilled) by loose pea gravel. You can also do it in reverse: a gravel field with a paver border framing it, or alternating paver panels separated by gravel strips. Each version works structurally, but the border-in-gravel layout (pavers set as stepping stones or a central pad within a gravel surround) gives you the most flexibility and is the easiest to install. If you are starting from an existing gravel base, follow the steps in how to install patio pavers over gravel to get the right layers and drainage.
For pavers, concrete pavers in the 2 to 2. 375 inch thickness range are the standard for pedestrian patios. Natural stone (bluestone, travertine, flagstone) works too but costs more and cuts harder. Natural stone (bluestone, travertine, flagstone) works too but costs more and cuts harder patio with pavers and grass alternative layouts and materials (see the full guide).
For the gravel fill zones, use 3/8 inch pea gravel for comfort underfoot and clean visual texture. If you want gravel between pavers as a joint fill rather than a separate zone, go smaller, around 1/8 inch, so it settles into the joints without creating a trip hazard. Pea gravel in either size follows ASTM D448 gradation standards, so you can ask your supplier specifically for those sizes.
For the structural base, you need compactable aggregate base (often called 3/4-inch minus or Class II base rock) and concrete sand (also called coarse sand or sharp sand) for the bedding layer. Do not use mason sand or play sand for the bedding course. Those fine sands shift too easily and will cause pavers to rock and settle unevenly.
| Layout Style | Best For | Gravel Zone Role | Difficulty |
|---|---|---|---|
| Central paver pad + gravel surround | Seating areas, fire pits | Decorative border and drainage zone | Moderate |
| Paver border + gravel field | Large open patios | Main surface infill | Easy |
| Alternating paver and gravel strips | Walkways, garden paths | Visual break and drainage | Moderate |
| Paver stepping stones in gravel | Informal garden patios | Full ground cover | Easy |
If you are deciding between this and a paver-only surface, the mixed layout drains better naturally because gravel is permeable. It also costs less in materials since you are covering part of the area with gravel instead of pavers. The tradeoff is that gravel needs occasional refreshing (more on that in the maintenance section) and is not ideal if you want to roll furniture around easily.
Planning, measuring, and marking the area
Start by deciding the finished dimensions and shape of your patio. Rectangles and squares are easiest to excavate and lay. Curves look great but require more cutting and take longer. Sketch your layout on paper first, note where pavers go and where gravel zones go, and mark that boundary clearly. This step saves a lot of confusion during installation.
Once you have your dimensions, use stakes and string lines to mark the perimeter on the ground. Spray paint works well for marking curves. Measure the diagonal corners of any rectangle to confirm it is square (both diagonals should be equal). Add 6 inches beyond your finished edge on all sides when marking for excavation, so you have room to set edge restraints properly.
For material quantities, calculate your paver area separately from your gravel area. Divide the paver square footage by the coverage per paver, then add 10 percent for cuts and breakage. For base material, multiply your total excavation area (in square feet) by your base depth (in feet) to get cubic feet, then divide by 27 for cubic yards.
Tallyard’s paver calculator uses the same workflow of converting excavation area times base depth into cubic feet and then dividing by 27 to get cubic yards for ordering base quantities base material cubic-yard calculation. For the 1-inch bedding sand layer, multiply just the paver area by 0.
For the 1-inch bedding sand layer, Calcshed provides an explicit area-times-thickness relationship you can use to convert 1 inch depth into cubic yards. 083 (that is 1 inch expressed as a fraction of a foot) to get cubic feet. Order a little extra on base material; running short mid-project is frustrating.
- Pavers: square footage of paver zones divided by paver coverage, plus 10% waste
- Compactable base: total area x base depth (in feet) / 27 = cubic yards
- Bedding sand: paver area x 0.083 / 27 = cubic yards
- Pea gravel: gravel zone square footage x gravel depth (typically 2–3 inches) / 27 = cubic yards
- Edge restraints: total linear feet of patio perimeter, plus 10% for corners
Site prep: excavation, drainage slope, and dealing with your starting conditions
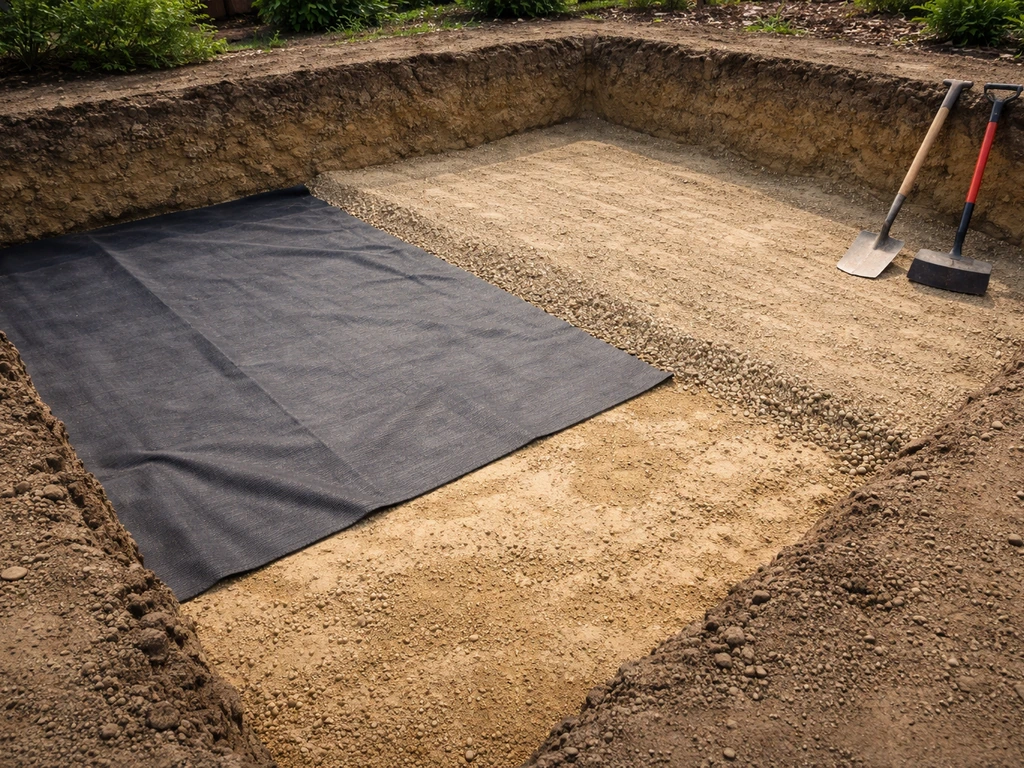
Excavation depth is calculated by adding together all your layers: paver thickness (typically 2.375 inches for standard concrete pavers) plus 1 inch of bedding sand plus 4 to 6 inches of compactable base. That puts most patios at 7.5 to 9.5 inches of total excavation. In colder climates with freeze-thaw cycles, go to the full 6 inches of base or more. Skimping on base depth is the single most common reason pavers shift and sink within a couple of years.
Drainage slope is non-negotiable. The finished patio surface needs to slope away from your house (or any structure) at 1 to 2 percent, which works out to roughly 1/8 to 1/4 inch of drop per foot. Set your string lines with this slope built in from the start, because you are going to match that slope through every layer, including the subgrade, the base, and the finished surface. A 4-foot level with a torpedo level taped to one end works well for checking this during installation.
Starting over grass
If your patio site is currently lawn, strip the sod first before digging. Use a flat spade or rent a sod cutter. Remove all organic material from the excavation zone. Grass and roots left under your base will decompose and cause settling. Once the sod is stripped, excavate to your target depth, then compact the exposed native soil with a plate compactor before adding any base material. This is the same foundational approach used when laying pavers directly over grass or dirt.
Working around or over existing concrete
If you have an existing concrete slab in part of the area, you have two options: remove it (labor-intensive but gives you a clean slate) or build your paver section on top of it. Laying pavers over concrete can work, but you lose the ability to create proper drainage slope if the concrete is pitched wrong, and you will raise the finished height by several inches. For a mixed gravel and paver layout, it usually makes more sense to break out and remove old concrete so both zones sit at consistent finished grades.
Handling uneven ground
Uneven ground is one of the most common challenges, and it is not a reason to give up. If your site has high spots, excavate deeper there. If it has low spots, you may need to bring in additional compactable fill before building your base layers. Do not use topsoil or organic material to fill low spots, as these will compress and settle. Use compactable base rock and compact it in 3 to 4 inch lifts (layers), running the plate compactor in overlapping passes over each lift before adding the next. Trying to compact 6 inches all at once results in loose material at the bottom, which causes long-term settling.
Building the base and locking in edge restraints
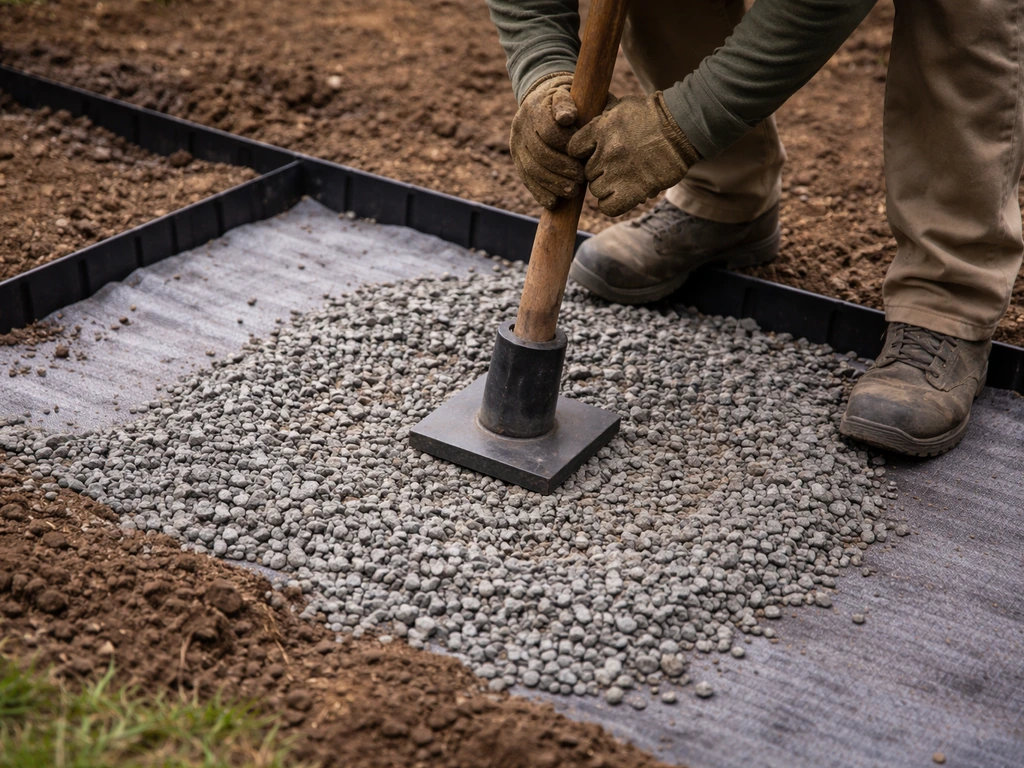
Once your subgrade is excavated, sloped, and compacted, lay geotextile landscape fabric over the entire area before adding base material. If you start with grass, you will want to remove the turf completely and build the patio on a compacted base so the pavers do not shift. This separates the native soil from your base rock, preventing fine particles from migrating up and destabilizing the base over time. It also helps suppress weeds in the gravel zones later.
Add your compactable base (3/4-inch minus aggregate) in 3 to 4 inch lifts, compacting each lift thoroughly. Your target is roughly 95 percent compaction density. Practically speaking, after compaction each lift should feel firm underfoot and show no movement under the plate compactor. The finished base should sit at exactly 1 inch above your planned finished paver surface, leaving room for the bedding sand layer.
Edge restraints are what keep your pavers from migrating outward over time. Install them after your base is compacted but before you screed the bedding sand. Plastic paver restraints (the spiked, interlocking type) are the most common DIY choice. Set them directly on the compacted base along your string lines and drive 10-inch galvanized spikes through the pre-punched holes into the base every 12 inches. For curved sections, use the flexible style that bends to shape. The restraints should sit tight to where the outside edge of your pavers will land, creating a continuous structural frame. This is the critical part most DIYers skip or do too loosely, and it leads to progressive paver spreading.
Once edge restraints are in, spread your 1-inch bedding sand layer across the paver zones only (not the gravel zones). Use two metal screed pipes or conduit set at the right height as guides, and drag a straight 2x4 across them to create a perfectly level, uniform 1-inch bed. Do not compact the bedding sand and do not walk on it after screeding. Place pavers directly onto it as you go.
Setting pavers, cutting, and finishing the gravel section
Start laying pavers from a corner or a straight edge and work outward. Set each paver down gently without sliding it (sliding displaces the sand bed). Use 1/8 to 1/4 inch plastic spacers or paver joint spacers if you want consistent gaps. Check your level and slope every few pavers using a straightedge and level. If a paver sits too high or low, pull it up, add or remove a little sand underneath, and reset it. Do not try to force it down by hammering directly on the paver face.
For cuts along edges, fixtures, or where pavers meet the gravel zone boundary, use a diamond-blade wet saw (rentable from any tool rental shop for around 50 to 100 dollars per day) or an angle grinder with a diamond blade for small notches. Mark your cut lines with a pencil or chalk. Always wear eye protection and a dust mask when cutting. A circular saw with a diamond blade can work in a pinch but a dedicated wet saw gives far cleaner cuts.
Once all pavers are set, run the plate compactor over the entire paver field with a rubber pad attached to the plate to avoid chipping paver faces. This seats the pavers firmly into the bedding sand and levels out minor height differences. Then sweep joint sand (polymeric sand for a firmer bond, or regular concrete sand for a looser look) into the joints, compact again, and sweep a second time.
Finishing the gravel zones
For the gravel sections of your patio, you have already laid geotextile fabric over the compacted base. If you want extra weed suppression, add a second layer of fabric directly on top of the base in the gravel zones before adding pea gravel. Pour in 2 to 3 inches of pea gravel and rake it level. The gravel surface should sit at roughly the same finished height as your paver surface (within about 1/4 inch) for a clean, flush look. Compact the pea gravel lightly by tamping or walking over it to settle it before final raking.
If you are going with a gravel-between-pavers look (rather than separate zones), use the smaller 1/8-inch pea gravel and sweep it into the joints like you would polymeric sand. It settles naturally over the first few rain cycles. Keep in mind that gravel joints do not lock pavers together the way sand joints do, so edge restraints become even more important in this configuration.
Troubleshooting the problems that actually come up
Pavers are rocking or sitting unevenly
This almost always means the bedding sand depth is inconsistent. Pull up the affected pavers, re-screed the sand, and reset them. It can also mean the base underneath was not compacted evenly. If multiple pavers in one area are all low, the base has settled in that spot and you need to pull up pavers, add base material, compact, re-screed the sand, and reset.
Pavers are shifting or spreading outward
Lateral movement means your edge restraints are failing. Check whether the spikes are pulling out of loose base material. If the base was not compacted firmly enough near the edges, spikes won't hold. Fix it by adding more spikes (every 6 to 8 inches instead of 12) or reinstalling restraints after re-compacting the base edge. In some cases you may need to remove the perimeter row of pavers to access and repair the restraint.
Poor drainage or pooling water
If water is pooling on or near the patio, your drainage slope is insufficient in that area. The fix depends on severity. Minor cases can sometimes be corrected by selectively pulling up and re-setting pavers at a steeper grade. More serious cases may require re-grading the base. For patios with large gravel zones, drainage is usually less of an issue since pea gravel is permeable, but make sure the gravel does not act as a dam by sitting against a structure without a way for water to exit. In problem areas, a perforated drain pipe bedded in gravel and wrapped in geotextile fabric (set at a 1:100 minimum gradient) can quietly solve chronic drainage issues.
Weeds growing through the gravel
Weeds in gravel zones come from two sources: seeds blowing in from above (no fabric stops this) and existing roots in the soil below. Geotextile fabric handles the second problem. For the first, regular raking and occasional spot treatment with a vinegar-based weed killer (which won't damage surrounding plants the way herbicides might) keeps it manageable. Avoid cheap plastic sheeting instead of proper geotextile fabric. Plastic traps moisture, tears easily, and actually makes weed problems worse over time.
Gravel migrating into the paver zone
This is a common aesthetic annoyance. A well-set edge restraint along the boundary between paver and gravel zones keeps most of the migration in check. You can also install a thin steel or aluminum edging strip along that interior boundary for a crisp, clean divide that gravel cannot easily cross.
Sealing, maintenance, and keeping it looking good for years
Sealing your pavers is optional but worth doing. A penetrating paver sealer protects against oil stains, UV fading, and moisture intrusion, and it makes routine cleaning much easier. Wait at least 60 to 90 days after installation before sealing, so the pavers have time to off-gas any efflorescence (the white mineral deposits that often appear on new concrete pavers). Clean the surface thoroughly first, let it dry completely, then apply sealer with a low-pressure sprayer or roller in two thin coats. Re-seal every 3 to 5 years depending on traffic and climate.
For the gravel zones, expect to top up pea gravel every year or two. Gravel gradually displaces from foot traffic, raking, and weather. Keeping a half-yard of matching gravel on hand (stored in a covered area) makes touch-ups simple. Rake the gravel level each spring and fall, and remove any organic debris before it decomposes and creates a seed bed for weeds.
For joint maintenance, re-sweep polymeric sand into joints every couple of years as it gradually wears away. If you used regular sand or pea gravel joints, do the same. In freezing climates, avoid using metal shovels on paver surfaces in winter. Use a plastic shovel or a leaf blower for snow and ice management, and go easy with ice melt products since salt accelerates surface wear on concrete pavers.
Seasonal checks worth doing
- Spring: inspect for frost heave (pavers that lifted and did not fully re-seat), re-level any affected areas, top up joint sand and gravel
- Summer: check drainage slope after heavy rain events, spot-treat weeds in gravel zones
- Fall: clear leaves and organic debris from gravel before they break down, re-apply joint sand if needed
- Every 3 to 5 years: re-seal pavers, inspect edge restraints for loosening, assess whether gravel zones need a full refresh
A well-built pea gravel and paver patio genuinely lasts 20 to 30 years with minimal work. The upfront investment in a proper compacted base and solid edge restraints is what separates a patio that stays beautiful from one that becomes a weekend repair project every spring. Get the base right, set your drainage slope before anything else goes in, and the rest of the build is very manageable for a motivated DIYer over a long weekend.
FAQ
What slope should I use if my patio is on a slight incline already, not flat ground?
Keep the patio surface 1 to 2 percent sloped away from the house, even if the starting grade is uneven. You can “average” the site by rebuilding the base shape with deeper excavation on the high side and added compactable fill on the low side, then confirm the slope on the string lines at both ends and along the centerline before bedding sand goes down.
How do I choose the right thickness for pavers if I want to drive a lawn cart or wheelbarrow over part of the patio?
Standard pedestrian pavers work best for foot traffic. If you expect wheels to roll across the surface, increase structural capacity by planning for thicker pavers and more robust base, plus check that your base depth matches the higher loading. Otherwise, plan a separate “drive” strip with different materials or stay with foot-traffic-only zones.
Can I use crushed gravel instead of pea gravel in the paver zones?
It’s better to stick with pea gravel for comfort and a more stable feel underfoot. Crushed or angular gravel can create a more jagged surface, migrate differently, and increase the chance of uneven settling. If you must substitute, test a small area for movement and comfort, and avoid very fines that wash or compact into a muddy layer.
Do I need geotextile fabric under the paver areas too, or only the gravel zones?
Fabric is strongly helpful under the entire patio to separate native soil from base rock, especially near edges and in areas with clay or loam. The goal is to limit fine-particle migration. If you only place fabric in gravel zones, the paver bedding and base can still be undermined over time from soil movement.
What’s the best way to verify my base is compacted enough before screeding sand?
Look for consistent firmness and no “give” under the plate compactor after each lift. A practical check is to compact in a grid pattern, then stand in multiple spots and try to shift the surface with your boot, it should not move. If you see pumping or soft areas, continue compacting and add another appropriate base lift rather than trying to correct later with bedding sand.
Should I compact the bedding sand before installing pavers?
No. The bedding layer is meant to be loose enough to let you adjust paver height during setting. Compacting it can lead to uneven highs and lows that are hard to correct, so screed it to a uniform 1-inch depth and place pavers directly without stepping heavily on it.
How do I prevent pavers from rocking after installation?
Rocking usually comes from inconsistent bedding sand thickness or voids caused by walking on the screeded sand. Pull up any affected pavers promptly, remove the loose sand/void, re-screed to the correct depth, then reset. For recurring rocking, re-check that the base was evenly compacted and that the patio is built to the slope throughout.
What if my patio edge looks wavy after I install restraints?
Edge waviness typically indicates restraints were not aligned tightly to your string line or were set on an uneven base. Before bedding sand goes down, remove and re-seat the restraint section, re-compact the base under it, then re-check the perimeter with a straightedge and string line. Once pavers are set, correcting edge shape usually requires pulling them back out.
Can I use polymeric sand in joints if I’m doing gravel-between-pavers instead of separate zones?
Yes, but it changes the look and behavior. In a gravel-between-pavers design, the intended joint fill is small pea gravel that settles over time. If you fill joints with polymeric sand instead, you can reduce movement and improve stability, but you lose the “gravel joint” aesthetic and you’ll need to follow polymeric product curing and water guidelines carefully.
How much joint spacing should I leave between pavers, and does it matter for drainage?
Keep joints consistent, commonly around 1/8 to 1/4 inch, and do not eliminate gaps at corners. Consistent gaps help sand or gravel settle properly and allow for small expansions and contractions. For drainage, the slope matters far more than exact joint size, but clogged or overly small gaps can make water shed less predictably at seams.
What’s the safest way to cut pavers near the gravel zone boundary without creating weak edges?
Cut pavers so the perimeter cut supports the restraint line, not so the cut edge is unsupported. Use a wet saw for straight cuts and confirm your finished height and slope before committing to a cut. After cutting, dry-fit a few stones to ensure the paver edge sits tight against the intended boundary and you still have full restraint contact on the outside edge of the paver field.
How do I stop gravel from creeping into the paver zones over time?
Use a rigid interior separator at the boundary, either properly installed restraints on the paver side or a thin steel or aluminum edging strip along the interior line. Also keep both surfaces nearly flush within about 1/4 inch, because a visible lip encourages gravel to roll and migrate into the paver area under foot traffic.
What’s the correct way to handle weeds that pop up in the paver joints?
If weeds appear at joints, it usually means joint sand has washed out or polymeric sand has degraded, or there are existing cracks. Re-sweep joint fill material into gaps and compact again per the method used originally. For stubborn weeds, pull them and keep up with re-filling schedule, using a spot vinegar-based treatment only on non-paver surfaces so you don’t disrupt joint material unnecessarily.
When should I avoid sealing new pavers, and can I test readiness before sealing?
Wait at least 60 to 90 days after installation, and only seal after the pavers are fully dry and clean. If you want a readiness check, try a small area test by sprinkling water on a hidden spot, if water soaks in quickly rather than beading, the surface is usually still ready for moisture release and likely not ideal to seal yet. If it beads immediately, the pavers may be too wet or contaminated for good sealer performance.
How do I choose between raking pea gravel vs lightly compacting it after adding to gravel zones?
Rake first to level the area, then lightly tamp or walk to settle it before final raking. Avoid heavy compaction machines on gravel zones if it’s not designed for, because over-compacting can reduce permeability and create a tighter layer that sheds water less effectively. For touch-ups, use thin top-ups rather than adding deep lifts.
Is it okay to use ice melt on a mixed gravel and paver patio?
Use sparingly. Salt-based ice melt can accelerate surface wear on concrete pavers and can be harsher on joint materials. In freeze-thaw areas, prioritize mechanical removal (plastic shovel, careful de-icing) and choose lower-impact deicers when possible, then rinse with water after storms when feasible.
Next Articles
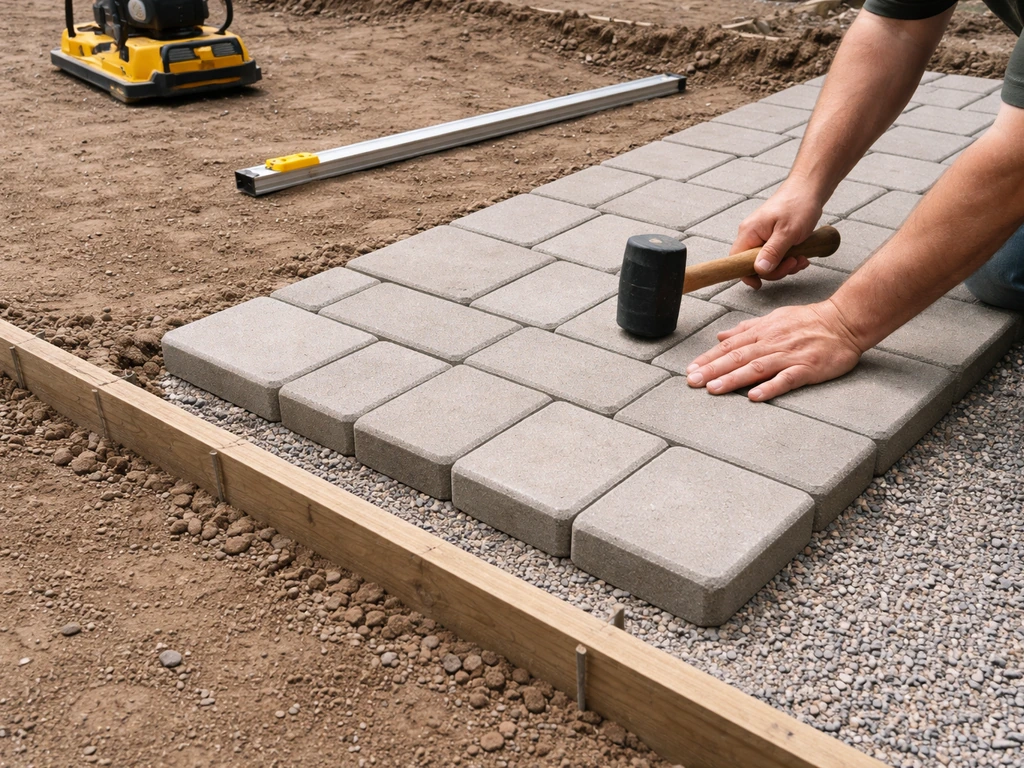
How to Lay Patio Pavers on Dirt: Step by Step Guide
Step-by-step guide to lay patio pavers on dirt, with prep, base layers, compaction, leveling, rubber paver tips, fixes.
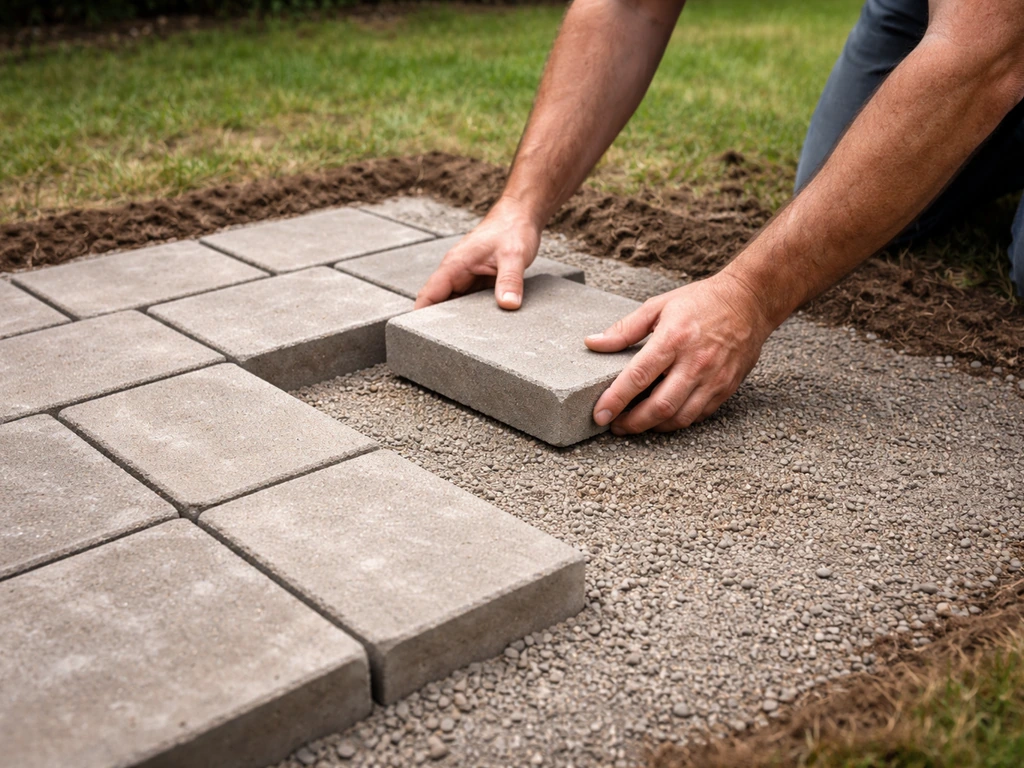
How to Lay Patio Pavers on Grass: Complete DIY Guide
Step-by-step DIY on laying patio pavers on grass, with base prep, leveling, drainage, weed control, and upkeep tips.
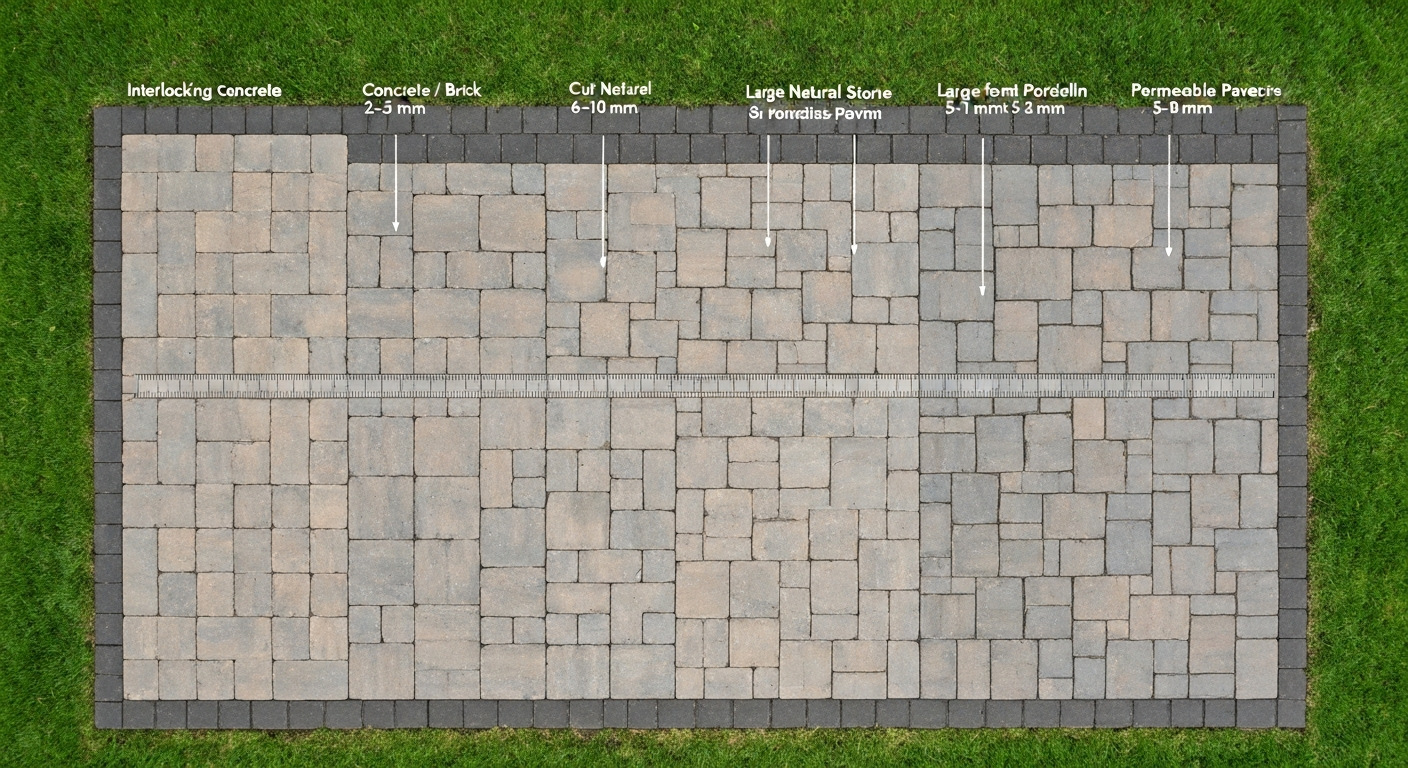
How to Space Patio Pavers: Joint Widths & Finishing Tips
How to space patio pavers: exact joint widths by paver type, step‑by‑step spacing, jointing & finishing tips.