
To seal patio pavers and actually keep weeds from coming back, you need to do two things: fill the joints properly with polymeric sand first, then apply a penetrating paver sealer over the top. Sealer alone won't stop weeds. It's the combination of tight, hardened joints and a surface sealer that cuts off the seed germination pathway and reduces the moisture weeds need to get started.
How to Seal Patio Pavers to Prevent Weeds: DIY Steps

Felix Rowe
10 Jul 2026
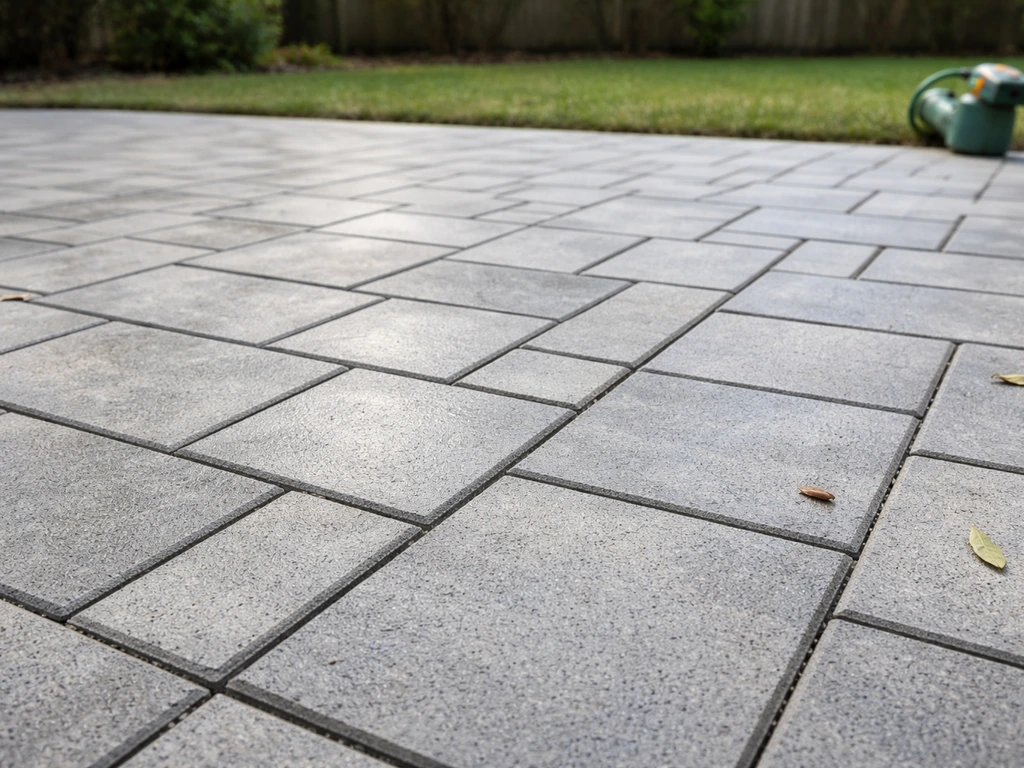
Why weeds grow in paver joints (and why sealing alone isn't enough)
Weeds don't grow up through the pavers themselves. They start in the joints. Wind, rain, and foot traffic constantly deposit seeds, dust, and organic debris into those narrow gaps. Once there's enough fine material to hold a bit of moisture, even a tiny seed has everything it needs to germinate. The joint isn't the problem, an empty, loose, or eroded joint is.
Plain jointing sand that hasn't been stabilized washes out over time, especially if you pressure wash the patio or live somewhere with heavy rain. As sand disappears, the gaps get wider and deeper, which means more organic matter accumulates and roots have more room to establish. Structural weakness in the joint is the real driver of weed regrowth, not a lack of sealer.
That's why sealer is the second step, not the first. A joint stabilizing sealer or a film-forming surface sealer applied over empty or loose joints will eventually crack, peel, or let moisture underneath, and weeds will return within a season. If you skip the joint prep and just roll sealer over the patio, you're essentially painting over the problem. Fix the joints first, then seal. If you’re trying to finish patio pavers that are already installed, focus on stabilizing and filling the joints properly, then choose the right sealer for your goal Fix the joints first, then seal..
Choose the right products: joint sand, polymeric sand, weed barriers, and paver sealers
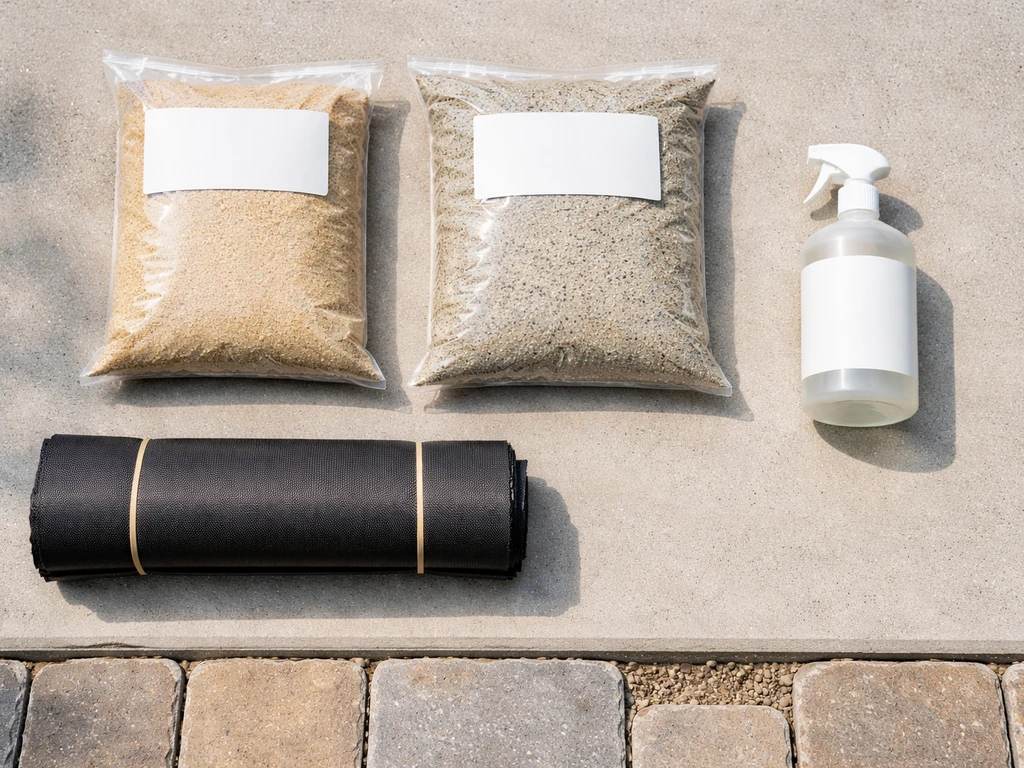
There's more than one product category here, and they each do a different job. Using the wrong one, or skipping one, is the most common reason DIYers redo this work two years later.
Polymeric sand vs regular joint sand
Regular jointing sand fills gaps but it's just sand, it washes, blows, and gets disturbed easily. Polymeric sand contains polymer binders that activate with water and cure into a firm, cohesive joint that resists erosion from rain, pressure washing, and foot traffic. Polymeric joint sand, such as TCC Materials’ Weed-Blocker, is designed to reduce loss from flowing water or wind and to help prevent organic intrusion like weeds and ants reduce loss of joint sand from flowing water or wind and helps prevent weed and ant intrusion. It also resists weed intrusion and ant tunneling. For any patio where weed prevention is the goal, polymeric sand is the right choice. Brands like Quikrete, Sakrete, and TCC Materials (Weed-Blocker) all make reliable products. Just follow the bag directions closely, Sakrete specifically warns that the joint won't cure properly if the pavers are damp when you apply it or if you don't activate it with enough water at the right time.
Weed barrier fabric
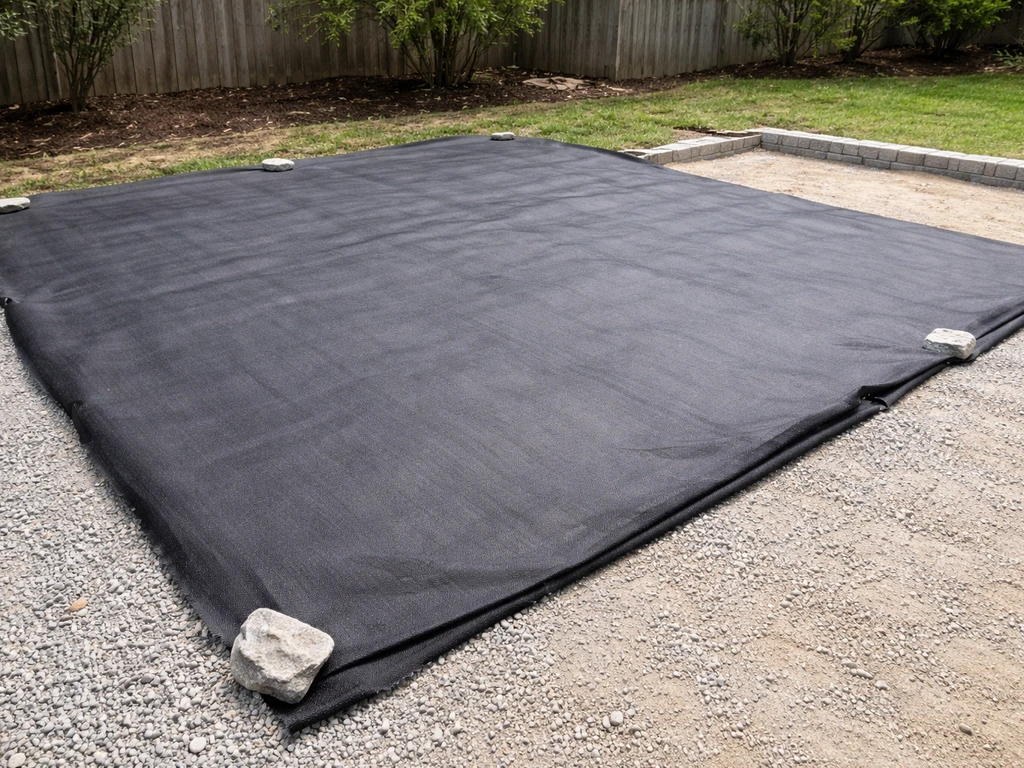
Weed barrier fabric belongs under the base layer of a new patio install, not under the pavers themselves. If your patio is already down, landscape fabric between the pavers isn't practical or effective. Properly filled polymeric sand joints do the same job at the surface level, and that's where your energy should go on an existing patio.
Paver sealer types
For weed prevention specifically, a joint stabilizing sealer (sometimes called a hardening sealer or sand stabilizer) is the most targeted option. Products like PROSOCO's Sand Joint Stabilizer penetrate down into the joint, consolidate the sand, and reduce water infiltration without leaving a heavy film on the surface. A joint stabilizing sealer is a great choice if your joints are already filled with polymeric sand and you want an extra layer of protection.
Surface-coating sealers, wet-look or natural-look acrylic or polyurethane products, go over the entire paver surface and also seal the joints. They add color enhancement and a visible sheen, and they do reduce moisture penetration. The tradeoff is that they require more careful prep, can haze if moisture is trapped, and need recoating every 2 to 3 years. For a full walkthrough on applying a surface sealer, the process overlaps significantly with general paver sealing guidance covered in a dedicated article on how to seal a paver patio. If you are wondering how to fill patio pavers, focus on getting the right joint sand in place and activating it properly so the joints stay stable how to seal a paver patio.
| Product | What it does | Best for | Reapplication |
|---|---|---|---|
| Regular jointing sand | Fills joints only | New installs where budget is the priority | Every 1-2 years as needed |
| Polymeric sand | Fills and hardens joints, resists weeds and erosion | Any patio focused on weed prevention | Every 3-5 years or when joints loosen |
| Joint stabilizing sealer | Penetrates and hardens existing joint sand, reduces water infiltration | Existing patios with intact joint sand | Every 2-3 years |
| Acrylic/polyurethane surface sealer | Coats entire surface, seals joints, enhances appearance | Full protection plus color enhancement | Every 2-3 years |
Prep the patio before you touch the sealer
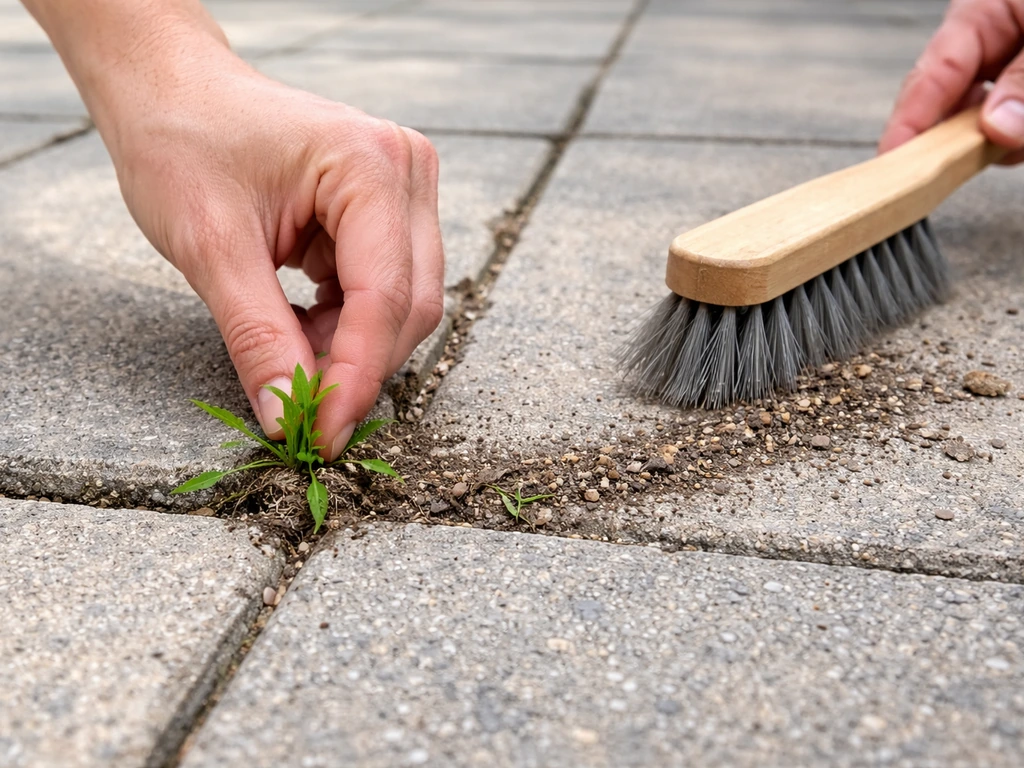
Bad prep is the number one reason sealer fails. Moisture trapped under the sealer causes haziness and peeling. Weeds left in joints push back through within weeks. Dirt and algae prevent adhesion. Give the prep stage the same respect as the application itself, it's not optional.
- Pull or kill existing weeds. Hand-pull what you can, roots and all. For stubborn weeds, use a concentrated weed killer, let it work for 48 to 72 hours, then remove the dead material. Don't just cut weeds at the surface—if the roots stay in the joint, they'll regrow.
- Pressure wash the entire patio. Use a surface cleaner attachment if you have one to avoid etching individual pavers with a direct stream. Start at 1,200 to 1,500 PSI for concrete pavers and work up only if needed. This removes algae, mildew, dirt, and old loose sealer. For heavy biological staining, apply a paver or masonry cleaner first, let it dwell for 10 to 15 minutes, then wash.
- Clean out the joints. After pressure washing, use a stiff-bristled brush or a flat-head screwdriver to scrape out any remaining loose sand, dead organic matter, or debris from the joints. The joint needs to be clean and as empty as possible before you refill it.
- Refill joints with polymeric sand. While the patio is still slightly damp from washing (but not wet), sweep polymeric sand across the surface and work it into the joints using a push broom. Go in multiple directions. Compact lightly with a plate compactor (or a rubber mallet on a board for smaller areas), then add a second pass of sand to top off any gaps. Joints should be filled to within about 1/8 inch of the paver surface.
- Activate the polymeric sand. Mist the entire surface with water using a garden hose on a gentle spray setting. Don't flood it—just a fine mist to wet the surface evenly. Follow the product's specific timing: most require two passes of misting, 10 to 15 minutes apart. Let the sand cure for the time specified on the bag (usually 24 hours minimum).
- Let everything dry completely. This is non-negotiable before sealing. Polymeric sand should be fully cured and the paver surface must be bone dry—no moisture trapped in the pores. In summer heat, allow at least 24 to 48 hours after the final wash and sand activation before applying any sealer. Seal in dry weather with no rain in the forecast for at least 24 hours after application.
Step-by-step: how to seal patio pavers to reduce weed growth
Once the joints are filled, cured, and the surface is clean and dry, you're ready to seal. Here's the full process. This step-by-step guide will show you exactly how to apply sealer to patio pavers for best results.
What you'll need
- Paver sealer (joint stabilizing sealer or surface sealer, chosen based on your finish preference)
- Low-pressure pump sprayer (for penetrating/joint stabilizing sealers) or a 3/8-inch nap paint roller with extension pole (for surface sealers)
- Paint tray if using a roller
- Paintbrush for edges and tight spots
- Chemical-resistant gloves and eye protection
- Drop cloths or plastic sheeting for adjacent surfaces like siding, furniture, and grass edges
Application steps
- Check the weather. Ideal sealing conditions are 50 to 90 degrees Fahrenheit, low humidity, and no rain for 24 hours before or after application. Avoid direct hot sun in the middle of the day—sealer can dry too fast and streak.
- Protect surrounding areas. Cover grass edges, siding, and furniture with drop cloths. Sealer is very difficult to remove from unintended surfaces.
- Apply the first coat. For a joint stabilizing sealer, use a low-pressure sprayer and apply evenly across the surface, working in 3- to 4-foot sections. For a surface coating sealer, use a roller and work in the same systematic pattern. Apply a thin, even coat—don't flood the surface. Thin coats bond better and cure more reliably than thick ones.
- Back-roll or spread pooling sealer. If you see any puddles or heavy spots forming, spread them immediately with the roller or a brush. Pooled sealer creates white haze as it cures.
- Wait between coats. Most sealers require 1 to 4 hours between coats, depending on temperature and humidity. Check the product label. Don't rush this—applying a second coat over an uncured first coat traps moisture and causes haziness.
- Apply the second coat. Repeat the same thin, even application. Two thin coats give better protection and coverage than one thick coat.
- Stay off the patio. Keep foot traffic off for at least 24 hours, and keep vehicles off for 72 hours. The sealer needs to cure fully before it can be stressed.
Coverage varies by product, but most paver sealers cover roughly 150 to 200 square feet per gallon on a first application. A porous or previously unsealed surface will absorb more. Always buy slightly more than your calculated square footage so you're not stopping mid-job.
Curing, resealing schedule, and what to expect after sealing
The sealer reaches full hardness in about 72 hours under normal summer conditions. During that window, keep the patio dry and avoid heavy furniture or foot traffic. You'll notice the surface feels slightly tacky for the first 12 to 24 hours, that's normal.
Don't expect perfection immediately. Freshly sealed pavers can look slightly different from different angles until the sealer fully cures. If you used a wet-look sealer, the finish will be uniform and glossy once cured. A natural-look or penetrating sealer will look very close to the unsealed surface, which is the point.
As for how long this holds: polymeric sand in good condition lasts 3 to 5 years before joints start to loosen or erode noticeably. A surface coating sealer typically needs reapplication every 2 to 3 years, depending on traffic, climate, and UV exposure. A joint stabilizing sealer can last slightly longer, especially if the patio isn't exposed to heavy rainfall or frequent pressure washing. The realistic maintenance schedule looks like this:
| Task | Frequency |
|---|---|
| Inspect joints for erosion or weed emergence | Every spring and fall |
| Top off or replace polymeric sand in thinning joints | Every 3-5 years, or when joints show gaps |
| Reapply surface coating sealer | Every 2-3 years |
| Reapply joint stabilizing sealer | Every 2-3 years |
| Full pressure wash and re-prep before resealing | Every time you reseal |
One thing to set realistic expectations on: even a perfectly sealed patio with tight polymeric sand joints can develop the occasional weed if a seed lands on the surface, finds a tiny gap at an edge or against a wall, or germinates in a thin layer of surface debris. Sealing dramatically reduces weed growth, it won't eliminate it 100 percent. Quick spot treatment when you see a seedling before it roots is much easier than dealing with an established weed.
Troubleshooting common problems
Weeds returning after sealing
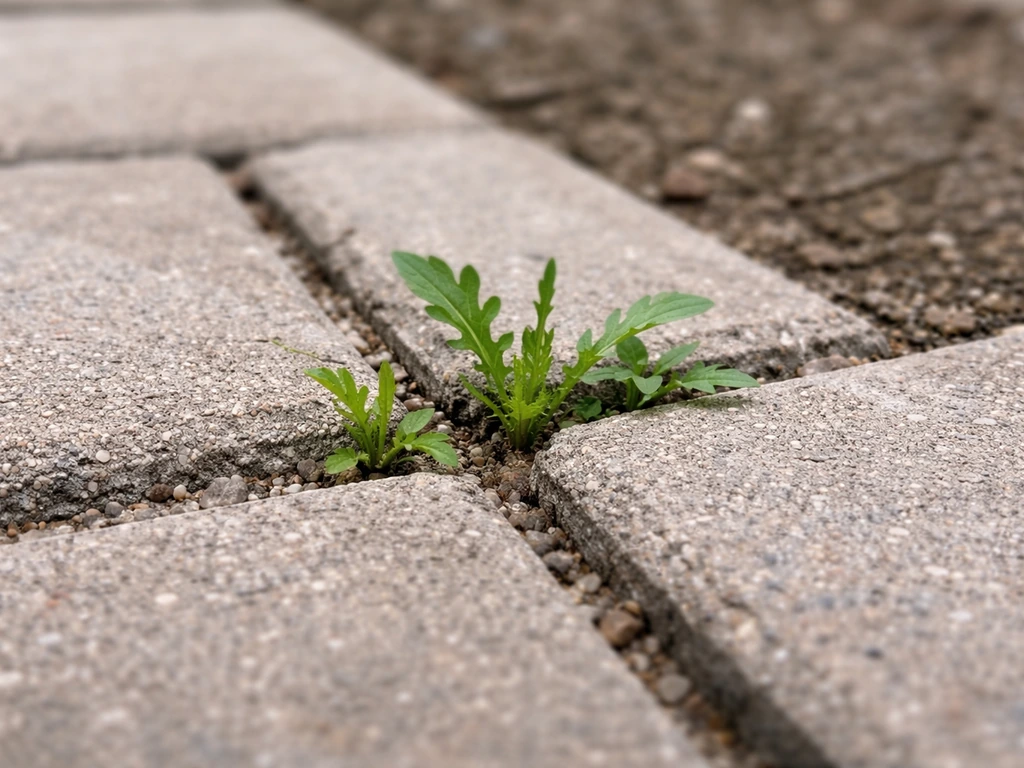
If weeds are back within a few months, the joints weren't filled properly before sealing. Sealer doesn't harden joint sand the way polymeric sand does, it just coats over whatever is there. If the joints were loose, empty, or only partially filled, weeds will find a way. Strip the old sealer with a chemical remover, redo the joint work with polymeric sand, and reseal. It's more work up front but this is the only fix that lasts.
Hazy or white sealer film
Haziness almost always means moisture was present when you applied the sealer, either from damp pavers, activated polymeric sand that hadn't fully dried, or rain shortly after application. A light haze can sometimes be buffed out with a clean microfiber cloth while still slightly soft, or dissolved with xylene-based sealer remover. Severe haziness usually means stripping and reapplying. Don't try to seal over haze, you'll lock it in.
Efflorescence (white powdery deposits)
Efflorescence is the natural migration of mineral salts from inside the paver to the surface, driven by moisture movement. It shows up as a white, chalky film, especially on concrete pavers in the first year or two. Clean it with a dedicated efflorescence remover before sealing. If you seal over efflorescence, you lock the salts in and the film stays visible. After cleaning, let the pavers dry for at least 48 hours before applying sealer.
Sealer peeling or flaking
Peeling usually happens when a second or third coat of sealer was applied over an existing coat that hadn't been stripped. Film-forming sealers don't bond well to each other indefinitely, eventually the layers separate. If you're resealing an already-sealed patio, test a small area first. If the existing sealer is in good condition, clean it thoroughly and apply a fresh coat. If it's peeling or failing, strip it completely with a solvent-based remover before resealing.
Staining after sealing
Tannin stains from wet leaves, rust from metal furniture, or oil from a grill can still stain through certain sealers, especially penetrating types that don't form a surface barrier. If you see staining, treat it with an appropriate paver stain remover specific to the stain type before resealing. For ongoing protection against oil and organic staining, a higher-grade polyurethane or epoxy-blend sealer will outperform a basic acrylic.
Maintenance plan to keep weeds down long-term
Sealing is a starting point, not a permanent fix. The patios that stay weed-free the longest are the ones that get a little attention each season, not the ones sealed once and forgotten. Here's what a simple annual maintenance routine looks like.
- Spring inspection: Walk the patio and look for joints where sand has dropped, gaps that have widened, or any weed seedlings starting. Catching seedlings early—before roots reach 2 to 3 inches—means a quick hand-pull rather than a full weed treatment.
- Drainage check: If you notice water pooling on or around the patio after rain, that moisture is feeding weed growth and working against your polymeric sand. Check that the patio slopes slightly away from the house (at least 1/8 inch per foot) and that edges drain freely. Standing water is one of the biggest contributors to premature joint failure.
- Top off joints as needed: If joints look shallow or you see voids after the spring inspection, sweep in a small amount of polymeric sand, compact it, and activate with water. You don't need to redo the whole patio—just address the problem areas.
- Annual cleaning: A light pressure wash or a scrub with a diluted paver cleaner once a year keeps algae, mold, and organic debris from accumulating in joints. Keep the pressure low—too high and you'll erode the joint sand.
- Reseal on schedule: Don't wait until weeds are back in force or the sealer is visibly failing. Stick to the 2- to 3-year reseal window and you'll spend far less time on remediation. Before every reseal, clean the surface thoroughly and inspect the joints—this is the same prep process described above.
One last thing worth knowing: the full process of sanding and sealing pavers is interconnected. If you want to go deeper on the sealing application side, including how to sand and seal pavers in sequence, or how to apply sealer to achieve different finishes, those steps build directly on the joint prep work covered here. To fully understand the sanding and sealing workflow in sequence, follow the guidance step by step from preparing joints to applying the sealer for the finish you want how to sand and seal patio pavers. Getting the joints right first is what makes everything else hold up.
FAQ
I have existing weeds in the joints, should I remove them before sealing?
Plan to weed control in layers: pull any existing roots first, then re-fill and harden the joints with polymeric sand, and only after full curing apply the sealer. If you try to seal over established weeds or thick organic debris, you can trap moisture and leave regrowth pressure inside the joint.
How long should I wait after activating polymeric sand before applying sealer?
Avoid resealing polymeric-sand joints that are still damp or were just activated by water. If the joints were recently sanded and you apply sealer too soon, moisture can cause haze and poor adhesion. A practical check is to wait until the patio is completely dry to the touch and the joints feel fully firm, then follow the product’s cure window.
Can I seal a patio that was jointed with regular sand, or do I need to re-joint?
If you already used plain jointing sand, you generally need to convert to polymeric sand by removing the loose material and re-filling the joints. Sealer over loose or eroded non-polymeric sand won’t stabilize the joint the way polymeric sand does, so weeds often return even if the paver surface looks sealed.
What if my joints are dusty or algae-covered, will polymeric sand still work?
Yes, but treat it as an edge case: polymeric sand can be harder to activate when joints are contaminated with dirt, dust, or algae. Re-clean the joints thoroughly, then add sand and activate it as directed. If the surface is too dirty to bond, the sand can wash out early and undermines weed prevention.
How do I choose the right sealer if I already sealed before, and do I need a test spot?
Do a small-area test when switching products or finishes, especially if you used an acrylic/wet-look sealer before. Some sealers can react with older coatings or change sheen unevenly. Test on a hidden spot, confirm compatibility, then proceed across the patio once the appearance and bonding look right.
If weeds keep coming back, what should I troubleshoot first, sealer or the joints?
If you still get weeds, first inspect the joints at the spots where seedlings appear. Remove any surface debris, check whether joints are eroded, then correct the joint stability before adding more sealer. Spot reapplication of surface sealer without fixing joint failure usually only delays the problem.
Why do weeds grow most often along edges or next to walls even after sealing?
For edge and perimeter weeds, focus on keeping the joint network continuous. Seeds often enter where pavers meet a wall, step, drain, or border. Add or re-pack polymeric sand to any suspect perimeter gaps and seal only after the joints are fully stabilized.
What should I do if the sealer peels, can I just add another coat?
If you see peeling, assume inadequate prep or wrong layering, then plan for stripping and redoing rather than topping it off. Clean thoroughly, test adhesion on a small spot, and if the existing coating is failing, remove it completely with a solvent-based remover before resealing.
How do I handle efflorescence before sealing, and how do I know the pavers are dry enough?
Efflorescence is a timing and moisture issue, not a cosmetic choice. Clean it with a dedicated remover, rinse as directed, and let the pavers dry longer than you think, at least until moisture migration stops. Sealing too soon can lock the white salts in permanently.
What is the best way to do quick spot control when a few weeds pop up later?
For spot treatment, pull seedlings early and re-fill any disturbed joint area with polymeric sand, then re-seal that small section if needed. Avoid repeatedly coating over the same failing joint, because repeated seal coats won’t replace missing joint stability.
Next Articles
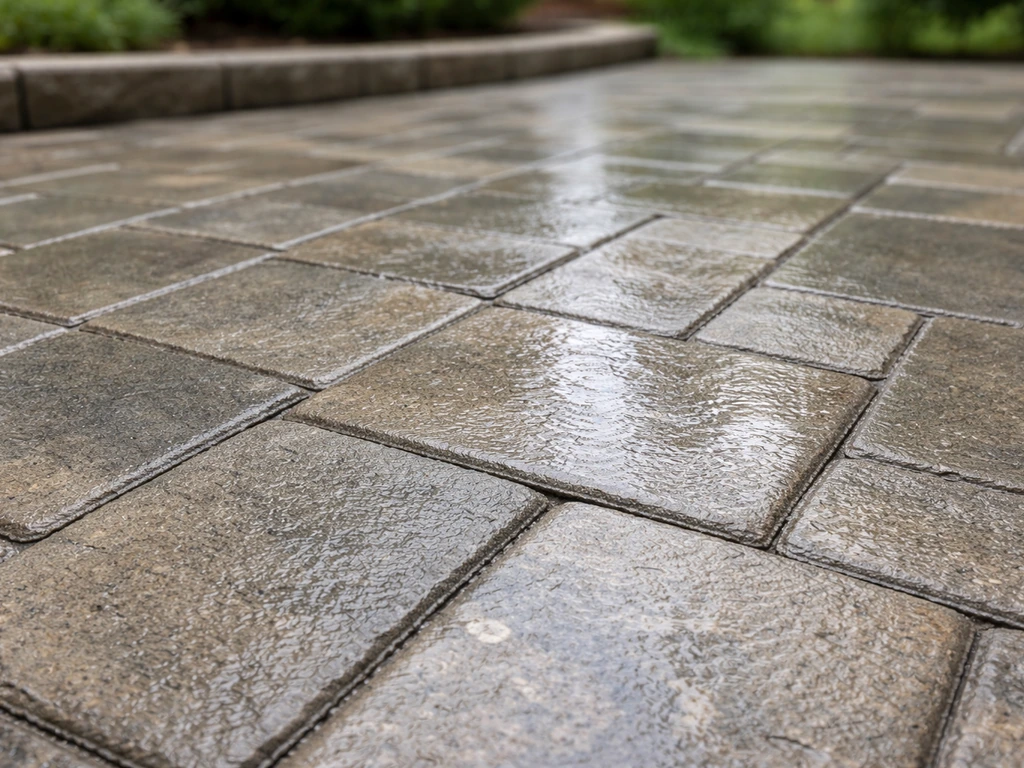
How to Seal Paver Patio: Step-by-Step DIY Guide
Learn how to seal a paver patio step by step: clean, choose penetrating or wet-look sealer, apply, cure, and maintain.
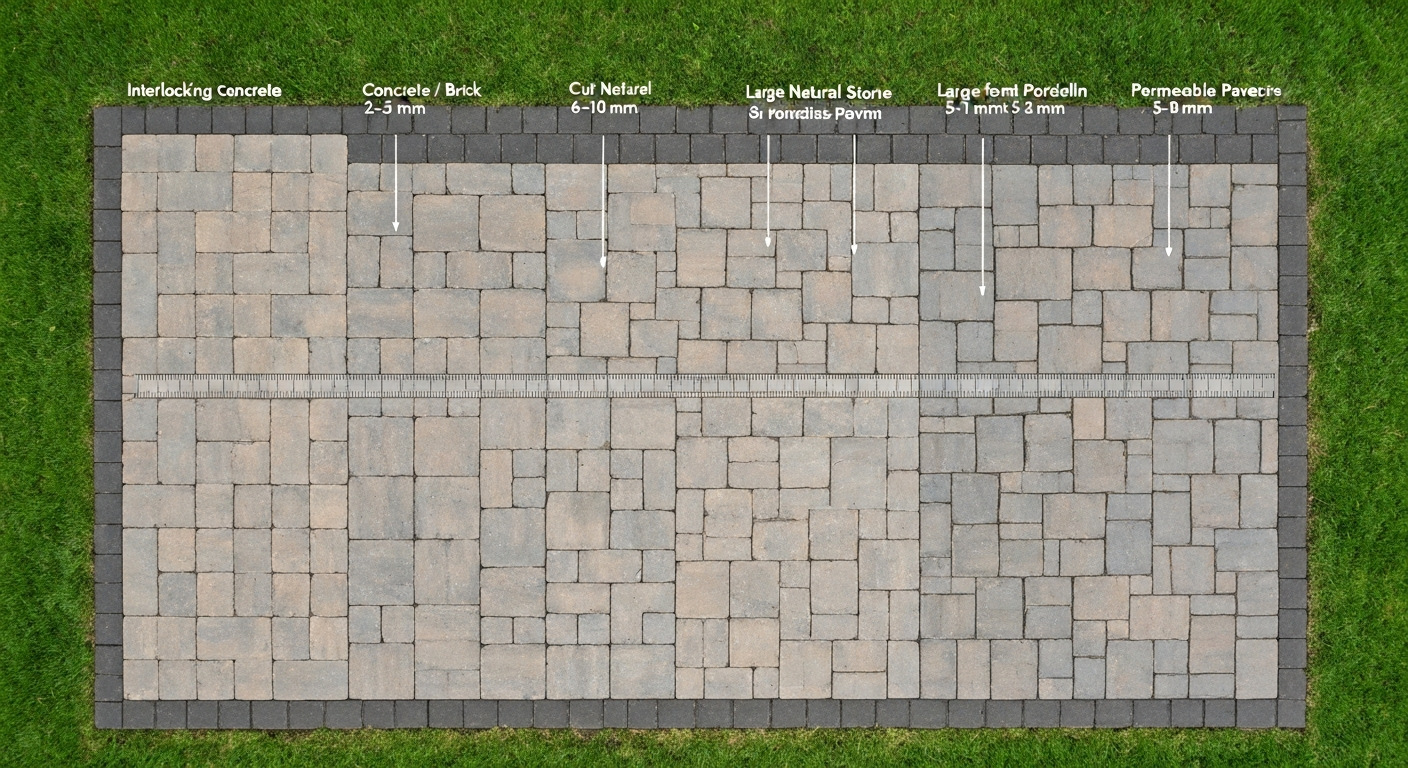
How to Space Patio Pavers: Joint Widths & Finishing Tips
How to space patio pavers: exact joint widths by paver type, step‑by‑step spacing, jointing & finishing tips.
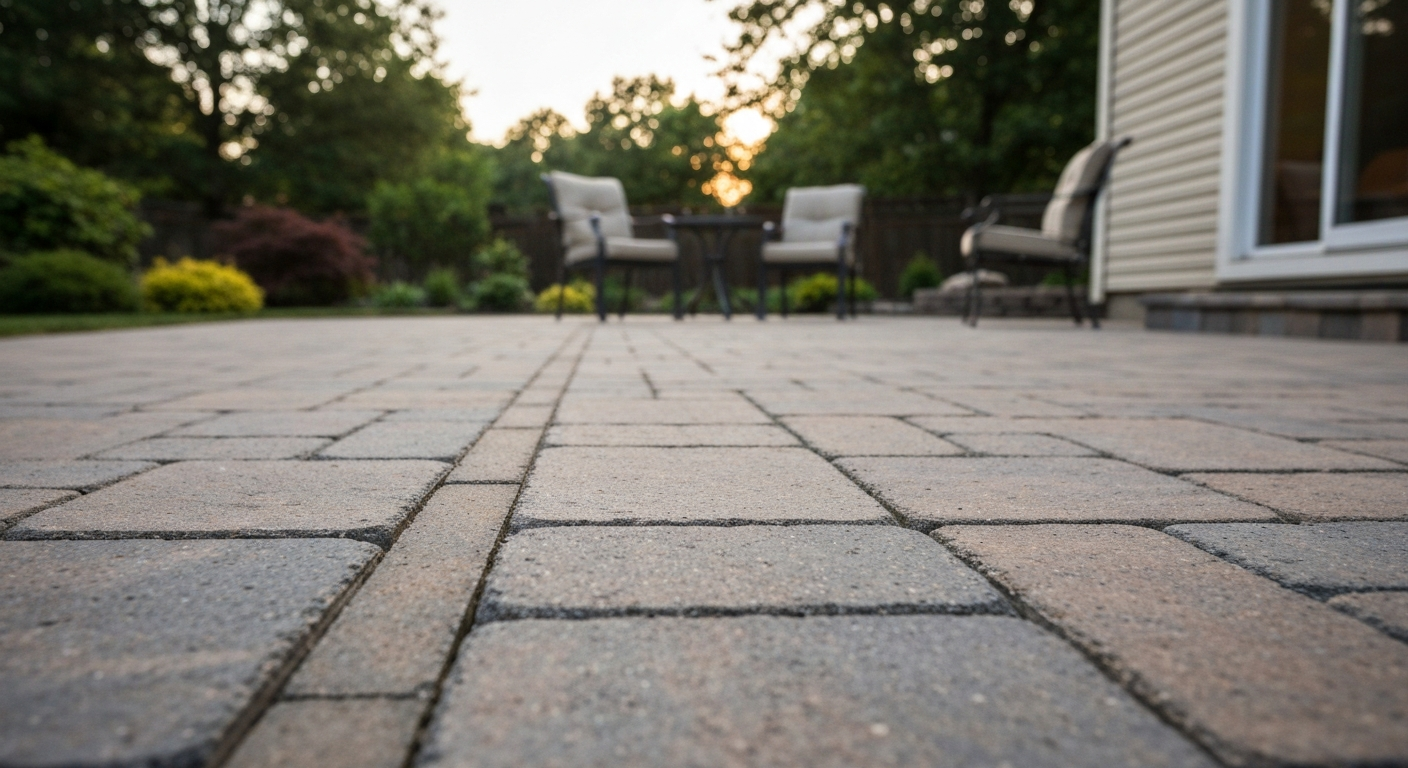
How to Use Quikrete Patio Paver Jointing Sand: Guide & Tips
How to use Quikrete Patio Paver Jointing Sand: step-by-step application, tools, timing, coverage, and care.