
You can install 12x12 patio pavers yourself over a weekend or two, depending on patio size, but the job lives or dies by what you do before the first paver goes down. Get the base right, excavated to the correct depth, compacted in lifts, bedded with 1 inch of screeded coarse sand, and the pavers will stay level and locked for decades. Rush that part, and you'll be pulling pavers back up within a few seasons. This guide walks you through every stage: planning, measuring, base prep for soil and existing concrete, laying and cutting the pavers, setting edge restraints, filling joints, and sealing the surface. For a step-by-step walkthrough on how to lay 12x12 patio pavers, see this guide.
How to Install 12x12 Patio Pavers: Step-by-Step DIY Guide

Felix Rowe
12 Aug 2026
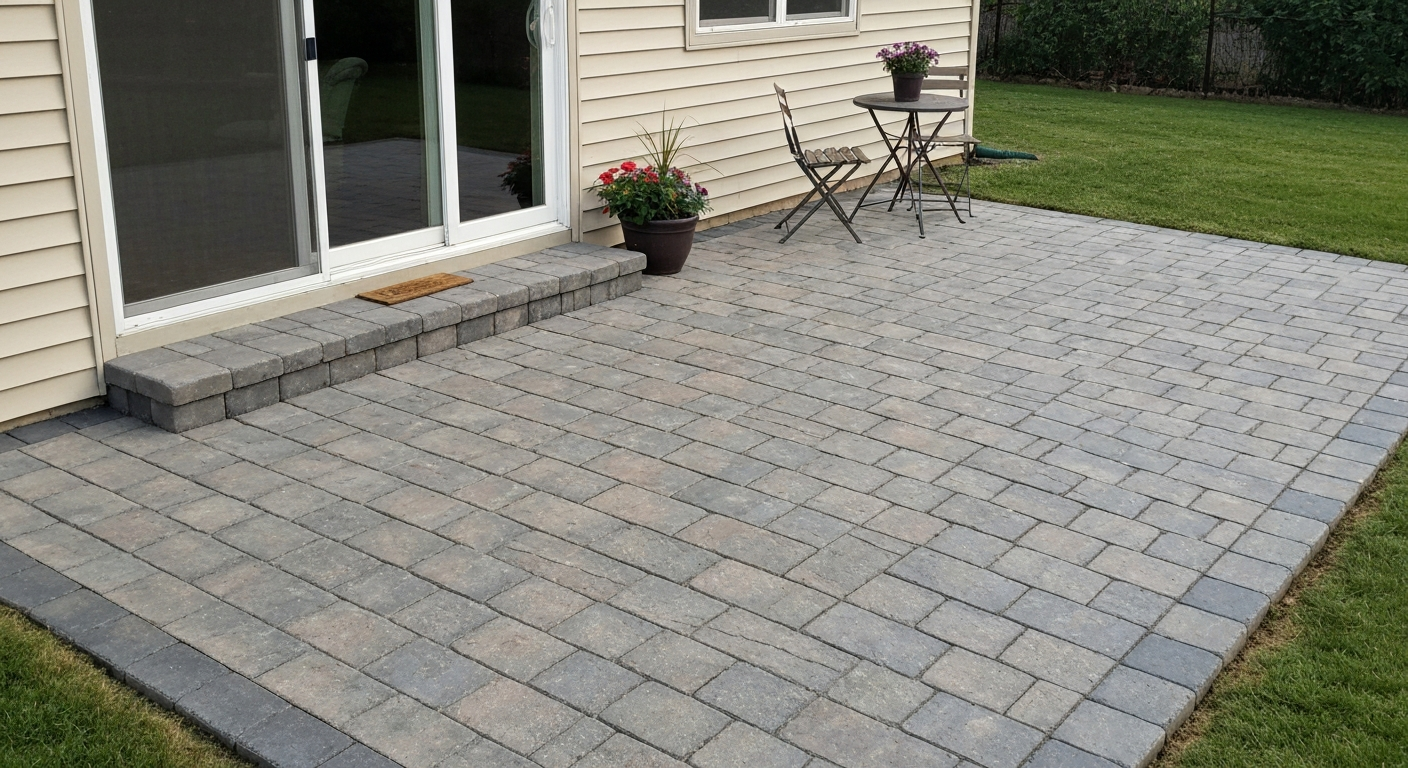
What you're getting into: project scope, skill level, and why 12x12 pavers
A 12x12 patio paver is one of the most DIY-friendly formats on the market. Each unit covers exactly 1 square foot, which makes quantity math dead simple, and at roughly 2.38 inches thick for a standard concrete paver, they're heavy enough to stay put but light enough for one person to handle all day without exhausting themselves. That combination of manageable weight and clean math is why 12x12 is the format I recommend to most first-time paver installers.
This is a genuinely achievable DIY project for a homeowner who is comfortable with physical labor, can follow a level and string line, and is willing to rent a plate compactor. You don't need masonry experience. You do need patience during base prep, that phase takes longer than laying the pavers themselves. Expect a small patio (100–150 sq ft) to take one long weekend. A 300–400 sq ft patio is realistically a two-weekend project if you're working alone, or one weekend with a helper. Compared to 16x16 pavers, the 12x12 format is easier to cut and maneuver in tight spaces, though the smaller format means slightly more pavers to place per square foot of area.
Choose 12x12 pavers when you want a clean, classic look, when you're working in a space with multiple curves or angles that will require cuts, or when you're doing the work solo. They're well-suited to patios, garden paths, pool surrounds, and small outdoor entertainment areas. For a primarily straight-edged rectangular patio with no major obstacles, 16x16 pavers can go down faster, but 12x12 gives you more flexibility.
Tools and materials checklist
Tools you'll need
- Tape measure (at least 25 ft)
- Mason's line and line level (or laser level)
- 4 stakes or batter boards for layout
- Square (framing square or speed square)
- Plate compactor (rent one — do not skip this)
- Hand tamper (for edges and tight spots the compactor can't reach)
- Bull float or screed board and screed guides (for leveling the sand bedding)
- Rubber mallet
- Level (4 ft minimum)
- Wet masonry saw with diamond blade (rent if you don't own one)
- Safety glasses, hearing protection, and N95/P100 respirator for cutting
- Rubber gloves
- Wheelbarrow
- Broom (stiff and soft bristle)
- Garden hose with spray nozzle
- Chalk line
- Marking pencil or chalk for paver cuts
Materials
- 12x12 concrete pavers (quantity = patio area in sq ft × waste factor — see planning section)
- Compactable aggregate base: 3/4-inch minus dense-graded road base or ASTM D2940-grade graded aggregate, enough for 4–6 inches compacted depth for pedestrian patio
- Coarse concrete sand (ASTM C33) for 1-inch bedding layer
- Geotextile landscape fabric (for grass/soil installations — placed under the aggregate base)
- Polymeric jointing sand or standard ASTM C33 sand for joints
- Manufactured plastic, aluminum, or steel edge restraints
- Galvanized or coated 10-inch spike anchors for edge restraints
- Paver sealer (penetrating or film-forming, depending on paver type and desired finish — optional but recommended)
Optional but helpful equipment
- Compactor rubber/polyurethane pad (essential when compacting over laid pavers to prevent chipping)
- Paver splitter/guillotine (faster for straight cuts on plain concrete pavers, though less precise than a wet saw)
- Laser level or rotary laser for slope verification over larger areas
- Sod cutter (rental) if removing large areas of grass
- String line clips or pins for holding layout lines taut
Realistic time and cost expectations
I want to give you numbers you can actually plan around, not optimistic best-case figures. Cost and time both scale directly with your patio's size, but there are some fixed elements regardless of scale.
| Item | Estimated Cost Range (2026) | Notes |
|---|---|---|
| 12x12 concrete pavers | $1.50–$4.00 per paver | Basic gray concrete on the low end; tumbled or colored units toward the top |
| Aggregate base material | $30–$60 per ton | A 200 sq ft patio at 5 in. depth needs roughly 2.5–3 tons |
| ASTM C33 coarse sand (bedding) | $25–$40 per ton | One ton covers approximately 100 sq ft at 1 in. depth |
| Polymeric jointing sand | $25–$50 per bag | One bag covers roughly 30–50 sq ft depending on joint width |
| Edge restraints | $1.50–$3.00 per linear foot | Includes spikes; measure perimeter |
| Plate compactor rental | $80–$150 per day | Rent for 1–2 days; may need 2 compaction phases |
| Wet saw rental | $60–$100 per day | Usually only needed for 1 day |
| Paver sealer | $40–$80 per gallon | Coverage varies; one gallon typically covers 80–150 sq ft |
| Geotextile fabric | $0.10–$0.30 per sq ft | Buy enough to overlap seams by 6–12 in. |
For a typical 200 sq ft patio installed over soil or grass, expect total material costs of $600–$1,200 depending on paver style and whether you seal. Tool rentals add $150–$300. A professionally installed equivalent would run $2,500–$6,000 or more for the same footprint, so the DIY savings are real and substantial, but only if you put in the time on base prep. Cutting corners on the base will cost you later.
On labor time: base prep (excavation, fabric, gravel, compaction) typically takes 60–70% of total project hours. For a 200 sq ft patio, a solo installer should plan for 16–24 hours across two weekends. With a helper, that compresses to one long weekend. Add 20–30% more time if you're working on uneven or sloped ground or if the patio has a complex shape with many cuts.
Planning and measuring your patio
Accurate measuring upfront saves expensive material waste and prevents you from ending up with tiny sliver cuts along one edge that look sloppy. Because each 12x12 paver covers exactly 1 square foot, the quantity math is straightforward: measure your patio's length and width in feet, multiply them together for total square footage, then apply a waste allowance based on your pattern. For a quick, step-by-step method on how to measure square footage for patio pavers, see our guide on how to measure square footage for patio pavers. For step-by-step instructions, see how to measure for a paver patio.
Calculating how many pavers to order
- Running bond or simple grid: add 5% waste (multiply total sq ft by 1.05)
- Basket weave or moderate cuts: add 10% waste (multiply by 1.10)
- Diagonal, herringbone, or complex curved patterns: add 10–15% or more (multiply by 1.10–1.15)
- Always round up to the nearest full pallet or ordering increment
For an irregular-shaped patio, break it into rectangles, calculate each section separately, then add the totals. If your patio is L-shaped, for example, calculate the two rectangles that make up the L and sum them. Overestimating by 5–10% is fine; pavers from the same production run are easier to match for repairs, and leftover pavers store well.
Setting up layout lines and squaring the patio
Layout lines serve two purposes: they establish your patio's exact footprint before you dig, and they become your guide for keeping paver rows straight during installation. Drive a stake at each corner of your planned patio, then run mason's line between them. To confirm the layout is square, use the 3-4-5 triangle method: measure 3 feet along one edge from a corner stake, 4 feet along the adjacent edge from the same corner, and the diagonal between those two points should measure exactly 5 feet. If it doesn't, adjust until it does. For larger patios, scale up to 6-8-10 or 9-12-15 for greater accuracy. Squaring before you dig is much easier than trying to correct a skewed layout after the base is in.
Also establish your finished grade elevation and drainage slope at this stage. The finished paver surface must slope away from your house or any structure at a minimum of 1/8 inch per linear foot, with 1/4 inch per foot (roughly 2%) being the recommended target. Mark this slope on your stakes or batter boards so you can reference it throughout base prep and paver laying.
Paver styles, patterns, and joint widths for 12x12 units
Your pattern choice affects both visual appeal and the waste percentage you should order. It also influences how long the laying phase takes, a running bond is the fastest to lay; a 45-degree diagonal requires more cuts and takes longer but looks dramatic. Here are the most practical options for 12x12 pavers.
| Pattern | Description | Waste Allowance | Difficulty | Best For |
|---|---|---|---|---|
| Grid (jack-on-jack) | Rows aligned both ways | 5% | Easiest | Modern, formal spaces |
| Running bond (1/2 offset) | Each row offset by half a unit | 5% | Easy | Most patios; classic look |
| Basket weave | Pairs of pavers alternating direction | 10% | Moderate | Traditional/cottage style |
| Herringbone (90°) | Pavers set in V-pattern at 90° | 10% | Moderate | High-traffic durability |
| Herringbone (45° diagonal) | Same pattern angled to space | 10–15% | Harder | Large patios, visual interest |
| Mixed sizes with 12x12 as field | 12x12 combined with other sizes | 10%+ | Harder | Custom/designer look |
Joint width matters more than most DIYers expect. For 12x12 concrete pavers, keep joints between 1/8 inch and 3/8 inch wide. If you're using polymeric sand (which I recommend for weed and insect resistance), check the manufacturer's spec sheet, most polymeric products work in joints from 1/8 to 3/4 inch, but they require a minimum packed joint depth of about 1 inch. Too-wide joints with too little depth won't activate properly and will fail quickly. Use consistent plastic paver spacers during installation if you have trouble keeping joints uniform, though many concrete pavers have built-in spacing lugs that handle this automatically.
On materials: standard gray concrete pavers are the most affordable and durable option. Tumbled concrete pavers have a worn, natural-stone look and hide minor surface imperfections well. Clay brick pavers are more expensive but retain color longer. Natural stone (bluestone, travertine, granite) in a 12x12 cut offers a premium look but requires more precise leveling and is harder to cut. For most DIY patios, standard or tumbled concrete is the practical sweet spot.
Assessing and preparing your site
Before you pick up a shovel, walk the site carefully. Here's what to check and decide before any digging starts.
- Call 811 (or your country's equivalent utility-locate service) at least 72 hours before digging. This is not optional. Underground utilities — gas, electric, water, cable — are more common than people expect, and the call is free.
- Assess drainage: does water pool in or near your planned patio area after rain? If so, you may need to grade the site more aggressively, add a perimeter drain, or re-route downspouts before installing pavers.
- Check soil type: clay soil compacts well but drains poorly and can heave with moisture cycles. Sandy or loamy soil is easier to work. Organic-rich or topsoil layers must be fully removed — you cannot build a stable paver base on topsoil.
- Look for existing tree roots within 5–10 feet of the patio edge. Root intrusion under pavers is a long-term problem. If significant roots are present, consult an arborist before cutting them.
- Verify the finished patio height: confirm your finished surface will be at or slightly below door thresholds and that it will drain away from the house foundation at the required slope.
If the ground is noticeably uneven or the area slopes significantly toward the house, spend extra time on this assessment phase. A consistent 2% slope away from structures is your target. Slopes exceeding about 5% in any one direction start to feel noticeably tilted underfoot and can make furniture placement awkward. If you're dealing with a steep or complex grade, consider breaking the patio into terraced levels with a small retaining element between them.
Building the base over grass or bare soil
This is the most labor-intensive part of the project, and it's where most DIY paver failures originate when people cut corners. Follow this phase carefully and your patio will stay level and tight for years. Rush it and you'll be releveling pavers within a season or two.
Step 1: Excavate to the correct depth
Calculate your excavation depth by stacking the layers from top to bottom: paver thickness (typically about 2.38 inches for a standard 12x12 concrete paver) plus 1 inch of bedding sand plus your compacted aggregate base depth. For a residential pedestrian patio on average soil, 4–6 inches of compacted aggregate base is the standard range. That gives you a total excavation depth of roughly 7.4–9.4 inches below finished grade. Add an inch of buffer if your soil is soft or unstable. Mark this depth on your stakes and excavate the entire patio footprint plus about 6 inches beyond the edge on all sides to allow for edge restraint installation.
Remove all grass, roots, and organic material. Topsoil is not a suitable base material, it compresses unevenly and promotes weed growth. If you hit soft or unusually wet subsoil, dig another 2–4 inches deeper and add extra aggregate base in that area. Never try to build over soft spots.
Step 2: Install geotextile fabric
Lay a non-woven geotextile landscape fabric across the entire excavated area before adding any aggregate. This fabric serves two important functions: it prevents fine soil particles from migrating up into your base aggregate over time (which causes settlement), and it inhibits weed growth from below. Overlap seams by at least 12 inches and run the fabric up the excavation walls a few inches at the edges. Do not use thin plastic sheeting as a substitute, it traps water and collapses under compaction.
Step 3: Add and compact the aggregate base in lifts
Use 3/4-inch minus dense-graded aggregate (road base) or ASTM D2940-grade graded aggregate. Do not add all the gravel at once. Spread it in lifts of no more than 3–4 inches loose depth, then compact each lift fully with a plate compactor before adding the next one. After laying the pavers, make multiple overlapping passes (typically 2–6, commonly 3–4) with the plate compactor fitted with a protective rubber or polyurethane mat to seat the units and avoid scuffing or chipping textured or large‑format pavers blank" rel="noopener noreferrer">make multiple overlapping passes (typically 2–6, commonly 3–4) with a plate compactor fitted with a protective rubber or polyurethane mat. For a 4-inch compacted base, you'll typically need two lifts. For 6 inches, plan on two to three lifts. The compaction target is approximately 95–98% of maximum dry density, in practical DIY terms, this means making at least three to four overlapping passes with the plate compactor over each lift until the surface no longer shows visible movement under the machine and your foot leaves no impression. blank" rel="noopener noreferrer">ASTM D2940 Standard Specification for Graded Aggregate Material for Bases or Subbases, together with FHWA guidance, is commonly referenced for graded‑aggregate quality and compaction verification; typical acceptance targets are about ≥95–98% of maximum dry density per a Proctor/control‑strip method and each aggregate lift should be compacted before placing the next. Use a hand tamper at the edges and corners the compactor can't reach.
Check your slope as you build up the base. Use a level and measuring tape or a rotary laser to verify the surface is sloping the correct direction at the correct rate. It's much easier to correct slope at the aggregate base stage than to try to compensate with uneven bedding sand later.
Step 4: Screed the 1-inch bedding sand layer
Once the aggregate base is compacted and checked for slope, add approximately 1.5 inches of loose ASTM C33 coarse concrete sand (it will screed down to 1 inch). Set two parallel screed guides (pipe or lumber) at the correct elevation accounting for your 1-inch bedding depth, then drag a straight screed board across them to create a smooth, consistent surface. Work in manageable sections. Do not compact the sand after screeding, it's meant to remain loose so pavers can be set and tapped to final grade. Do not make the bedding layer thicker than 1 inch: a thicker sand bed is a primary cause of paver settlement because the sand can compress unevenly under load. Pull the screed guides out as you go and fill those channels with sand by hand.
Installing 12x12 pavers over existing concrete
Laying 12x12 pavers over an existing concrete slab is a legitimate option that eliminates the excavation and base-building phase, but it only works well if the concrete is in reasonably good condition. This section focuses on preparation and method selection, not structural engineering, because the concrete itself becomes your base, and its condition determines which approach you can use.
Assess the existing concrete first
Walk the entire slab looking for cracks, settled sections, spalling, or heaved areas. Minor hairline cracks are usually acceptable. Large cracks (wider than 1/4 inch), significant settlement between sections, or widespread spalling are red flags. A slab with active movement or drainage problems underneath will transfer those problems straight to your new pavers, no surface treatment will fix a failing foundation. If the slab has major issues, excavating and starting fresh is the more reliable path.
Also check the finished height. Adding a layer of pavers will raise your patio surface by at least 2.5–3 inches (paver thickness plus any setting material). Verify this won't create a trip hazard at door thresholds or conflict with existing drainage features.
Thin-bed (mortar) vs. sand-setting over concrete
You have two main options for setting pavers over concrete. A thin-bed mortar installation bonds the pavers directly to the slab with a polymer-modified mortar or tile-setting adhesive. This is rigid and very stable, but any movement in the slab (seasonal expansion, settlement) will telegraph into the pavers and can cause cracking. It's best suited to slabs in excellent condition in climates with minimal freeze-thaw cycling. Sand-setting over concrete means laying a thin sand bed (still no more than 1 inch) directly on the concrete and proceeding like a standard sand-set installation. This allows slight movement and is easier to repair, but requires the slab to be level and crack-free enough to serve as a stable base. For most DIYers in temperate or variable climates, a sand-set approach over a sound concrete slab is the more forgiving choice.
Surface prep for concrete
Whether you're bonding or sand-setting, the concrete surface needs to be clean and as level as possible. Pressure-wash the entire slab to remove dirt, algae, and any loose material. Fill low spots deeper than 1/2 inch with a self-leveling concrete resurfacer and let it cure fully before proceeding. Grind down high spots or ridges with an angle grinder fitted with a masonry grinding disc. Verify the slab still has a positive drainage slope (ideally 1/4 inch per foot), if it's sloping toward the house, you'll need to account for that with your paver installation slope, which may require a tapered setting bed in some areas. For a thin-bed installation, apply the appropriate primer to the concrete surface per the mortar manufacturer's instructions before spreading the setting material.
Edge restraint considerations over concrete
Standard spike-in edge restraints cannot be driven into concrete. For a concrete-over installation, you'll need to either: use a concrete anchor/tapcon screw-based edge restraint system designed for hard surfaces, keep pavers contained by existing concrete edges or step edges, or use a construction adhesive compatible with both concrete and the restraint material. Do not skip edge restraint on a sand-set-over-concrete installation, without it, the pavers will gradually migrate outward.
FAQ
How do I calculate how many 12x12 pavers I need?
A 12×12 in. paver covers 1.00 square foot. Measure the patio area (length × width) to get square feet. Multiply by a waste allowance: use ~5% for simple straight patterns, ~10% for moderate cuts, and 10–15%+ for diagonal or circular patterns. Example: 12 ft × 14 ft = 168 sq ft. With 10% waste order 168 × 1.10 = 184.8 → 185 pavers.
How do I square and stake a patio layout before I start?
Decide the finished footprint and locate fixed references (house corner, walk). Use the 3‑4‑5 (or scaled 3:4:5) right‑triangle rule: measure along one side, measure along adjacent side, adjust corner until the diagonal equals the Pythagorean length. Snap string lines on batter boards at finished grade and verify diagonals are equal. Check slope by running a level along the string lines to ensure the required fall away from the house.
What slope do I need for drainage?
Provide positive drainage away from structures. Industry guidance is 1/8"–1/4" per linear foot (≈1%–2%); 1/4"/ft (2%) is commonly recommended. Slope should be continuous toward a drain, swale, or the yard.
What patterns and joint widths work with 12x12 pavers?
Common patterns: stacked/straight grid, running bond (offset), diagonal, basketweave (with compatible shapes), and radial/curved patterns for circular features. Joint widths typically run 1/8"–3/8" for concrete pavers; follow the paver and jointing material recommendations. Complex patterns (diagonal, circles) increase cutting and waste.
What tools and materials will I need?
Tools: tape measure, string line & stakes, shovel, wheelbarrow, plate compactor, hand tamper, 6–8 ft level or screed board, carpenter's square, masonry wet saw or angle grinder with diamond blade, rubber mallet, broom, gloves, safety glasses, hearing protection, dust mask (or respirator) and compactor protective pad. Materials: 12x12 pavers, graded aggregate base (per spec), concrete sand (1" screed bedding), edge restraint system, jointing sand or polymeric sand, landscape fabric (optional), sealant (optional), edging anchors/ spikes and concrete for full‑depth edge if chosen.
How deep do I excavate for a 12x12 patio over soil or grass?
Excavate to accommodate: paver thickness + 1" bedding sand + compacted aggregate base. For pedestrian patios a common practical minimum is 4" compacted aggregate: total excavation ≈ paver thickness (often 2.38" for a typical 60 mm paver) + 1" bedding + 4" base ≈ 7.4" below finished grade. Soften ground, frost, and drainage may require deeper bases (6" or more).
Next Articles
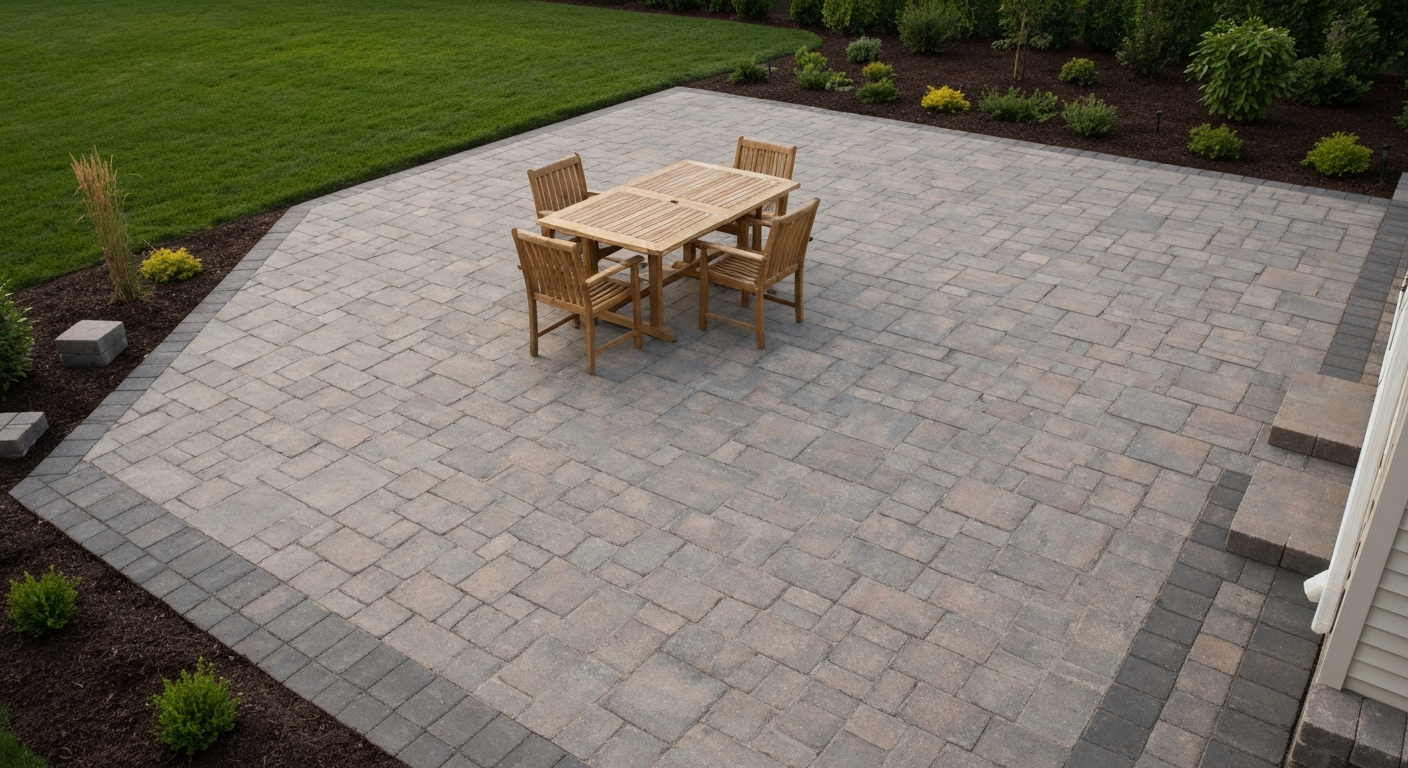
How to Lay 12x12 Patio Pavers: Plan, Tools & Steps & Layouts
Step-by-step guide to plan, base, lay, cut, seal and maintain 12x12 patio pavers with tools, measurements and costs.
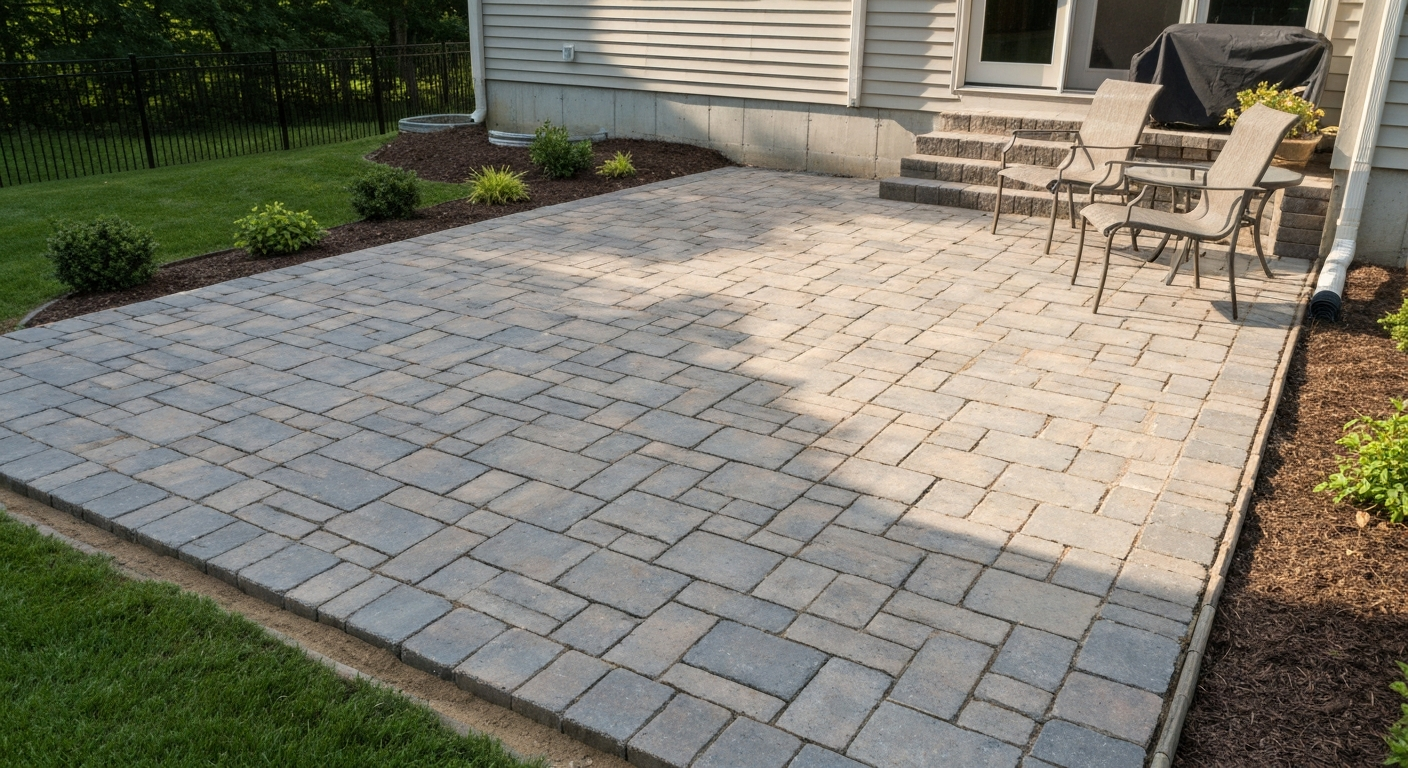
How to Install 16x16 Patio Pavers: Complete DIY Guide
How to install 16x16 patio pavers: DIY guide with measuring, base prep, cutting, compaction, costs, troubleshooting.
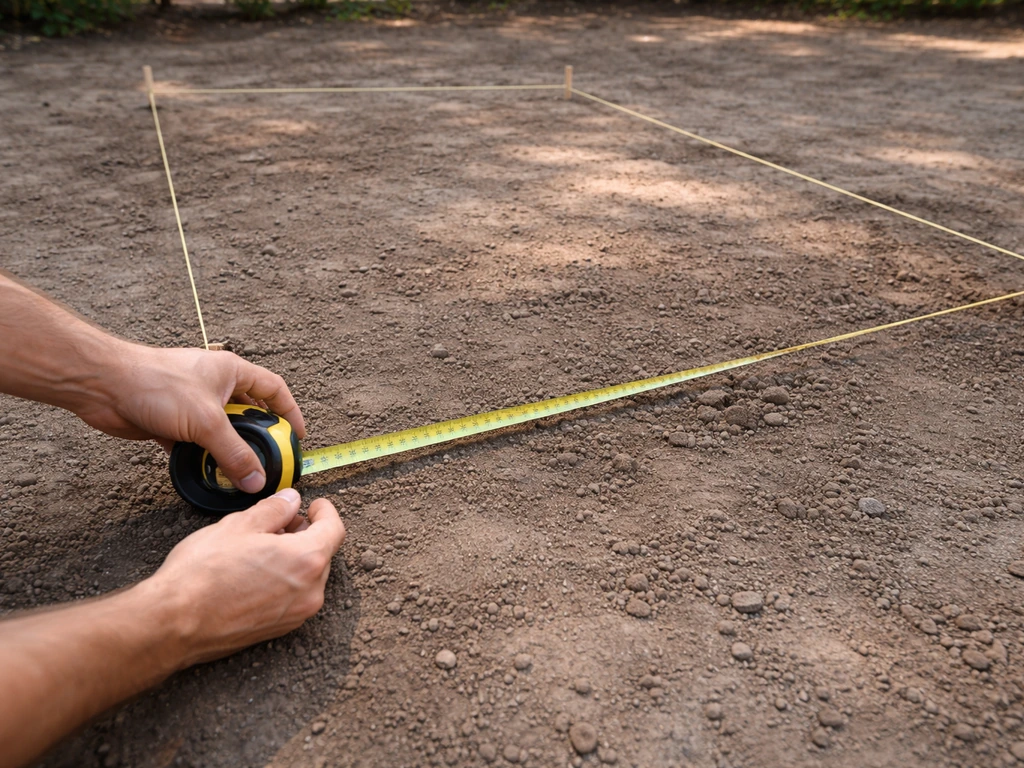
How to Measure for a Paver Patio: Step-by-Step Guide
Measure patio and pavers accurately, plan slope and borders, estimate square footage, cuts, and waste for DIY ordering.