
Installing 16x16 patio pavers is a project most capable DIYers can complete in a weekend or two. You excavate down roughly 9 to 11 inches, compact a 4-inch crushed stone base, screed a 1-inch bedding sand layer, lay your 16x16 concrete pavers, lock them in with edge restraints and jointing sand, and finish with a final compaction pass. Done right, you get a flat, durable patio that stays put through freeze-thaw cycles for 20-plus years.
How to Install 16x16 Patio Pavers: Complete DIY Guide

Felix Rowe
19 Jul 2026
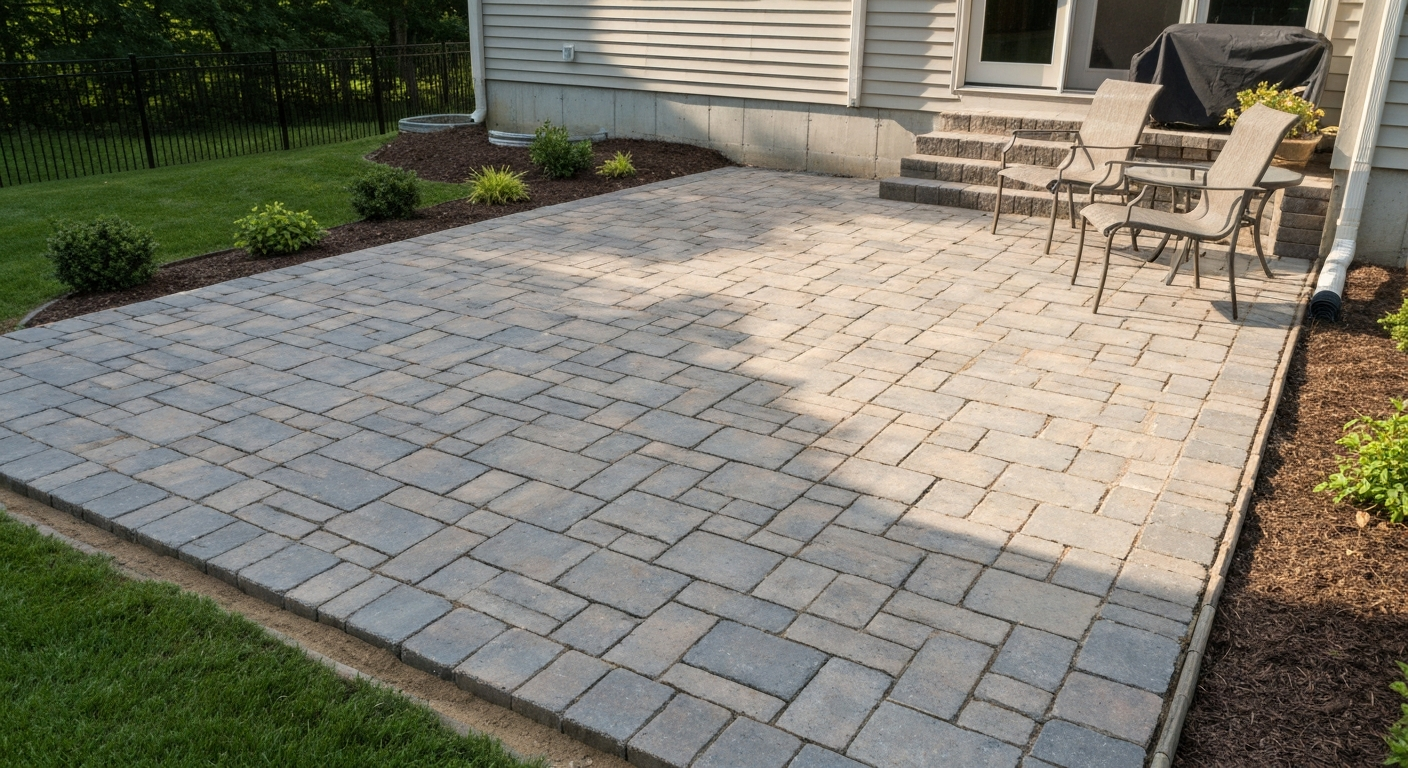
What this project actually involves (and who it's for)
This guide is written for homeowners who want to build a patio themselves without hiring a contractor. You don't need professional experience, but you do need to be comfortable renting equipment, doing some heavy lifting, and following a precise sequence of steps. Skipping steps, especially base preparation, is where most DIY patio failures begin.
A 16x16 patio paver is a 400x400 mm concrete unit, typically available in thicknesses of 2 3/4 inches (70 mm), 3 1/8 inches (80 mm), or 3 7/8 inches (100 mm) depending on the manufacturer. For pedestrian residential patios, the 2 3/4-inch or 3 1/8-inch thickness is standard. These pavers conform to ASTM C936, the product specification for solid concrete interlocking paving units, which sets minimum compressive strength at around 8,000 psi average with no individual unit below 7,200 psi. ASTM C936 is the Standard Specification for Solid Concrete Interlocking Paving Units (the product standard for concrete pavers); concrete pavers sold for pavements in the U.S. are routinely specified to meet ASTM C936 blank" rel="noopener noreferrer">ASTM C936/C936M Standard Specification for Solid Concrete Interlocking Paving Units (ASTM C936). In plain terms, they're engineered to handle real loads without cracking under normal residential use.
The scope of work for a typical 200-square-foot patio includes: site layout and squaring, excavation (usually by hand or with a mini excavator rental), base installation and compaction, bedding sand screeding, paver laying and cutting, edge restraint installation, jointing, and final compaction. Budget two full days at minimum for that size. Larger patios (400+ sq ft) realistically take a long weekend or split across two weekends. Cost for materials runs roughly $4 to $10 per square foot for the base system plus $3 to $8 per square foot for 16x16 concrete pavers depending on product line and region.
Planning, design, drainage, and pattern selection
Before you buy a single paver, spend time on paper. Sketch your patio shape, note where the house foundation sits, and mark any obstacles like downspouts, HVAC equipment, or existing trees. The planning stage is where you make cheap decisions. Every change you make after excavation costs you real time and money.
Drainage and slope
Slope is non-negotiable. Water that pools on a patio undermines the base over time and creates a freezing hazard. The standard recommendation is a cross-slope of 1/8 to 1/4 inch per foot away from the house, or toward a predetermined drainage direction. That means a 12-foot-wide patio should drop between 1.5 and 3 inches from the house side to the outer edge. Mark this slope into your string lines before you excavate, not after.
Pattern options for 16x16 pavers
Because 16x16 pavers are square, your pattern choices are somewhat simpler than with rectangular units. The most common options are a straight grid (joints lined up in both directions), a running bond (joints offset by half a unit in one direction, like a brick wall turned 90 degrees), and a diagonal (45-degree rotation from the house). The running bond is generally the most forgiving for small cutting errors and gives the surface better interlock. A diagonal layout creates more visual interest but significantly increases edge cuts and material waste. For a first-time install, stick with running bond or a straight grid and save the diagonal for a future project.
How to measure, square, and calculate square footage
Accurate measuring prevents you from running short on materials or laying a patio that slowly diverges from square. This step is worth doing carefully even if your patio shape looks obvious.
Measuring the area
For a rectangle or square patio, multiply length by width in feet to get square footage. For clear, step-by-step guidance on how to measure square footage for patio pavers, consult our measuring guide. For a detailed, step-by-step walkthrough on how to measure for paver patio, including layout tips, squaring methods, and material calculations, see how to measure for paver patio. A 16-foot by 14-foot patio is 224 square feet. For an L-shape, break it into two rectangles, calculate each, and add them together. For irregular shapes, break the area into the closest geometric shapes you can and sum them. Always measure to the outer edge of where your edge restraints will sit, not just the paved surface, since you need base material beyond the pavers.
Squaring the layout with the 3-4-5 method
Squaring your layout means the corners are true 90-degree angles. A patio that's even slightly out of square will compound errors as you lay rows and will make cuts at the edges inconsistent. The simplest field method is the 3-4-5 triangle. From your corner stake, measure 3 feet along one string line and 4 feet along the other. The diagonal between those two points should measure exactly 5 feet if the angle is 90 degrees. For larger patios, scale it up: 6-8-10 or 9-12-15 to reduce measurement error. Adjust your string lines until the diagonal hits the target, then re-check after any adjustment.
You can also verify squareness by measuring the two diagonals of the full patio rectangle from corner to corner. If both diagonals are equal, the layout is square. This is the fastest double-check for larger areas where the 3-4-5 method alone might leave small errors.
Calculating how many 16x16 pavers you need
Each 16x16 paver covers exactly 1.78 square feet (1.33 ft x 1.33 ft). To get your paver count, divide your total square footage by 1.78, then add 10 percent for waste, cuts, and breakage. For a straight grid or running bond layout, 10 percent is typically enough. If you're going diagonal, budget 15 percent waste because edge cuts increase significantly.
| Patio Size (sq ft) | Base Pavers Needed | With 10% Waste | With 15% Waste (diagonal) |
|---|---|---|---|
| 100 | 57 | 63 | 66 |
| 150 | 85 | 94 | 98 |
| 200 | 113 | 125 | 130 |
| 250 | 141 | 156 | 163 |
| 300 | 169 | 186 | 195 |
| 400 | 225 | 248 | 259 |
When you order, round up to the nearest full pallet. Buying a few extra pavers and keeping them as spares for future repairs is much cheaper than paying freight on a second delivery for 10 pavers.
Tools and equipment checklist
You won't need to buy most of these. Rent the heavy equipment from a local tool rental center. The total rental cost for a weekend project typically runs $150 to $350 depending on your area and the size of equipment needed.
- Measuring tape (at least 25 ft) and a 100-ft tape for larger patios
- Mason's line and line level or a laser level
- Wood stakes or rebar stakes for string lines
- Plate compactor (rental: 5,000 lb vibratory plate compactor for base compaction)
- Hand tamper for edges and tight spaces the plate compactor can't reach
- Flat shovel and square spade for excavation cleanup
- Wheelbarrow for moving gravel and sand
- Screed pipes or rails (1-inch-diameter galvanized conduit works well)
- Straight screed board (a 6- or 8-foot long, straight 2x4 works)
- Rubber mallet for setting pavers
- 4-foot level and a torpedo level
- Wet masonry saw or angle grinder with turbo diamond blade for cuts
- Stiff push broom for jointing sand
- Garden hose or plate compactor pad for final compaction stage
- Chalk line for layout reference lines
- Safety glasses, hearing protection, dust mask (N95 minimum), work gloves, and steel-toed boots
On cutting tools: for anything more than a handful of cuts, rent a wet masonry saw with an integrated water feed and a diamond blade rated for concrete. Wet cutting is the OSHA-preferred method for controlling respirable crystalline silica dust when sawing concrete materials (per 29 CFR 1926.1153). If you're doing occasional small notch cuts, an angle grinder with a continuous-rim or turbo diamond blade works, but always use it with water cooling where possible and always wear a properly fitted N95 or P100 respirator.
Materials list with quantity guidance and depth recommendations
The base system is where most of your material cost and labor goes. Don't scrimp here. A thin or poorly compacted base is the most common cause of sunken, cracked, or uneven pavers years later.
| Material | Purpose | Depth / Quantity | Notes |
|---|---|---|---|
| 3/4" crusher-run gravel (compacted aggregate base) | Load-bearing base layer | 4 in compacted (pedestrian patio) | 6 in for driveways; install in lifts no deeper than 4–6 in per compaction pass |
| Bedding sand (ASTM C33 concrete sand) | Screeded setting bed for pavers | 1 in (nominal, uncompacted) | Must have very low fines (≤1% passing No. 200 sieve); do not use mason's sand or play sand |
| Jointing sand (polymeric or dry concrete sand) | Fills joints between pavers | ~1 lb per sq ft (approx) | Polymeric sand resists erosion and weed growth; dry-lock versions available |
| Edge restraints (plastic paver restraint, aluminum, or concrete) | Prevents lateral spread of pavers | Continuous perimeter run | Spike at 12 in o.c. for patios; 8 in o.c. on curves; base must extend past restraint |
| Geotextile fabric (optional) | Separates subgrade from base material | Single layer over subgrade | Useful in clay-heavy or unstable soils; prevents base contamination over time |
| 16x16 concrete pavers (ASTM C936) | Finished surface | See paver count table above | 2 3/4" or 3 1/8" thick for pedestrian use; verify product meets ASTM C936 |
How much base gravel do you need?
To calculate crushed stone volume, multiply your patio area in square feet by the base depth in feet (4 inches = 0.33 ft), then divide by 27 to convert to cubic yards. Add 15 percent for compaction factor. For a 200-square-foot patio with a 4-inch compacted base, that's roughly 200 x 0.33 / 27 x 1.15 = about 2.8 cubic yards of crusher-run gravel. For bedding sand at 1 inch deep (uncompacted): 200 x 0.083 / 27 = about 0.6 cubic yards, or roughly 1 ton.
Permits, utility marking, and site prep
Call 811 (the U.S. national Call Before You Dig service) at least three business days before you excavate. This is free, it's legally required in most states, and it gets underground utilities marked so you don't hit a gas line or electrical conduit with a shovel. Don't skip this step on the assumption that your backyard is clear.
Check with your local building or zoning department about permit requirements. Many municipalities don't require permits for ground-level patios under a certain size, but some do, especially if the patio is attached to the house or exceeds a set square footage threshold (commonly 200 sq ft). The permit process also often triggers an inspection that will confirm your drainage plan doesn't direct runoff onto neighboring property, which can be a legal issue in some jurisdictions.
Frost depth matters for your base design. In cold climates, a base that doesn't reach below the frost line can heave seasonally. Check blank" rel="noopener noreferrer">NOAA/NWS frost depth maps for your region to understand local conditions. In northern states, frost depth can reach 36 to 48 inches, which is why full-depth paver installations in those areas sometimes use deeper aggregate bases or rigid foam insulation layers under the base. For most of the southern two-thirds of the country, a 4-inch compacted base is sufficient for pedestrian patios.
Excavation and subgrade assessment
Mark your patio perimeter with stakes and string lines. Add 6 inches beyond the paver edge on all sides for base extension and edge restraint anchoring. Excavate to a depth that accounts for your total system: 4 inches of compacted base + 1 inch of bedding sand + paver thickness (2 3/4 inches typical) = roughly 7 3/4 inches total from finished grade. Add your slope drop at the low end. Round up to 8 to 10 inches for a comfortable working margin.
Once excavated, probe the subgrade. Soft, spongy spots, visible clay pockets, or areas that hold water after rain are warning signs. Clay soils are particularly prone to movement. If you're unsure about your soil, a quick field test from the USDA-NRCS texture-by-feel method can help you characterize it: clay-heavy soil ribbons out when rolled between your fingers and holds its shape under pressure. Sandy or gravelly soils crumble easily. Clay subgrades often benefit from a geotextile fabric layer and may need additional base depth or even lime stabilization in extreme cases. When in doubt about bearing capacity on a larger patio, consult a local geotechnical engineer before you pour materials in.
Safety tips and PPE for every stage
This project involves heavy materials, power equipment, and concrete dust. None of those things are particularly dangerous if you take basic precautions, but they can cause real harm if you ignore them.
| Project Stage | Primary Hazards | Required PPE / Controls |
|---|---|---|
| Excavation and grading | Back strain, buried utilities, sharp debris | Steel-toed boots, work gloves; call 811 first |
| Compacting base gravel | Vibration fatigue, foot injury from moving compactor | Steel-toed boots, hearing protection; keep feet clear of plate |
| Cutting pavers with wet saw | Blade contact, crystalline silica dust (even with water), kickback | Safety glasses or face shield, N95 or P100 respirator, cut-resistant gloves, hearing protection |
| Cutting with angle grinder | Blade contact, silica dust, disc failure | Face shield, P100 respirator, hearing protection; never remove blade guard |
| Lifting and carrying pavers | Back and hand injuries (16x16 concrete pavers weigh 30–45 lb each depending on thickness) | Lift with legs, not back; use a paver cart for stacks; work gloves |
| Applying sealer or polymeric sand activator | Skin and respiratory irritation from fumes or sand dust | Chemical-resistant gloves, safety glasses, respirator in enclosed or low-wind conditions |
| Final compaction over pavers | Surface cracking without pad, vibration fatigue | Use compactor pad to prevent paver damage; hearing protection; steel-toed boots |
On silica specifically: cutting, grinding, or breaking concrete pavers generates respirable crystalline silica dust. Short-term exposure can cause irritation, but cumulative overexposure causes silicosis, a serious and irreversible lung disease. OSHA's Table 1 under 29 CFR 1926.1153 identifies wet cutting as the primary engineering control for saw cutting of masonry materials. Run the water feed, wear the respirator anyway, and cut in a well-ventilated outdoor space. This isn't a point to skim over.
Step-by-step installation: base to finished surface
Phase 1: Compact the subgrade
Before adding any base material, compact the native subgrade with your plate compactor. Make two passes in perpendicular directions. This firms up the foundation for everything above it. If you've disturbed the soil significantly during excavation, this step is especially important. The target is a firm, unyielding surface that doesn't deflect under foot traffic.
Phase 2: Install the aggregate base
Spread crusher-run gravel in lifts no deeper than 4 to 6 inches (uncompacted) before each compaction pass. With a standard rental plate compactor, plan on at least 2 passes per lift in a crossing pattern (one direction, then perpendicular). The industry standard compaction target is 95 percent of Standard Proctor density (ASTM D698). You won't measure that on a DIY job, but you can approximate it by observing that the surface no longer deflects under the compactor and the plate isn't sinking into the material. The base should feel like solid ground. Add and compact lifts until you reach your target depth (4 inches compacted for a pedestrian patio).
Phase 3: Screed the bedding sand
Use ASTM C33 concrete sand with very low fines content (no more than 1 percent passing the No. 200 sieve). Do not substitute play sand, mason's sand, or stone dust. These materials compact differently and can cause long-term settling problems. Set two screed rails (1-inch-diameter conduit) on the compacted base, parallel to each other and spaced so your screed board spans them comfortably. The rails themselves sit 1 inch above the base, establishing your bedding depth. Pull the screed board across the rails to create a perfectly flat, 1-inch-deep sand bed. Remove the rails and fill the channels with sand, feathering them smooth by hand. Do not walk on the screeded sand before laying pavers.
Phase 4: Install edge restraints
For a sand-set system, continuous mechanical edge restraints on all sides are required, not optional. Without them, lateral pressure from foot traffic and freeze-thaw cycles slowly pushes pavers outward, opening joints and causing the whole surface to spread over time. Install plastic paver edging or aluminum edging along your string lines before you lay the first paver, or at minimum install it as you reach each edge. Spike into the compacted aggregate base at 12-inch intervals for straight runs and 8-inch intervals on any curves. The base must extend 6 inches past the edge restraint so spikes anchor into compacted material, not loose soil.
Phase 5: Lay the pavers
Start from a 90-degree corner (the most visible inside corner if you have one) and work outward. For step-by-step adjustments specific to smaller units, see the guide on how to lay 12x12 patio pavers (internal reference: 54e72177-56fd-46ac-9f3d-ccd75c99b2f4). Set each paver firmly by hand, keeping joints tight (most 16x16 pavers have integral spacer nibs, which automatically maintain joint width). Never slide pavers into position across the sand. Pick them up and place them down. Check your level and slope every 6 to 8 pavers. Minor adjustments now are easy. Adjustments after 40 pavers are set are miserable. For similar step-by-step instructions adapted to smaller units, see how to install 12x12 patio pavers.
Use a rubber mallet to tap pavers into full contact with the sand bed. A paver that rocks or is hollow-sounding underfoot hasn't fully seated. Pull it up, add or remove a small amount of sand, and reset. Keep a straightedge or 4-foot level handy to check that adjacent paver faces are flush. Lippage (height differences between adjacent pavers) is a tripping hazard and a visual eyesore.
Phase 6: Cutting pavers to fit edges
Measure each edge cut individually. Even a perfectly squared layout will have small variations at the perimeter. Mark the cut line on the paver face with a pencil or chalk and cut with your wet masonry saw. Make slow, steady passes with a diamond blade designed for concrete. Let the blade do the work. For notch cuts or tight curves, an angle grinder with a turbo diamond blade gives more control for small pieces. Always cut with the finished face up so any blade chipping occurs on the back side.
Phase 7: Fill joints and compact
Once all pavers are set, sweep jointing sand diagonally across the surface to fill all joints. Use polymeric sand if you want better weed resistance and erosion resistance; follow the manufacturer's instructions for moisture activation. After the first sweep, make a compaction pass with the plate compactor using a protective rubber or urethane pad over the pavers to prevent surface damage. This vibration drives the sand down into the joints. Sweep again, compact again. Repeat until joints are filled to within about 1/8 inch of the paver surface. The final compaction also fully seats pavers into the bedding sand and locks the interlock pattern into place.
Variations: grass, concrete, slopes, and raised patios
Installing over grass
You can't lay pavers directly on grass and expect them to stay flat. The organic material in the root zone decomposes, causing settlement. You must strip the sod and excavate down to mineral soil before building your base system. For a thin sod layer, strip it with a flat spade. For large areas, rent a sod cutter. Dispose of sod properly. Burying it under your patio will cause uneven settling as it breaks down.
Installing over concrete
A sound concrete slab can serve as your base, which eliminates the need for excavation and aggregate installation. The concrete must be structurally sound (no heaving, cracking, or soft spots), sloped correctly for drainage, and power-washed clean. Set pavers in a 1-inch mortar bed or a thin-set adhesive system, not sand. If the existing slab is cracked or heaved, fix it first or remove it entirely and build a sand-set system from scratch. Laying over a failing slab just transfers the problem to your new surface.
Sloped ground and raised patios
Moderately sloped ground (2 to 5 percent) can be graded flat during excavation. Steeper slopes typically require either a stepped terrace design or a raised patio with a retaining wall or raised border. Both approaches add complexity and often require building permits. If your slope exceeds about 1 foot of drop per 10 feet of run, consult with a landscape contractor before you start, especially if a retaining structure is involved. Retaining walls that hold significant soil are structural elements and usually need engineer review or at minimum manufactured retaining wall block systems designed for those loads.
Around a fire pit
Pavers around fire pits perform well, but heat exposure can cause thermal expansion. Leave the paver immediately adjacent to a permanent, in-ground fire pit bowl unattached to the restraint system so it can move slightly without cracking. A gravel or sand-filled gap of 1 to 2 inches between the fire pit surround and the paved surface accommodates expansion. For a portable fire pit sitting on the paved surface, ensure the pavers are fully bedded and seated before use, since the fire pit's concentrated weight on a poorly set paver can cause it to rock.
Sealing and routine maintenance
Sealing is optional but worthwhile. A penetrating or film-forming paver sealer protects against staining, reduces efflorescence (the white mineral deposits that can appear on concrete surfaces), and enhances color. Wait at least 30 to 60 days after installation before sealing to allow moisture to cure out of the pavers and let the jointing sand fully set. Clean the surface thoroughly before applying. Re-seal every 3 to 5 years depending on sun exposure and traffic.
Routine maintenance is straightforward. Sweep regularly to prevent organic debris from building up in joints. Pull weeds early before roots establish. If a paver settles or shifts, pull it up, adjust the bedding sand, and reset it. This is one of the biggest advantages of sand-set pavers over poured concrete: individual units can be removed and repaired without visible patching.
Troubleshooting common problems
| Problem | Likely Cause | Fix |
|---|---|---|
| Pavers rocking or uneven | Inconsistent bedding sand depth; high spots or low spots in screed | Pull affected pavers, re-screed sand to level, reset pavers |
| Pavers sinking over time | Inadequate base compaction; base too thin; soft subgrade | Excavate area, add and compact additional base material, relay pavers |
| Joints widening or pavers spreading | No edge restraints, or inadequately spiked restraints | Install or re-anchor edge restraints; sweep in new jointing sand |
| Efflorescence (white deposits on surface) | Moisture carrying calcium carbonate to the surface; normal in new concrete pavers | Clean with dilute muriatic acid solution or commercial efflorescence cleaner; usually fades over time |
| Weeds growing in joints | Organic debris accumulation; fine-grained sand in joints instead of polymeric sand | Remove weeds, sweep in polymeric jointing sand, re-activate per manufacturer instructions |
| Paver surface lippage (trip hazard) | Pavers not fully seated; height variation between units | Pull high or low pavers, adjust sand bed depth, reset flush with adjacent units |
| Water pooling on surface | Insufficient slope built into base; base settled unevenly | Regrade affected area; may need to pull pavers and re-establish slope in base and sand layers |
When to call a professional
Most DIYers can handle a straightforward ground-level patio without professional help. Call a contractor or at least consult one if: your subgrade is visibly unstable or waterlogged, your site has significant slope requiring a retaining wall over about 24 inches tall, you're installing adjacent to a foundation and aren't sure about drainage implications, or the area is large enough (over 600 to 800 square feet) that equipment rental and material handling genuinely exceeds what you can manage in a weekend. There's no shame in subcontracting the base work and finishing the surface yourself. That's still a real cost saving.
Realistic time and cost expectations
For a solo DIYer building a 200-square-foot patio, expect 2 to 3 full days of work including excavation, base prep, and laying. With a helper, that drops to 1.5 to 2 days. Material costs (gravel, sand, pavers, restraints, polymeric sand) typically run $800 to $2,000 for that size, depending heavily on paver unit price in your region. Equipment rental adds $150 to $350. The comparable contractor installation would typically run $3,000 to $5,000 or more for the same project, so the DIY savings are real and significant. What you're trading is time, physical effort, and the learning curve of doing it right the first time. This guide gives you the information to do exactly that.
FAQ
What are the first steps when planning a 16x16 patio paver installation?
Start by defining the patio shape, useable area and purpose (dining, fire pit, etc.). Measure and sketch the layout, include adjoining grades, drainage flow and any obstacles. Determine pattern orientation (square, running bond, stack) and decide if cuts will be needed. Check local frost depth and utility locations, and confirm local codes/permits. Create a materials list and cost estimate using calculated square footage plus 5–10% extra for cuts and waste.
How do I accurately measure and square the patio area for 16x16 pavers?
Measure the length and width to compute square footage. To square corners use the 3‑4‑5 (or scaled 6‑8‑10) right‑triangle method: measure along two sides, then measure the diagonal and adjust until it matches the Pythagorean result. Snap chalk lines or use mason’s string and batter boards to preserve layout. Transfer your finished orientation to the site so pavers run true to the house or sightlines.
How many 16x16 pavers do I need and how do I calculate material quantities?
Calculate area in square feet (length × width). One 16×16 paver covers 16 in × 16 in = 1.78 sq ft (256 in² ÷ 144). Divide total sq ft by 1.78 to get paver count, then add 5–10% for cuts/waste (use 10% for complex shapes). For bedding sand allow 1 in depth across the area (≈0.083 ft). For base materials use recommended compacted base depths (see next answer) and convert to cubic yards by multiplying area (sq ft) × depth (ft) ÷ 27.
What base and bedding depths should I use for a typical pedestrian patio with 16x16 pavers?
For a pedestrian patio, follow ICPI/industry practice: compacted aggregate base typically 4 in (minimum) beneath the bedding sand; bedding sand (concrete sand per ASTM C33) 1 in screeded. If soils are poor or frost is a concern increase the base (6 in or more) and consider geotextile separation. For heavier loads or driveways use 6–8 in compacted base (or as engineer specifies). Compact base lifts per equipment limits and achieve specified compaction (commonly ≥95% SPD for many pedestrian installations).
Which tools and materials are required for a DIY 16x16 paver patio?
Essential tools: transit/line level or long level, tape measure, chalk line, plate compactor (rental), edging restraint (plastic/metal/crete), mason’s string/batter boards, wheelbarrow, shovel, rake, screed board (2×4), tamper, wet saw or angle grinder with diamond blade for cuts, broom and jointing sand, plate‑compactor protective pad. Materials: 16×16 pavers, ASTM C33 concrete sand for bedding, compacted crusher‑run or 3/4" aggregate for base, edge restraint and spikes, jointing sand (polymeric or concrete sand as chosen), optional sealer.
How do I prepare the site and build the base step by step?
1) Excavate to required depth (paver thickness + 1 in bedding + compacted base + subgrade allowance). 2) Check and improve subgrade: remove organic material, scarify and compact; add subbase or geotextile if needed. 3) Place aggregate base in uniform lifts (max lift per compactor specs) and compact to target density (commonly ≥95% SPD). 4) Install edge restraints anchored into compacted base (spikes into aggregate, not loose soil). 5) Screed a 1 in bedding sand layer over the base using screed rails and straightedge to required slope (typically 1/8 in–1/4 in per ft away from structures). 6) Lay pavers on bedding sand and compact into final position before jointing.
Next Articles
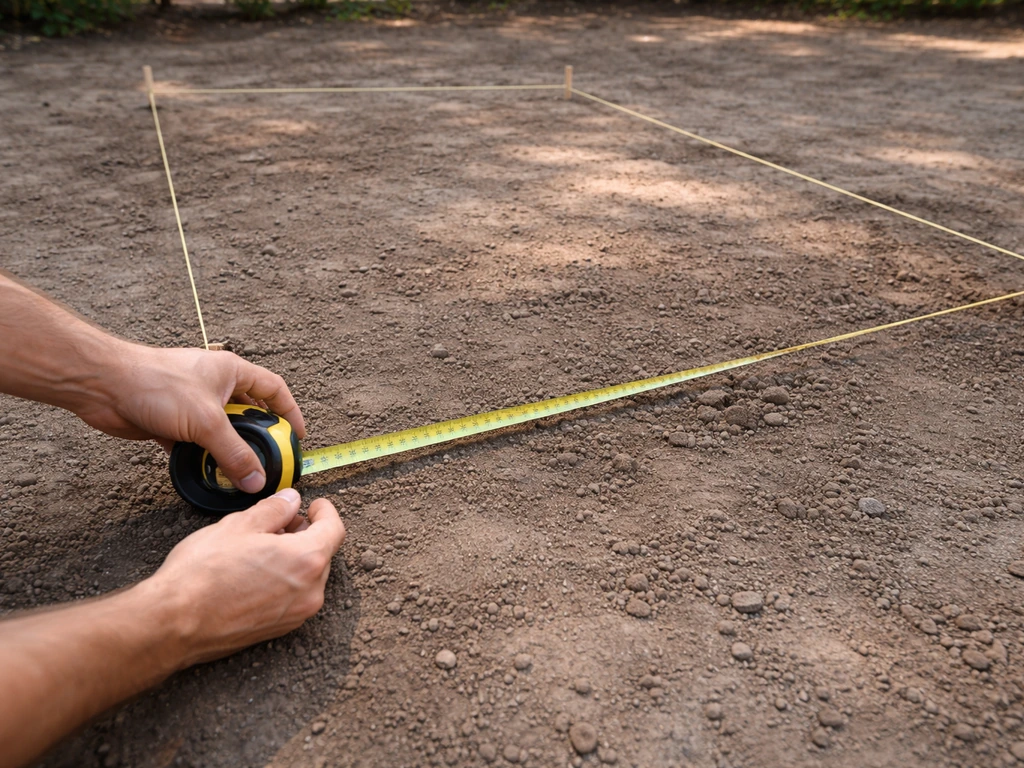
How to Measure for a Paver Patio: Step-by-Step Guide
Measure patio and pavers accurately, plan slope and borders, estimate square footage, cuts, and waste for DIY ordering.
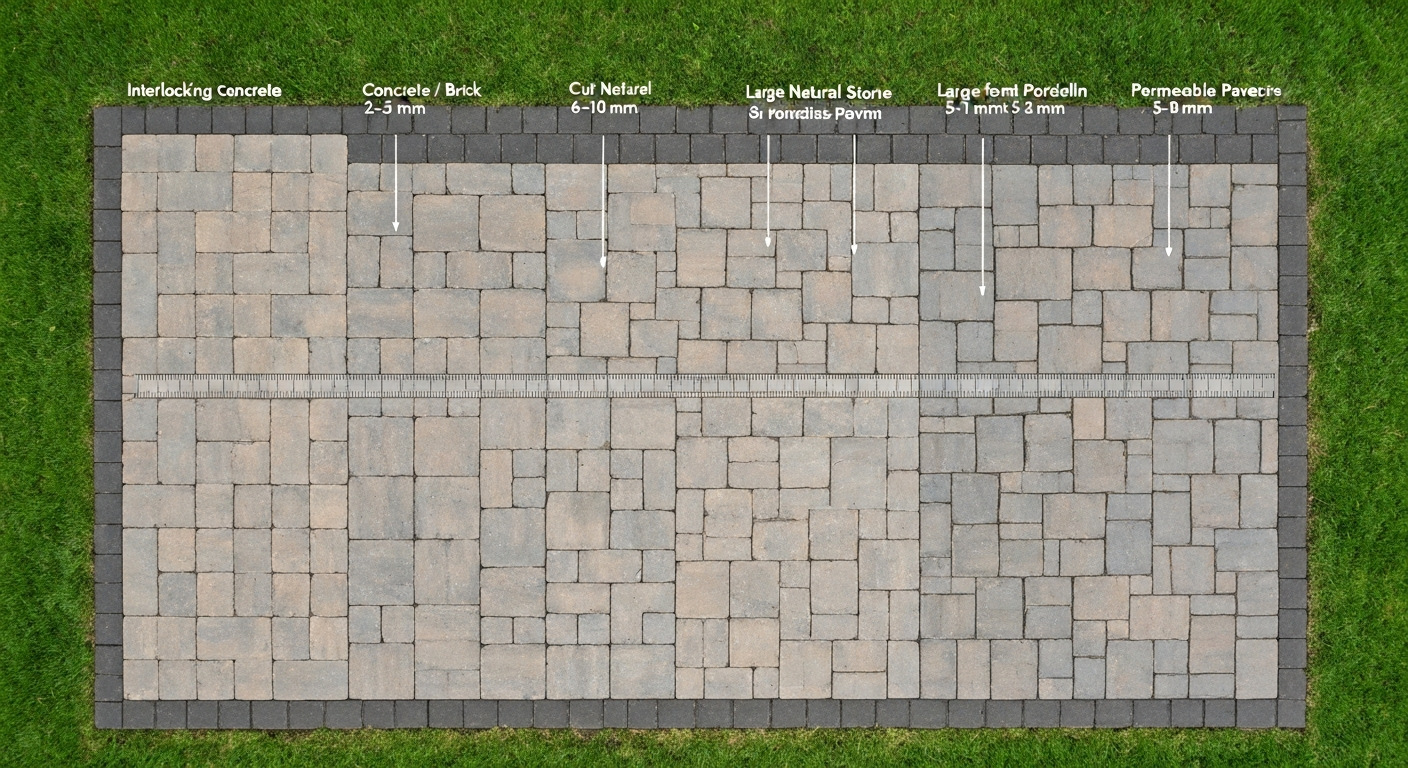
How to Space Patio Pavers: Joint Widths & Finishing Tips
How to space patio pavers: exact joint widths by paver type, step‑by‑step spacing, jointing & finishing tips.
How to Use Quikrete Patio Paver Jointing Sand: Guide & Tips
How to use Quikrete Patio Paver Jointing Sand: step-by-step application, tools, timing, coverage, and care.