
Laying 12x12 patio pavers is one of the most DIY-friendly hardscaping projects you can tackle as a homeowner. Each paver covers exactly 1 square foot, which makes calculating materials almost effortless, and the square format works with nearly every pattern option. A typical 200-square-foot patio takes most motivated DIYers a weekend to install, assuming site prep is done first. The work is physical, but the process is straightforward: excavate, build a compacted aggregate base, screed a 1-inch bedding sand layer, lay the pavers, compact, add jointing sand, and edge the perimeter. Do each phase right and you will end up with a stable, attractive patio that lasts decades.
How to Lay 12x12 Patio Pavers: Plan, Tools & Steps & Layouts

Felix Rowe
10 Aug 2026
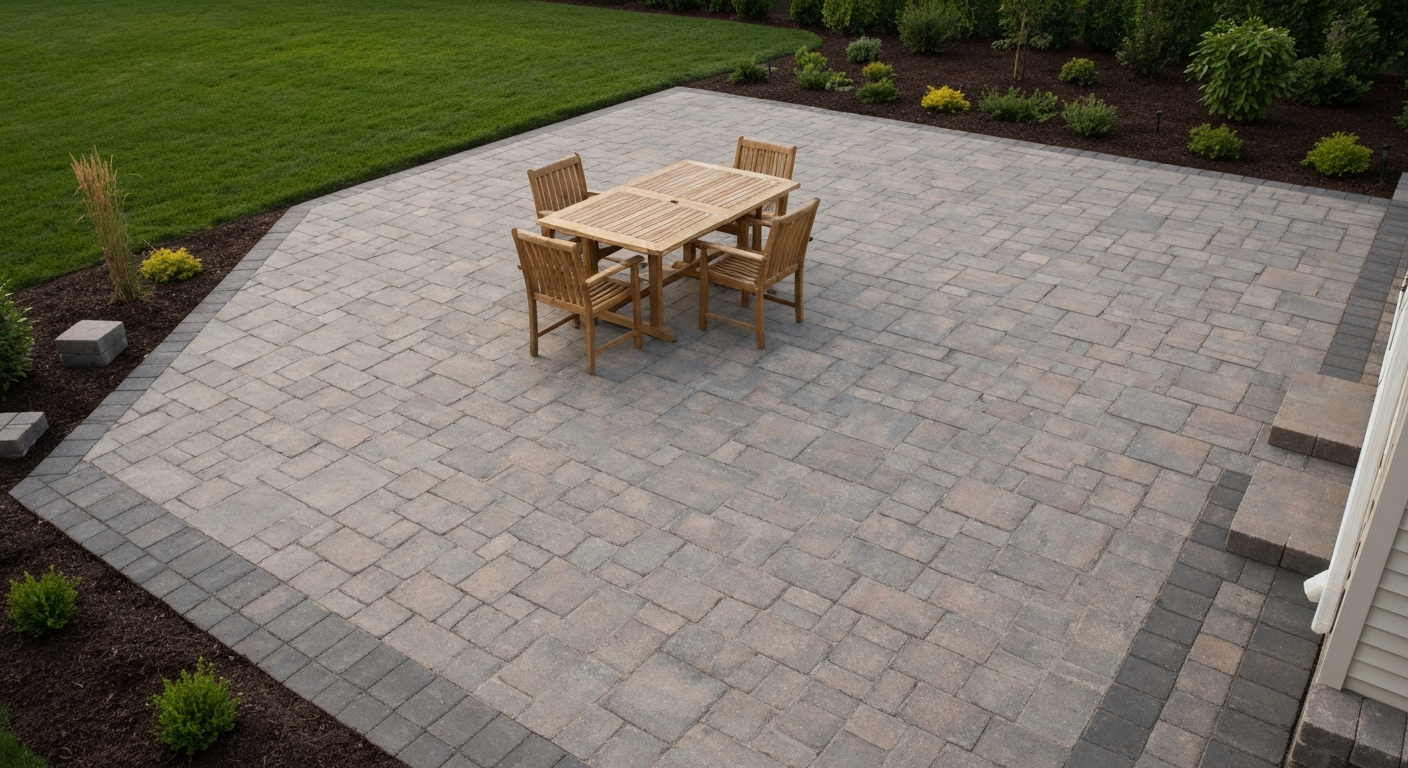
What this guide covers and who it is for
This guide is written for homeowners who want to plan and complete a 12x12 paver patio without hiring a contractor. For step-by-step instructions and tips on how to install 12x12 patio pavers, see our detailed installation guide. It walks you through every phase in order, from measuring and layout all the way through sealing and maintenance. You do not need professional experience, but you should be comfortable using a shovel, a level, and a rented plate compactor. If you have never laid pavers before, read the whole guide once before you buy a single bag of sand, because the planning decisions made at the start directly affect how smooth the installation goes. Experienced DIYers can jump to any section they need.
Planning and measuring your patio
Start on paper. Sketch your patio footprint, note the house wall or nearest structure, and decide which direction you want any slope to run. For step-by-step instructions on taking accurate site dimensions, see how to measure for paver patio (0f5a6609-447d-4434-9335-ad3b50a85418). Getting these numbers right before you order materials saves you both money and a second trip to the store.
Calculating square footage
For a rectangular or square patio, square footage is simply length multiplied by width. For a step-by-step walkthrough on how to measure square footage for patio pavers, see the measuring guide. Because each 12x12 paver covers exactly 1 square foot, the number of pavers you need equals your square footage before the waste factor. For example, a 16-foot by 14-foot patio is 224 square feet, so you start with 224 pavers and then add your waste allowance on top of that. For a running bond or straight grid pattern, add 5 percent waste. For a 45-degree diagonal pattern, add 10 to 15 percent because diagonal cuts produce more offcuts. For irregular shapes, break the area into rectangles, calculate each one, and add them together.
Squaring the layout with the 3-4-5 triangle method
A patio that is not square will cause every row of pavers to creep out of alignment as you work. The 3-4-5 triangle method is the easiest fix. Drive a stake at one corner of your patio. Run a string line along one edge. Measure 3 feet along that line and mark it. Now measure 4 feet along the perpendicular edge you want to establish and mark that. The diagonal between the two marks should be exactly 5 feet. If it is not, rotate the second string until it is. This gives you a perfect 90-degree corner. Repeat at each corner and verify with batter boards, which are horizontal boards set back from the actual excavation area so the string lines remain intact while you dig. Batter boards let you re-establish your layout lines after excavation without losing your reference points.
Setting your slope for drainage
Every paver patio needs a slope of at least 1/8 inch per foot, and 1/4 inch per foot is better. That works out to roughly 1 to 2 percent grade pitched away from the house or any structure. On a 16-foot-wide patio running away from the house, a 1/4-inch-per-foot slope means the far edge sits 4 inches lower than the edge against the house. Mark this slope on your string lines using a line level or a digital level. This slope is built into the excavated subgrade and carried through every layer above it, so it must be established now, not corrected later.
Choosing your paver size and pattern
Pattern options for 12x12 pavers
The 12x12 square format is one of the most versatile sizes available. Because the length and width are equal, you can rotate units in any direction without losing your grid. The most popular patterns include a simple grid (stack bond), running bond (each row offset by half a paver), herringbone at 90 degrees, and diagonal grid at 45 degrees. Running bond is the strongest pattern for residential use because the staggered joints distribute load better than a straight grid. Diagonal patterns create a visual sense of width and work well in narrow spaces, but they require more cuts at the edges. Herringbone is less common with square units but is achievable with a mixed-size layout.
How 12x12 compares with larger formats
If you are deciding between 12x12 and 16x16 pavers, the choice comes down to scale, weight, and effort. Larger pavers can look more modern and require fewer joints, but a standard 16x16 concrete paver at 2-inch thickness weighs around 22 to 25 pounds per unit, compared to a 12x12 at the same thickness weighing roughly 12 to 14 pounds. For most DIYers working alone, 12x12 units are significantly easier to handle, carry, and place precisely. Larger formats also require a flatter, more precisely screeded sand bed because any high spot is spread over a bigger surface area, making rocking more visible.
| Feature | 12x12 Paver | 16x16 Paver |
|---|---|---|
| Coverage per unit | 1 sq ft | 1.78 sq ft |
| Typical weight (60 mm / ~2.4 in) | ~12–14 lbs | ~22–25 lbs |
| DIY handleability | Easy to manage solo | Manageable but tiring |
| Joint lines visible | More joints, more texture | Fewer joints, cleaner look |
| Waste factor (straight pattern) | 5% | 5% |
| Waste factor (diagonal/cuts) | 10–15% | 10–15% |
| Forgiving of sand bed imperfections | More forgiving | Less forgiving |
| Best for | Classic, traditional, cottage styles | Contemporary, larger patios |
My recommendation: for a first-time DIY patio under 400 square feet, 12x12 is the smarter choice. You will set pavers faster, make corrections more easily, and your back will thank you at the end of day two.
Design decisions before you break ground
Drainage strategy
Drainage is the single most common cause of paver failure. Beyond the 1/4-inch-per-foot surface slope, think about where that water goes after it leaves the patio edge. If it runs toward a planting bed or lawn, you are probably fine. If it runs toward a neighbor's yard, a foundation, or a low spot that ponds, you need to plan a channel drain, a French drain, or a dry creek bed at the low edge before you install a single paver. If you have clay-heavy soil (check the USDA NRCS Web Soil Survey online for your parcel), your base depth may need to be increased and you may benefit from a layer of geotextile fabric between the subgrade and the aggregate base to prevent clay migration. For patios in areas with frequent heavy rain, permeable paver systems using an open-graded aggregate base and permeable jointing material are worth researching as an alternative.
Access, furniture, and edge treatments
Decide where doorways, steps, and furniture will sit before you finalize dimensions. A dining table with four chairs typically needs at least 12 feet by 12 feet of clear paver surface, not counting the walkway around it. Lounge furniture needs even more. Edge restraints are required on every exposed patio edge, not optional. They lock the perimeter pavers in place and prevent the entire field from slowly spreading outward. Plastic snap-together edge restraint spiked every 12 inches is the standard DIY solution. If you want a cleaner look, a concrete-set soldier course (pavers laid on edge as a border) or a poured concrete edge beam both work, but they add cost and complexity. The important thing is that every free edge has a restraint before you add jointing sand.
Tools you need and a few you can rent
Must-have tools
- Tape measure (at least 25 ft)
- Marking paint or marking chalk for layout
- Batter boards and string line with line level
- Flat-bottomed shovel and a square spade for cutting edges
- Wheelbarrow for moving aggregate and sand
- Hand tamper for tightening the edges after mechanical compaction
- Screed pipes (1-inch diameter conduit works well) and a 2x4 screed board
- Rubber mallet for seating individual pavers
- Long carpenter's level (4 ft minimum) and a line level
- Safety glasses, work gloves, steel-toed boots
Tools worth renting
- Vibratory plate compactor: rent a forward plate for base compaction; rent a reversible plate (also called a double plate) with a pad kit for final paver compaction — look for models rated at 5,000 lbf centrifugal force or greater for seating pavers properly
- Angle grinder with a diamond blade or a paver splitter (guillotine cutter) for straight cuts
- Wet saw (masonry saw) for precise or curved cuts
- Plate compactor with rubber pad attachment to protect paver surfaces during final passes
Safety tips
Cutting concrete pavers generates silica dust, which is a serious lung hazard. Always wear an N95 or P100 respirator when cutting, not just a dust mask. Use a wet saw when possible because it suppresses dust significantly. Eye protection is mandatory during both cutting and compaction. Pavers are heavy and the edges are sharp, so wear gloves every time you handle them. Keep the plate compactor away from paver edges already in place until those edges are restrained, because the vibration can shift unrestrained pavers. If you are renting a plate compactor for the first time, ask the rental yard to walk you through starting and stopping it before you load it.
Materials list and quantity calculations
Before you order anything, work through this material worksheet for your specific project. The example below uses a 200-square-foot patio (say, 16 ft x 12.5 ft) with a running bond pattern on typical residential soil. Adjust the base depth if your soil is clay-heavy, poorly draining, or subject to deep frost heave. Always confirm local frost depth requirements with your local building department, since the IRC and local amendments vary by region. Check the adopted local code (the IRC or local amendments) and local frost-depth values, see the 2024 International Residential Code (IRC) – Chapter 4 Foundations (code authority on frost protection/footings) for model frost-protection and footing guidance.
| Material | Formula / Rule | Example (200 sq ft) |
|---|---|---|
| 12x12 concrete pavers (60 mm / ~2.4 in thick) | 1 per sq ft × 1.05 waste factor | 210 pavers |
| Compactable aggregate base (crushed stone) | Area × base depth (in feet) × 1.35 (compaction factor) | 200 × 0.33 ft × 1.35 ≈ 3.3 cu yd (use 3.5 cu yd) |
| Coarse bedding sand (ASTM C33 or equivalent) | Area × 1 in. ÷ 12 × 1.2 | 200 × 0.083 × 1.2 ≈ 2 cu yd |
| Polymeric jointing sand | Manufacturer coverage chart, typically 60–80 sq ft per 50 lb bag | 200 sq ft = ~3 bags (check your brand) |
| Plastic edge restraint | Linear feet of perimeter | Measure your perimeter + 10% |
| Edging spikes (10 in. galvanized) | Every 12 in. along edge restraint | 1 spike per ft of restraint |
| Geotextile fabric (optional, recommended on clay soil) | Same as patio area + 1 ft overlap on all sides | ~225 sq ft |
| Paver sealer (optional, after installation) | Manufacturer coverage — typically 200–400 sq ft per gallon | 1 gallon for first coat |
The aggregate base is the single largest material expense. A standard residential pedestrian patio on good soil typically needs 4 inches of compactable aggregate base per ICPI recommendations, but you should increase that to 6 inches on clay soils or in freeze-thaw climates. If your base layer will be thicker than 4 inches, compact it in lifts: fill and compact the first 3 to 4 inches before adding the next layer. Trying to compact 6 or 8 inches all at once leaves the bottom layer loose.
Site-specific prep: grass, concrete, and uneven ground
Laying over grass
The most common scenario for a new patio is a grassy area in the backyard. Do not lay pavers directly over grass or topsoil, even if the ground seems level. Organic material compresses unevenly over time, causing settling and rocking pavers. You must remove all vegetation and topsoil completely. A typical excavation removes 8 to 10 inches of material to accommodate a 4-inch aggregate base, 1-inch bedding sand, and a 2.4-inch (60 mm) paver on top of that. If your pavers are thicker or your base depth is greater, excavate deeper. Measure and mark your excavation depth with a stake at each corner before you start digging so you have a target.
Installing over existing concrete
Laying pavers over an existing concrete slab is possible, but only if the slab is structurally sound, has no major cracks or heaving sections, and you account for the added height (the paver surface will sit about 3.5 to 4 inches above the existing slab surface once bedding sand and the paver thickness are added). Check every door threshold, drainage inlet, and transition edge before committing. If the concrete is cracked but stable, it can act as a solid base. Fill any cracks with hydraulic cement or a concrete patching compound first. Use a 1-inch bedding sand layer directly over the concrete, skip the aggregate base entirely, and go straight to screeding and laying. Make sure drainage slope is maintained, and check that your edge restraints can be anchored through the concrete with concrete screws.
Working on uneven or sloped ground
Gently sloped ground is not a problem as long as you establish the correct grade with your string lines before excavating. The patio surface slope (1/4 inch per foot) may run with the natural ground slope or across it, depending on your layout. Steeply sloped ground is a different situation. If the natural grade exceeds about 1 inch of drop per foot across the patio area, you need to either cut into the high side and build a retaining edge on the low side, or build a raised patio with a perimeter wall. Trying to compensate for significant grade change by varying the base depth alone creates a structurally inconsistent foundation. On moderate slopes, string lines and batter boards become even more critical because you need a consistent reference elevation to screed accurately across the whole area.
Excavation and grade preparation
Setting up batter boards and string lines
Batter boards are your most important layout tool. Set them back about 2 feet beyond each corner of your planned patio so they are outside the excavation zone. Drive two stakes per corner and nail a horizontal board across them at a consistent height above your intended finished paver surface. Stretch string lines between opposite batter boards, crossing at the corners of your layout. Use a line level on each string to confirm the lines are level (or set at your intended slope). The intersection points of the strings mark your four corners. Lower the strings by the total thickness of your paver stack (paver + sand + base) to mark the subgrade excavation depth at each corner. This is your target dig depth.
Excavation depth: calculating your numbers
Work backward from your desired finished surface height. A 60 mm (2 3/8-inch) paver plus 1 inch of bedding sand plus 4 inches of compacted aggregate base equals roughly 7.4 inches of total depth below finished grade. Round up to 8 inches to give yourself room to fine-tune. On poor soils or in cold climates with deep frost, increase the aggregate base to 6 inches, which puts your total excavation at about 10 inches. Mark the depth on a stake driven at several points across the dig area and use it as a gauge while you work. After excavating, compact the exposed subgrade with your plate compactor before adding any base material. If the soil is soft and your foot leaves deep impressions, that subgrade is not ready for a base layer yet.
Building and compacting the aggregate base
Spread compactable crushed stone (also called road base, crusher run, or Class II base aggregate depending on your region) in a 3 to 4-inch lift and compact with a vibratory plate compactor. Make overlapping passes in two perpendicular directions. If your total base depth is more than 4 inches, add material in stages and compact each lift separately before adding the next. The finished base surface should feel absolutely solid under foot, with no movement. Re-check your slope with a level or a string line after compaction, because compacted aggregate settles and the slope can shift slightly. Correct any low spots before moving on to the sand layer. Adding sand to fix a low spot in the base leads to differential settling later.
Screeding the bedding sand layer
Lay two 1-inch diameter metal conduit pipes parallel to each other across the compacted base, spaced about 6 feet apart, as screed guides. These act as rails. Pour bedding sand between them and drag a straight 2x4 board across the tops of the pipes to create a perfectly flat, 1-inch-thick sand surface. Pull the conduit pipes out as you progress, fill the channels with sand, and smooth them by hand. Do not compact the bedding sand before laying pavers, it needs to remain loose and workable so the pavers can be set into it and adjusted. The bedding sand layer serves as a fine-tuning surface, not a structural base, so keep it at a consistent 1 inch.
Laying the pavers: step by step
- Start at a fixed straight edge (the house wall or a chalk line) and lay the first row of pavers along it. Set each paver by placing it down rather than sliding it, to avoid disturbing the sand bed.
- Work outward in one direction, keeping your body weight off the newly set sand. Use a kneeling board (a piece of plywood) to kneel on already-placed pavers rather than on bare sand.
- Maintain consistent joint spacing. Most 12x12 concrete pavers are manufactured with small nubs (spacer lugs) that set a joint width of about 1/8 to 3/16 of an inch. If your pavers lack lugs, use plastic tile spacers or a folded piece of cardboard as a guide.
- Check your surface level and slope every 4 to 6 pavers in both directions using a long straightedge or level. High pavers can be gently tapped down with a rubber mallet. Low pavers should be lifted, sand added underneath, and replaced.
- Run a string line at the intended finished height along each row as a reference. This keeps the surface from creeping up or down over a long run.
- Cut pavers for border pieces using an angle grinder with a diamond blade, a paver splitter, or a wet masonry saw. Score and snap is possible for straight cuts with a simple bolster chisel and hammer, but a saw gives cleaner edges.
- Install edge restraints along all exposed perimeter edges before proceeding to compaction. Spike them through the base into the subgrade every 12 inches, and at every corner.
- Run the plate compactor (with a rubber pad attachment to protect paver surfaces) over the entire paved area in two perpendicular directions at 75 to 100 Hz. The ICPI specification calls for at least 15 psi at the paver surface. A good rental unit at 5,000 lbf centrifugal force will meet this.
- Spread dry polymeric jointing sand across the surface after the first compaction pass. Sweep it into the joints with a push broom, then run the compactor over the surface again to seat the sand. Repeat until joints are full.
- Mist the surface lightly with water to activate the polymer binder in the jointing sand, following the manufacturer's instructions precisely. Do not overwater.
Sealing, finishing, and maintenance
Sealing is optional but it extends the life of your jointing sand, enhances color, and makes the surface easier to clean. Wait at least 30 days after installation before sealing so the pavers can cure and any efflorescence (white salt deposits) can work its way out. Clean the surface thoroughly before applying sealer. ICPI recommends following the manufacturer's instructions for both jointing material and sealer products, since formulations vary. Most penetrating sealers cover 200 to 400 square feet per gallon and need reapplication every 2 to 3 years. Avoid film-forming sealers on freeze-thaw climates because they can trap moisture and cause surface spalling.
For ongoing maintenance, sweep the patio regularly to prevent debris from breaking down into the joints. Re-sand joints when the polymeric sand starts to erode, typically every 3 to 5 years depending on weather and traffic. If individual pavers crack or shift, remove them with two flat screwdrivers as levers, re-level the sand, and reset. This is one of the biggest advantages of sand-set pavers over poured concrete: repairs are easy and do not require a jackhammer.
Realistic time and cost expectations
For a first-time DIYer doing a 200-square-foot patio, plan for two full days of work, possibly three if site conditions are challenging (sloped ground, difficult excavation, a lot of cuts). Day one is typically excavation, base compaction, and sand screeding. Day two is laying, compacting, and jointing. Day three (or evening of day two) handles edge restraints, sealing prep, and cleanup. Tool rental for a plate compactor runs roughly $80 to $150 per day depending on your area. Material costs as of 2026 for a 200-square-foot patio will typically run $600 to $1,500 for pavers (depending on the brand and finish), $150 to $250 for aggregate base and sand, $50 to $100 for edge restraint and jointing sand, and $100 to $200 for sealer. Total DIY material cost often falls in the $900 to $2,000 range, compared to $4,000 to $8,000 or more for professional installation of a similar-sized patio.
Troubleshooting common problems
| Problem | Likely cause | Fix |
|---|---|---|
| Pavers rocking or uneven after installation | Inconsistent bedding sand depth or improperly compacted base | Remove affected pavers, re-screed sand, reset and recheck with level |
| Water pooling on the surface | Insufficient slope or low spot in base | Re-grade by lifting pavers, adding base material to low areas, re-screeding sand, resetting |
| Joints washing out after rain | Polymeric sand not fully activated or applied too thin | Remove old sand, clean joints, reapply polymeric sand and activate correctly |
| Pavers creeping apart over time | Missing or inadequate edge restraint | Install proper plastic or concrete edge restraint on all free edges |
| Efflorescence (white film) on pavers | Calcium hydroxide migrating to surface — normal in new concrete pavers | Wait 30 days, then clean with a diluted white vinegar solution or efflorescence cleaner |
| Frost heaving in cold climates | Inadequate base depth or poor drainage trapping water under the base | Increase base depth to below local frost depth; add drainage as needed |
When to call a professional
Most homeowners can handle a standard ground-level patio confidently. But a few situations genuinely warrant a pro: a patio that requires a structural retaining wall, a raised patio more than 18 inches above grade, drainage issues that involve rerouting downspouts or modifying grading near your foundation, or a site with expansive clay soils that may require geotechnical input on base design. If you are unsure about your soil type, the USDA NRCS Web Soil Survey is a free tool that lets you look up soil properties for your specific parcel, which helps you make a more informed decision about base depth and drainage needs.
Keep building on your progress
Once you have completed your first 12x12 paver patio, you will have the foundational skills to tackle more advanced projects. The same excavation, base-building, and laying techniques apply whether you move up to 16x16 units, add a fire pit area in the corner, or design a raised patio with a step-down level. Getting your measurements right before you dig is always the most important step, and understanding how to square a patio layout properly means every row you lay stays straight from first to last. For a step-by-step walkthrough on lining and squaring your layout, see how to square a paver patio (resource 6411eefe-16f0-483f-9e19-b14cfd9dc09f). Master those fundamentals and you will find that almost any paver project in your yard starts to feel very manageable.
FAQ
What industry standards and technical specs must the guide reference to be authoritative?
Cite ICPI Tech Spec 2 (Construction of Interlocking Concrete Pavements) for base, bedding, compaction and unit thickness guidance; ICPI Tech Spec 3 for edge restraints; ICPI Tech Spec 5 for jointing sands, cleaning and sealing. Reference ICPI/CCPIC guide specs where available for performance tolerances and compaction procedures.
Which government or public resources are essential for site-specific design decisions?
Use the USDA NRCS Web Soil Survey to identify soil type, drainage and hydrologic properties that drive base depth and drainage solutions. Reference the U.S. EPA guidance on permeable pavements/PICP for stormwater best practices when discussing permeable designs. Direct readers to check local building department rules and the International Residential Code (IRC) for frost-protection and other local code requirements.
What product-level information is required for accurate material lists and calculators?
Obtain manufacturer product datasheets (e.g., Belgard, Unilock) showing 12×12 unit coverage (ft²/unit), available thicknesses (60/80/100 mm), per-unit weight, recommended joint widths and bundle coverage. Use retail SKU pages for real-world pricing and packaging details. Include manufacturer guidance for bedding/joint widths and sealer/ polymeric sand compatibility.
What measurements and layout techniques must the guide teach homeowners?
Show how to measure square footage (area = length × width), include waste allowance (5–15% by pattern/cuts), and calculate units = area ÷ unit area × (1 + waste%). Teach squaring and grade layout with batter boards, string lines and the 3‑4‑5 (Pythagorean) method, and how to set finished slope (≈1%–2% or 1/8"–1/4" per ft) away from buildings for drainage.
What soil and subgrade investigations are needed and what guidance sources back them?
Advise homeowners to check Web Soil Survey for soil type and drainage; on-site visual inspection for organic topsoil, high-clay zones, or saturated areas; and to probe for soft spots. Use geotechnical guidance to adjust aggregate base depth for weak soils and reference Standard/Modified Proctor targets (95%–98% compaction) where structural performance matters.
What base and bedding specifications should the guide provide (thickness, materials, compaction)?
Follow ICPI: typical pedestrian patios use aggregate base depths starting ~4 in. (100 mm) over competent subgrade, increased for poor soils or heavy loads. Specify bedding sand nominally ~1 in. (25 mm) over compacted base for sand-set installations. Recommend compacting base in lifts (commonly 3–4" / 75–100 mm per lift) to target relative density and using a plate compactor sized for the job; cite ICPI compaction procedures and contractor references for lift thickness and density guidance.
Next Articles
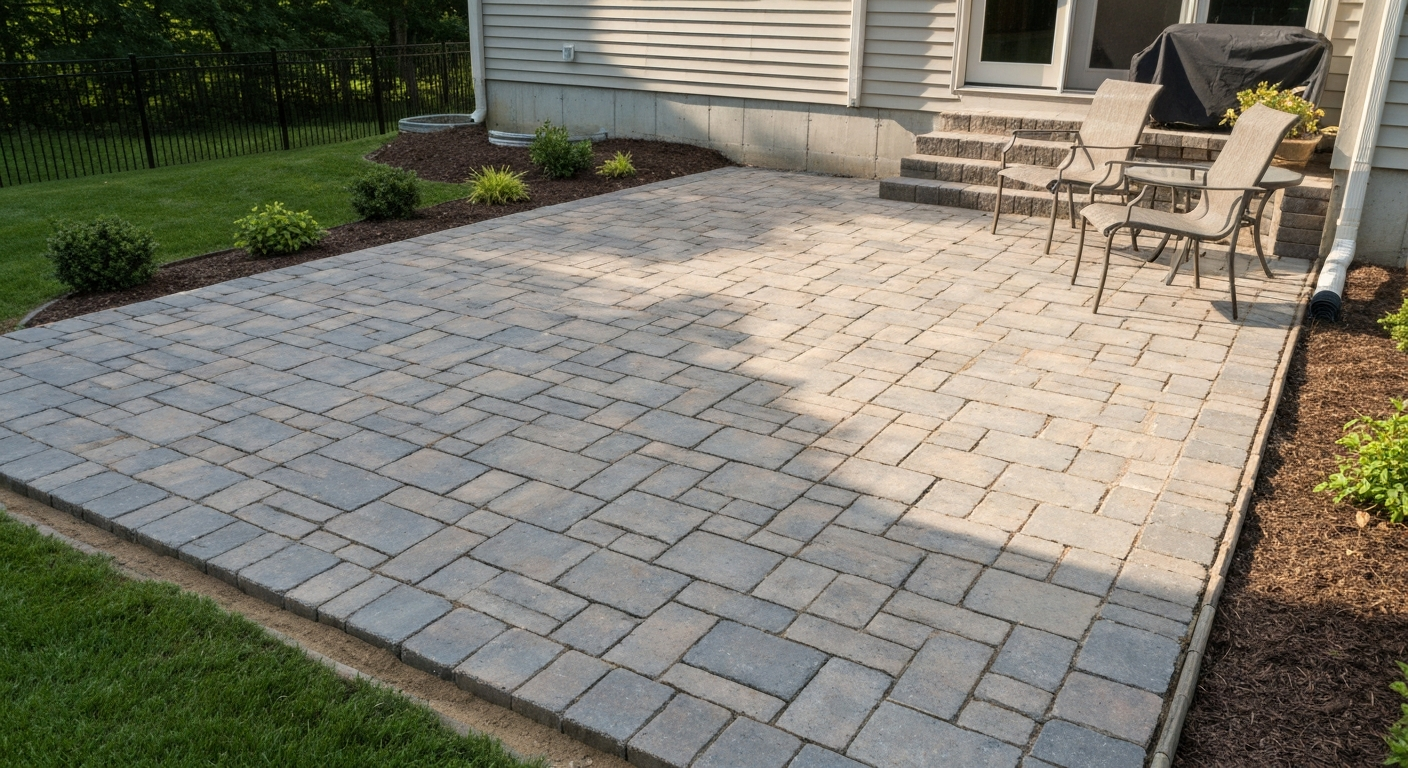
How to Install 16x16 Patio Pavers: Complete DIY Guide
How to install 16x16 patio pavers: DIY guide with measuring, base prep, cutting, compaction, costs, troubleshooting.
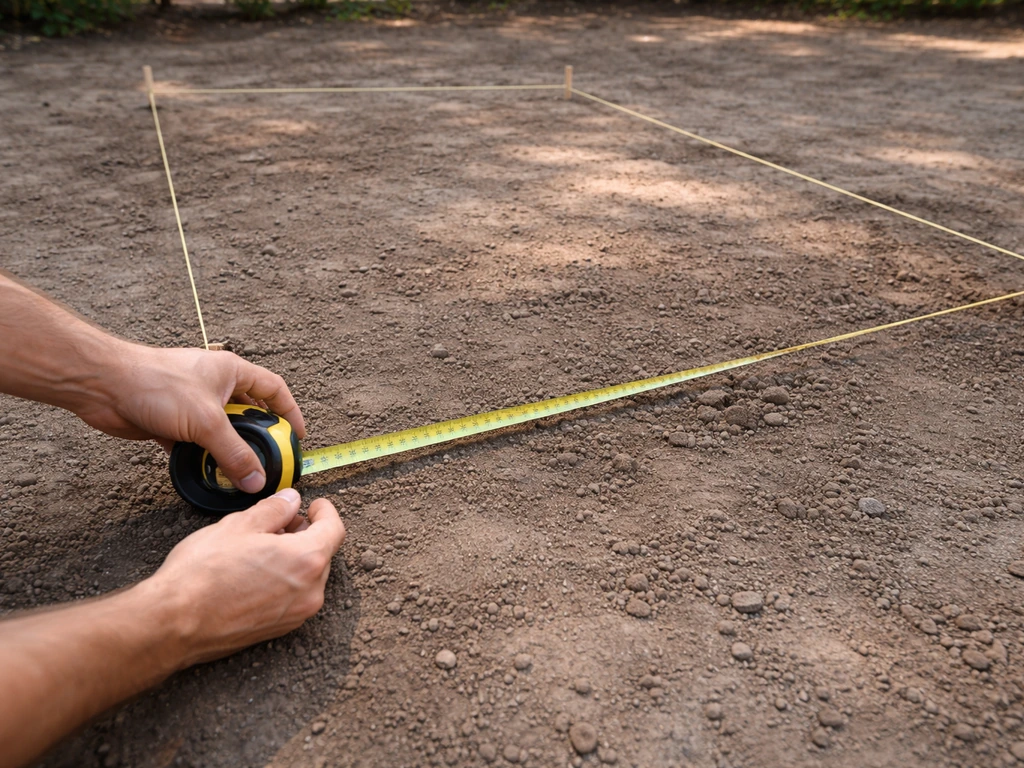
How to Measure for a Paver Patio: Step-by-Step Guide
Measure patio and pavers accurately, plan slope and borders, estimate square footage, cuts, and waste for DIY ordering.
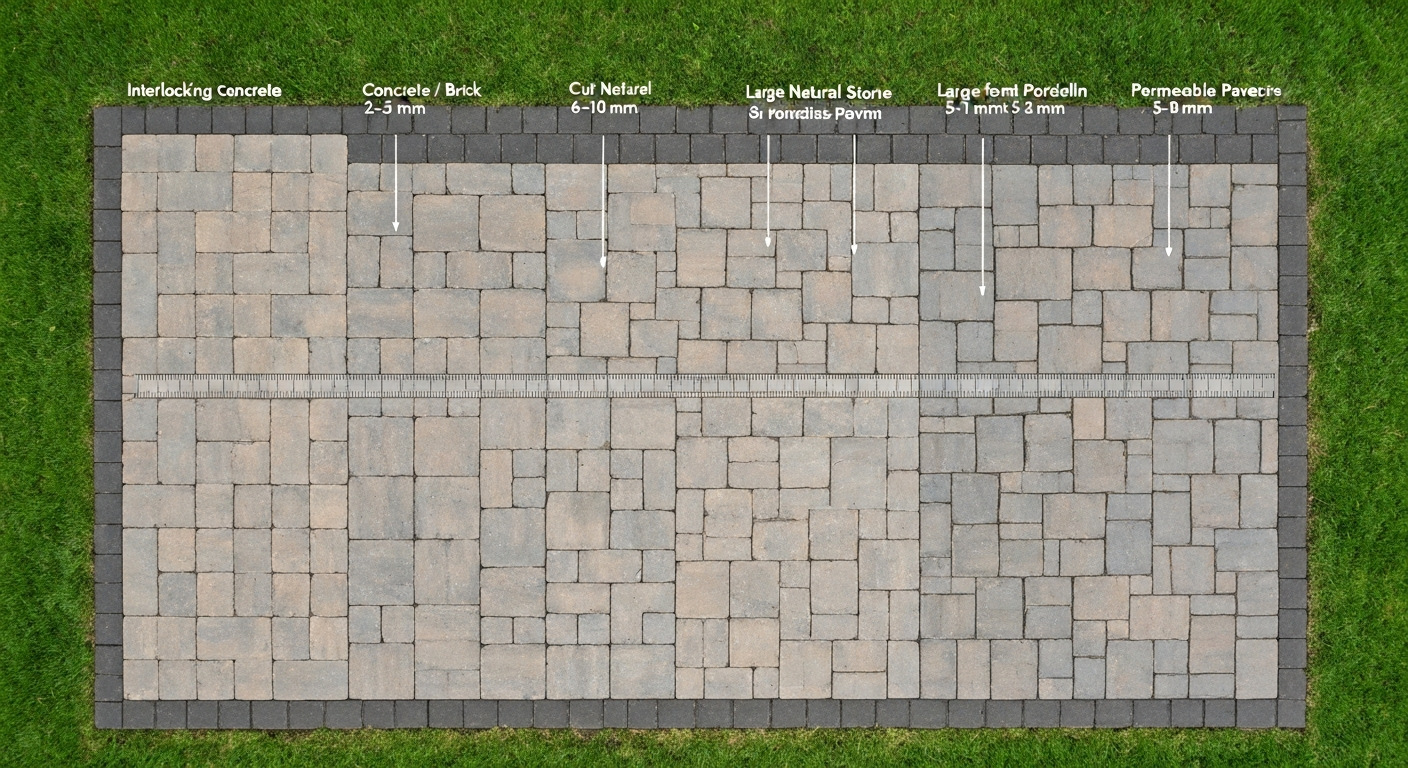
How to Space Patio Pavers: Joint Widths & Finishing Tips
How to space patio pavers: exact joint widths by paver type, step‑by‑step spacing, jointing & finishing tips.