You can absolutely lay patio pavers yourself. The process breaks down into six phases: planning and estimating materials, excavating and grading the site, building a compacted gravel-and-sand base, setting the pavers in your chosen pattern, finishing with edge restraints and joint sand, and finally sealing and maintaining the surface. Do each phase correctly and you'll end up with a patio that looks great, drains properly, and doesn't sink or shift for years. If you want the best way to set patio pavers, follow the sand-set steps in order and focus on proper base prep and compaction. Skip corners on the base prep and you'll be releveling pavers within a season. Here's exactly how to do it right.
How to Lay Patio Pavers DIY: Step-by-Step Guide

Felix Rowe
27 Jun 2026

Phase 1: Project Planning and Material Takeoff
Start by measuring your patio area precisely. Sketch it on paper, note all dimensions, and calculate the square footage. Then add a waste factor on top of your paver count because cuts, breakage, and pattern adjustments always eat into your supply. For a straightforward running-bond or grid layout, a 10% waste factor is usually enough. If you're doing herringbone or a diagonal pattern, bump that up to 15% because you'll be making far more angled cuts. For curved or irregular borders, some installers add a few extra percent on top of that.
Beyond the pavers themselves, you need to estimate gravel, bedding sand, and polymeric joint sand. A standard residential patio build uses 4 to 6 inches of compacted crushed stone base plus about 1 inch of bedding sand. So for a 200-square-foot patio at 5 inches of gravel, you're looking at roughly 3 cubic yards of crushed stone before compaction (gravel compacts, so order a bit extra). One inch of bedding sand over 200 square feet is about 0.6 cubic yards. Joint sand quantity depends on paver thickness and joint width, but most bags list coverage on the label.
| Material | Typical Quantity (200 sq ft patio) | Notes |
|---|---|---|
| Concrete pavers | 200 sq ft + 10–15% waste | Add 15% for herringbone/diagonal patterns |
| Crushed stone base | ~3 cubic yards (for 5 in depth) | Order extra to account for compaction loss |
| Bedding sand | ~0.6 cubic yards (1 in layer) | Do not substitute with regular play sand |
| Polymeric joint sand | Per label coverage rate | Check bag for sq ft coverage at your joint width |
| Edge restraint | Perimeter linear footage | Add 10% for corners and overlaps |
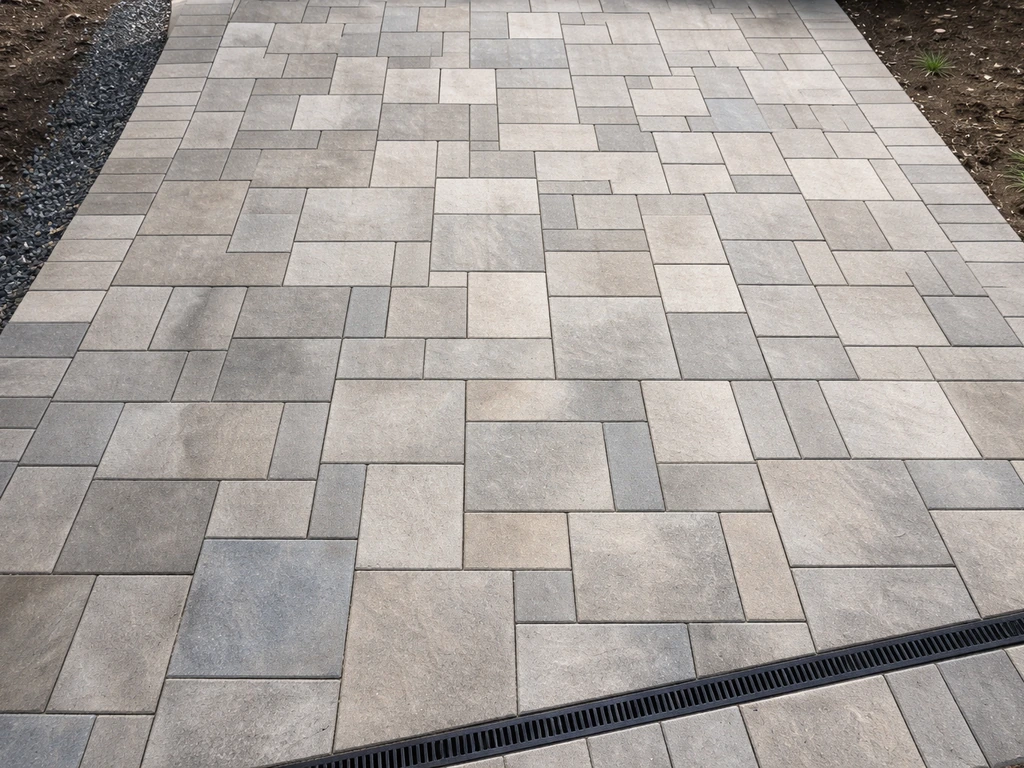
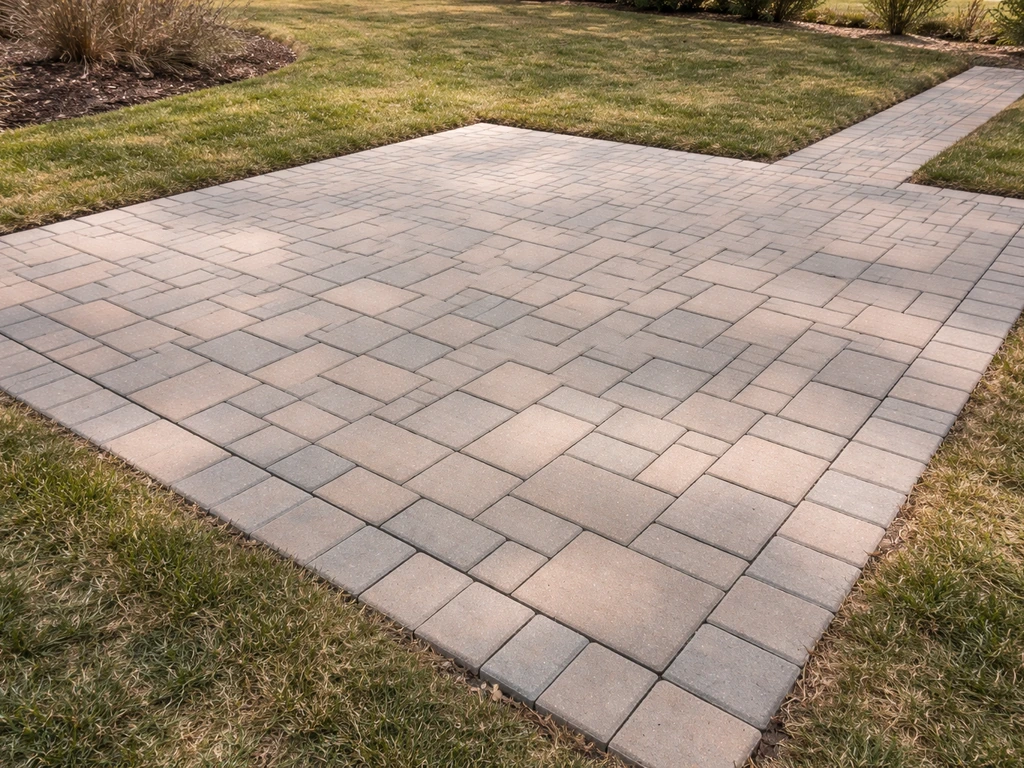
While you're planning, settle on your paver pattern. The most DIY-friendly options are running bond (like brick, offset by half), stack bond (grid), and basketweave. Herringbone looks excellent and locks up tightly, but it demands more cuts and more patience. Choose your pattern before ordering materials so your waste factor is accurate.
Tools to gather or rent before you start: plate compactor (rent this, don't borrow a hand tamper for anything bigger than a small area), wet-cut paver saw or angle grinder with a diamond blade, rubber mallet, paver chisel, screed pipes or conduit (about 1-inch diameter), long screed board, torpedo level, 4-foot level, string lines and stakes, tape measure, and a wheelbarrow. The plate compactor and wet saw are the two items most DIYers underestimate. Renting both for a weekend usually runs $150 to $250 depending on your area. It's worth every dollar.
Phase 2: Site Prep and Getting the Grade Right
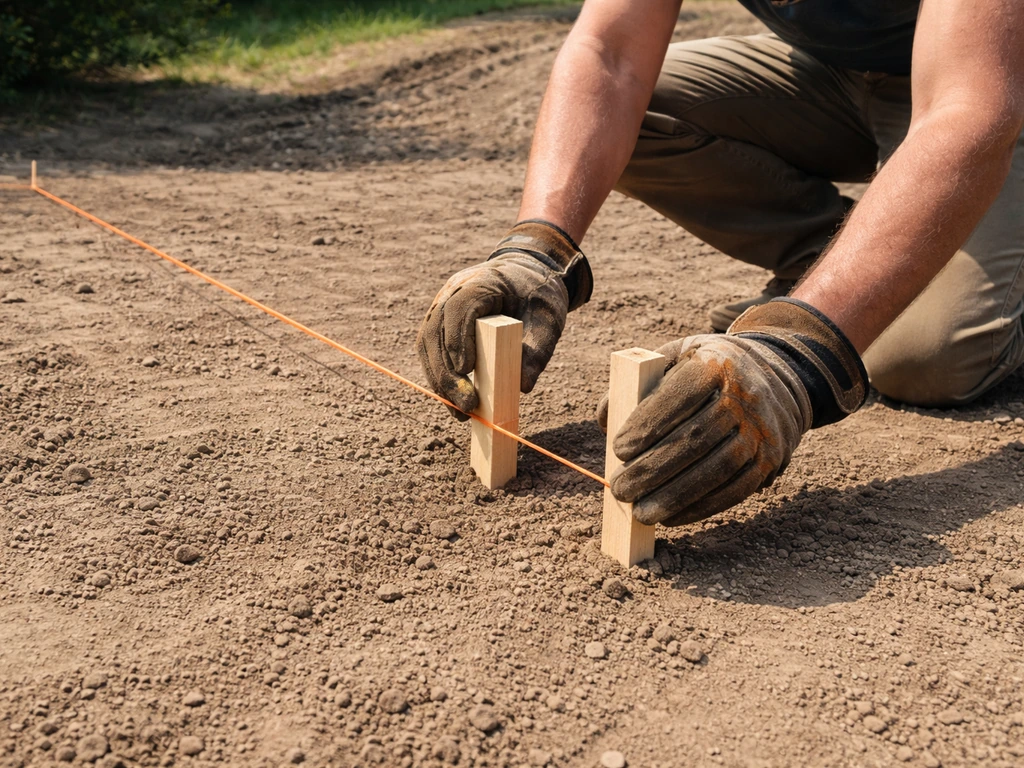
This is the phase that determines whether your patio ever pools water. Get it right here and everything downstream is easier. The goal is a compacted subgrade that slopes away from your house at a minimum of 1% grade, which works out to about 1/8 inch per foot. So a 10-foot-wide patio needs roughly 1.25 inches of fall from the house edge to the outer edge. That slope carries through every layer above it, all the way to the finished paver surface.
Start by marking out your patio area with stakes and string lines, then strip all sod, roots, and organic material. You can't build a stable base on anything that will decompose or shift. Once the sod is cleared, excavate to the depth you need. For most residential patios with standard 2.375-inch pavers, you're digging down about 7 to 8 inches total: 5 inches for base gravel, 1 inch for bedding sand, plus the paver thickness. Mark that depth on your stakes and check constantly with a tape measure as you dig.
After excavation, compact the exposed native soil (the subgrade) with your plate compactor. Run the compactor over the entire area, then check for soft spots by pressing your heel firmly into the soil. If you sink in, that area needs more compaction or you may have weak soil that needs to be dug out and replaced with compactable fill. Soft subgrade is the number one cause of paver settling later on. If you're working in an area with heavy clay soil, this step is especially important because clay holds moisture and can heave.
Once the subgrade is compacted and sloped correctly, lay down landscape fabric if you want to prevent weed growth through the base (optional but helpful). Don't skip verifying your slope at this stage using a level and tape measure across string lines. It's much easier to adjust the grade now than after you've added 5 inches of gravel. If you're also wondering where to start laying patio pavers, make sure the grade is correct before you spread bedding sand.
Working Over Existing Concrete or Uneven Ground
If you have an existing concrete slab, you can sometimes lay pavers directly over it using a thin mortar-set or dry-lay approach, but that's a different process from the sand-set method described here. Mortar-bed installations are different from the sand-set method in this guide, so make sure you follow the proper steps for laying patio pavers with mortar how to lay patio pavers with mortar. The sand-set system in this guide works best on native soil. For uneven ground with significant grade changes, you may need to bring in fill and recompact in lifts rather than just cutting down. Either way, the finished subgrade needs to be uniform, stable, and sloped correctly before anything else happens.
Phase 3: Building the Base (Gravel, Compaction, and Bedding Sand)
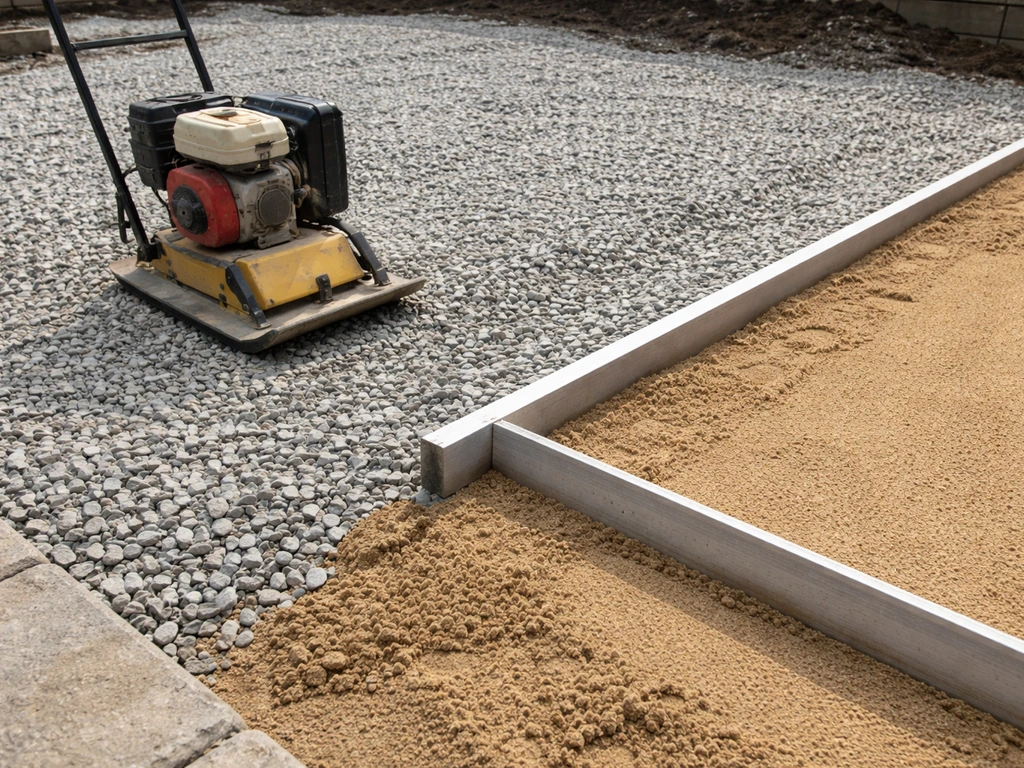
The base is the structural backbone of your patio. Rushing through it is how you end up with a wavy, sinking surface two years from now. Bring in your crushed stone (often called 3/4-inch minus, crusher run, or road base depending on your region) and spread it in layers no thicker than 4 inches at a time.
Mutual Materials’ standard installation guidelines also call for adding 1″, 2″ of minus rock over compacted subgrade, followed by edge restraint placed on the compacted base adding 1″–2″ of minus rock over compacted subgrade, then placing edge restraint on the compacted base. Compact each lift fully with the plate compactor before adding the next one.
For a 5-inch total depth, that usually means two passes: a 3-inch layer, compact it, then a 2-inch layer, compact again. The gravel should feel rock-solid when you're done and not shift underfoot.
After the gravel base is fully compacted, check your slope one more time. Set string lines at your finished paver height and measure down to the gravel surface at multiple points. You want a consistent 1 inch of clearance for your bedding sand across the whole area. Adjust any high or low spots in the gravel now, not later.
Now set your screed rails. Lay two pieces of 1-inch-diameter conduit or pipe parallel across the compacted gravel, spaced about 5 to 6 feet apart. These become your guides for creating a perfectly flat, 1-inch-deep sand bed. Dump coarse bedding sand (not fine play sand) between the rails, then drag your screed board across the pipes to create a smooth, even surface. Work in manageable sections, a few feet at a time, so you're not stepping on screeded sand before pavers go down.
One critical rule: do not compact the bedding sand before you set pavers. This feels counterintuitive but it's important. The pavers are meant to settle slightly into the loose sand when you do the final compaction pass. Pre-compacting the sand locks it up and prevents that from happening properly. Screed it smooth, pull your rails, fill those grooves with sand and re-smooth them, then start laying pavers immediately.
Phase 4: Laying the Pavers (Patterns, Alignment, Leveling, and Cutting)
Pick your starting point carefully. If you need more guidance, these tips for laying patio pavers cover layout choices, grading, and installation steps from start to finish. For most patios, you want to start from the most visible corner or straight edge, typically the house-facing side, and work outward. Snap a chalk line or run a string line along your first row as a reference. Keep that line taut and check back to it every few rows because small drift adds up fast and you'll notice a crooked pattern from across the yard.
Set each paver by placing it straight down onto the sand without sliding it. Sliding disrupts the screeded surface and creates voids. Use a rubber mallet to tap each paver gently if it's sitting too high. Most pavers have built-in spacer nubs on the sides that create automatic joint spacing, but if yours don't, use plastic spacers or eyeball a consistent 1/8-inch gap. Check your work with a 4-foot level as you go, both within a row and across rows.
Maintain your pattern reference by running string lines a few inches above the paver surface at regular intervals. This helps you catch drift early. A row that looks barely off at paver 5 will be noticeably wrong by paver 20. Stop and adjust before it becomes a problem.
Cutting Pavers to Fit
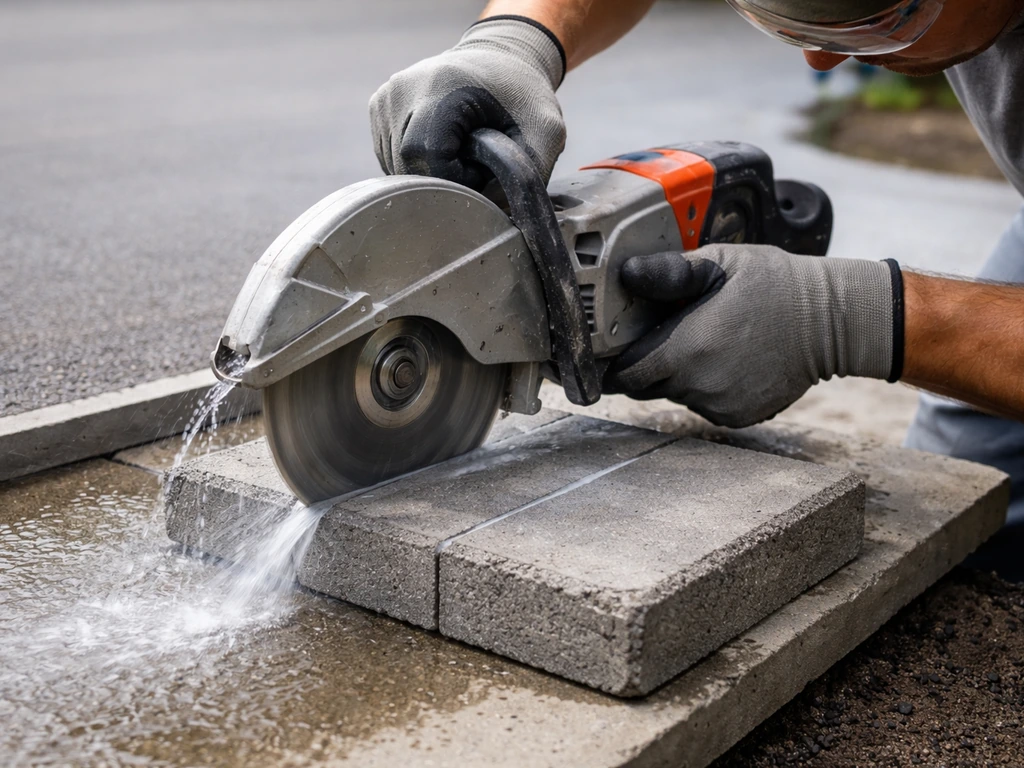
Save all your border cuts for last. Lay the full field first and mark the cuts needed along the edges. For straight cuts, a wet-cut diamond-blade saw gives the cleanest results and significantly reduces the dust you'd otherwise inhale. A circular saw with a diamond blade or an angle grinder works for occasional cuts, but a dedicated wet paver saw is far faster and more accurate for anything more than a handful of cuts. Wet cutting also extends blade life.
For simple straight cuts with no access to a wet saw, the score-and-break method works: score a groove across the paver face with a chisel and hammer or angle grinder, then tap along the score line from underneath to snap it. The results are rougher than a saw cut, but for cuts hidden under edge restraint or along the border they're usually acceptable. For curved borders or detailed cuts, there's no substitute for a wet saw.
Phase 5: Finishing Up (Edge Restraints, Joint Sand, and Final Compaction)
Edge restraints are non-negotiable on a sand-set paver system. ICPI Tech Spec 3 materials emphasize that mechanical interlocking concrete pavement systems need edge restraint, and that bedding sand and overall performance depend on proper restraint and jointing [Edge restraints are non-negotiable on a sand-set paver system. ](https://www. angeluspavingstones.
com/wp-content/uploads/2022/01/AngelusCoverSheet-TechSpec3. pdf). Without them, the pavers at the perimeter will gradually push outward under load and foot traffic, the joints will open up, and the whole system loses its interlock. Install plastic or aluminum paver edging along all exposed patio edges, spiking it into the compacted base through the bedding sand layer with 10-inch spikes every 12 inches or so.
The restraint goes against the outside face of your border pavers and gets nailed directly into the compacted gravel base beneath. Do not install it over uncompacted soil.
With edge restraints in place, run the plate compactor over the entire paver surface. Use a rubber compaction pad on the plate compactor to protect the paver faces. Make at least two to three passes in different directions. You'll see the pavers settle slightly into the bedding sand during this step, which is exactly what you want. After compacting, check for any pavers that are still noticeably high or low and adjust them individually by lifting and adding or removing sand underneath.
Now sweep in your polymeric joint sand. Pour it over the surface in a generous amount and sweep it into all the joints with a stiff broom. Work it in thoroughly, make multiple passes, then use a leaf blower on low to clear all excess sand off the paver faces. This step is important because any polymeric sand left on the surface when you activate it with water will leave a haze. Once the paver faces are clean and joint gaps are full, do a final gentle pass with the plate compactor to help vibrate the sand deep into the joints.
Activate the polymeric sand with water using a gentle shower setting on your hose, not a jet. Mist the surface in slow passes until the sand is dampened through but not flooded. Flooding will wash the binder out of the joints. Let it cure for at least 24 hours before allowing foot traffic, and keep it dry for that period. Check the weather before you start this step: Techniseal and other major manufacturers specifically recommend avoiding polymeric sand installation if rain is expected within 24 hours.
Phase 6: Sealing, Weather Timing, and Long-Term Maintenance
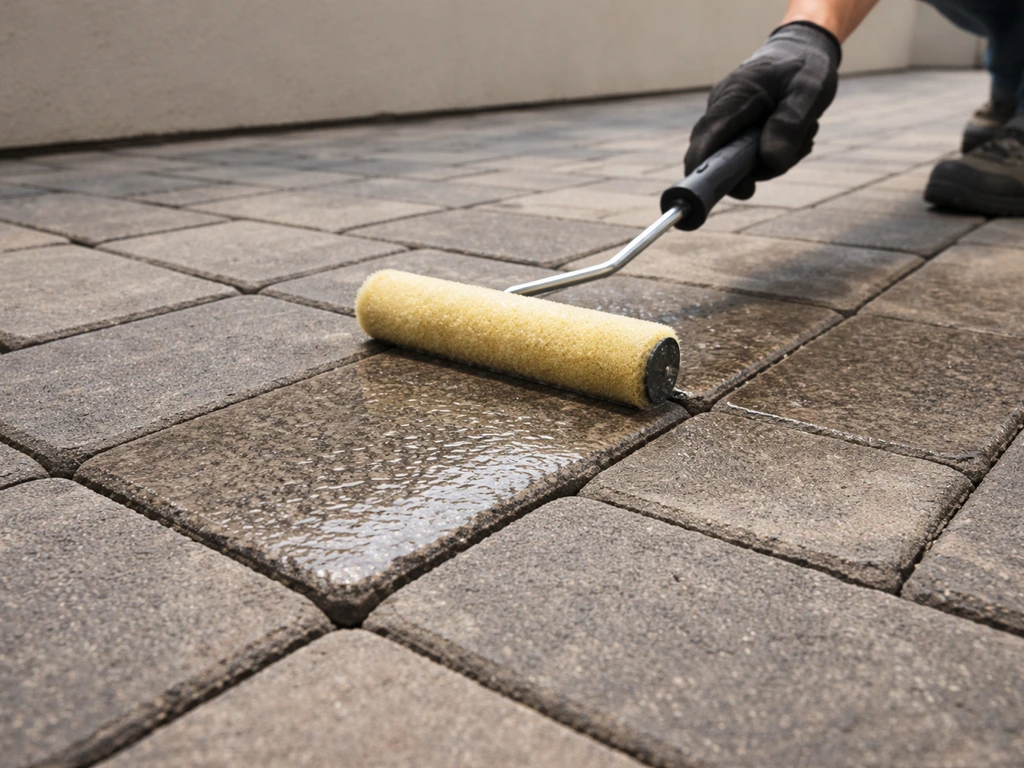
Wait before you seal. Most guidance calls for at least 6 weeks after installation before applying a sealer, and some sources suggest 30 to 60 days depending on your climate and how much moisture the pavers have been exposed to. The reason is simple: you don't want to trap moisture under the sealer before the pavers and base have fully dried and cured. Sealing too early can cause a milky haze or bubbling that's difficult to fix. Give the patio time to breathe.
When you're ready to seal, choose a day with temperatures between 50 and 90 degrees Fahrenheit, no rain in the forecast for 24 to 48 hours, and dry pavers. Apply a paver-specific sealer (either a wet-look or natural-look finish, depending on your preference) with a pump sprayer or roller, working in manageable sections. Apply two thin coats rather than one thick one for better penetration and a more even finish. Keep people and pets off the surface until fully cured, typically 24 hours.
For ongoing maintenance, plan to reseal every 3 to 5 years depending on traffic and exposure. Keep joints topped up: polymeric sand can settle or erode slightly over time, and refilling joints prevents weeds from taking hold and keeps the interlock tight. Occasional cleaning with a gentle pressure washer or a paver-safe cleaner handles most staining. Avoid using deicing salts in winter, as they can damage the paver surface and erode joint sand. If you ever notice a section of pavers sinking or rocking, the fix is usually straightforward: pull those pavers, add or level the bedding sand underneath, reset, and re-compact.
Realistic Time and Effort Expectations
A 200-square-foot patio is a solid weekend project for one or two capable DIYers, assuming you're renting equipment and have materials delivered beforehand. Expect to spend most of day one on excavation, base gravel delivery, and compaction. Day two covers screeding, paver layout, cuts, and edge restraint. Polymeric sand and cleanup finish out day two or can happen on day three. Don't try to rush the base phase to get to the fun part. The hours you spend getting the gravel compacted and level are the most important hours of the whole project.
If at any point you're dealing with seriously unstable soil (old buried debris, heavy clay that won't compact, areas with significant water drainage issues), that's worth a call to a landscape contractor before you build on top of it. Everything else in this guide is genuinely within reach for a motivated DIYer with the right tools and a willingness to take it one phase at a time.
FAQ
How do I make sure my patio slope is correct before I lay pavers? (So it drains and doesn’t pool water)?
If your patio needs a noticeable slope for drainage, snap your finished-height strings using the finished paver elevation, then measure back to the compacted gravel at multiple points. Fix slope in the gravel before you screed sand. Once the pavers are on sand, you can only adjust by lifting individual units, which is slow and creates uneven bedding depths.
Can I use polymeric joint sand for the base or bedding when I’m laying patio pavers DIY?
You should not use polymeric joint sand as a bedding layer. Bedding sand is for setting and final leveling of the pavers, while polymeric sand is only for filling joints. If you put polymeric sand under pavers, it can prevent proper settlement and lead to poor interlock and joint failure.
What should I do if my soil is heavy clay and won’t compact well?
If you have heavy clay, over-excavate any areas that remain soft after compaction (you can test by repeatedly pressing your heel and checking for rebound). Replace with compactable, properly graded fill in lifts and recompact. Clay that won’t get truly firm is one of the few situations where cutting down and adding sand on top still won’t stop future heaving.
How do I correct pavers that end up too high or too low after setting and compacting?
When you need to adjust a paver that sits high or low, lift it carefully and check the sand thickness underneath. Remove excess sand at highs and add sand to lows, then re-screed or feather the area so the bedding is even. Avoid scraping gouges into the surrounding sand, because that creates small dips that show up after compaction.
How do I deal with transitions at steps, sidewalks, or driveways when laying patio pavers DIY?
You can place pavers slightly above the edge of a driveway apron or sidewalk, but avoid creating a trip edge that’s higher than the adjacent surface. A practical DIY rule is to keep your finished patio surface flush or slightly below the surrounding hardscape by the amount needed for drainage, then secure everything with edging restraints. If you cannot maintain that relationship, plan a different finish elevation and rebuild the base depth accordingly.
What’s the best way to fix a section that’s sinking or rocking after installation?
If you get a small dip, the first step is diagnosing why. For most sand-set patios, a dip comes from insufficient compaction, a void in bedding sand, or missing restraint at an edge. The reliable repair is to remove the affected pavers, add and level bedding sand (not gravel), then recompact. If the surrounding pavers are rocking, the issue is usually deeper in the base, not just on top.
Should I start laying pavers from the house edge or the outer edge?
Starting from the house-facing edge helps keep the most visible line straight, but the key decision is your reference line. Use a string line or chalk line for your first row and re-check every few rows, because pattern drift usually comes from losing that reference during cutting and layout.
Is renting a plate compactor enough, or do I need a hand tamper too?
For one-off or moderate projects, a rented plate compactor is usually enough, but you still need the correct size for coverage and the right technique. Use multiple passes in different directions and always keep the compactor moving, not lingering. If you need to compact tight corners and edges that the plate can’t reach, plan to hand-tamp those areas so you do not end up with under-compacted perimeter zones.
Do I really need landscape fabric under patio pavers, and can it cause problems?
If you want to reduce weed growth, landscape fabric can help, but it is not a substitute for proper excavation and subgrade compaction. Also avoid layering fabric haphazardly so it doesn’t trap debris and create a drainage barrier. Many installers use fabric only over stable, prepared soil and not as a replacement for base depth or drainage planning.
What causes that white haze on pavers after using polymeric sand, and how do I prevent it?
To avoid a visible haze or chalky finish, keep the paver faces completely clean while joint sand is being swept in and before it gets wet. Use a leaf blower to clear excess, then mist water gently. If haze starts forming, stop and avoid trying to seal immediately, since sealing can lock the residue in place.
Next Articles
Best Way to Set Patio Pavers: Step-by-Step DIY Guide
Step-by-step DIY for setting patio pavers: planning, excavation, base, leveling, drainage, cutting, jointing, and troubl

How to Install Patio Pavers in Sand: Step-by-Step
DIY step-by-step how to install patio pavers in sand, from excavation and base prep to leveling, cutting, joint sand and
How to Make a Patio With Pavers and Sand Step by Step
Step-by-step guide to install paver patio with sand setting layer, from planning and base to leveling, cutting, joint fi