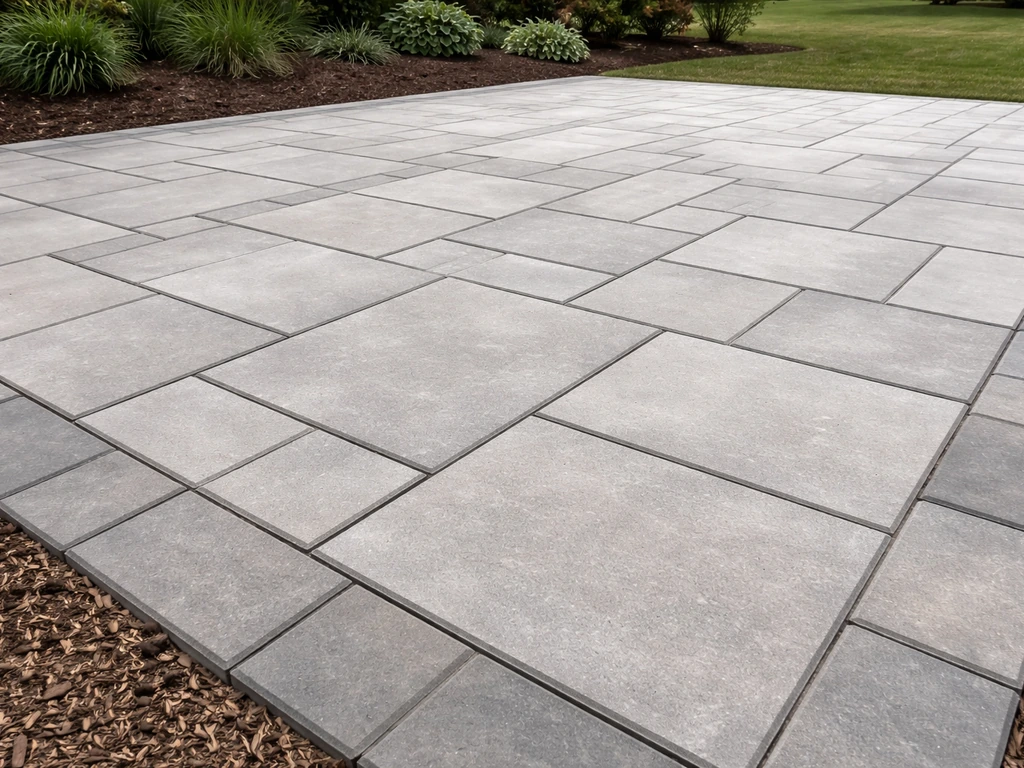
You can absolutely build a patio with large pavers yourself. The process goes like this: plan and measure the space, excavate to the right depth, build a compacted gravel base with a bedding sand layer on top, set your pavers with consistent spacing, cut the edge pieces to fit, sweep polymeric sand into the joints, and finish with a sealer.
How to Make a Patio With Large Pavers: DIY Guide

Felix Rowe
26 Jun 2026
ASTM C902 is the referenced standard specification for pedestrian and light-traffic paving brick, which can help writers discuss paver requirements beyond thickness alone pavers have material standards beyond thickness only.
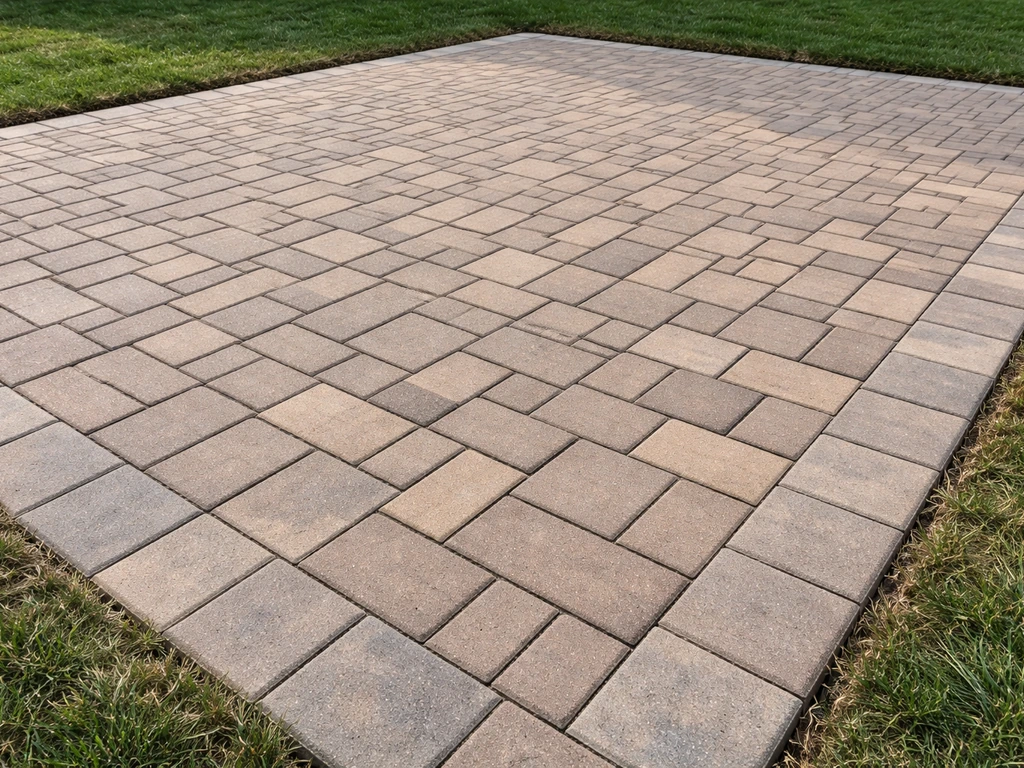
Large pavers (typically 18x18 inches or bigger) are heavier and less forgiving than small ones, so prep work matters more than anything else. Get the base right and the rest falls into place.
Planning and measuring your large-paver patio
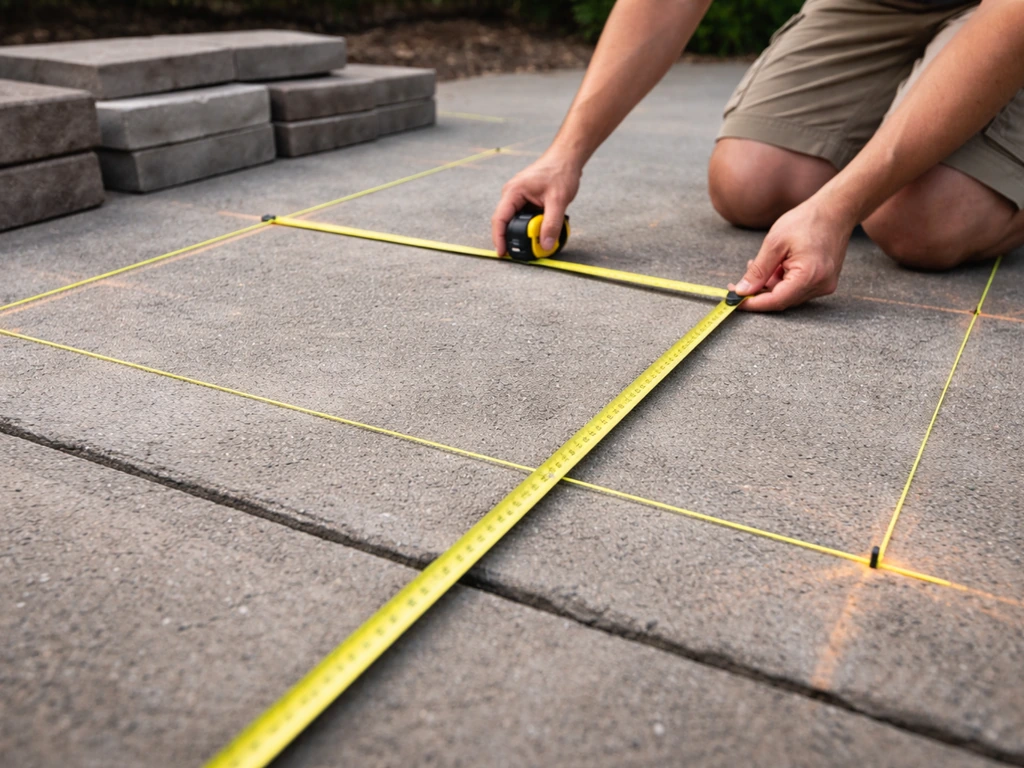
Start by staking out the patio footprint with string lines and spray paint. Measure twice, then measure again. Large pavers amplify layout errors because each stone covers more ground, so a line that's slightly off-square becomes obvious fast. Use the 3-4-5 triangle method to check your corners: measure 3 feet along one edge, 4 feet along the adjacent edge, and the diagonal between those two points should be exactly 5 feet. If it's not, adjust until it is.
Once you have your layout, calculate how many pavers you need. Measure the total square footage of the patio, then divide by the square footage of a single paver. Add 10 percent for cuts and breakage, and a little more (up to 15 percent) if you're running a diagonal pattern because diagonal layouts waste more material at the edges. Write this number down before you visit the supplier.
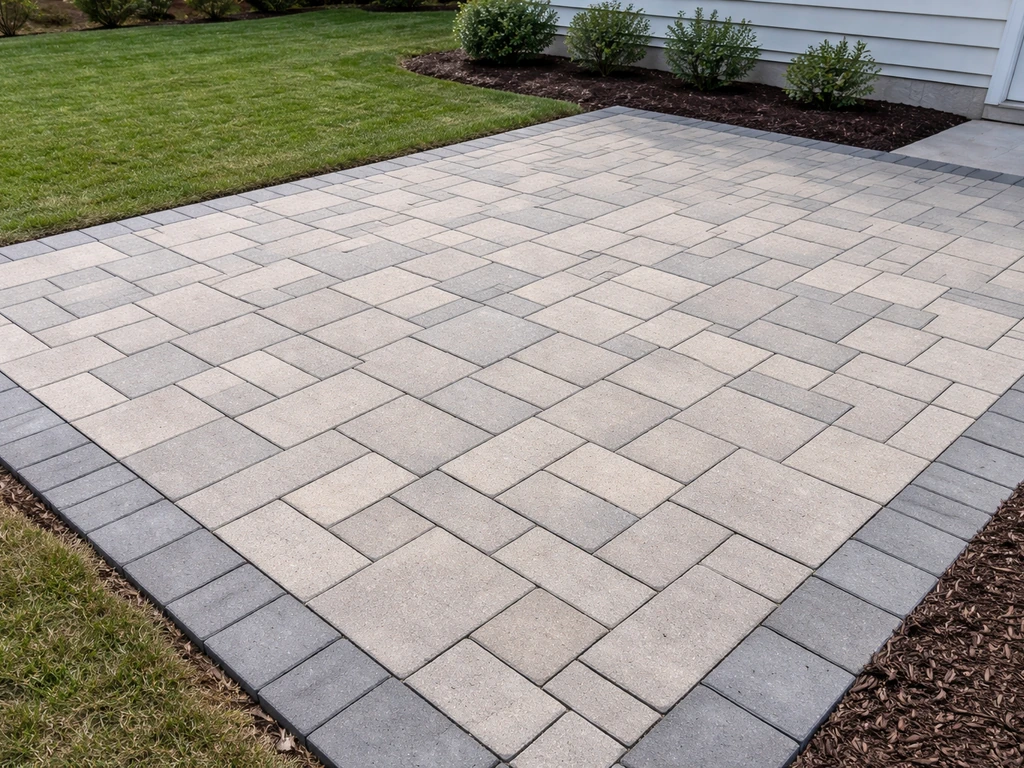
Think about pattern early, not after you've already started laying. Common choices for large pavers are a straight running bond, a 90-degree grid, or a diagonal offset. A simple grid looks clean and minimizes cuts. A diagonal pattern looks more dynamic but requires more cutting and planning. If you're also curious about mixing paver sizes or building something more elaborate like a raised patio, that's a different scope of work worth planning separately. If you want a raised patio with pavers, you will need to plan the sub-structure and retaining setup before you build the paver base.
Plan for drainage now. The patio surface should slope away from your house at a rate of about 1/8 inch per foot (roughly 1 percent grade). Over a 12-foot patio, that's 1.5 inches of drop from the house side to the outer edge. Mark this into your string lines so your base and bedding layer maintain that slope throughout.
Tools and realistic time expectations
For a 200-300 square foot patio, expect 2 to 3 full weekend days of work if you have one helper. The base work is the most physically demanding part. You'll need a plate compactor (rent one, don't skip it), a hand tamper for edges and tight spots, a long screed board or level, rubber mallet, tape measure, chalk line, angle grinder or wet saw for cuts, and a garden hose or pressure washer for cleanup. Large pavers often run 15 to 50 pounds each depending on material and thickness, so a two-person crew isn't optional, it's necessary.
Site prep and excavation
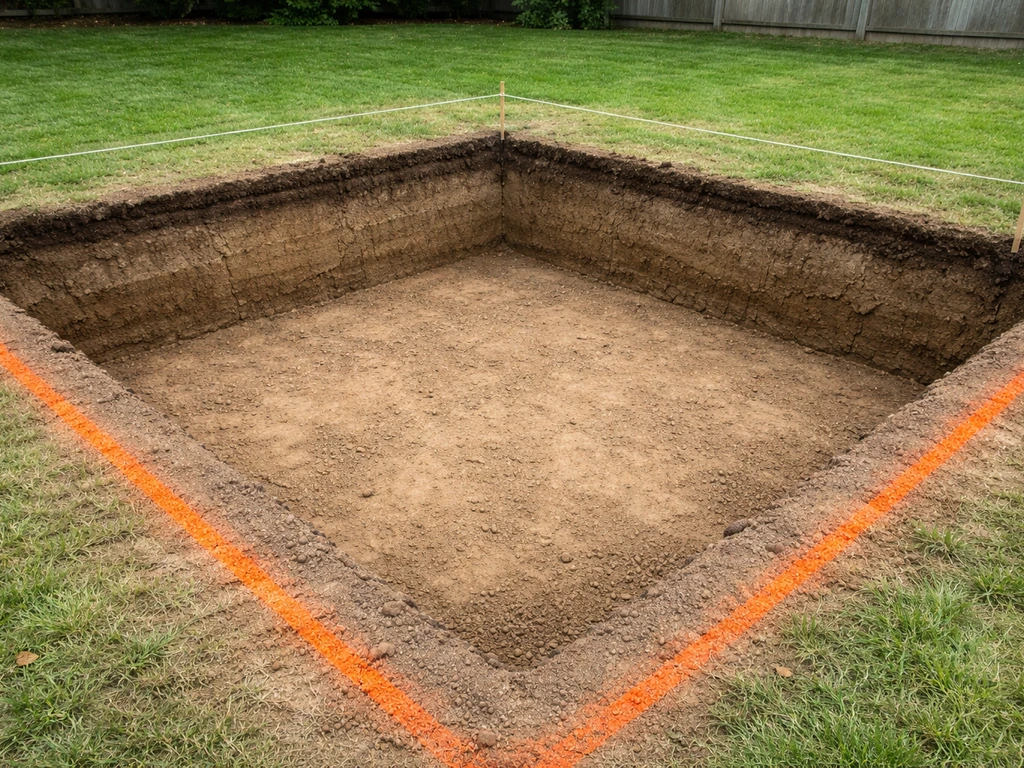
Mark your dig zone with spray paint about 6 inches outside your string lines on all sides. That extra margin gives you room to work. Strip out any grass, roots, or organic material from the entire area. Organic material compresses over time and causes sinking, so be thorough here. Use a sod cutter or flat spade and haul it all away.
Now figure out how deep to dig. Use this formula: paver thickness + 1 inch of bedding sand + your gravel base depth. For most residential foot-traffic patios, a 4-inch compacted gravel base is the minimum. In areas with frost or poor drainage, go to 6 inches. So for a 2-inch-thick paver, that's 2 + 1 + 4 = 7 inches of total excavation, plus a little extra to account for your drainage slope. Mark that depth on a stake at the center of the dig zone so you can check as you go.
Once you've dug to depth, check the soil. If it feels soft or spongy, compact it with the plate compactor before adding any base material. If you hit clay, consider laying a layer of landscape fabric before the gravel to prevent clay from migrating up into your base over time. This step takes maybe 20 minutes but can save you from sinking pavers years down the road.
Building the base, subbase, and drainage
The base is what makes or breaks a large-paver patio. You're building a stable, well-drained platform that doesn't shift, heave, or compress. This is two layers: a crushed stone subbase and a bedding sand layer on top.
Crushed stone subbase
Fill the excavated area with compactable crushed stone, sometimes called road base, crusher run, or Class II base depending on your region. Don't use pea gravel or rounded stone; it won't compact properly. Add the stone in 2-inch lifts, compacting each lift with the plate compactor before adding the next. Compact in overlapping passes, working from the outside edges toward the center, then repeat in the perpendicular direction. When you're done, the surface should feel like concrete underfoot. If it still shifts or feels loose, add another compaction pass.
Check your slope at this stage. Use a level and a long straightedge (or a line level on your string lines) to confirm you're maintaining that 1/8-inch-per-foot drop away from the house. It's much easier to adjust here than after the bedding layer is down.
Bedding sand layer
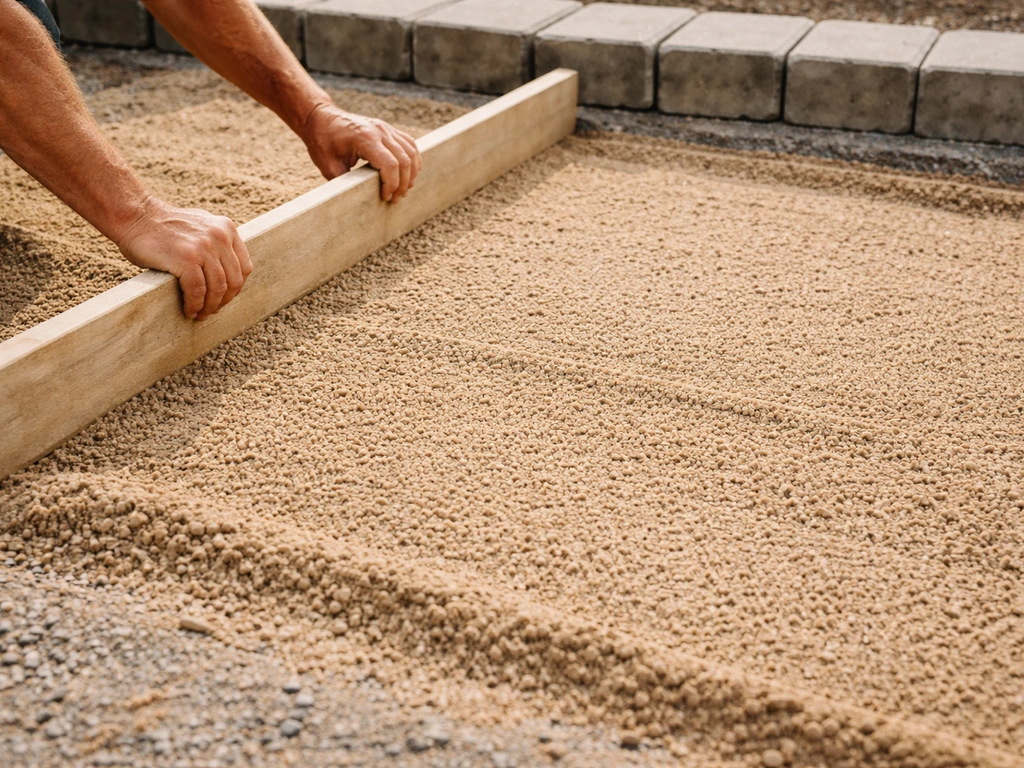
On top of the compacted stone, add a 1-inch layer of coarse concrete sand (not mason sand, not play sand). Coarse sand screeds well, drains well, and holds its shape once the pavers are set. Use two parallel steel pipes or conduit of the same diameter as your depth gauge: set them on the compacted base, fill sand around them, and drag a screed board across the pipes to create a perfectly flat 1-inch layer. Then carefully remove the pipes and fill the grooves with sand, smoothing with a trowel. Do not walk on the screeded sand or you'll create depressions.
If you have drainage concerns, now is also the time to install perforated drain pipe under the base at low points and route it to daylight at the yard's edge. This isn't always necessary, but if you've noticed water pooling in the area after rain, address it here.
Laying and setting large pavers
Start laying pavers from a straight, visible edge, typically the edge closest to the house or the most prominent sight line. Work outward from that reference point. Set each paver down gently onto the bedding sand without sliding it into place, since sliding disturbs the sand beneath. Lower the paver straight down, then give it a few firm taps with a rubber mallet to set it flush. Never kick or drop pavers into position.
Use plastic paver spacers or cut pieces of 1/8-inch hardboard as spacing guides between each stone. blank" rel="noopener noreferrer">Polymeric sand requires a minimum joint width of 1/8 inch (3 mm) and works best in joints up to 3/8 inch wide, so keeping consistent spacing matters for the finishing stage. Large pavers make it tempting to eyeball spacing, but even a millimeter of inconsistency across 20 stones adds up to a visibly wavy line.
Handling heavy pavers safely
Large concrete or natural stone pavers can weigh 30 to 80 pounds per piece. Use proper lifting technique: bend at the knees, keep the stone close to your body, and hand it off to a second person rather than reaching across the work surface. For stones over 50 pounds, a two-person carry is mandatory. Some installers use suction cup handles (available at tool rental shops), which make gripping and placing large, smooth pavers much safer and faster.
Keeping your lines true
After every 3 to 4 rows, stop and check alignment. Snap a chalk line across the faces of the pavers and compare it to your string line reference. Large pavers can drift slightly with each placement, and catching a quarter-inch of drift after 4 rows is easy to fix. Catching it after 10 rows means relaying half your patio. Use a long level across multiple pavers to check for high or low spots. If a paver is high, lift it, remove a little sand, and reset. If it's low, add sand and reset. Always check level in two directions.
Troubleshooting rocking pavers
A paver rocks when it's sitting on a high point in the bedding sand rather than lying flat. Press down on each corner after setting. If it rocks diagonally, lift it, screed the sand smooth again, and reset. This is the most common large-paver problem because the stones are wide enough to bridge small humps. Don't mallet a rocking paver flat; it won't stay. Lift and re-bed it properly.
Cutting, edging, and fitting around obstacles
Save all the cuts for after the full field of pavers is set. This way you can measure each cut piece individually rather than planning cuts in advance, which reduces waste and errors. Mark cuts with a chalk line or pencil directly on the paver face.
For straight cuts, a wet saw with a diamond blade is the right tool for most large concrete or natural stone pavers. An angle grinder with a dry-cut diamond blade works for occasional cuts but throws a lot of dust, so wear a respirator. For curves around trees, posts, or drain covers, make a cardboard template first, trace it on the paver, and use the angle grinder for curved cuts. Cut outside your line and test-fit before final placement.
Plastic or aluminum paver edging (also called restraint) locks the outer row of pavers in place and prevents the whole installation from spreading outward over time. Spike the edging into the compacted base every 12 inches, right against the outer face of the border pavers. This step is not optional for a large-paver patio; without edge restraint, the field will migrate and joints will open up within a few years.
Jointing with polymeric sand
Once all pavers are set, edging is installed, and any debris is swept off the surface, you're ready for jointing sand. Polymeric sand is the right choice here; it hardens after water activation and resists washout, insects, and weed growth far better than plain joint sand.
Before you start, check the weather forecast. The surface needs to be completely dry, and you should wait at least 24 hours after any significant rainfall before applying polymeric sand. Do not apply in rain or if rain is forecast within 24 hours of application.
- Pour polymeric sand across the paver surface and sweep it into the joints with a push broom. Work in multiple directions to pack sand into every joint.
- Run the plate compactor over the entire surface (use a rubber pad or foam buffer between the plate and your pavers to prevent surface damage). This vibration drives sand deep into the joints, filling voids you can't see from above.
- Sweep again, then compact again. Repeat this cycle 2 to 3 times until joints are filled to within about 1/8 inch below the top of the paver or, if your pavers have a chamfer, just below the chamfer edge. Do not overfill.
- Blow off any remaining loose sand from the paver surfaces with a leaf blower set to low. This step is critical; polymeric sand left on the surface can haze the paver face once activated.
- Activate the sand with a gentle, flat spray from a garden hose. Do not blast the joints with a high-pressure stream; this washes sand out and defeats the purpose. Wet thoroughly until you see water beading on the surface, then stop.
Keep foot traffic off the patio for at least 24 hours after activation, and avoid heavy loads for 48 to 72 hours while the binders cure. If you notice sunken spots in the joints after the first rain, add a second round of sand the same way. One fill-and-compact session often isn't quite enough to reach full depth on the first try.
Sealing, curing, and keeping your patio in good shape
Wait at least 30 days after installation before applying a sealer. Fresh pavers need time to cure and allow any efflorescence (the white mineral haze that sometimes appears on new concrete) to work its way to the surface. If you seal too early, you can trap efflorescence under the sealer.
Choose a penetrating paver sealer for most large concrete pavers. Penetrating sealers soak into the paver and protect from within without changing the surface appearance. Wet-look or enhancing sealers add sheen and deepen the color, which suits some natural stone and tumbled pavers well. Apply sealer on a dry day in moderate temperatures (avoid application in direct sun over 90°F or below 50°F). Use a low-pressure sprayer or roller and apply two thin coats rather than one thick one, allowing the first to dry before applying the second.
Annual maintenance routine
- Sweep the surface regularly to prevent organic debris from breaking down in the joints and feeding weeds.
- Inspect joints each spring. If sand has eroded or joints look shallow, top them up with polymeric sand before weeds get established.
- Re-seal every 3 to 5 years depending on your climate and traffic level. Heavy sun and freeze-thaw cycles accelerate sealer breakdown.
- Check edge restraints annually and re-spike any sections that have lifted.
- Address any sunken or rocking pavers immediately. Lift the affected stone, add or re-screed bedding sand, and reset. Letting a sunken paver go will cause water to pond and create more sinking over time.
When to stop DIYing and call a pro
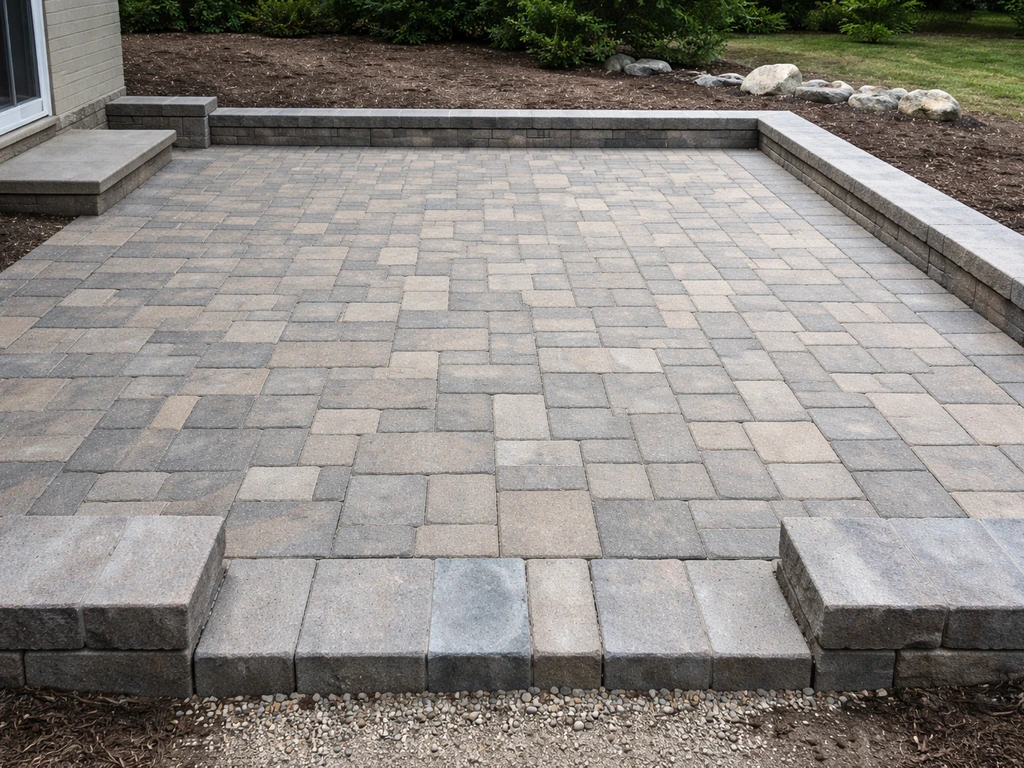
Most homeowners can handle a standard flat large-paver patio on their own. Where things get more complex is when the terrain is seriously uneven, when you need to build up a raised platform with retaining walls, or when the area has chronic drainage problems that need engineered solutions. If you’re planning a brick paver patio on a slope or elevated area, build the same base and drainage strategy before setting the bricks raised platform with retaining walls. If your patio area slopes steeply or sits at the bottom of a yard that regularly floods, it's worth getting a landscape contractor's assessment before you dig. Building the patio portion is manageable; solving a grading problem is a different project.
A quick comparison: large pavers vs. small pavers
| Factor | Large Pavers (18"+ per side) | Small Pavers (4"–12" per side) |
|---|---|---|
| Base prep sensitivity | High — any base imperfection shows on a wide stone | Lower — small stones bridge minor imperfections |
| Physical handling | Requires 2 people and/or lifting aids | One person can manage most pieces |
| Joints and cutting | Fewer joints, but each cut is more complex | More joints, simpler cuts |
| Layout speed | Faster coverage per stone placed | Slower per square foot |
| Pattern flexibility | Limited by size; best in clean grid or offset | High — many pattern options available |
| Maintenance | Fewer joints to refill over time | More joint area to maintain |
Large pavers reward careful prep with a clean, modern look that's hard to achieve with smaller units. If the scale of a full patio feels like too much for a first project, a smaller version with the same techniques is a great way to build confidence before tackling a larger space. The skills transfer directly.
FAQ
Can I use smaller base depth if my patio is only for light use (no cars)?
Yes, but do it conservatively. For large pavers, the minimum 4-inch compacted crushed-stone base is still the baseline for typical foot traffic. If you’re on sandy soil or you see washboarding after rain, upgrade to 6 inches or add additional base thickness, because large-format pavers can bridge minor weak spots and then fail suddenly when loads hit edges.
What type of crushed stone should I buy for the base, and how do I avoid the wrong material?
Ask for compactable crushed stone or road base, sometimes listed as crusher run or Class II in your area. Avoid pea gravel, rounded river rock, and uniform single-size gravel because they don’t lock together during compaction. If the supplier offers multiple gradations, choose the one that includes fines, since fines help the base densify.
How do I keep pavers from rocking, especially with very large stones?
Rocking usually means a high spot in the bedding sand or a thin, uneven sand pocket. After placing a paver, press down on all four corners. If it rocks, lift it, re-screed the sand (don’t just add a sprinkle), then reset it with firm taps using a rubber mallet. Also re-check level in two directions as you go, because large pavers can span a hump and hide it from a single straight-edge pass.
Do I need plastic spacers for large pavers, or can I eyeball the joints?
Use spacers or 1/8-inch hardboard guides. Large pavers make joint error accumulate, and polymeric sand requires a minimum joint width around 1/8 inch to bind properly. If joints vary, some areas can overfill, others stay too tight, and the result can be weak binding or uneven surface alignment.
Can I lay large pavers over existing concrete or asphalt?
Typically no. You need full excavation to the designed depth and a properly compacted base underneath. Laying over old slabs can trap moisture and cause separation, rocking, and joint failure. The only time a partial overlay might make sense is with an engineered resurfacing system, but that’s not the DIY approach described for large pavers.
What if my patio area has clay or poor drainage, do I still need landscape fabric?
Landscape fabric can help when you encounter clay or migration concerns, but it doesn’t replace good base construction and drainage slope. Install it before the gravel if the soil is prone to pumping or mixing. Also confirm you’re pitching the patio away from the house at about 1/8 inch per foot, because drainage performance depends on slope as much as on filtration.
How can I tell if my base is properly compacted before laying pavers?
After compaction, walk the base wearing boots and press on it with your foot. It should feel rigid and not shift under light pressure. If you can visibly dent it, it’s under-compacted. Also confirm lift-by-lift compaction (about 2-inch lifts) and use overlapping passes, since skipping the perpendicular direction commonly leaves soft spots.
When should I rent a plate compactor, and do I really need one for the whole job?
Rent it for the base compaction, plus use a hand tamper only for edges and tight areas the plate can’t reach. A plate compactor is a key tool for large-paver patios because the stability relies on a dense, locked subbase. If you try to compact with hand tamping alone, the base often settles later and causes joint opening.
What should I do about drainage if I see water pooling after rain?
Don’t wait until after jointing sand. Check the grade at the stone base stage using a level and long straightedge, then add solutions while you still have access, such as perforated drain pipe under the base routed to daylight at the appropriate exit point. Pooling is a sign the slope or subbase drainage path isn’t working, and polymeric joints won’t fix trapped water problems.
Can I apply polymeric sand even if it’s slightly damp or the forecast is uncertain?
No, wait for a dry surface. Polymerics need activation with water, and if rain hits before proper setting, the sand can wash out or bind inconsistently. Make a simple decision aid: only apply when the paver surface is completely dry and rain is unlikely for the next 24 hours, then keep foot traffic off for at least 24 hours during activation and curing.
How many times do I need to add polymeric sand after the first rain?
Plan for at least a check after the first meaningful rainfall. If you see sunken joints, refill with the same process and allow it to activate again. One fill often isn’t enough to reach full depth in wider, larger paver joints, and large-format layouts can reveal low spots at the edges first.
When is it safe to apply a sealer, and can sealing earlier prevent stains?
Wait at least 30 days after installation. Sealing too soon can trap efflorescence under the sealer and lock in haze or discoloration. If you want to reduce staining, focus on correct base and cleaning during construction, then seal only after the material has cured and surface minerals stabilize.
Is DIY still realistic if each paver weighs 50 pounds or more?
It can be DIY with the right setup, but use a two-person plan for anything over about 50 pounds. Coordinate lifting, keep stones close to your body, and consider suction cup handles for safer gripping of smooth surfaces. Also avoid reaching across the work area, because that increases both dropping risk and sand disturbance.
What’s the best way to handle a patio on a slope or near areas that flood?
If the patio sits at the bottom of a yard that regularly floods, or the slope is steep, get a landscape contractor assessment before digging. The DIY steps for base and drainage can handle typical grading, but chronic flooding often needs engineered grading, drain outlets, and possibly retaining or re-routing solutions to prevent undermining over time.
Next Articles
How to Build a Patio With Brick Pavers: Step by Step
Step-by-step guide to build a brick paver patio, from prep and base layers to leveling, cuts, sand joints, and finishing
How to Build a Small Patio With Pavers Step by Step
Step-by-step DIY to build a small paver patio: layout, base, leveling, edging, drainage, cutting, sand joints, and fixes
How to Build a Raised Patio with Pavers Step by Step
Step-by-step DIY guide to build a raised paver patio: planning, grading, drainage, base prep, edging, paver laying, and