
To make a clear DIY paver patio video, you need three things lined up before you hit record: a shot list tied to the real installation workflow, simple but reliable outdoor gear, and a rough edit plan so your footage becomes something viewers can actually follow step by step. You don't need a film background. You need to know the patio process well, plan your angles around it, and capture the details that trip beginners up, like bedding sand depth, screeding technique, string line setup, and edge restraint placement. CMHA also emphasizes that edge restraints are key, and it calls for a minimum 1 in (25 mm) vertical restraining surface in contact with the side of the paver to adequately restrain it edge restraint placement.
How to Make a Paver Patio Video: DIY Shot List

Felix Rowe
6 Jul 2026
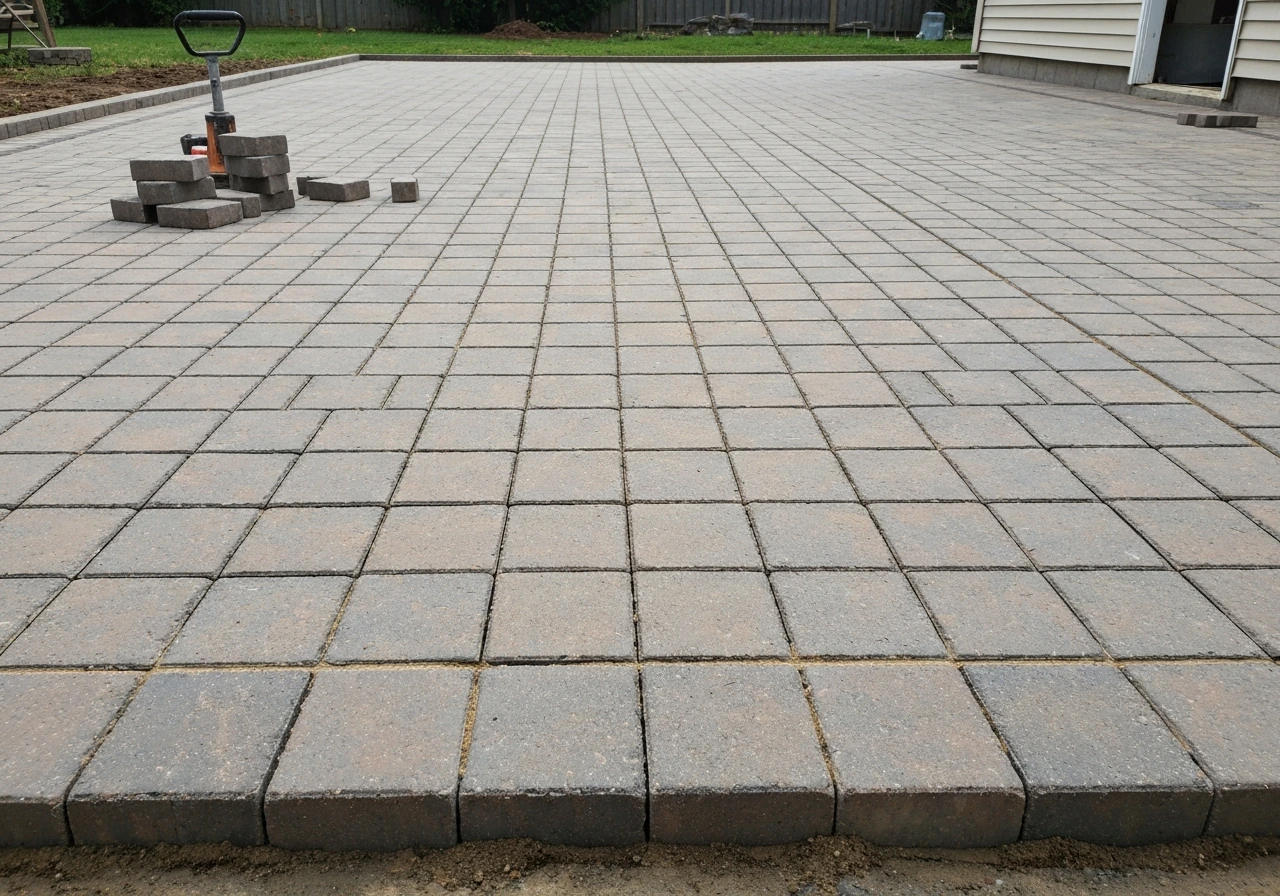
Define your video goal and audience
Before you film a single second, decide what your video is trying to do. Are you documenting your own patio build for friends and family? Creating a how-to tutorial for other DIYers who want to do the same thing? Or building a portfolio piece to show potential clients your work? The answer shapes everything, from how long the video should be to what you explain out loud versus let the visuals carry.
For a DIY tutorial aimed at homeowners, your audience is someone who has never installed pavers before but is capable and motivated. After you are comfortable with the basics, you can also follow a retailer-specific guide for how to install patio pavers from Lowe's to match the materials and steps you are buying how to install patio pavers lowes. They have probably already watched a few YouTube videos on paver patios, maybe something from a retailer walkthrough or a This Old House-style breakdown, and now they want a real-world view that shows the messiness, the decision points, and the mistakes to avoid. Talk to that person. Assume they're smart but new to this specific skill.
Set a realistic length target before you start. A full instructional build video covering every phase from excavation to final sand sweep typically runs 15 to 30 minutes when well-edited. A highlight or summary version for social media might be 3 to 5 minutes with time-lapse carrying the repetitive sections. Decide upfront which one you're making, because that changes your shot list and how much narration you need to record.
Plan the project storyline and shot list for each patio step
Think of your video as having a clear beginning, middle, and end that mirrors the actual installation sequence. If your video jumps around, viewers get confused and leave. Map out each phase of the project before you break ground, and assign at least two or three shots to each one.
Here is a complete shot list organized by installation phase. Use this as your production checklist on the day of filming.
Phase 1: Before you dig (planning and layout)
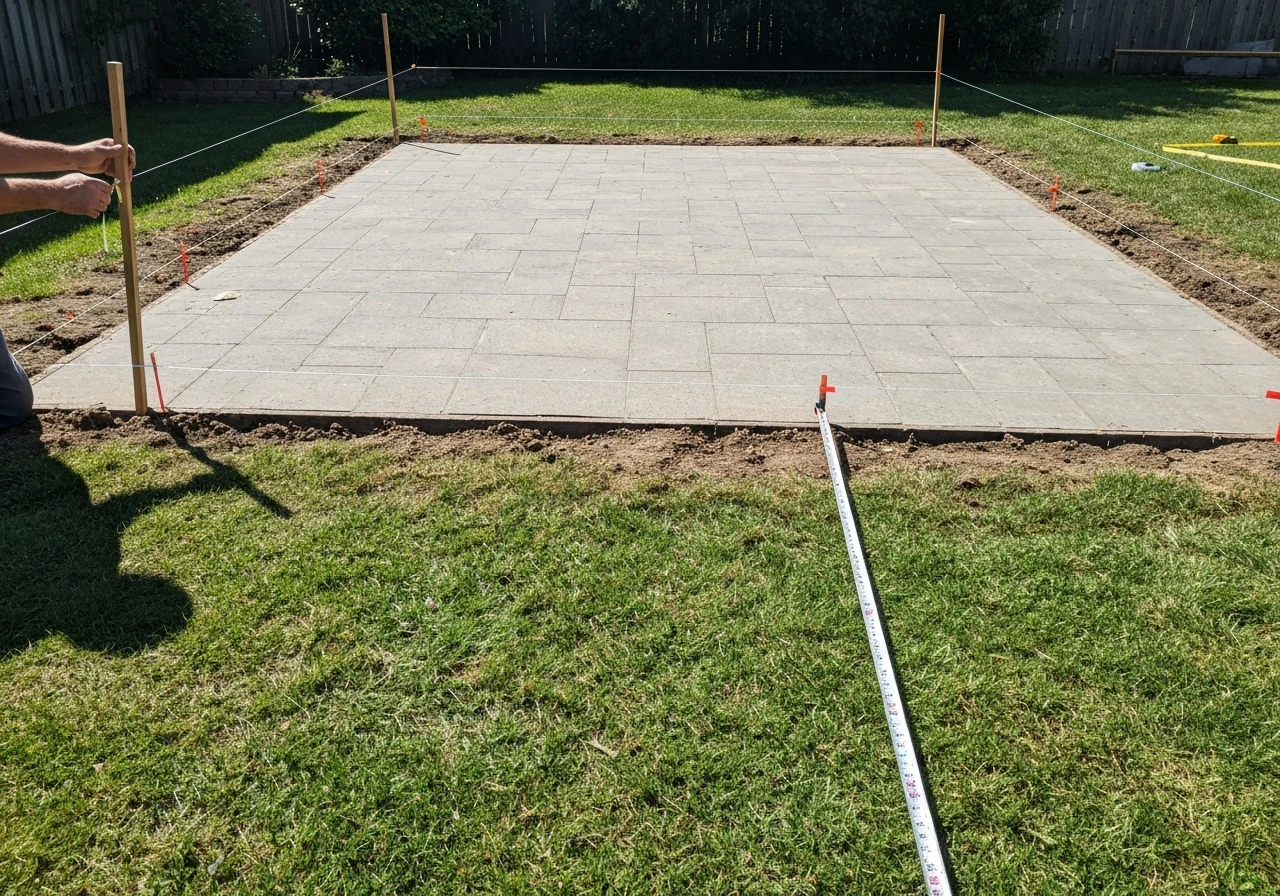
- Wide shot of the area before any work begins (the 'before' anchor shot)
- Measuring tape against the space with dimensions visible on screen
- String lines being set up with stakes to establish grade and layout boundaries
- Close-up of the slope or grade being checked with a level or level line
- Brief shot of materials staged nearby: pavers, gravel, sand bags, edge restraints
Phase 2: Excavation and base preparation
- Digging in progress, showing depth being measured in the trench
- Close-up of excavation depth marker (typically 7 to 9 inches total for a patio base plus pavers)
- Gravel base being poured and spread
- Plate compactor in action, ideally with a side-view that shows the compaction happening
- Finished compacted base, with a ruler or tape showing thickness
Phase 3: Bedding sand and screeding
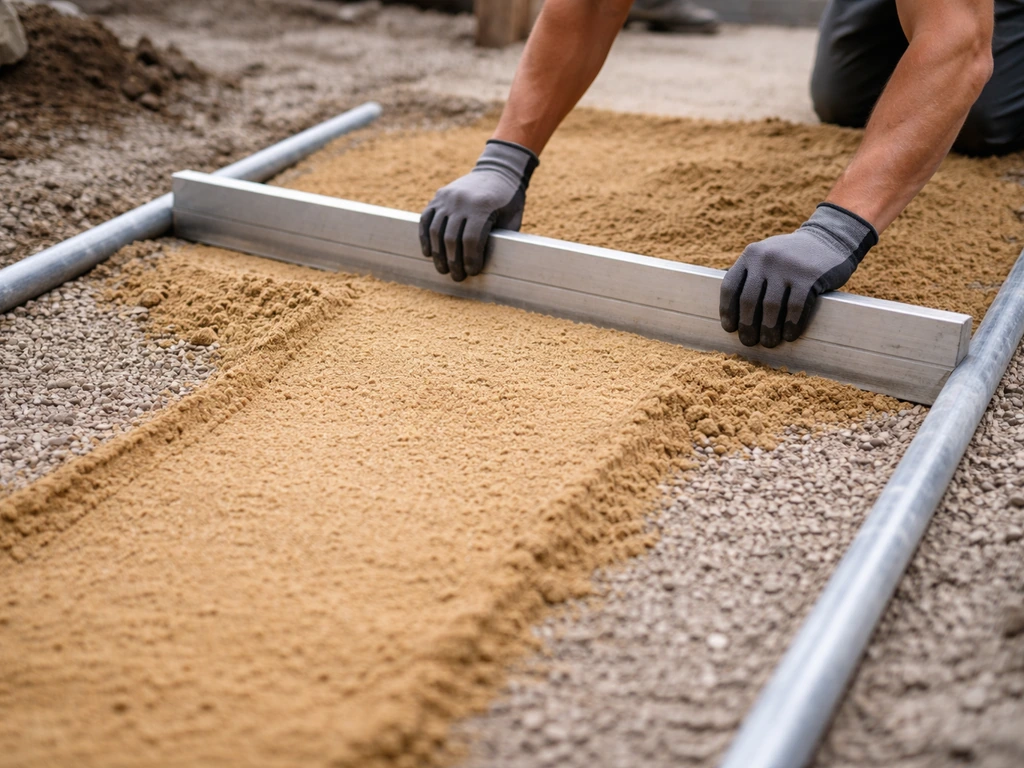
- Sand being poured over the compacted base
- Screed pipes or guides set at the correct height (1-inch depth is the standard per industry guidelines)
- Screeding motion in action, filmed from a low angle so viewers can see the level surface forming
- Close-up of the finished screeded sand surface showing the 1-inch depth
- A shot showing what uneven or thin sand looks like, as a teaching moment about why depth consistency matters
Phase 4: Laying pavers and pattern work
- First paver being placed in the corner or starting point
- Pattern progression being established, filmed from above when possible
- Rubber mallet tapping pavers into position
- Running bond, herringbone, or basket weave pattern shown clearly from above
- Spacing consistency check with a joint spacer or credit card thickness reference
Phase 5: Cutting pavers
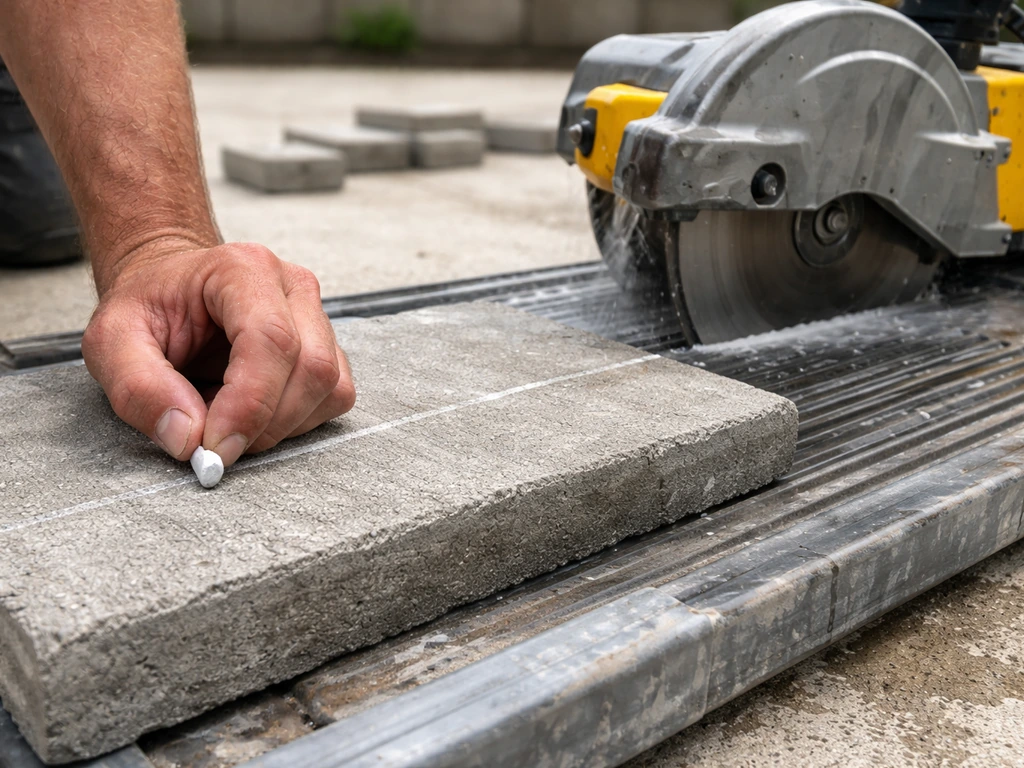
- Marking a paver for the cut with chalk or pencil
- Wet saw or angle grinder setup shown clearly
- The actual cut from a safe side angle (never point the camera toward the blade)
- Cut paver being test-fitted in place
- Safety gear worn visibly: eye protection, ear protection, gloves
Phase 6: Edge restraints and jointing sand
- Edge restraint being positioned against the perimeter pavers
- Close-up showing the restraint making at least 1 inch of vertical contact with the side of the paver (this is the minimum the industry recommends for proper restraint)
- Spike or spike-free fastener being driven in
- Polymeric or regular jointing sand being poured over the surface
- Broom sweep to fill joints, then a plate compactor pass to seat the sand
- Final misting of the surface to activate polymeric sand if used
Phase 7: The reveal
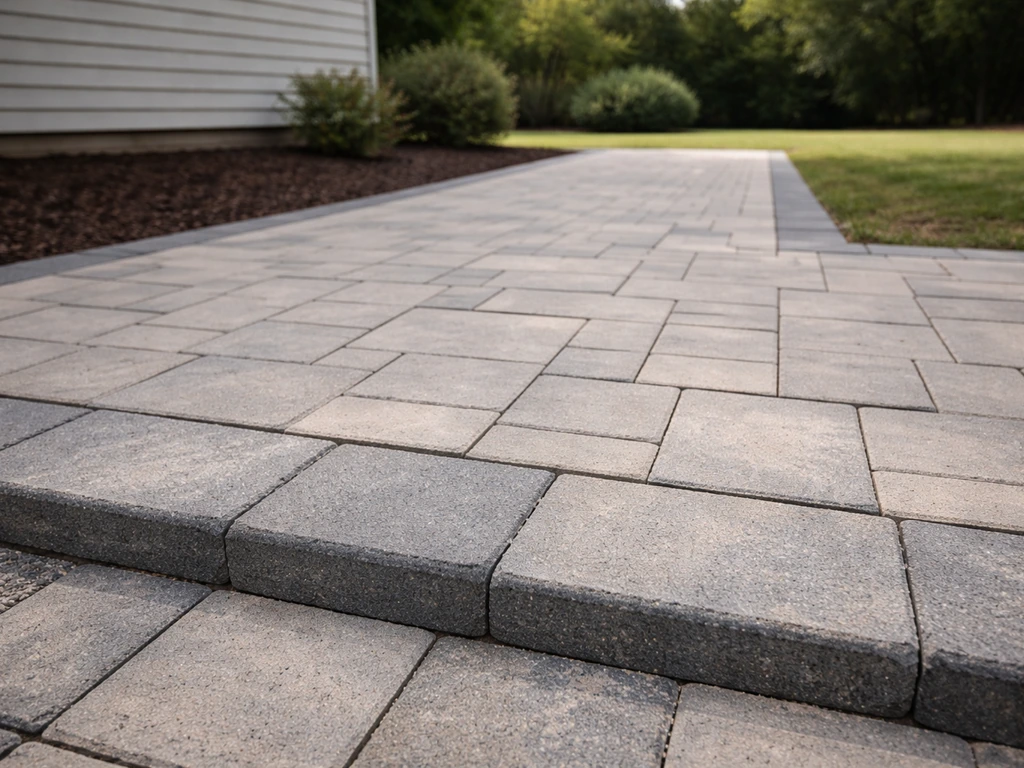
- Wide finished shot from the same angle as your 'before' shot
- Walking across the finished patio to show stability
- Close-up of the joint lines and edge detail
- Optional: furniture placed on the patio for a lifestyle finish shot
Equipment, setup, and filming tips for outdoor DIY
You do not need expensive equipment to make a great instructional video. A modern smartphone on a stable mount will handle most of what you need. What matters more is stability, audio, and lighting, and all three are manageable with affordable gear.
| What you need | Budget option | Better option | Why it matters |
|---|---|---|---|
| Camera | Smartphone (2022 or newer) | Mirrorless or action cam (GoPro) | Stability and image quality for close-ups |
| Tripod or mount | Flexible gorilla tripod ($15-30) | Full-size tripod with fluid head | Shaky footage kills instructional value |
| Audio | Clip-on lav mic ($20-40) | Wireless lav system ($100+) | Wind and machine noise ruins outdoor audio |
| Stabilizer | Tabletop tripod for static shots | Handheld gimbal | Walking shots while working look unprofessional without one |
| Lighting | Film during golden hour (8-10am or 4-6pm) | LED panel or reflector | Harsh midday sun creates contrast problems |
| Extra battery/storage | 1 extra battery and 64GB card | 2 batteries and 128GB card | Long build days kill batteries fast |
For audio, wind is your biggest enemy on a patio job site. A clip-on lavalier mic attached to your shirt collar (even a basic wired one) will beat the built-in camera microphone every time. If you're narrating while working, check your audio with headphones during a test clip before you get deep into the project. Discovering bad audio at the editing stage is one of the most frustrating parts of DIY video production.
Lighting matters more than most people expect. Filming between 8 and 10 in the morning or in the late afternoon gives you even, warm light without harsh shadows that hide surface detail on the pavers. Avoid filming the screeding, pattern work, or edge detail at high noon if you can help it. The shadows make it hard to see the surface clearly on camera.
One practical tip: set up a dedicated camera position for the wide overview shot and leave it there for the entire project. This becomes your time-lapse or progress-check angle and gives your edit a consistent visual anchor throughout the video.
Capture key paver patio details: base, leveling, patterns, cutting, edges
The shots that make a paver patio tutorial genuinely useful are the close-up detail shots that most beginners miss. Any video can show someone placing pavers. What separates a helpful tutorial from a generic montage is showing the measurements, the technique, and the why behind each step.
For the bedding sand section, film your screed guides set at exactly 1 inch above the compacted base. Hold a ruler in the shot. The 1-inch bedding depth is the industry standard and a point of confusion for a lot of DIYers who either eyeball it or end up with inconsistent depth when their base isn't perfectly graded. Mutual Materials’ installation guidance also calls for bedding sand to be screeded to a 1-inch depth for proper support 1-inch bedding depth. Showing this clearly in your video, with a visual explanation of why depth consistency matters for paver stability, is genuinely valuable content that many tutorial videos skip over.
For the string line shots, film from low to the ground so viewers can see the line clearly against the excavation or base layer. Mark your stakes with paint or tape to make the grade levels visible on camera. A talking-head explanation of how you're reading the string line grade adds a lot here, because this is an abstract concept that clicks much faster with a visual walkthrough.
For pattern work, get directly overhead. This is the one time you want to put your camera on a monopod or hold it above your head facing down. Herringbone, running bond, and basket weave patterns are immediately recognizable from above and almost impossible to explain from a side angle. Film a few pavers being laid into the pattern from overhead, then cut to a ground-level shot of the mallet tapping them in.
Cutting pavers deserves its own segment. Show the full process: mark the cut line, set up the saw, make the cut, test the fit. Emphasize safety gear on camera because your viewers are going to do this at home. Film the cut from the side or slightly behind the blade direction so your camera and operator are never in the path of debris. A close-up of the cut paver fitting cleanly into its space is a satisfying visual payoff for that section.
Edge restraints are often the least glamorous part of a paver project but one of the most important to show well. Film the restraint going in against the perimeter pavers, and use a quick measurement shot to show the restraint making full contact with the side of the paver (at least 1 inch of vertical contact is what the industry specifies as the minimum for proper restraint function). A lot of DIYers skip or shortcut edge restraints and end up with spreading pavers a year or two later. Your video can save someone a lot of frustration by making this look like the obvious right thing to do.
Record common scenarios and troubleshooting moments (grass, concrete, uneven/sloped)
The situations that trip up real DIYers are where your video can stand out from the polished retailer tutorials. Most step-by-step videos show installation on a perfectly flat, pre-prepped site. Most homeowners do not have that. Film the real stuff.
Laying over grass
If you're removing sod before excavating, film the sod removal process. Show the depth of the grass and root layer, then show how you adjust your excavation depth to account for it. Explain that skipping sod removal and laying directly over grass causes settling and weed problems over time. This is a question that comes up constantly in paver communities, and a short, clear answer on camera builds trust with viewers immediately.
Laying over existing concrete
Laying pavers over an existing concrete slab is a whole different workflow. Film the slab condition assessment: cracks, low spots, and drainage slope. Show how a mortar or sand-set approach is chosen based on slab condition. If you're using a thin-set approach, show the product and application. Viewers searching for 'paver patio over concrete' will find this section genuinely useful, and it covers a scenario that gets skipped in most basic tutorials.
Dealing with slopes and uneven ground
Slopes require more base material on one side to create a level surface, and managing that in real time while screeding is tricky. Film yourself working through a sloped section: show your string line grade, how your screed guide depths differ across the site, and how you handle the transition. A 2% slope away from the house is the minimum drainage recommendation, so show your slope check visually with a level and explain why you're building that slope in deliberately. Viewers dealing with uneven yards will feel like this video was made for them.
On-camera troubleshooting moments
Don't cut out your mistakes. If a paver sits high or low after placement, film yourself pulling it up, adjusting the sand, and re-seating it. If a cut doesn't fit perfectly the first time, show the adjustment. These moments are where real instructional value lives. They also make your video feel honest and trustworthy, which is exactly what a DIY audience responds to.
Editing workflow for a clear instructional video (cuts, captions, narration, time-lapse)
Editing is where your raw footage becomes something someone can actually learn from. You don't need to be a professional editor, but you do need a clear plan for what to keep, what to cut, and how to make sure the sequence is easy to follow.
Choose your editing software
For beginners, DaVinci Resolve (free) or CapCut (free, great for mobile) will handle everything you need. iMovie works fine if you're on a Mac and want to keep it simple. For more control over color and audio, DaVinci Resolve is the best free option available. Paid tools like Adobe Premiere Pro add power but aren't necessary for a straightforward tutorial.
Structure your edit in phases
- Rough cut: Drop all your clips in order, trim the obvious dead footage (waiting, fumbling, off-camera talking), and get a sense of total length
- Phase titles and step numbers: Add on-screen text for each major phase (e.g., 'Step 3: Screeding the Bedding Sand') so viewers can navigate the video easily
- Narration or voiceover: Record your explanation audio and lay it over the footage, or trim to sections where you spoke on camera
- Time-lapse sections: Apply 4x to 16x speed to repetitive tasks like spreading gravel, plate compacting, or laying a large field of pavers
- Captions: Add subtitles for any spoken explanation, especially the measurement and technique details
- Close-up inserts: Cut in your close-up detail shots at the right moments so viewers see the measurement or technique just as you're explaining it
- Before and after: Open with the 'before' shot and close with the 'after' shot using the same angle
Voiceover versus on-camera narration
Speaking directly to the camera while working is natural and engaging, but it can be hard to get clean audio on a noisy job site. A good middle path is to record key explanations on camera during breaks in the work (quieter moments like between phases), then use voiceover to cover the action sequences. This gives you the personal connection of on-camera talking and the clarity of controlled-environment audio. Record your voiceover in a quiet room after filming. Even a closet with clothes will dampen echo enough for clean audio.
Keep it tight
Most instructional DIY videos run too long because the creator is attached to all their footage. Be brutal with your cuts. If a section doesn't teach something specific, speed it up or cut it. Time-lapse is your best tool for this: repetitive plate compacting, long stretches of paver laying, or mixing jointing sand can all run at 8x or 16x speed while keeping the visual context without wasting viewer time. Save the real-time footage for the technique moments that require it.
Publish, organize, and improve your next paver patio video
Once your edit is done, export at 1080p minimum (4K if your camera shot it and your computer can handle the file size). For YouTube, use the highest quality MP4 setting available in your editor. If you're searching for how to install a paver patio using YouTube-style walkthroughs, make sure your video covers each phase from excavation to the final sand sweep. For Instagram Reels or TikTok cuts, export a vertical or square crop of your best highlight sequence separately.
Title your video with the specific scenario you filmed. 'How to Install a Paver Patio' competes with thousands of videos. 'How to Install a Paver Patio on a Slope (Complete DIY Guide)' or 'DIY Paver Patio Over Grass: Full Install Start to Finish' targets a specific viewer problem and ranks better. If you want a retail-friendly materials list and the typical process people look up from stores, search for how to install patio pavers home depot before you start your build. Include your patio square footage, the paver pattern you used, and any specific challenges you tackled in the description.
Add chapter markers to your YouTube video. This is one of the most underused features for instructional content. Viewers who are mid-project and need to jump to the edge restraint section or the cutting section will use chapters constantly. Label each chapter to match your on-screen phase titles so the experience is consistent.
After publishing, spend five minutes reviewing the comments in the first few weeks. Viewer questions tell you exactly what your video didn't explain clearly enough. Those gaps become the script for your next video. Maybe nobody understood your screeding depth explanation, or people kept asking about what to do if their base isn't compacting evenly. Those questions are a ready-made shot list for a follow-up video that builds on what you already made.
If you plan to make more paver patio content, keep your raw footage organized by project and phase in labeled folders. You'll often find that a close-up shot from one project works perfectly in a later video, and having organized footage saves a lot of hunting. Over two or three projects, you'll build a library of good teaching moments that you can draw from for tutorials covering specific scenarios, like installing pavers over an existing slab or building a raised fire pit surround, without having to film every detail from scratch each time. If you need a step-by-step guide, check out how to install a paver patio this old house for the full process from prep to finishing touches.
FAQ
What if I do not know my final patio layout yet, can I still film an instructional paver patio video?
Yes, but structure it around decisions, not just tasks. Film the layout planning phase first (measurements, batter board or stakes, string line checks, and pattern mockups). When the layout changes later, reshoot only the new setup shots and keep the rest of the sequence consistent so viewers do not get conflicting grades or dimensions.
How much should I narrate versus rely on what the camera shows?
Use visuals for repeatable technique (where the camera can show sand depth, screeding movement, or mallet tapping) and narrate for “why” and thresholds (drainage slope target, minimum restraint contact, what to check when the base will not compact evenly). A quick rule, if a step can be performed exactly from the shot, keep narration short, otherwise add a 10 to 20 second explanation.
Can I make the video without a gimbal or tripod, and still get stable footage?
You can. Lock your phone to a sturdy mount and prioritize a single “forever” wide angle position for the whole project. For detail work, use a simple overhead strategy (monopod or steady hold) and film multiple takes. Stabilization helps, but clear framing and consistent angles matter more for instruction.
What should I do if my audio is still bad even with a lav mic?
Do a second test clip after wind changes (morning versus later). If it is still noisy, lower your narration volume outdoors only, then switch to voiceover recorded indoors in one take per phase. Also leave pauses in your voiceover to match what viewers see, it reduces confusion when tool sounds interrupt the timing.
How do I show bedding sand depth clearly when the sand surface is disturbed while I work?
Plan a “before and after” detail shot. Film the compacted base, then film the guide setup and a ruler reading before screeding. After screeding, show the finished surface depth from the same camera height. If the sand shifts, show the re-leveling step as a mini reset rather than skipping ahead.
Do I need to film the compaction process, or can I just mention it?
Film it, at least in short clips. Capture the grader or plate compactor passes, then film a quick check using a straightedge or level to show how the surface behaves after compaction. If you omit it, viewers may copy your step order without understanding why failures often start in the base.
What if my base is not perfectly graded, how can I document the fix in the video?
Include one “problem-solving” segment. Film a low spot discovery (level or straightedge), show how you add or remove base material, then compact again, and reshoot the string line grade check. This turns a mistake into a teaching moment and prevents viewers from assuming a single screed pass is enough.
How can I safely film the paver cutting segment without getting in the camera’s bad angles?
Film from behind and to the side of the blade direction, keep your operator position off the debris path, and record a close-up of the cut finish plus a separate overhead or front view of the layout mark. Also show safety gear in one continuous shot (glasses, hearing protection, dust control) so viewers do not miss it when editing.
Should I include a section on weeds and settling, and where does it fit?
Yes, add it right after excavation and base prep. Show sod removal depth and then explain what happens if you skip it (settling and weed intrusion) in a short on-camera note or voiceover. This is a frequent question and it builds trust early rather than surprising viewers at the end.
How do I cover drainage slope correctly for viewers who will not own a laser level?
Show a low-tech method. Film a line level or standard level check and how you confirm a slope direction, then pair that with a simple on-screen reference like measuring distance from a house point. If you can, film one “measurement moment” at the start and one at the end to prove the slope stayed consistent while screeding.
What should I do for the edge restraint shot if my perimeter is irregular or has curves?
Show how you adapt restraint placement. Film the restraint being laid against existing pavers, then add an angled detail showing how you keep at least the minimum vertical contact requirement while still following the curve. If you use extra stakes or adjustments, capture that too, it is usually where DIYers get stuck.
Can I make one paver patio video that covers both a new build and a patio over concrete?
Better to split them. Over concrete changes prep, bonding approach, and failure modes, so mixing them increases viewer confusion. If you want one combined upload, clearly label it as a multi-scenario guide and keep concrete prep as its own chapter block with separate equipment and material choices.
How do I handle weather changes that affect filming, like wind or shifting light?
Plan for at least two lighting setups and reshoot only the most sensitive technique shots. For wind, rely on lav mic and switch to voiceover for noisy phases. If light becomes inconsistent, time-shift with the editor but keep chapter order and do not jump between phases in a way that makes viewers think the work order changed.
When exporting, what matters most for a tutorial versus a general home video?
Clarity of detail. Export at the highest resolution your workflow supports (1080p minimum, 4K if available), then check playback on a phone in full-screen. Confirm that ruler readings, string line marks, and cut-fit shots stay legible after compression.
How should I title and describe the video to match what people actually search?
Use a scenario-first title and repeat key constraints in the description. Include items like slope, over grass, over concrete, or raised edge in the first line. Also add your patio size, pattern, and the one or two challenges you handled, because those details help the right audience self-select and reduce comments asking for basics already shown.
What comments should you pay attention to after publishing, and how do you turn them into new shots?
Prioritize questions that reveal a missing threshold or an unclear measurement, like sand depth, string line reading, or what to do when the base will not compact evenly. For each common question, write the exact “visual proof” needed, then add a follow-up mini-shot list that recreates that moment with improved framing and on-screen measurement cues.
Next Articles
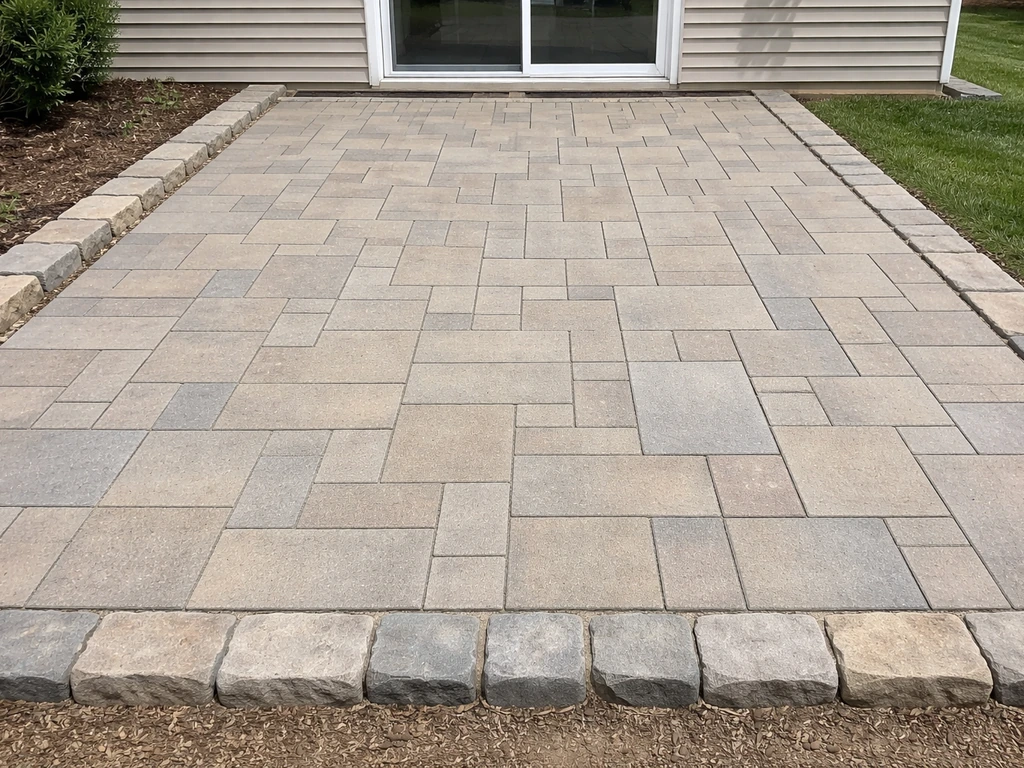
How to Install Patio Pavers with Home Depot Materials
Step-by-step patio paver install using Home Depot materials: base, slope, edging, laying, cutting, joint sand, sealing,
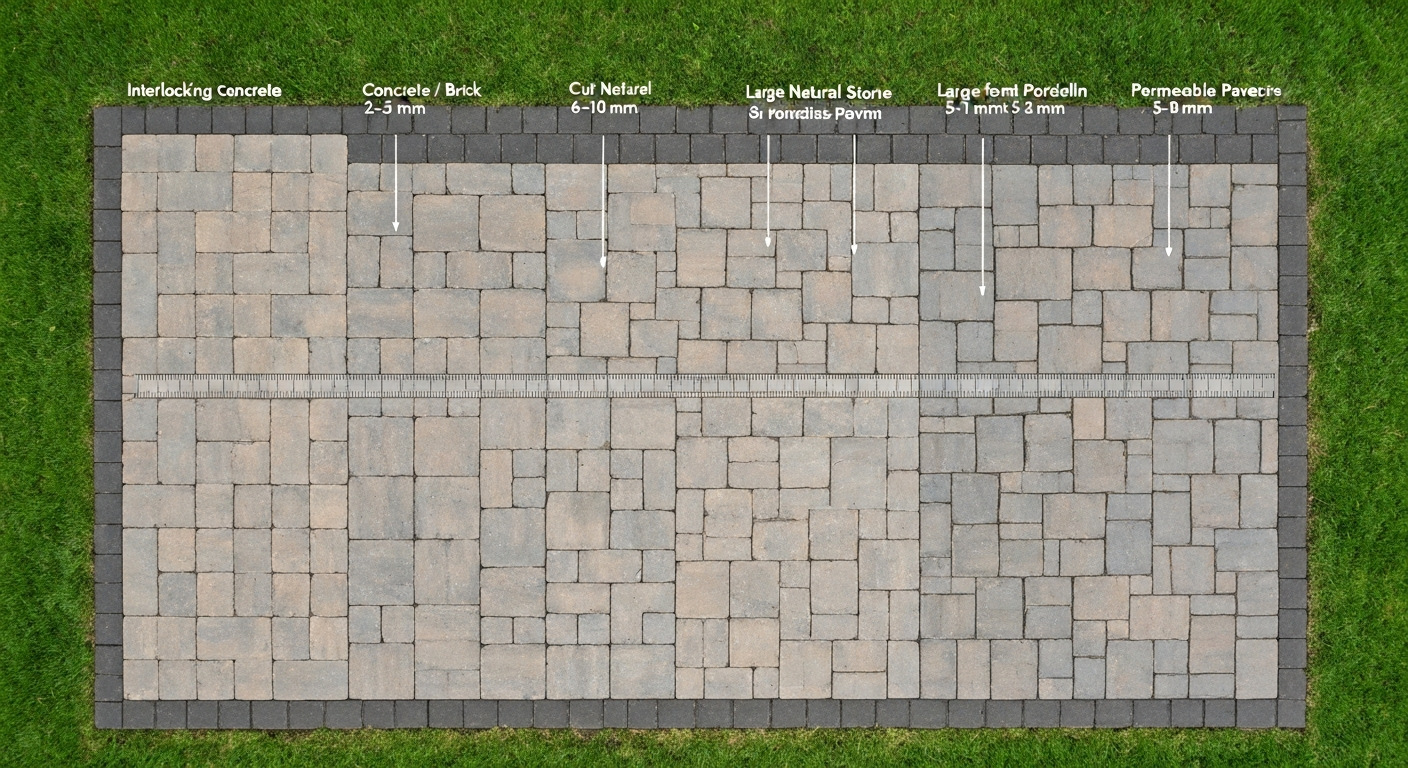
How to Space Patio Pavers: Joint Widths & Finishing Tips
How to space patio pavers: exact joint widths by paver type, step‑by‑step spacing, jointing & finishing tips.
How to Use Quikrete Patio Paver Jointing Sand: Guide & Tips
How to use Quikrete Patio Paver Jointing Sand: step-by-step application, tools, timing, coverage, and care.