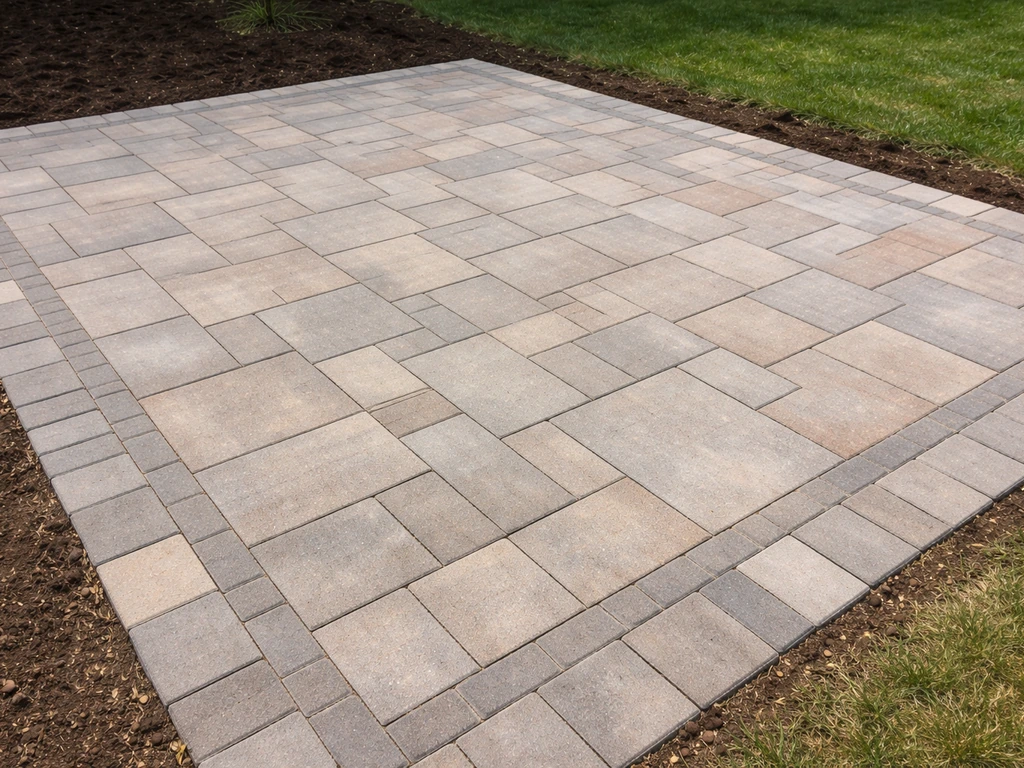
You can lay patio pavers yourself in a weekend or two if you follow the right sequence: plan your layout, excavate and compact a solid base (4 to 6 inches of compacted gravel aggregate plus 1 inch of bedding sand), set your pavers with consistent spacing, lock in edge restraints, and finish with polymeric sand and optional sealer. If you want the step-by-step process in detail, this guide covers how to lay paver patio stones from planning through the finishing touches. If you want a clear checklist, learning exactly how to lay patio pavers helps you plan the base depth, spacing, and finishing steps for a patio that drains properly and stays level. Skip or rush any one of those phases and you will almost certainly deal with shifting pavers, lippage, or drainage problems later. Do it right and a well-built paver patio can last 20 to 30 years with minimal maintenance.
Patio Pavers How to Lay Them: Step-by-Step DIY Guide

Step 1: Plan your patio, pick a pattern, and measure everything
Before you touch a shovel, spend real time on planning. Measure your intended patio area and sketch it out on paper or a free online design tool. Mark the house foundation, any obstacles (trees, downspouts, AC units), and the direction you want water to drain. A standard rectangular or square patio is the easiest starting point, but even complex shapes can be broken into simpler zones.
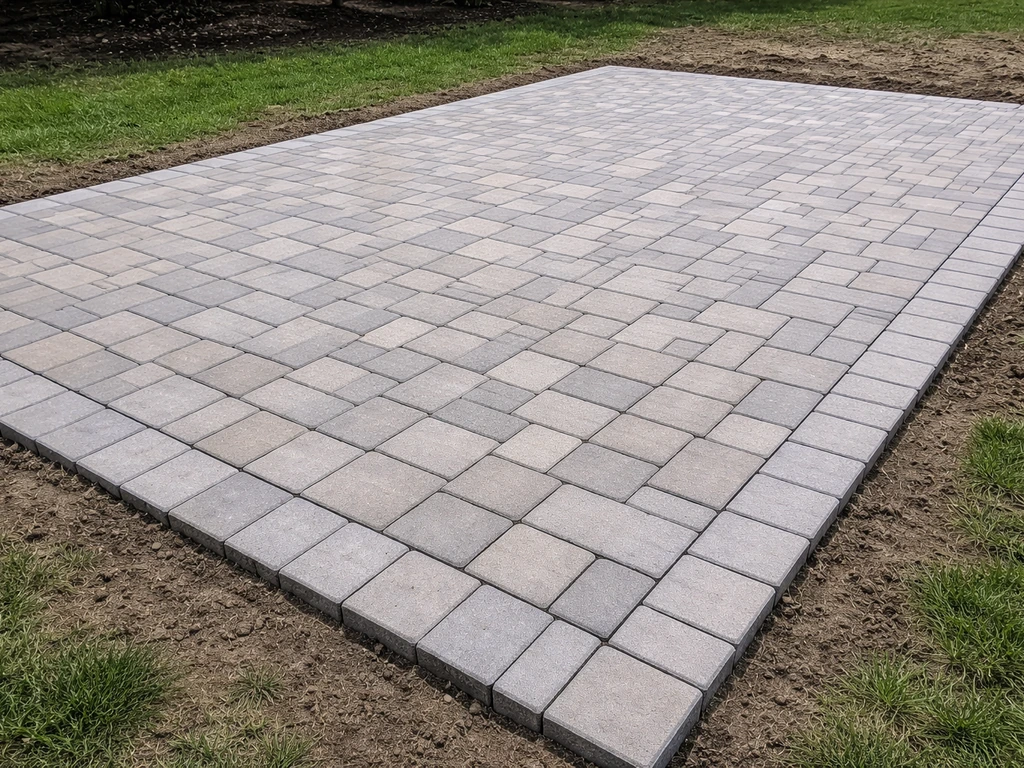
Pattern choice is more than aesthetic. For a patio that sees foot traffic only, running bond (offset rows like brickwork) or a simple stack bond both work well and are easy to cut and install. Herringbone (45-degree or 90-degree) provides greater interlock, meaning the pavers lock against each other more tightly and resist shifting better over time, which is why it is recommended for driveways and high-traffic zones. Basketweave is popular for a classic look on residential patios. If you are planning a small or simple layout, a running bond is your safest, most forgiving option. Layouts with diagonal herringbone create more cut pavers at the borders, so factor in 10 to 15 percent extra material for waste when ordering.
Calculate square footage (length x width), add your waste percentage, then order pavers. Also order enough base aggregate, bedding sand, edge restraints, and polymeric sand at the same time so you are not making mid-project runs to the store. For a 200 square foot patio with a running bond pattern, you might add around 10 percent for cuts and breakage. For diagonal herringbone, bump that to 15 percent.
| Pattern | Interlock Level | Waste to Add | Best For |
|---|---|---|---|
| Running Bond | Moderate | 8–10% | Simple rectangular patios, beginners |
| Stack Bond (Grid) | Low | 5–8% | Modern look, very simple cuts |
| 90° Herringbone | High | 10–12% | High-traffic areas, maximum stability |
| 45° Herringbone | High | 15% | Dynamic look, more cuts at borders |
| Basketweave | Moderate | 10% | Classic residential patios |
Step 2: Gather your tools and materials before you start

Getting every tool on-site before day one saves you from stopping mid-project. A plate compactor is non-negotiable and worth renting for a weekend (typically $75 to $150 per day). Do not try to hand-tamp a base and expect a stable patio. Everything else on this list is either standard DIY equipment or inexpensive to buy.
- Plate compactor (rent this)
- Paver saw or angle grinder with diamond blade (rent or buy)
- Long level (4 ft minimum) and a line level or laser level
- Mason's string line and stakes
- Tape measure and marking chalk or spray paint
- Rubber mallet
- Screed rails (1-inch diameter pipes or wooden rails work)
- Straight screed board (a long, rigid 2x4 works)
- Shovels (flat and square, plus a round digging shovel)
- Wheelbarrow
- Broom (for sweeping in joint sand)
- Garden hose with spray nozzle
- Safety glasses, gloves, and knee pads
- Edge restraints with spikes (plastic snap-edge style is most common for residential use)
- Crushed stone or gravel aggregate (compactible, not pea gravel)
- Coarse bedding sand (not mason's sand or play sand)
- Polymeric jointing sand
- Pavers plus your overage percentage
- Optional: geotextile landscape fabric for the subgrade layer
Set up your layout lines before you excavate. Drive stakes at the four corners of the patio, run string lines between them, and check for square using the 3-4-5 triangle method (measure 3 feet along one string, 4 feet along the adjacent string, and the diagonal between those two points should be exactly 5 feet if the corner is square). These strings become your guide for the entire project and should stay up throughout installation.
Step 3: Remove the existing surface and handle uneven ground
If you are working over bare grass or soil, strip the grass with a flat spade or a sod cutter (which you can rent). Remove all roots, organic material, and soft spots. Organic material decomposes underground and causes the patio to sink in patches, which is one of the most common causes of uneven pavers years after installation.
If you are laying over an existing concrete patio, you have two options. You can lay the paver system directly on top of the concrete if it is structurally sound and not badly cracked, using a thin bedding layer. This adds height to your finished surface, so check door thresholds, steps, and drainage outlets before committing. Alternatively, break up and remove the concrete, which gives you full control over the base but adds significant labor. If the concrete is badly heaved or cracked, removing it is the smarter long-term call.
For uneven ground, your goal is to establish a stable, uniform subgrade before you add base material. Low spots get filled with compactable aggregate, not soil. High spots get dug down. If your ground has significant slope (more than a few inches across the patio area), you have two real choices: cut into the slope to create a level area (cut-and-fill grading) or build a raised patio with retaining walls on the lower side. Raised patios are a bigger project but are absolutely doable for an experienced DIYer. Pedestal leveling systems can also help manage height differences when building elevated paver decks over structural surfaces.
Once the subgrade is shaped, compact it thoroughly with the plate compactor. This is the step most DIYers underestimate. Make multiple overlapping passes in different directions until the ground feels firm and does not give under your feet. If you have very loose or sandy native soil, consider laying a geotextile fabric over the subgrade before adding base aggregate. The fabric prevents the base material from mixing down into soft soil over time.
Step 4: Build and compact a proper base
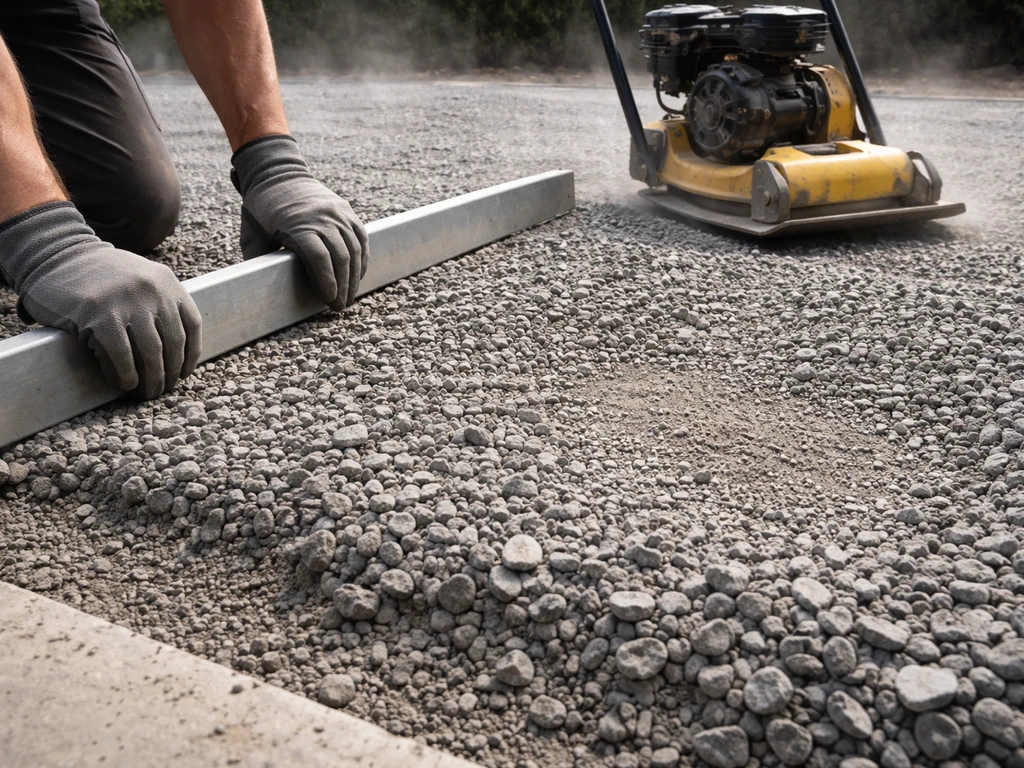
This is the most important phase of the entire project. A weak base equals a failing patio, and there are no shortcuts. For a residential patio with foot traffic only, plan on 4 to 6 inches of compacted crushed stone aggregate. For a small patio, you can keep the process the same while scaling your layout and base thickness to match the space. This is the standard range from interlocking concrete pavement specifications. If your soil is very soft or you are in a freeze-thaw climate, err toward 6 inches or slightly more.
Add the aggregate in 2 to 3 inch lifts, compact each lift before adding more. Do not dump 6 inches in at once and try to compact it all together. Each pass with the plate compactor should cover the entire area with overlapping runs. The finished compacted base should sit at the right elevation to account for 1 inch of bedding sand and the paver thickness, so the finished surface hits your target grade.
How do you know your finished height? Work backwards from your desired finish elevation. If your pavers are 2.375 inches thick, add 1 inch of bedding sand, add your 4 to 6 inch base, and add any subgrade adjustments. Mark the target base surface elevation on your string lines or stakes, and check frequently with a long level as you compact. Slope the base away from the house at 1/8 to 1/4 inch per foot. That slope built into the base will carry through to the finished surface and keep water draining away from your foundation.
Installing edge restraints
Many guides suggest installing edge restraints at the very end, but for a solid result, place permanent restraints on at least two sides (usually the perimeter opposite the house) before or during base installation, so you have a defined working area. Edge restraints prevent what is called horizontal creeping, where pavers slowly migrate outward under foot traffic and load, opening joints and causing the whole surface to loosen. Plastic snap-edge restraints spiked into the compacted base are standard for residential patios. Space spikes every 12 inches for straight runs and every 6 inches or less on curves.
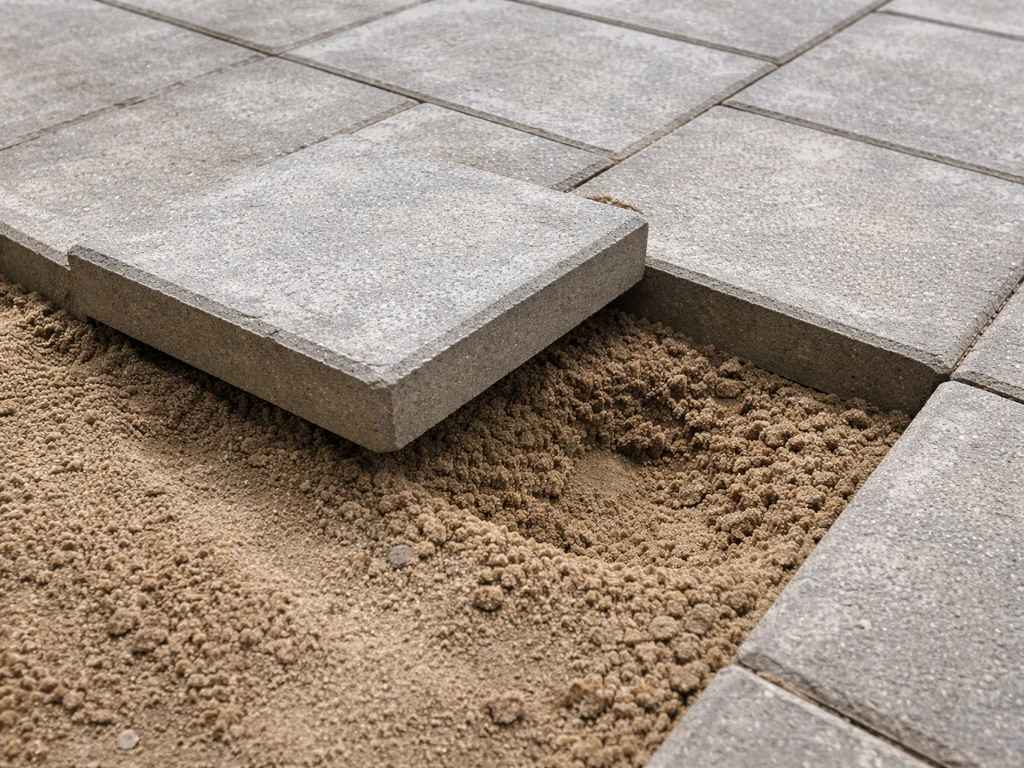
Step 5: Screed the sand bed, set the pavers, and cut to fit

Bedding sand goes on top of the compacted aggregate base. Use coarse, clean concrete sand, not fine play sand or mason's sand, which compact too densely and can trap water. The target depth is approximately 1 inch uncompacted. CMHA specifies bedding sand at about a 1 inch (25 mm) uncompacted thickness before the sand is screeded and the pavers are placed and compacted into it blank" rel="noopener noreferrer">target depth is approximately 1 inch uncompacted. This is your working number from installation specs: you screed it to 1 inch, then the pavers compact slightly into it, bringing the sand to its final thickness. Screeding a bedding layer involves building a profiled bedding layer and establishing the screeded bed slightly above the final bedding thickness before compacting pavers down to the correct elevation blank" rel="noopener noreferrer">screeded bed is established slightly above the final bedding thickness.
To screed, lay two parallel metal pipes or screed rails on the compacted base, spaced so your screed board reaches both sides. Set the rails at the same height (1 inch above the base surface) using a level. Pour sand between them, then drag your straight screed board across the rails to level the sand perfectly flat at that 1-inch height. Pull the rails out as you go and fill those channels with sand, feathering them smooth. Once screeded, do not walk on the sand bed. If you do, you will create divots and need to re-screed that area.
Start setting pavers from a straight reference edge, usually the house wall or a snapped chalk line. Knowing how to set pavers for a patio well starts with a properly leveled sand bed and careful placement, then finishes with joint sand and curing how to set pavers for patio. Work outward, laying pavers in your chosen pattern and maintaining consistent joint spacing (typically 1/16 to 3/16 inch). Set each paver down gently and do not slide it into position, as sliding disturbs the screeded sand bed. Use your rubber mallet to tap each paver level and check frequently with your level across multiple pavers to catch any high or low spots early. A long straight edge laid across 4 to 6 pavers at a time helps spot lippage (height differences between adjacent pavers) before it becomes a problem.
When you reach the edges and need to cut pavers, measure each cut individually since slight variations accumulate over a long run. Mark the cut line with a pencil or chalk, and use a paver saw with a diamond blade for clean, accurate cuts. Wear eye protection and a dust mask, and wet-cut when possible to reduce silica dust. For curved edges, mark the curve with a garden hose or chalk line, then make a series of straight cuts that approximate the curve, filling gaps with smaller pieces.
Working around fire pits and built-in features
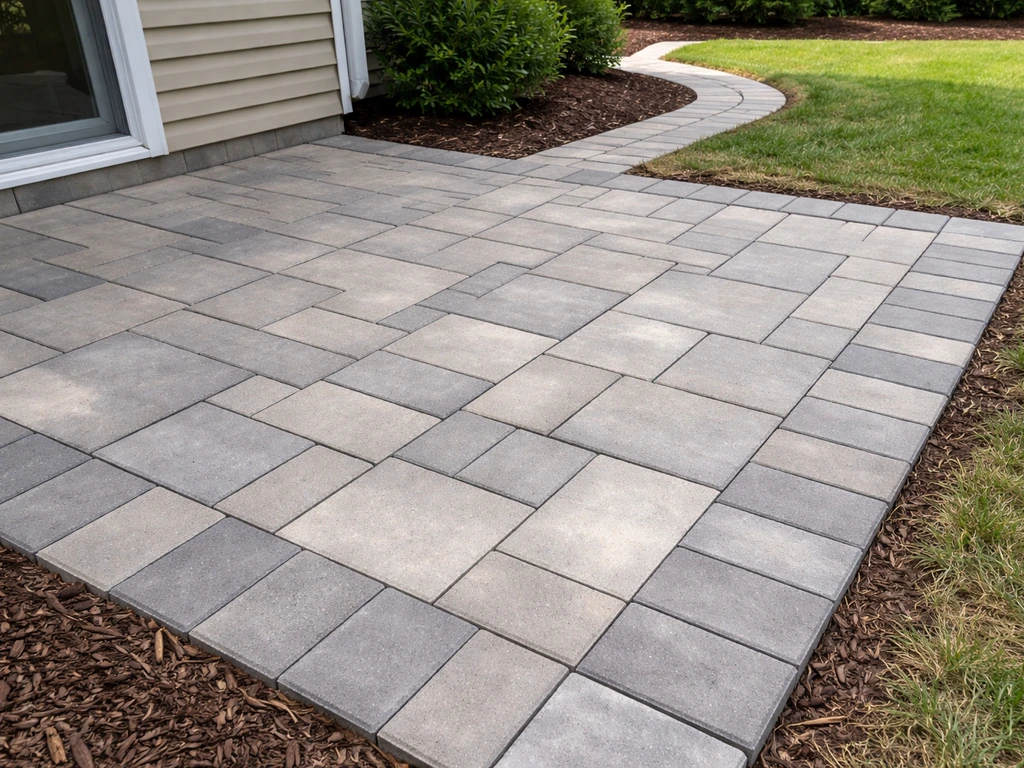
If your patio includes a built-in fire pit, raised planter, or similar feature, plan the border of that feature before you start setting field pavers. The feature acts as a second reference edge. Lay a border course of pavers around the feature first, then work outward to the perimeter, fitting your field pavers to meet both borders cleanly. This approach gives you a professional finished look and avoids awkward cuts in the center of the patio.
Step 6: Edges, borders, and drainage for sloped patios
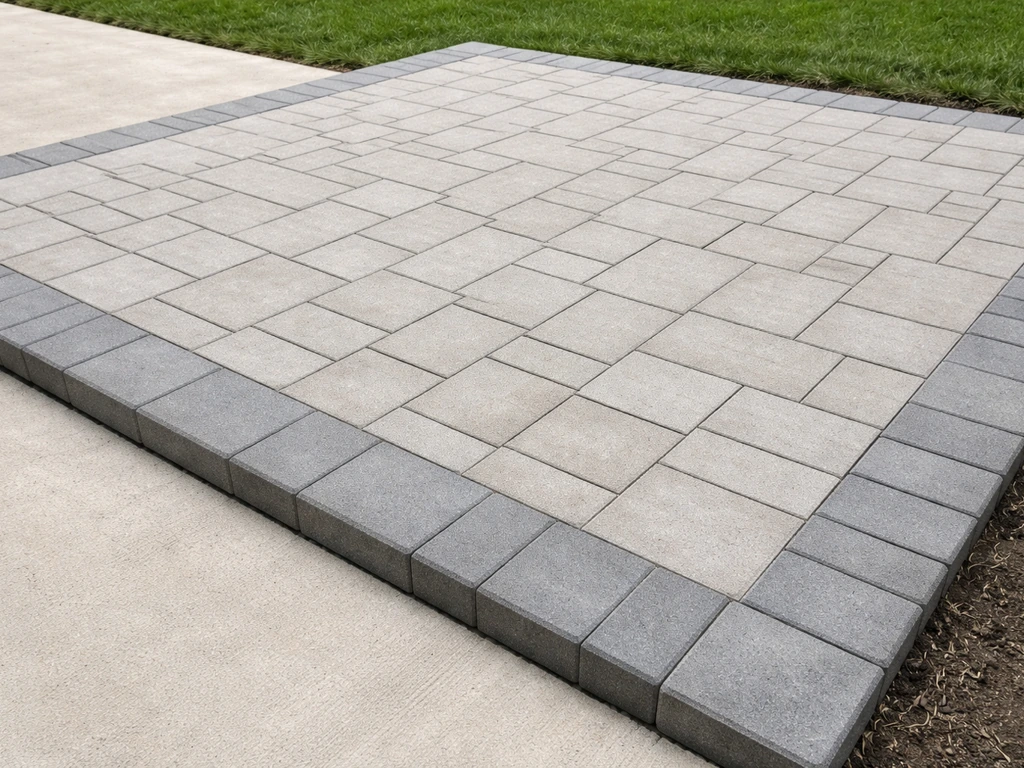
Once all field pavers are set, finish your perimeter edge restraints on any open sides and complete your border course. A border course (a row of pavers running perpendicular to the field pavers, or a different color/style) defines the patio visually and structurally. Set border pavers the same way as field pavers, checking level and alignment carefully.
Drainage is something you build into the project from the start, not something you fix at the end. The 1/8 to 1/4 inch per foot slope away from the house is your primary drainage mechanism. If your patio is on a slope or wraps around a low side of your yard, think about where water will go when it reaches the patio edge. In many cases, water simply runs off the edge into landscaping or lawn. If your patio is surrounded on multiple sides by structures, hardscape, or fencing, you may need a channel drain or French drain at the low edge to carry water away.
For a sloped patio or hillside installation, the cut-and-fill approach (grading the slope into a level pad) is the most stable method. On steeper slopes, a raised patio with a retaining wall on the downhill side is more practical. In a raised system, the wall handles the grade change and the patio surface sits level above it. Always check local codes before building a retaining wall over a certain height, as permits may be required.
Step 7: Polymeric sand, sealing, and fixing common problems
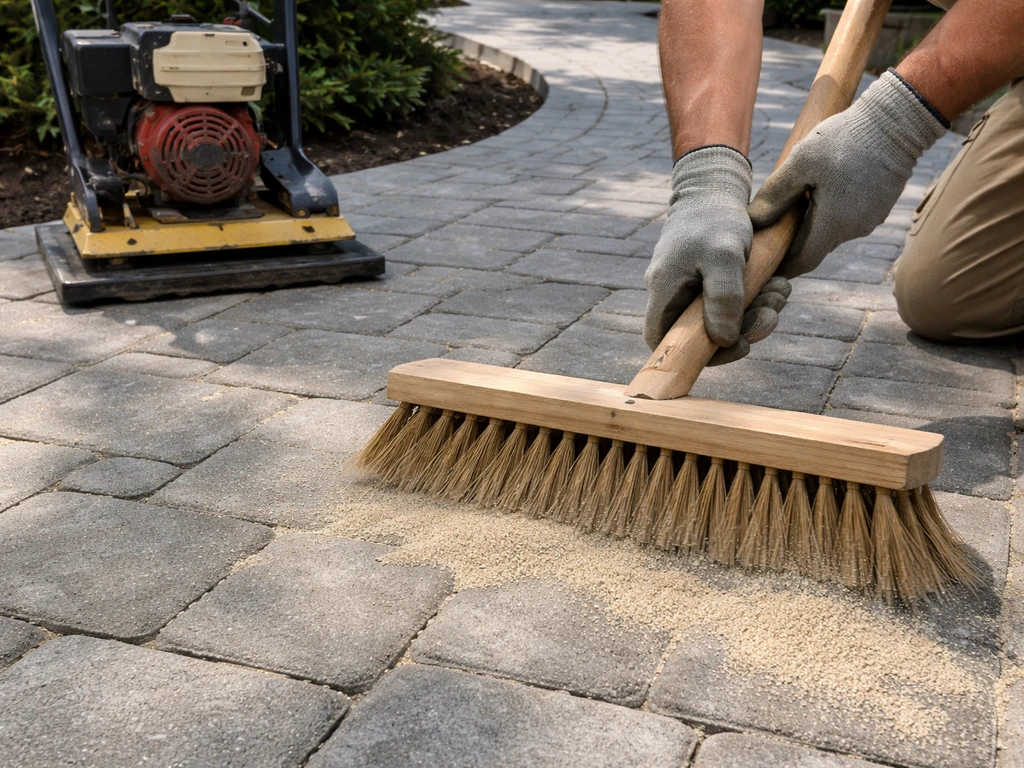
Once all pavers are set and you have done a first compaction pass with the plate compactor over the entire surface (use a rubber pad or paver protection mat under the plate to avoid scratching), it is time to fill the joints. Polymeric sand is the standard choice for residential patios. It contains binding agents that, when activated with water, harden to resist washout, weed growth, and ant infiltration. Regular joint sand washes out and needs to be topped off regularly, so polymeric sand is worth the extra cost.
Apply polymeric sand only to dry pavers on a dry day. This is important: sweeping polymeric sand over damp pavers can cause haze and staining that is very difficult to remove. Pour the sand over the surface, sweep it into the joints with a stiff broom, and compact again with the plate compactor to settle the sand deeper into the joints. Repeat sweeping and compacting until joints are filled to within about 1/8 inch of the paver surface. Blow off or brush away any remaining surface sand, then activate with a fine mist of water following the product instructions. Do not flood the surface. Let it cure for 24 hours before foot traffic.
Should you seal your patio?
Sealing is optional but recommended in most climates. A good paver sealer enhances color, protects against staining, and helps lock in joint sand. Wait at least 30 to 90 days after installation before sealing to allow the pavers to fully settle and any efflorescence (white mineral deposits) to work out naturally. Apply sealer to clean, dry pavers using a sprayer or roller, following the manufacturer's dilution and reapplication schedule. Resealing every 3 to 5 years keeps the protection effective. If you used a polymeric sand with a built-in stabilizer, check the manufacturer's guidance since some products do not need a separate sealer on top.
Troubleshooting problems after installation
| Problem | Likely Cause | Fix |
|---|---|---|
| Lippage (uneven paver heights) | Inconsistent screeding or sand depth; pavers placed on disturbed sand | Pull up affected pavers, re-screed the sand bed, reset and recheck level |
| Shifting or rocking pavers | Inadequate base compaction or missing/weak edge restraints | Remove pavers, compact base more aggressively, reset restraints, relay |
| Joint sand washing out | Used regular sand instead of polymeric, or polymeric not activated properly | Remove old sand, re-apply polymeric sand correctly on dry pavers |
| Water pooling on surface | Insufficient slope or low spots in the base | Pull affected area, regrade base to correct slope, relay pavers |
| Weeds in joints | Joint sand not polymeric, or polymeric sand failed | Pull weeds, clean joints, refill with polymeric sand |
| White haze on pavers (efflorescence) | Natural mineral salts migrating to surface | Use an efflorescence cleaner; most resolves on its own within 1–2 seasons |
| Sinking section | Soft spot in subgrade or base not compacted in lifts | Excavate the section, fix the subgrade, rebuild the base in lifts, relay |
Step 8: Keeping your patio in great shape long-term
A properly built paver patio needs very little maintenance compared to poured concrete or wood decking, but it does need some attention each year. Inspect the joints every spring. If you see sand washout or eroded areas, top up with polymeric sand before weeds establish. Check edge restraints for any sections that have come loose or heaved, and re-spike them while the problem is small.
Sweep and rinse the surface regularly to keep dirt and debris from grinding into the paver surface or staining it. For oil stains, use a dedicated paver degreaser. For general cleaning before resealing, a pressure washer on a low to medium setting works well, but avoid blasting the joint sand out with too high a pressure. If you reseal every 3 to 5 years, the color stays vibrant and the surface stays protected against freeze-thaw damage.
In freeze-thaw climates, do not use metal shovels directly on the paver surface in winter. Use a plastic snow shovel or a rubber-edged blade to avoid chipping. Avoid rock salt (sodium chloride) as a de-icer, which can damage pavers and kill nearby plants. Sand, kitty litter, or calcium chloride (used sparingly) are gentler alternatives.
One real advantage of pavers over solid concrete is repairability. If a section sinks, a pipe breaks underneath, or a paver cracks, you can pull up just the affected area, fix what is underneath, and relay or replace individual pavers. No jackhammer needed. That alone makes the extra upfront effort of a well-built paver base worth it for most homeowners.
Realistic expectations: time, cost, and when to call a pro
A typical 200 to 300 square foot patio is a solid two-weekend DIY project for one or two people. Weekend one covers excavation, base work, and edge restraints. Weekend two covers screeding, paver placement, cutting, and finishing. Budget roughly $10 to $25 per square foot in materials depending on your paver choice, base depth, and local aggregate prices. Renting a plate compactor and paver saw adds $150 to $300 to your weekend costs but is absolutely worth it.
Consider calling a pro if your project involves significant grade changes requiring engineered retaining walls, if your soil is consistently wet or unstable (high water table), or if you are dealing with drainage issues that connect to municipal stormwater systems. Everything else described in this guide is genuinely within reach for a motivated, patient DIYer. Take it one phase at a time, check your level constantly, and do not rush the base. The pavers on top are the easy part.
FAQ
How long should I wait after laying patio pavers before putting furniture or a grill on them?
Plan for at least 24 hours after you activate the polymeric sand before any foot traffic. If you plan to move heavy items or a grill across the patio, wait several days to let the joints settle and fully harden, especially if temperatures are cool.
Can I lay patio pavers without polymeric sand, using regular joint sand instead?
You can, but expect more maintenance. Regular joint sand typically washes out or compacts away faster, so you will likely need to top it up after rain and at the start of each season to prevent weed growth.
What’s the correct slope if my patio is adjacent to an exterior door, steps, or a walkway?
Use the 1/8 to 1/4 inch per foot slope away from the house, but verify the transition heights to doors and steps. If the patio would interfere with door clearance, adjust the base elevation early and keep checking with your long level during base compaction.
Do I need to compact the base more than once, and how do I know it’s truly firm?
Yes, compact in multiple overlapping passes in different directions until the ground feels solid and you cannot easily leave footprints. If you can sink or see pumping when you step on it, add more compacted aggregate before placing bedding sand.
How thick should my bedding sand be if I’m using thicker or thinner pavers than typical 2.375-inch units?
Set bedding sand to about 1 inch uncompacted and then let the pavers settle it to final thickness. If your pavers are unusually thick or thin, recalculate your base elevation so the combined stack lands at the target finish grade.
What if my patio area isn’t perfectly square, how should I lay out the pattern?
Don’t force square corners. Use the string lines to define each side you intend to build, then check dimensions at multiple points (not just one corner). For irregular shapes, measure each cut individually and plan the pattern so cuts fall where they look intentional, not only along random edges.
Can I install pavers over compacted sand instead of gravel base?
Not reliably. Without a compacted, angular gravel base you risk settlement and uneven pavers over time. If your plan is to use sand-only, it usually fails because sand lacks the structural “lock” that crushed stone provides.
How do I avoid lippage when my pavers have different thicknesses or my sand bed is uneven?
Use a screeded sand bed and avoid walking on it before setting pavers. Sort pavers if thickness varies, check with a long straight edge across several stones as you go, and tap pavers gently into place rather than sliding them.
Should edge restraints go in before or after the pavers?
Install restraints on at least two sides early, ideally during base work, so you have a stable boundary while placing pavers. Add the remaining sides after field installation if you need access, but confirm restraints are tight and spiked at the correct spacing.
Is it okay to use a weed barrier fabric under the base?
Geotextile can help prevent base migration into soft subgrade, especially on sandy or loose soils. However, it should not replace the gravel base depth or be layered in a way that traps water. Use it to stabilize, not to eliminate proper drainage and compaction.
Why do polymeric sand sometimes turn hazy or stain the pavers?
It usually happens when polymeric sand is swept over damp pavers or the surface is over-misted. Apply only on a dry day, sweep excess off the surface promptly, and mist lightly following the product directions instead of flooding.
Do I need to seal pavers if I used polymeric sand?
Sealing is optional. In many climates it helps with stain resistance and can enhance color, but you should still wait 30 to 90 days after installation. Also check your polymeric sand product guidance, since some systems may advise against sealing immediately or suggest a specific curing window.
How soon can I drive or park on paver patios if the space will get heavy vehicles?
For foot traffic, 24 hours after joint activation is typical. For vehicles, treat it more like a heavier-load project: consider a deeper engineered base, denser edging, and longer curing before driving, and follow local spec recommendations rather than relying on a standard patio timeline.
What maintenance mistakes should I avoid after installation?
Avoid using high-pressure washing that can blast joint sand out, avoid de-icing salts like rock salt, and avoid walking on screeded sand before pavers are set. For joint maintenance, top off polymeric sand before weeds establish rather than waiting until gaps are wide.
Step-by-step DIY guide to lay paver patio stones, build the base, prep bedding, level, compact, and finish.
Step-by-step guide to set patio pavers: layout, prep, base, bedding, cutting, slope, leveling, compaction, edging, seali
Step-by-step DIY for laying patio pavers: layout, base prep, compaction, leveling, cutting, jointing, and sealing for dr