
If you have extra patio pavers sitting in a pile after your installation, the best move is to keep a stash for repairs and use the rest for a small nearby project like a garden path, border, or a set of steps. Most homeowners end up with 5 to 15 percent extra pavers from a standard project, and almost all of them have a use, it just takes a few minutes of honest assessment to figure out which direction makes the most sense for your situation.
What to Do With Extra Patio Pavers: DIY Reuse Ideas

Felix Rowe
11 Jul 2026
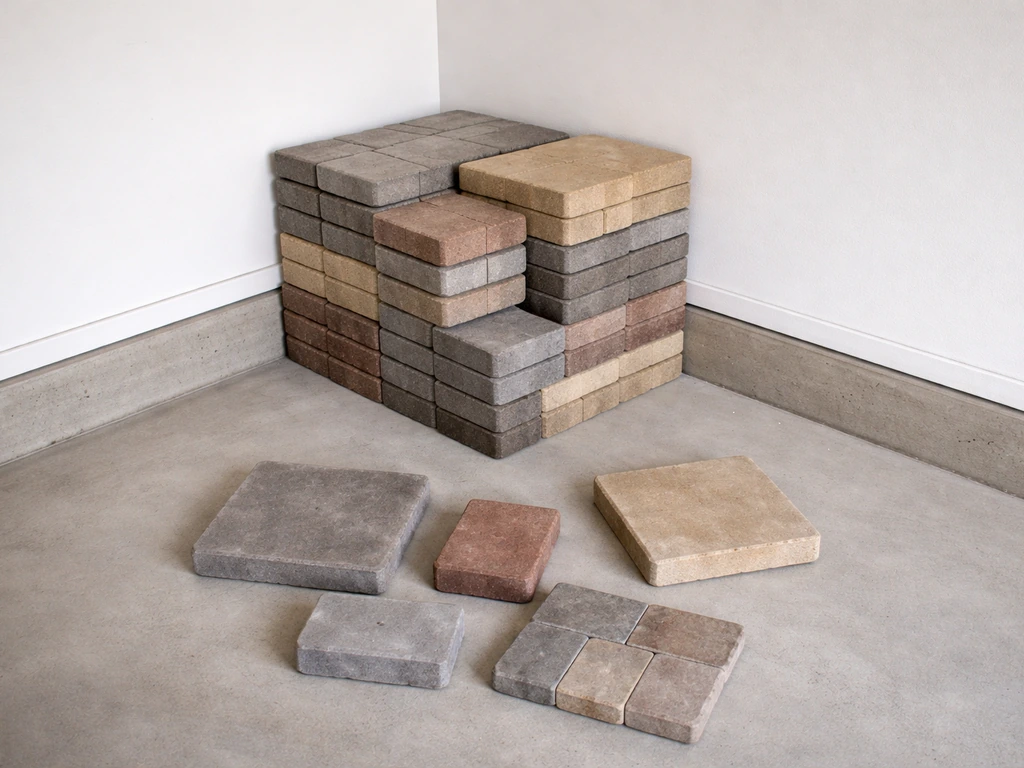
Step 1: Figure out what you actually have
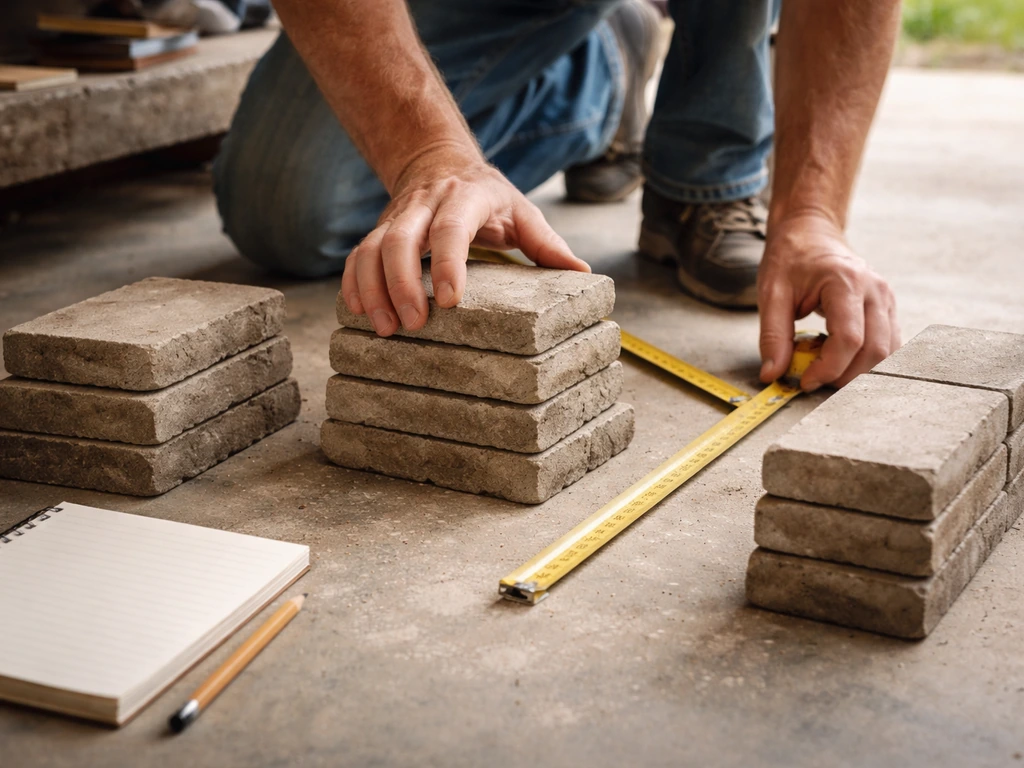
Before you start planning a new path or stacking pavers in the garage, do a quick triage. It takes maybe 20 minutes and saves you from making decisions you'll regret. Sort your leftovers into three categories: pristine and usable, chipped or scuffed but structurally sound, and cracked or broken beyond use.
While you're sorting, check these things for each group:
- Quantity: Count them. Even rough groups (5 pavers, 20 pavers, 60+ pavers) will steer you toward different projects.
- Thickness and size: Measure a few with a tape. Mixing thicknesses in the same surface is trouble unless you adjust your sand bed to compensate.
- Color match: Pavers fade over time, so leftovers you store for a year will be slightly darker than the installed ones. That's normal and expected. What matters is whether the batch matches now.
- Condition of the face: Light scuffing is fine. A paver with a crack running more than halfway through it will pop under foot traffic eventually.
- Manufacturer batch if labeled: Some pavers have batch numbers stamped or stickered on them. Keep that info — it's gold if you ever need to reorder matching replacements.
Once you know what you have, the rest of the decisions fall into place pretty quickly.
Ways to add leftover pavers directly to your existing patio area
If you have 20 or more matching pavers in good shape, the cleanest use is extending or finishing out the patio itself. A lot of DIY patios end up with small gaps around features like fire pits, planters, or utility boxes, and those gaps are begging to be filled.
Here are the most practical in-area reuse options:
- Infill around a fire pit ring or planter: Irregular gaps around circular features are common. You can cut pavers to fit the curve (a grinder with a diamond blade works well for this) or use a soldier-course border to frame the feature cleanly.
- Extend a patio edge by one or two rows: If you stopped short of a natural boundary like a fence line or garden bed edge, a one-row extension is straightforward. Just make sure you maintain the same base depth — 4 inches of compacted base material plus 1 inch of bedding sand is a solid standard.
- Add a defined border or soldier course: Running a row of pavers perpendicular to the field pattern around the perimeter looks intentional and finished, and it locks in the edge restraints you already installed.
- Widen a landing or transition zone: If your patio meets a door, steps, or a different surface, you can widen that transition area with leftover pavers to make it feel more intentional and safer underfoot.
- Fill in a low spot or uneven section: If settling has already started in one area, this is a perfect time to address it while you have matching material on hand (more on that in the repair section below).
The key thing to watch when adding to an existing patio is drainage. If you are dealing with water pooling, draining patio pavers often starts with improving the base and slope before you add or reset any pavers drain water from patio pavers. The Western Hardscape Association and most installation guides emphasize that the entire paved surface should slope away from your home at roughly 1 inch per 4 feet. Any extension needs to maintain or continue that slope, don't add a section that creates a flat bowl near the house.
Small stand-alone projects worth building with leftover pavers
Even if the leftover pavers don't match your main patio perfectly, or you just have a smaller pile, there are plenty of stand-alone projects that are practical and genuinely useful around a yard. These are great weekend projects that don't require renting a plate compactor or doing extensive base work.
Short garden path or stepping stone walkway
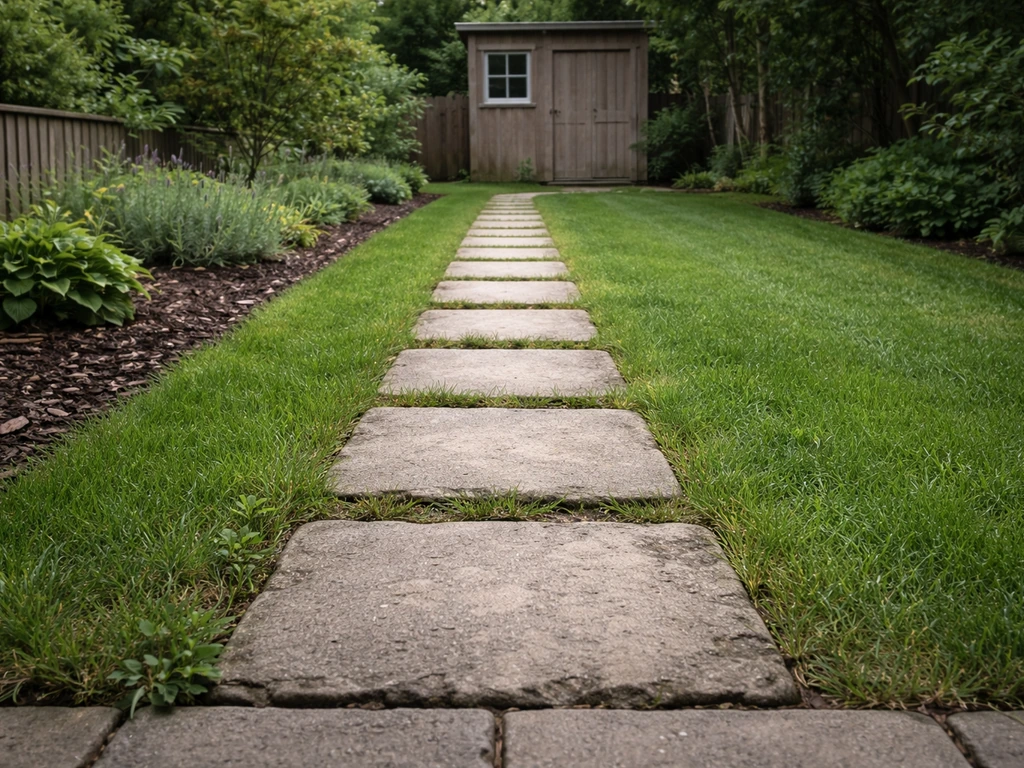
A 15-foot garden path from the patio to a shed, garden bed, or gate only takes 20 to 30 pavers depending on the size. For a casual stepping-stone path (pavers set into the lawn with gaps between them), you can get away with a very simple base: dig down about 4 to 5 inches, add 3 to 4 inches of compacted gravel, top with 1 inch of sand, and set the paver so it sits just slightly above grade. That small height keeps mower blades clear of the paver edges.
One or two entry steps
Leftover pavers make excellent step treads. A standard paver step tread is about 6 to 7 inches in rise and 12 to 14 inches in depth, and you can stack pavers flat to hit those numbers. Set them on a solid compacted base, not loose soil. Two stacked standard pavers (each around 2.375 inches thick) get you close to a comfortable rise. This is one of the most satisfying small projects to knock out with leftover material.
Edging and garden borders
Standing pavers on edge (called a soldier course or sailor course depending on orientation) makes a clean, durable garden border that keeps mulch in and lawn out. You don't need a full base setup for a border, just a shallow trench, a bit of compacted sand underneath for leveling, and the pavers set snugly together. This project can use up chipped or slightly cosmetically damaged pavers since most of the face is buried or at ground level.
A small pad under a grill, trash cans, or outdoor furniture
A simple 4-by-4-foot or 4-by-6-foot pad off to the side of the main patio is a really practical use of 10 to 20 leftover pavers. It doesn't need to match the main patio perfectly, keeps equipment off the lawn, and is simple enough to do in an afternoon. Same base principles apply: compacted gravel base, sand layer, pavers set flush.
Using extra pavers to fix low spots and replace damaged units
Here's the honest truth: the single most valuable thing you can do with leftover pavers is set them aside specifically for repairs. To truly remove and replace damaged patio pavers, start by lifting the individual units, then fix the sand and base issues before resetting them leftover pavers specifically for repairs. Paver patios settle, especially in the first year or two. Freeze-thaw cycles, root growth, and drainage shifts all cause individual pavers to sink or rock. Having matching spares means you can fix these problems yourself without ordering new material and hoping the color matches.
Here's how to approach common repairs with leftover pavers: If you need to drill into patio pavers for hardware or fixtures, plan the right bit, keep the paver from cracking, and drill slowly through the surface repairs with leftover pavers.
Replacing a cracked or broken paver
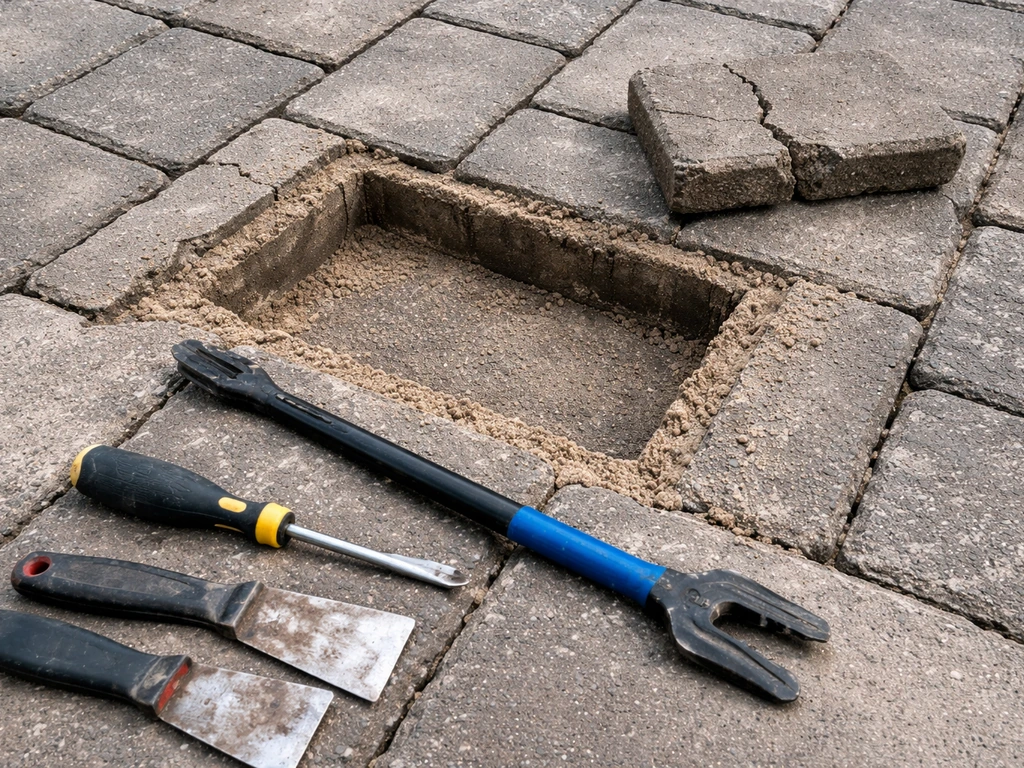
- Chisel out the joint sand around the damaged paver on all four sides. A flathead screwdriver or a paver removal tool works well.
- Lift the broken paver out. Two paint scrapers slid under opposite edges give you enough leverage without damaging neighbors.
- Check the sand bed underneath. If it looks disturbed or uneven, screed it back to level. You're aiming for about 1 inch of bedding sand, undisturbed.
- Set the replacement paver in, tap it down with a rubber mallet, and check it's flush with surrounding pavers using a straightedge.
- Re-sand the joints, sweep in fresh joint sand, and compact lightly with a hand tamper if needed. Belgard recommends that joint sand sit about 1/8 inch below the paver surface for best results.
Fixing a sunken or rocking paver
A rocking paver almost always means the sand bed below has shifted or washed out. Angi also recommends fixing loose or rocking pavers by pulling them up, adding fresh joint sand, and re-compacting the base before resetting the stones removing and replacing loose or rocking pavers by adding fresh joint sand and re-compacting the base. Quikrete's guidance on sunken brick and stone walks makes the important point that you have to fix the underlying cause first, not just add sand on top. Pull the paver, check for voids or washout in the base, correct the structure, then re-set with fresh bedding sand. If multiple pavers in one area are sinking together, that's a base or drainage problem, not just a sand issue, and it needs more investigation before you just fill and reset.
Also worth noting: a contractor-level reminder from the hardscaping community is that replacing joint sand won't stop movement caused by a weak base or failed edge restraint. Diagnose first, then repair. If your edge restraints have shifted, resetting them is step one.
How to store and label leftover pavers so they're actually useful later
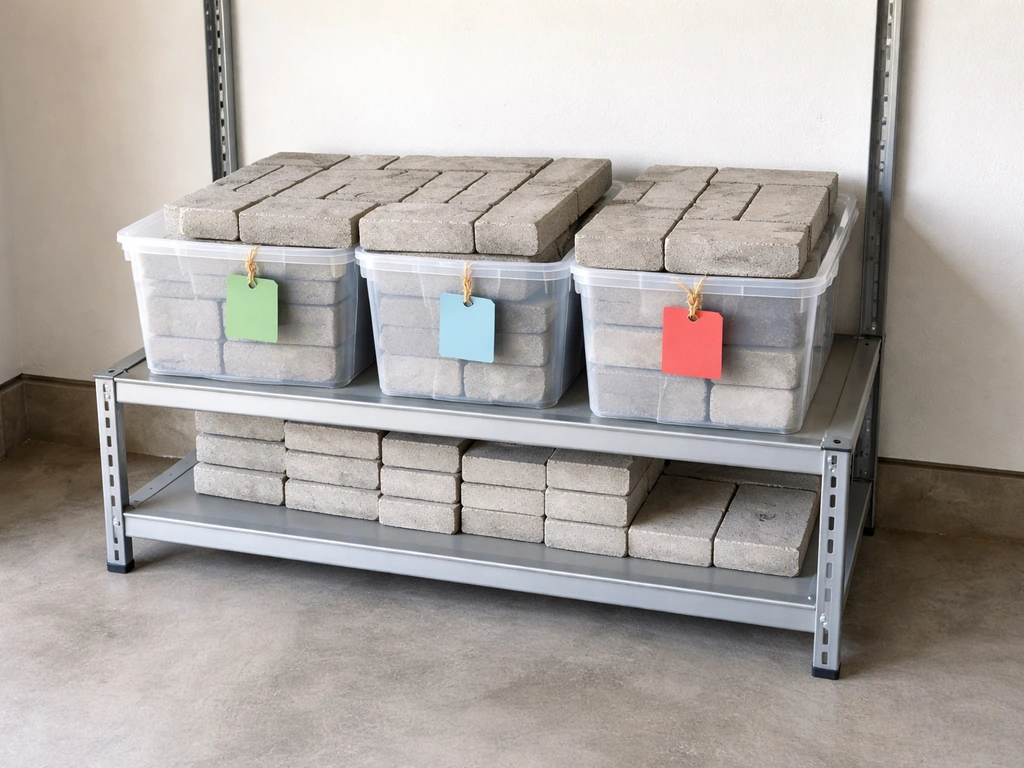
Storing pavers poorly is almost as bad as not storing them at all. If they're in a chaotic pile behind the shed for two years, you'll have trouble finding the right ones, some will crack from improper stacking, and the whole pile becomes a hassle instead of a resource.
Follow these storage basics and your spares will be ready to use whenever you need them:
- Stack them flat, not on edge. Flat stacks are stable and don't put lateral pressure on the paver faces. Keep stacks to about 10 to 12 pavers high to prevent crushing at the bottom.
- Store on a flat, dry surface. Pallets off the ground are ideal. Direct contact with wet soil encourages efflorescence (the white mineral deposits that show up on paver faces) and moss growth.
- Cover with a breathable tarp, not plastic sheeting. Plastic traps moisture underneath and actually accelerates staining and efflorescence.
- Label the batch. Use a piece of masking tape or a paint marker on the side of one paver from each group: manufacturer name, color name, size, and the installation date if you know it. Even a rough label is much better than nothing.
- Separate by size and thickness. If you have two different paver thicknesses (maybe you mixed a border size with field pavers), keep them in distinct stacks so you don't grab the wrong one during a repair.
- Take a photo. A quick phone photo of the stack next to the finished patio is an easy reference if you need to reorder or match color in the future.
How many should you keep? A reasonable rule of thumb is to hold back at least 5 percent of the total installed area in spares, or a minimum of 10 pavers, whichever is more. If your patio used 400 pavers, keep 20. If it used 60 pavers, keep 10. That covers most repair scenarios without taking over your garage.
When it makes sense to return, donate, or recycle
Not every extra paver needs to live in your yard forever. If you have a large surplus that you genuinely won't use, or you have damaged material that isn't worth keeping, there are real options worth checking.
Returning to the supplier
Many hardscape suppliers and big-box home improvement stores accept returns on unused pavers within 30 to 90 days with a receipt, but the rules vary a lot. Check a few things before loading your truck: the pavers must typically be in original or undamaged condition, you usually need to return the full quantity from a pallet (some stores won't take partial pallets), and the return window may have already passed. Call before you go. A store credit is better than nothing if you're past the cash-back window.
Donating
Habitat for Humanity ReStores accept building materials including pavers and hardscape materials in many locations, though inventory policies vary by store. Local Nextdoor and Facebook Marketplace listings for free pavers move quickly, people are almost always looking for them. Community garden groups and school garden projects are also worth contacting. If you're donating, sort and count the pavers first so the recipient knows exactly what they're getting.
Recycling and disposal
Concrete and clay pavers can often be taken to a construction debris recycling facility, where they get crushed into aggregate for road base or landscaping. This is a better outcome than landfill. For a smaller number of broken pavers, they can go into the base layer of future low-load projects (a gravel path base, for instance) or used as drainage fill around downspouts. If you're researching disposal options in more detail, that topic has its own specific guidance worth reading through. If you want a step-by-step plan for disposing of patio pavers safely and responsibly, follow the guidance on how to dispose of patio pavers disposal options.
Things to check before doing any of the above
- Verify the paver thickness matches your installation if you plan to donate them as repair material — mismatched thickness is a common headache for the recipient.
- Check for any leftover mortar, paint, or adhesive on faces before donating. Clean pavers are much more useful.
- If pavers came from a removal project rather than a new install, note that used pavers may have inconsistent base material residue on the bottom that will need to be cleaned before reuse.
- Don't mix batches of different color shades when donating or selling as a matched set — be honest about what you have.
Practical planning: how to match patterns, lay out a new project, and get it right
One of the most common mistakes with leftover paver projects is jumping straight to installation without thinking through the layout. Even a short path or a small pad looks significantly better if you take 15 minutes to plan it out first. If you want a round or curved look, the same layout-and-measure planning you use for paths can also apply when you’re learning how to cut patio pavers in a circle cut patio pavers in a circle (learn how).
Matching the pattern and color of your existing patio
If you're adding to the main patio or building an adjacent feature, try to carry the same laying pattern into the new section. A running bond (offset rows) should stay offset at the same interval. A herringbone pattern should continue at the same 45 or 90-degree angle. Abrupt pattern changes at a transition joint look unplanned. The joint spacing should also match, typically 1/8 inch for most residential pavers, so the grout lines align visually even if they don't physically connect. Unilock’s joint-sand guidance also recommends installing joint sand so it sits about 1/8 inch below the bottom of beveled edges or about 1/8 inch below the paver surface for best performance and appearance typical 1/8 inch joint spacing for most residential pavers.
Color variation between a new section and an older one is almost unavoidable if any time has passed. You can minimize this by pulling pavers from the same original batch for adjacent work. If the color difference still bothers you, a fresh application of paver sealer across both sections after the project is complete can even out the appearance somewhat.
Basic layout steps for a small standalone project
- Dry-lay the pavers on the ground first before digging anything. This tells you how many you actually need and lets you catch pattern or size issues early.
- Mark the perimeter with spray paint or stakes and string. Commit to the boundaries before you break ground.
- Excavate to the right depth: roughly 4 to 6 inches for the base material, plus 1 inch for bedding sand, plus the paver thickness. For a 2.375-inch standard paver, that's about 7.5 to 9.5 inches total depth.
- Compact the base layer before adding sand. Don't compact the sand layer — that's a common mistake that leads to uneven settling. Set pavers directly into an uncompacted sand bed.
- Maintain your drainage slope of about 1 inch per 4 feet away from any structure. Even a small path should pitch slightly to one side.
- Install edge restraints before sweeping in joint sand. Skipping edge restraints is one of the top reasons paver installations creep and shift over time.
- Sweep in joint sand, compact lightly, sweep again, and repeat until joints are filled to about 1/8 inch below the paver surface.
Quick material estimate for small projects
| Project | Approx. Pavers Needed | Base Material | Other Needs |
|---|---|---|---|
| 20-ft stepping stone path (18-in pavers) | 14 to 16 pavers | 2 to 3 cu ft gravel per stone | Edging optional |
| 4x6 ft equipment pad | 18 to 22 standard pavers | 0.5 cu yd compacted base | Edge restraints, bedding sand |
| 3-step entry stair (stacked pavers) | 12 to 18 pavers depending on width | Solid footing or compacted base | Construction adhesive for stacking |
| 15-ft border/edging strip | 15 to 20 pavers (set on edge) | Shallow trench, leveling sand | Landscape stakes optional |
| Small garden path, 3 ft wide x 10 ft | 20 to 28 pavers | 0.3 cu yd base gravel | Edge restraints, joint sand |
If your project involves cutting pavers to fit curves, angles, or tight edges, those cuts can be done with a circular saw or angle grinder fitted with a diamond blade, or with a rented paver saw for straighter cuts. If you do need to cut a paver to fit, use a diamond blade and measure twice before you make the cut. Working with a chisel is also an option for rough cuts on less visible sections. Getting those cuts right is its own skill, and it's worth reading through the specifics before you start rather than figuring it out mid-project.
The bottom line is that extra pavers are genuinely useful, almost always more useful than they initially seem. A few minutes of sorting and planning turns a pile of leftovers into repair insurance, a weekend project, or a cleaner-looking yard. Start with the triage, make a quick decision about what you'll actually use now versus store, and then take action. If you need to make a custom fit for your layout, learn how to cut patio pavers with a chisel before you start placing them. Even just setting aside 10 clean, labeled spares and using the rest for a simple path is a solid outcome that future-you will appreciate the first time a paver cracks.
FAQ
How do I organize extra patio pavers so I can find the right one for future repairs?
Yes. For matching repairs, don’t just grab “any” similar paver, sort by thickness and the physical face condition (top surface texture and edge chipping). If multiple batches exist, keep them in separate labeled bins, so you can replace a single unit without creating a new mismatch spot.
What’s the safest way to connect a new small project to an existing patio without creating a seam or water trap?
If you’re adding pavers adjacent to the main patio, build a proper transition, not a floating edge. Use edging or a restraint system to keep the new section from pushing out, and maintain the same slope direction as the original patio so water doesn’t collect at the seam.
How can I match the look of the original patio when using leftover pavers that are slightly different?
Do a “dry fit” first. Arrange pavers with the same joint spacing you used originally (often about 1/8 inch). Then check whether you need to shave a little off multiple pavers versus making one big cut, large uneven joints usually look wrong and can create weak points.
What should I watch for when installing leftover pavers as a stepping-stone path in lawn?
For stepping stones set in grass, keep the top of each paver slightly above final lawn height so the mower doesn’t catch edges. Also leave narrow gaps for drainage, then re-level if the ground settles, because the biggest failure with stepping installs is movement from an uneven or uncompacted subgrade.
What’s the right way to store leftover pavers to prevent cracking and surface damage?
Store pavers flat or stacked evenly, with spacers between layers so they don’t grind together. Avoid stacking in a way that leaves a few units carrying the weight at the edges, and keep them covered and dry enough that sand and grit don’t lock into the surfaces.
Can I drill leftover pavers for hardware, and how do I avoid cracking them?
If you’re drilling through pavers for fixtures, confirm the paver material type (concrete vs. clay) and use a bit sized for masonry and the anchor you plan to use. Drill slowly, keep the hole straight, and clean dust from the hole before installing the fastener to reduce cracking and pullout.
Why does my paver rock even after I add more joint sand, and what should I do instead?
Don’t treat a rocking paver as only a joint-sand problem. A rocking unit usually indicates voids or base washout, so the repair should remove the paver, correct the underlying base, then reset with fresh bedding sand. If multiple neighbors rock, inspect drainage and edging restraint first.
Is it worth donating extra patio pavers, and how should I prepare them?
Yes, but be picky. Many donation programs prefer clean, usable pavers in consistent sizes, and they often can’t use mixed broken pieces. Before donating, sort by condition and count, and exclude cracked or heavily spalled units unless the recipient explicitly asks for mixed material.
When I use extra pavers for a border or pad, what materials should I double-check so the height matches?
Try to plan a use before buying anything new. If you extend or build a border, buy only the base and bedding materials you’re missing, joint sand, and edging or restraints. A small mismatch in bedding depth can change the finished height, so verify thickness and slope before placing.
What’s the best approach to cutting leftover pavers for tight edges and curved sections?
Cut pavers cleanly only if you have a stable reference and the right blade. For tighter areas, prioritize smaller repeated trims over forcing an awkward fit, and dry-test the layout before committing. Keeping the pattern alignment at corners and transitions usually looks better than “hiding” the cut with a bigger joint.
Next Articles
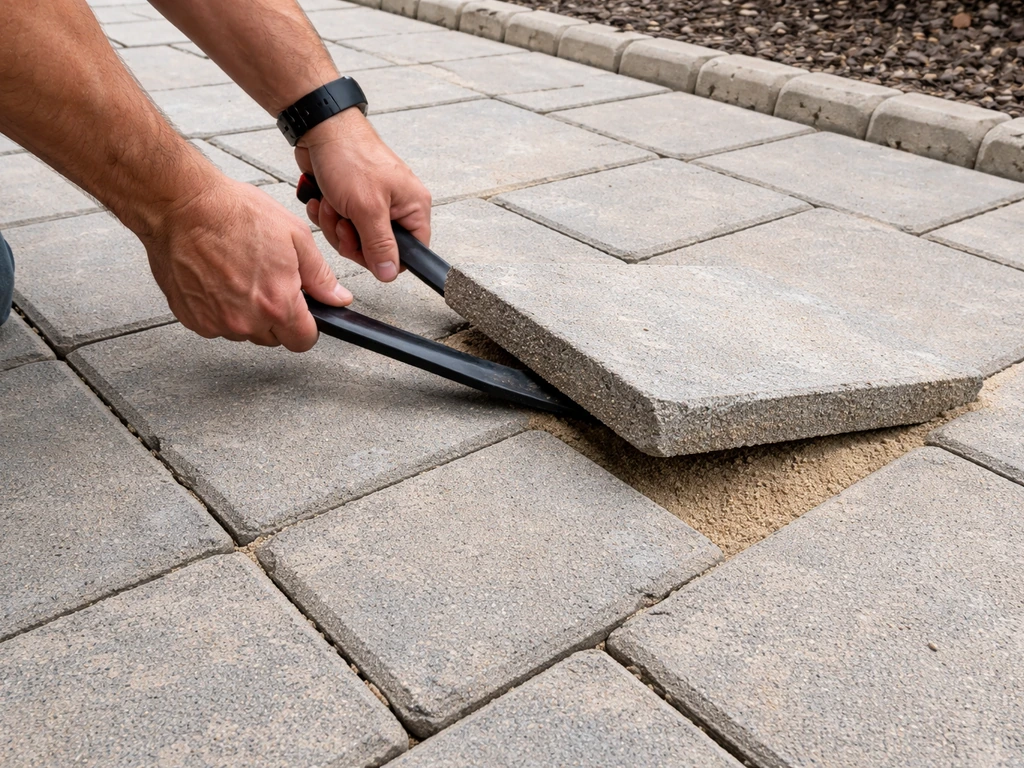
How to Remove Patio Pavers: DIY Step-by-Step Guide
Step-by-step how to remove patio pavers safely, clear bedding sand and base, fix edging, prep for relaying or disposal.
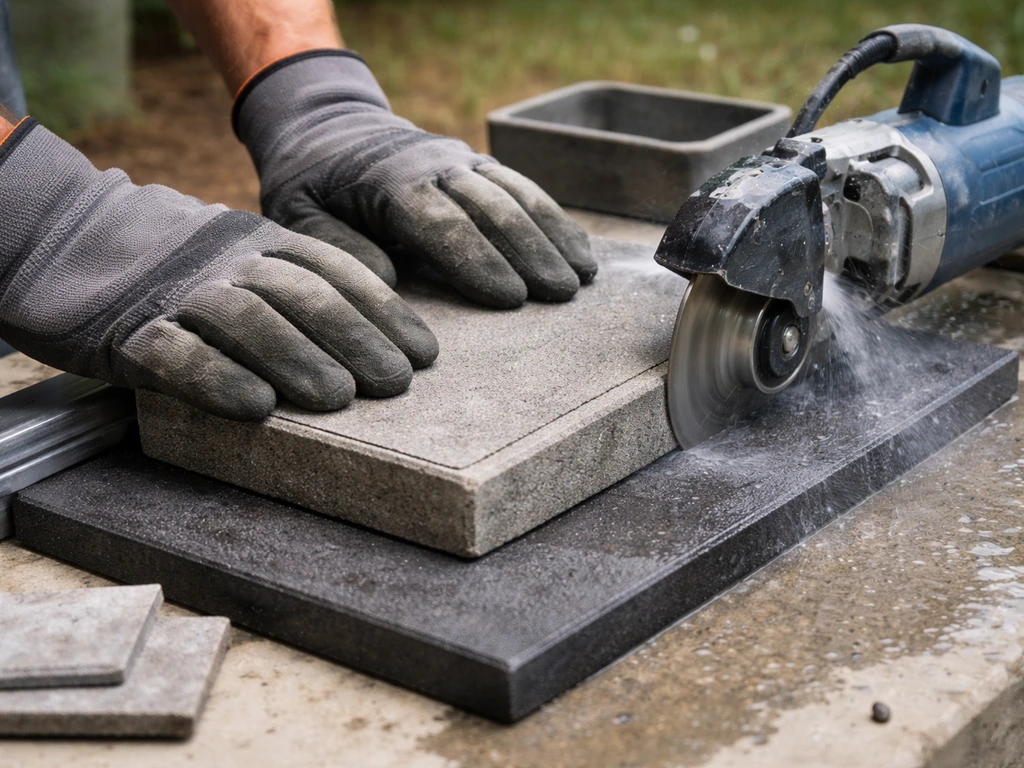
How to Cut Patio Pavers Today: Tools, Steps, and No-Saw Options
Step-by-step ways to cut cement patio pavers today, including no-saw options, curved cuts, and rubber paver tips.
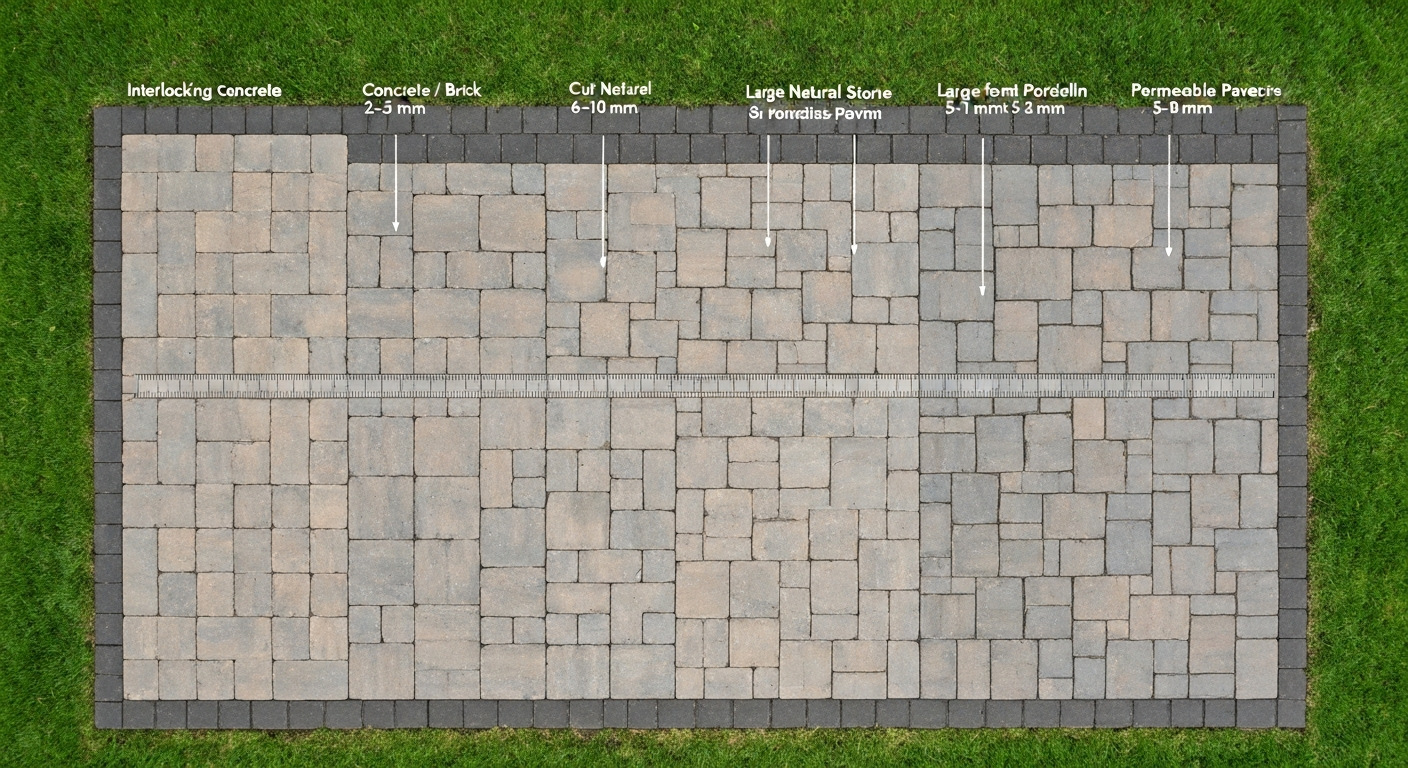
How to Space Patio Pavers: Joint Widths & Finishing Tips
How to space patio pavers: exact joint widths by paver type, step‑by‑step spacing, jointing & finishing tips.