
Building a patio wall with pavers is completely doable as a DIY project, as long as you keep it under about 3 to 4 feet tall, get the base right, and build in drainage from the start. If you want the patio itself, follow the same careful base and drainage approach when you build a patio with brick pavers. A well-built paver wall gives your patio a clean edge, creates a raised planting bed boundary, or holds back a gentle slope, and it can last decades without mortar or a concrete footing if you follow the right process.
How to Build a Patio Wall With Pavers: Step-by-Step

Felix Rowe
7 Jul 2026
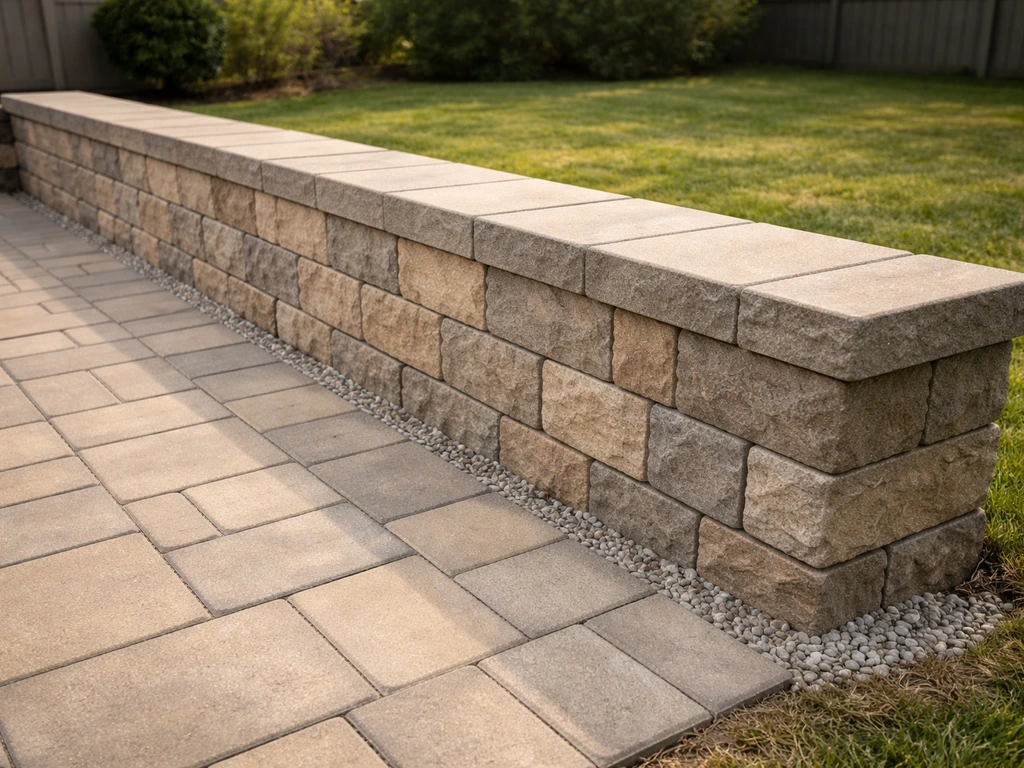
Patio wall vs. raised patio boundary: know what you're building
Before you buy a single block, be clear about the job your wall needs to do. There are three common types you'll encounter on a typical patio project, and they have different structural demands.
- Decorative boundary wall: A low, 1 to 2 course wall (roughly 4 to 8 inches tall) that defines the patio edge. Mostly cosmetic, minimal load, easiest to build.
- Raised patio edge wall: A wall of 2 to 4 courses (8 to 18 inches) that creates a step up to a slightly elevated patio surface. Has some soil pressure behind it but still falls in the DIY-friendly gravity wall zone.
- Retaining-style wall: A wall holding back a significant soil mass, often 2 feet or taller. This is the type that needs the most attention to base preparation, drainage, and batter (the slight backward lean).
The key distinction is whether your wall is primarily decorative or whether it's actively holding back earth. A wall supporting a raised planting bed or a gentle slope is doing real retaining work, and you need to treat it that way. If you're building a full raised patio with a continuous wall on multiple sides, that project overlaps closely with raised patio construction, the wall-building principles here still apply to every side of that structure. For a raised patio using pavers, you’ll apply the same core wall-building steps, then add the patio-grade base and paver surface on top raised patio construction.
One hard rule worth knowing early: walls over roughly 3 to 4 feet tall, or any wall supporting a surcharge load like a slope coming toward the top, a fence, or a driveway, step outside DIY territory. Those require a licensed professional engineer and often a permit. Below that threshold, a properly built gravity wall using segmental retaining wall (SRW) blocks handles the job without mortar, concrete footings, or geogrid reinforcement, and that's what this guide covers.
Tools, materials, and layout
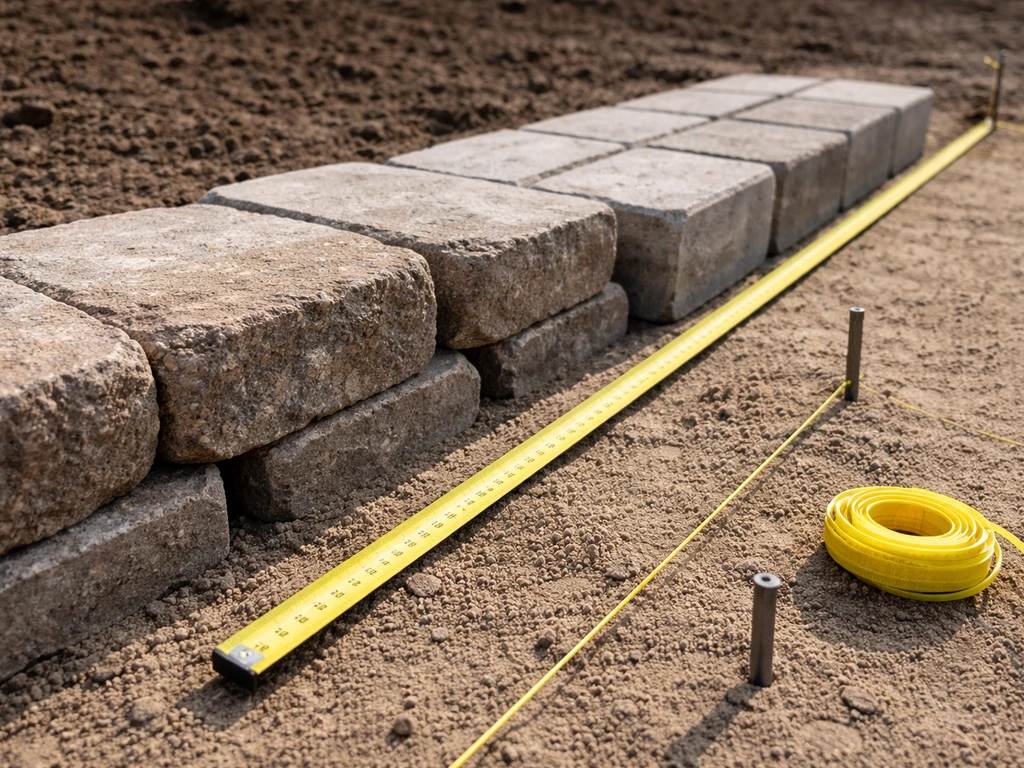
What you'll need
| Category | What to Get | Notes |
|---|---|---|
| Blocks | Segmental retaining wall blocks or concrete pavers (standard 4x8 or larger) | SRW blocks have a setback lip built in; regular pavers need manual setback |
| Base material | Crushed angular gravel (3/4-inch clean crush) | Do NOT use pea gravel or rounded stone — it won't compact |
| Bedding layer | Coarse concrete sand or crushed granite screenings | 1-inch layer to set first course level |
| Drainage | 4-inch perforated drain pipe + filter fabric sock | Required for any wall over about 4 ft; smart for any retaining wall |
| Backfill | Crushed gravel (not native soil) | Allows water to pass through behind the wall |
| Tools | Plate compactor, hand tamper, level (4-ft), rubber mallet, mason's line, stakes, tape measure | Rent the plate compactor — worth every dollar |
| Cutting | Angle grinder with diamond blade or masonry saw | Angle grinder handles most cuts; saw is cleaner for caps |
| Safety gear | Safety glasses, ear protection, gloves, dust mask | Non-negotiable when cutting |
Laying out the line and getting levels right
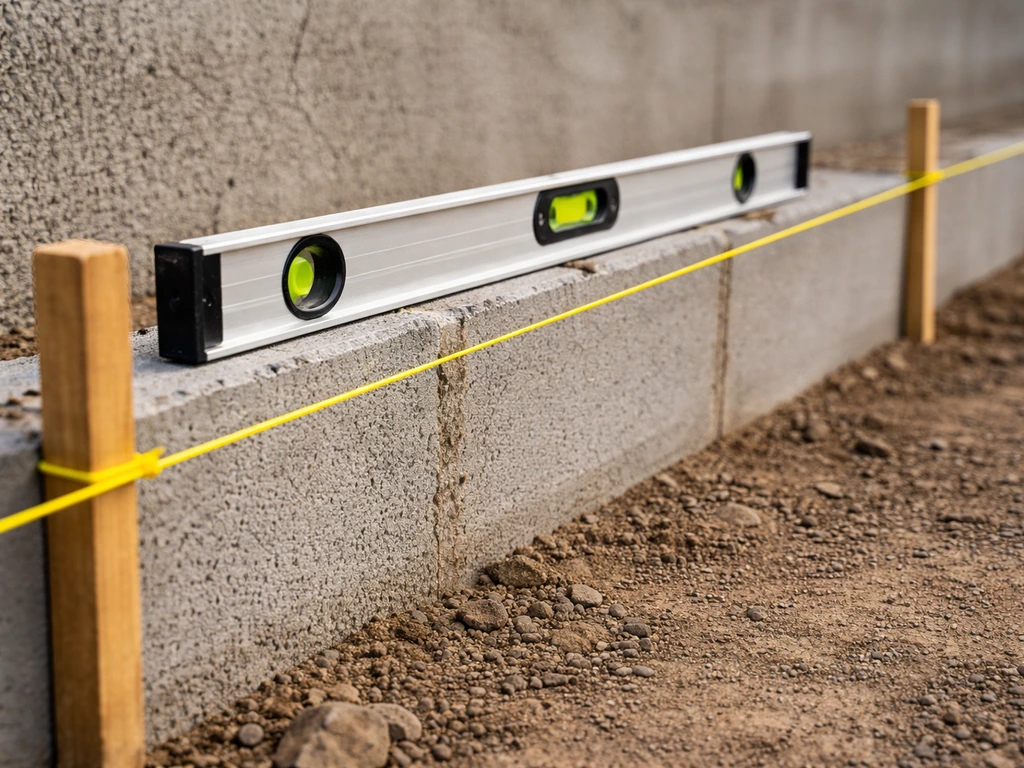
Stretch a mason's line between stakes at the exact face line of your wall. This is your reference for every course you lay. Use a line level or a long 4-foot level on top of the string to confirm it's level across the full run. If your site slopes, decide now whether your wall will step down in tiers or run level with buried courses at the low end, burying extra courses is the correct approach, not cutting the base shallow on the low side.
Mark your corners with spray paint and double-check your measurements before you dig. A wall that goes in crooked is painful to fix after the first course is set. Taking 20 minutes here saves hours later.
Preparing the base and protecting against frost
The base is where most DIY walls fail. A poorly prepared base causes settling, tilting, and cracked blocks, usually within the first winter. Do not rush this phase.
- Excavate the trench: Dig at least 6 inches deep for the base gravel, plus enough to bury the first course of blocks entirely below grade. Burying the first course is not optional — it locks the wall against sliding and hides the inevitable slight imperfections in your first layer.
- Extend the trench width: Dig back at least 12 inches behind where the back of your blocks will sit. You need room for drainage gravel and, if relevant, a drain pipe.
- Add and compact base gravel: Pour in 6 inches of 3/4-inch crushed angular gravel in two 3-inch lifts. Compact each lift with a plate compactor before adding the next. This is the most important step in the whole project.
- Add a 1-inch bedding layer: Screed a thin layer of coarse sand or granite screenings over the compacted gravel. This is just for fine-tuning the level of your first course — don't make it thicker.
Frost depth: do you need a footing?
Standard SRW-style paver walls are designed to move slightly with freeze-thaw cycles rather than crack like mortared masonry. You don't need a poured concrete footing. What you do need is to get below the frost line with your compacted gravel base in cold climates. In USDA hardiness zones 6 and colder (roughly the northern half of the US), frost can penetrate 12 to 36 inches into the ground. Getting your compacted gravel base below that depth is the frost protection strategy, it eliminates the saturated, heave-prone native soil from under your wall. If you're in a mild climate with no frost risk, 6 inches of compacted base is sufficient for walls under 2 feet tall.
Building the wall course by course
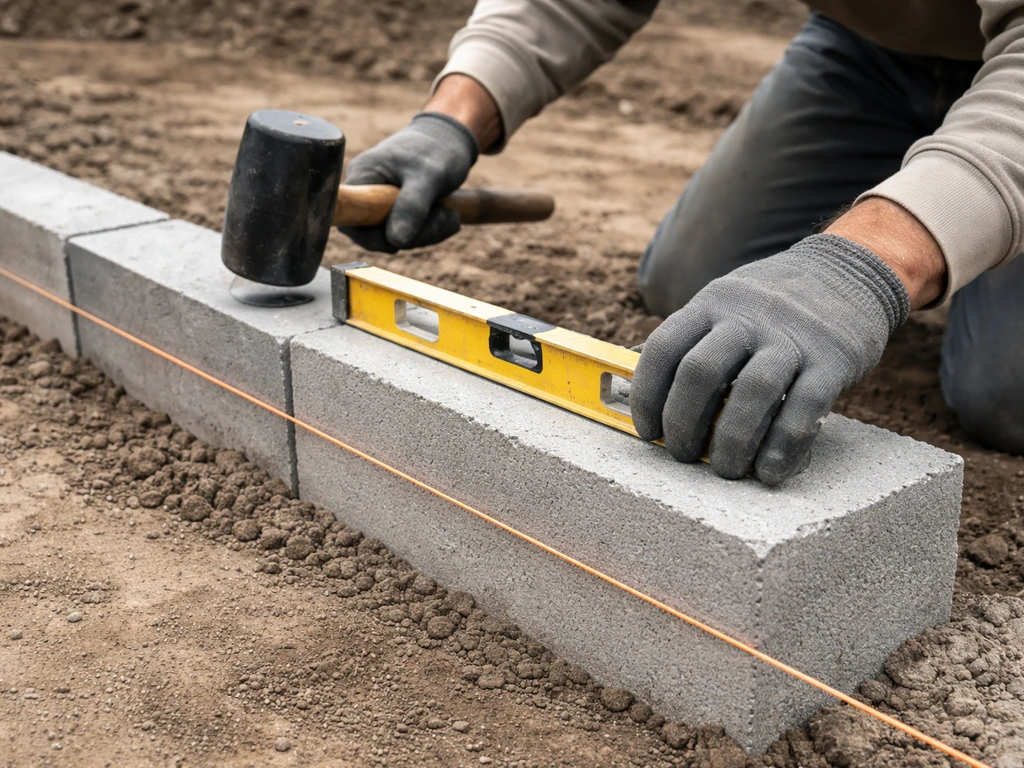
Once your base is compacted and your bedding layer is screeded, you're ready to lay blocks. Work methodically and check your level constantly, catching a problem at course 2 is easy, catching it at course 5 means tearing down and starting over.
- Set the first course: Place blocks tight against your mason's line. Use a rubber mallet and your 4-foot level to adjust each block until it's perfectly level side-to-side and front-to-back. Check that adjacent blocks are also flush with each other — no rocking, no high corners.
- Apply the setback: Each course should lean back into the slope slightly (called 'batter'). Most SRW blocks have a built-in setback lip of about 3/4 to 1 inch per course. If you're using flat pavers, set each course back manually by 3/4 inch from the face of the course below. This lean is what keeps the wall stable.
- Stagger the joints: Offset each course by at least one-third of a block length so vertical joints never line up. Running bond (offset by half) is the most common and most stable pattern.
- Check plumb and alignment frequently: Every second course, step back and look down the wall line. Use a level on the face to confirm the batter is consistent. Use your mason's line to make sure the face stays on track horizontally.
- Continue until you're one course below finished height: Leave that last course for after you've addressed drainage and backfill.
A realistic pace for a first-time builder: expect to lay 10 to 15 linear feet of wall per half-day once your base is done. Don't rush. Heavy blocks and unforgiving physics reward patience.
Backfilling, drainage, and wall ties
Water pressure behind a wall is one of the top causes of wall failure. Every retaining-style paver wall needs a plan for getting water out from behind the blocks before it builds up pressure. To build a patio with large pavers that stays flat and stable, plan drainage and water control so the base does not shift over time paver walls. For gravity walls under 4 feet, a crushed gravel backfill is usually enough. blank" rel="noopener noreferrer">For any wall approaching 4 feet or taller, add a perforated drain pipe at the base of the wall.
- Backfill with crushed gravel: After setting each course, fill in behind the blocks with 3/4-inch clean crushed gravel — not native soil. Native soil holds water; gravel lets it pass through. Compact lightly with a hand tamper (not a plate compactor, which can tip the wall).
- Install a drain pipe if needed: For walls over roughly 4 feet, lay a 4-inch perforated pipe (wrapped in a fabric sock to keep fines out) at the base of the wall, sloping to an outlet point at the end of the wall or through a weep hole. This is required by most block system guidelines at that height.
- Keep heavy equipment away: Don't run a riding mower, ATV, or wheelbarrow loaded with wet concrete along the top of a freshly backfilled wall. Surcharge loads at the top of the wall are exactly what pushes walls over.
- Wall ties (deadmen) for longer walls: For walls approaching 3 to 4 feet with significant backfill, consider installing a course of blocks perpendicular to the wall (called deadmen or tie-backs) every 6 to 8 feet horizontally, extending at least 18 inches back into the compacted fill. Not every project needs these, but they add meaningful resistance to sliding on longer runs.
Cutting, coping stones, and finishing the top
Making clean cuts
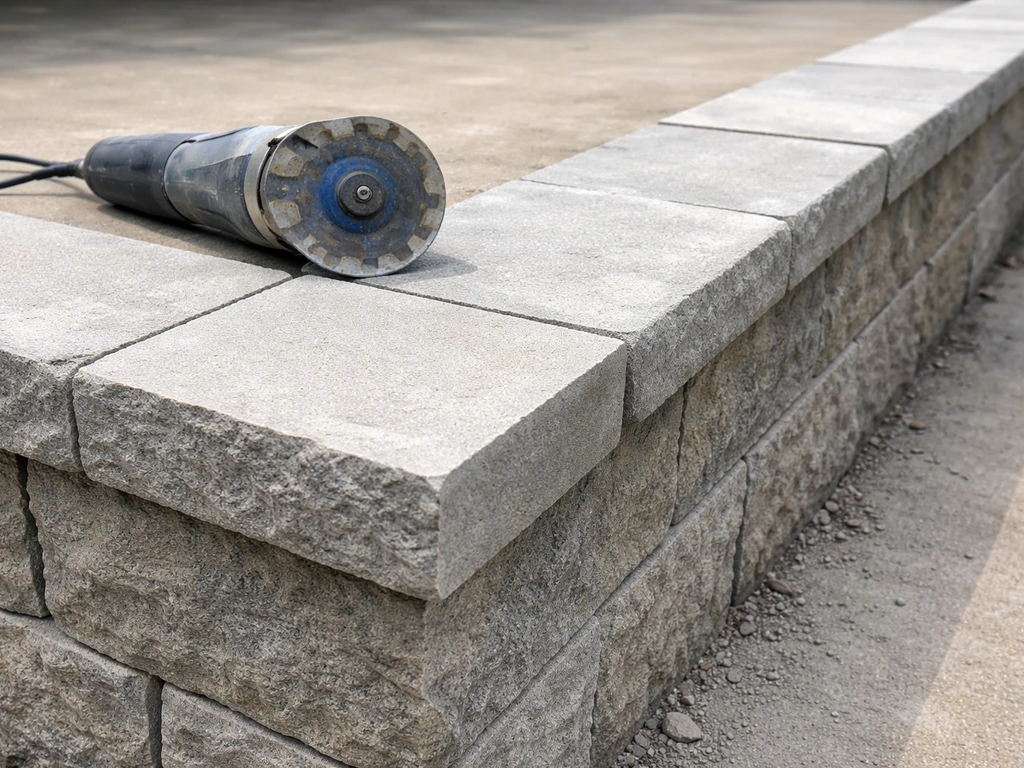
You'll need to cut blocks at corners, ends, and where the wall meets steps or the patio surface. An angle grinder with a diamond blade handles most cuts on standard concrete SRW blocks. Score a line all the way around the block first, then deepen each pass until you can split it cleanly. For cap stones or thinner pavers where you want a really clean edge, a rented masonry wet saw gives you a much cleaner result and less dust. Always wear eye protection, ear protection, and a dust mask, concrete dust is not something you want in your lungs.
Installing cap stones
Cap stones (also called coping) finish the top of your wall with a clean, flat surface and protect the courses below from water infiltration. Most SRW block manufacturers offer matching cap stones designed to sit flush with the front face of the wall. Set them with a bead of landscape construction adhesive (Sikaflex or a comparable product) rather than mortar, adhesive allows a tiny amount of movement without cracking. Press each cap firmly into place, check for level, and let the adhesive cure for 24 hours before putting any load on the top of the wall.
Sealing the wall
Sealing a paver wall is optional but worth doing, especially if your blocks are a light color or if you're in a climate with heavy freeze-thaw cycling. A penetrating concrete sealer (not a surface film sealer) soaks into the block and reduces water absorption, which slows efflorescence (that white mineral haze that appears on concrete blocks) and protects against freeze-thaw spalling. Apply sealer to clean, dry blocks at least 30 days after installation. Use a pump sprayer and back-roll with a short-nap roller for even coverage. Reapply every 3 to 5 years depending on exposure.
Troubleshooting problems and keeping the wall healthy long-term
Common problems and how to fix them
| Problem | Likely Cause | Fix |
|---|---|---|
| Wall leaning forward | Inadequate base compaction or water pressure buildup | Disassemble affected section, recompact base, improve drainage, rebuild |
| Blocks settling unevenly | Soft spot in base or native soil pocket under gravel | Remove blocks, excavate the soft spot, add and compact more gravel, relay |
| White efflorescence on blocks | Mineral salts migrating from inside the concrete | Clean with diluted white vinegar or efflorescence cleaner, then seal |
| Frost heave pushing blocks out | Base not deep enough in freeze-thaw climate | In mild cases, reset blocks in spring; chronic heave means the base needs to go deeper |
| Gaps appearing between courses | Blocks weren't fully seated or setback is inconsistent | Tap back into alignment with a rubber mallet while wall is still young; may need to reset if significant |
When your ground isn't level
Sloped ground is normal and totally manageable. The correct approach is to step your wall down in tiers rather than fighting the slope with variable base depths. Each step should be a full block height (typically 6 to 8 inches). Start at the lowest point of your wall run, establish a level first course, then step up as you move uphill. The alternative, running a level wall with extra buried courses on the low end, also works well for smaller slopes. What you should never do is set the base shallower on the uphill end to keep the top of the wall level. That gives you a wall that's sitting on almost no base on one end, and it will fail.
Ongoing maintenance
A properly built paver wall is low maintenance, but it's not zero maintenance. Every spring, walk the wall and look for any blocks that have shifted, tilted, or cracked over winter. Catch movement early, a single block that moved an eighth of an inch is a 5-minute fix; a whole course that shifted is a weekend project. Keep soil and mulch from piling up against the face of the wall (it traps moisture), and keep the area behind the wall free of tree roots that can get under blocks and lift them. Reapply sealer every few years, and rinse off any surface debris before it has a chance to stain.
Know when to call a pro
The 4-foot rule is your clearest signal. If your wall needs to be taller than about 3 to 4 feet, or if there's a slope running toward the top of the wall, a fence or structure sitting on the retained soil, or a driveway within 10 feet of the wall, you need a blank" rel="noopener noreferrer">licensed engineer to design that wall. Those loads and heights put the structure into territory that a gravity wall can't handle safely. The cost of an engineering consult is small compared to what happens when a poorly designed wall fails into a patio full of people. For everything under that threshold, though, you've got this. For the same reasons of drainage, base prep, and careful leveling, the steps below also apply when you’re learning how to build a small patio with pavers.
FAQ
Can I build a patio wall with pavers higher than 4 feet if I reinforce it myself?
In most cases, no. If the wall is over about 3 to 4 feet tall, or it supports a surcharge like soil pushing toward the top, you generally need an engineered design and often a permit. DIY reinforcement methods used on low landscape walls can be unsafe at higher heights because failure modes change (sliding, overturning, and loss of foundation support).
What’s the best way to tell whether my wall is “retaining” or just decorative?
If the wall holds back any soil, even a shallow raised bed or a gentle slope, treat it as retaining. A decorative border that just frames the patio usually sees little lateral pressure, but a true boundary next to buried earth will still require drainage and a properly designed gravel backfill behind it.
Do I need geogrid or geotextile fabric behind an SRW-style paver wall?
Usually, for properly sized gravity walls under the DIY threshold, crushed gravel backfill and correct compaction are enough. Geotextile is sometimes used to help separate soil from base material, but adding reinforcement where it is not specified can reduce drainage or complicate grading, so follow the block system guidance and local conditions.
How far behind the wall should the drainage gravel and backfill go?
Plan to extend the drainage and backfill up to the designed height behind the blocks, keeping the critical area at the base properly graded and compacted. If you are adding a perforated drain pipe, keep it at the bottom drainage zone and do not cap it with fine soil that can clog; the goal is fast water exit without trapping fines.
Where exactly should the perforated drain pipe be placed for a taller wall?
Set the perforated pipe within the drainage layer at the base, with the pipe oriented so seepage flows into it, then route it to daylight, a dry well, or an approved discharge point. If the pipe can collect fine silt, place it on a clean drainage gravel bedding so it stays permeable over time.
Do I really need to go below the frost line if my wall is only a foot or so tall?
Frost depth matters, but the risk depends on climate and wall height. In colder regions, you still need the gravel base deep enough to prevent saturated soil and heaving under the wall. In mild climates with little to no frost, a thinner base can work for very short walls, but check local frost conditions rather than guessing from your ZIP code alone.
What if my ground slopes, can I level the wall by burying more blocks only on the uphill side?
Avoid making the base shallow on the uphill end to keep the top level. The safer approach is stepping the wall down in full block-height tiers, or running a level wall with extra buried courses at the low end where you increase foundation depth properly.
How do I prevent efflorescence and white haze on the blocks?
Use clean, dry blocks and consider penetrating sealer applied after full cure time. Also, avoid backfilling against the wall before the drainage strategy is established, because trapped moisture can push dissolved minerals to the surface during freeze-thaw cycles.
Should I mortar the blocks or grout joints to make them stronger?
For SRW-style systems, joints are typically not mortared because the design relies on interlock and controlled movement. Mortaring can reduce the wall’s ability to accommodate freeze-thaw movement and can create stress points that lead to cracking elsewhere.
What’s the correct time frame before loading cap stones or putting mulch/soil against the wall?
Let adhesive used for cap stones cure fully before putting any load on top (commonly about 24 hours). For backfilling and landscaping, wait until the base and drainage are completed and stabilized, and avoid piling soil or mulch directly against the face, since trapped moisture can increase movement and discoloration.
How can I tell early if my wall is failing after winter?
Check for shifted or tilted blocks, small gaps growing at joints, and cracks that appear at specific course lines. A minor out-of-level at one block is often fixable quickly, but if a whole course has moved, you usually need to revisit base preparation and drainage rather than just resetting individual blocks.
Next Articles
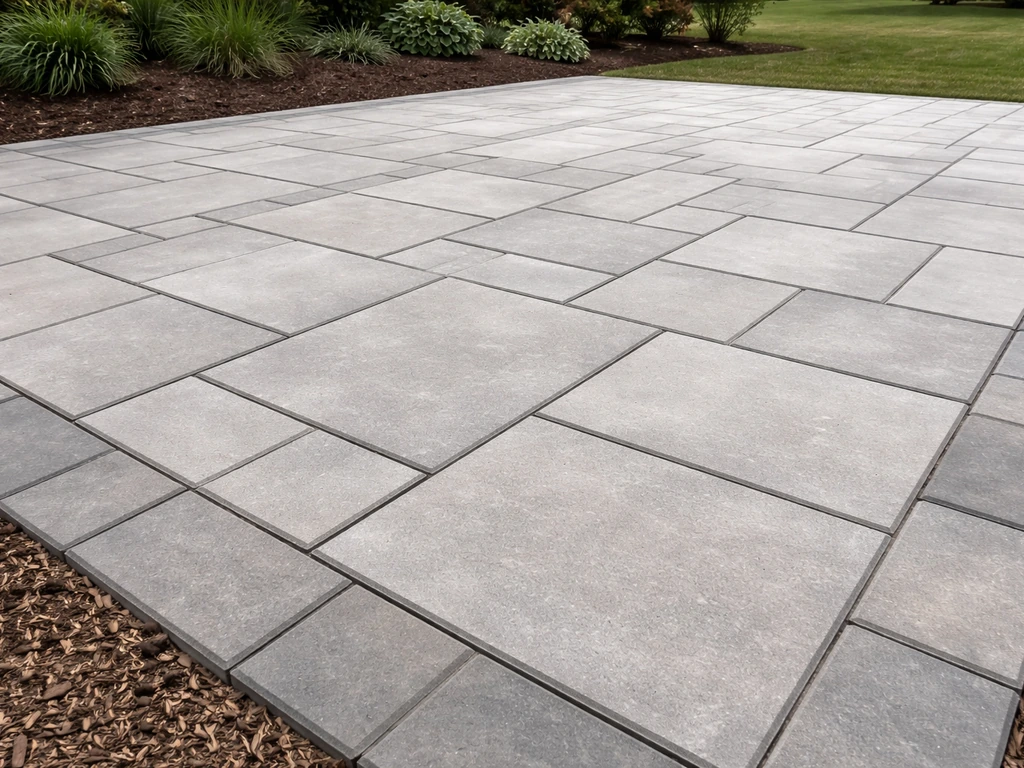
How to Make a Patio With Large Pavers: DIY Guide
DIY steps to plan, excavate, build base, level, and install large paver patio with proper spacing, cuts, and sealing
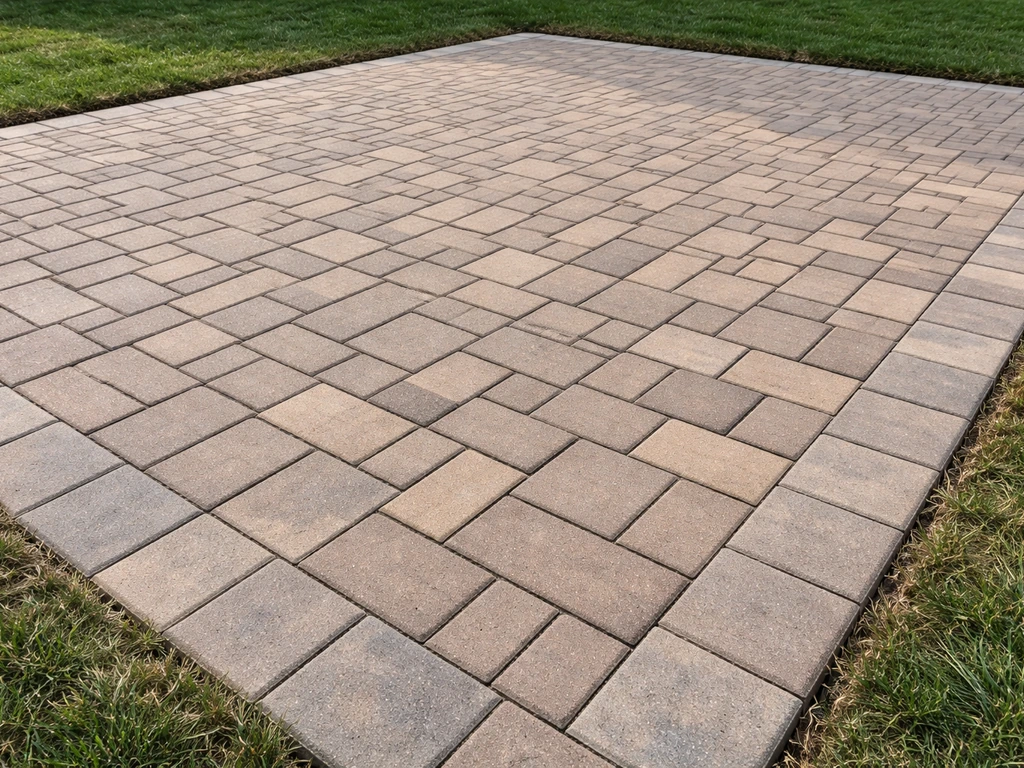
How to Build a Patio With Brick Pavers: Step by Step
Step-by-step guide to build a brick paver patio, from prep and base layers to leveling, cuts, sand joints, and finishing
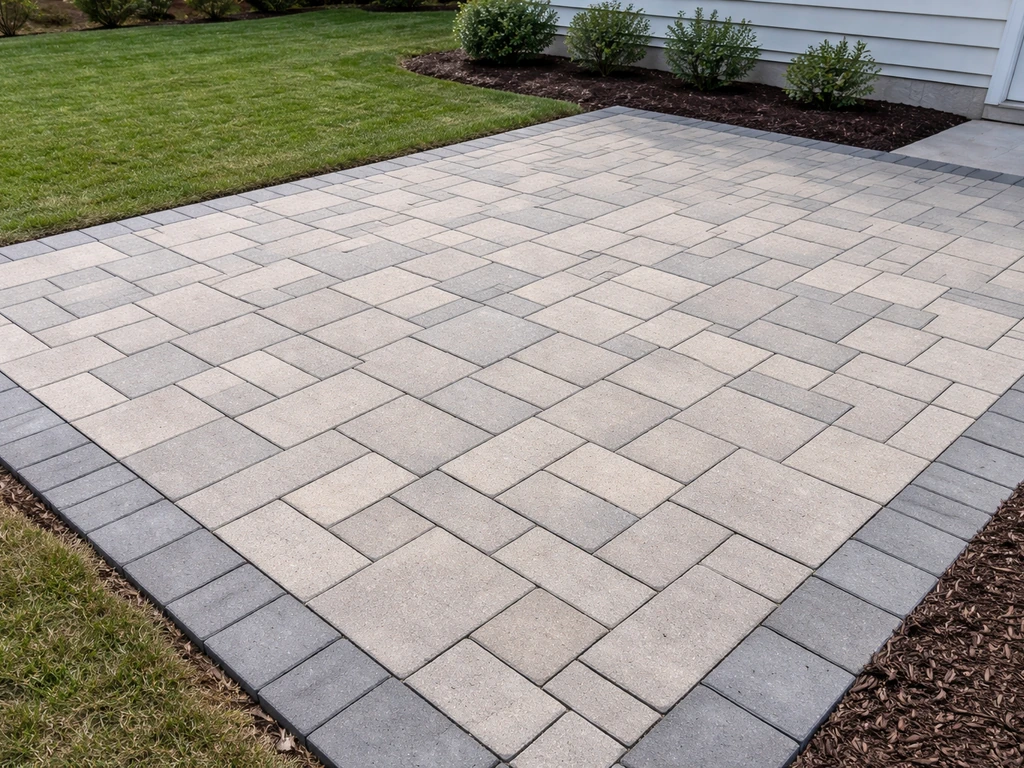
How to Build a Small Patio With Pavers Step by Step
Step-by-step DIY to build a small paver patio: layout, base, leveling, edging, drainage, cutting, sand joints, and fixes