
You can absolutely build a pergola on a paver patio, but the pavers themselves can't carry the post loads. Every pergola post needs its own footing that goes into the ground below the pavers, regardless of whether you go freestanding or attached to the house. Get that one principle right, and the rest of this project is very manageable for a motivated DIYer with a free weekend, a rented auger, and a willingness to follow local code.
How to Build a Pergola on a Paver Patio: Complete DIY Plan

Felix Rowe
11 Aug 2026
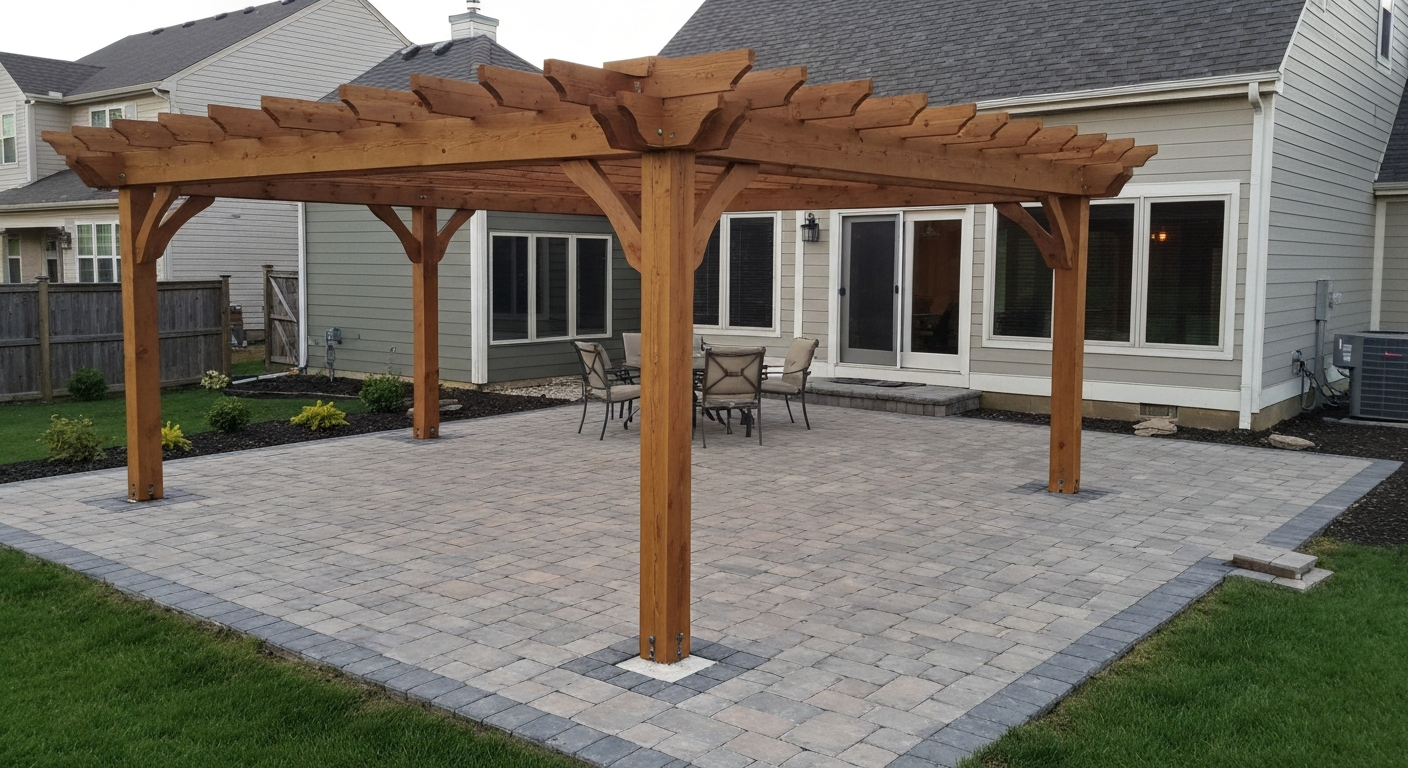
Who this guide is for and what you'll learn
This guide is written for homeowners who already have an installed paver patio and want to add a pergola over it. You don't need construction experience, but you do need to be honest with yourself about soil conditions, your local frost depth, and what your municipality requires before you dig. By the end, you'll know how to choose between a freestanding and an attached pergola, evaluate your existing patio, select the right anchoring method, pour or set footings correctly, and assemble the structure from posts to rafters. You'll also get realistic numbers on tools, materials, cost, and time, plus a clear-eyed look at when a project crosses the line from confident DIY to 'call an engineer.'
Freestanding vs. attached: which one is right for your patio?
This is the first decision that shapes everything else. A freestanding pergola stands on four or more posts entirely within or beside your patio, with no connection to your house. An attached pergola uses a ledger board bolted to your house wall to support one end, so it only needs two or three independent posts on the patio side. Both work well over pavers, but they have genuinely different implications for permits, load paths, and installation complexity.
Freestanding pergola
A freestanding design is simpler from a permitting standpoint. In many jurisdictions, the IRC and local amendments exempt small detached accessory structures under roughly 200 square feet from permits, though you should never assume that applies to your area before checking. Freestanding units are also easier to position anywhere on the patio and don't risk damaging house cladding or sheathing. The downside is that you need four fully independent footings, each one engineered to handle both vertical load and lateral wind pressure without any help from the house.
Attached pergola
Attaching a pergola to your house almost always triggers a permit and inspection, even for small structures, because you're modifying the building envelope. The ledger must be through-bolted into the rim joist or wall framing (not just into siding), and it requires corrosion-resistant flashing per IRC ledger provisions to prevent water intrusion behind the siding. The payoff is that you only need two free-standing post footings on the patio side, and the structure feels like a natural extension of the house. For step-by-step instructions and considerations specific to joining a pergola ledger to a paver patio, see how to attach pergola to paver patio.
| Factor | Freestanding | Attached |
|---|---|---|
| Permit requirement | Often exempt under 200 sq ft (check local code) | Almost always required |
| Number of footings needed | 4 minimum | 2 on patio side |
| House wall work | None | Ledger, flashing, lag bolts into framing |
| Positioning flexibility | Anywhere on patio | Must align with house wall |
| Wind/lateral load | All carried by posts and footings | Shared with house structure |
| Best for | Patios away from house, renters, simpler builds | Patios directly adjacent to house, permanent installs |
Recommendation: if your patio sits directly against the house and you want a permanent, integrated look, go attached and pull the permit. If the patio is even slightly removed from the house, or you want to avoid touching the siding, build freestanding. It's the more forgiving DIY option.
Evaluating your paver patio before you touch a shovel
Your paver surface is a layered system: compacted aggregate base, one inch of bedding sand, the pavers themselves, and edge restraint. ICPI and manufacturers like Belgard are explicit that this system is not designed to carry concentrated column loads from posts. Belgard Technical Resource Guide (paver system and edge restraint recommendations) states paver systems are layered and not intended to carry concentrated column loads from posts, and recommends isolated footings or engineered pier solutions for post-supported structures. Before planning your pergola, spend 30 minutes assessing four things.
Paver type and condition
Concrete interlocking pavers, natural stone, and porcelain all behave differently when you need to cut through them for a pier. Concrete pavers are the easiest to cut cleanly and replace. Porcelain is harder, more brittle, and more expensive to match if you crack a few. Natural flagstone is irregular and patching is nearly impossible to make invisible. Whatever your paver type, check for any existing sinking, rocking, or cracked pavers near your planned post locations. Sinking pavers usually mean base settlement, which matters a lot for footing stability.
Base depth
Standard residential pedestrian paver patios use a minimum 4-inch compacted aggregate base. Some patios near driveways or where heavy furniture is common may have 6 inches. You need to know this because when you excavate for a pier, you'll be cutting through the paver, the bedding sand, and the base before reaching undisturbed soil. A deeper base means more work but also a more stable substrate. If you don't know your base depth, probe with a thin rod at a joint or lift one paver near the edge to check.
Edge restraint and perimeter integrity
Good edge restraint (plastic, aluminum, or concrete curb) keeps the whole paver field from migrating outward when loaded. If your edge restraint is missing, broken, or only on two sides, pavers near post locations may shift when disturbed during excavation. Reinforce or replace edge restraint before you start digging.
Slope and drainage
Most paver patios are installed with a 1/8- to 1/4-inch per foot slope away from the house for drainage. That's fine for a pergola, but a slope greater than about 1 inch per foot means your posts will need to be cut to different heights to keep beams level, and it complicates layout. Measure your patio slope with a long level before finalizing post placement.
Call 811, check permits, and know your frost depth
This section is not optional and not just legal boilerplate. Skipping it is how DIYers end up with a pergola that fails inspection, a ruptured gas line, or footings that heave every spring.
Call 811 before any excavation
In the U.S., call 811 (or submit a locate request online through your state's One-Call center) at least 48 hours before you dig. State law typically requires utilities to respond and mark their lines within that window using the APWA Uniform Color Code: red for electric, yellow for gas/oil, orange for communications, blue for potable water, green for sewer, and purple for reclaimed water. The APWA Uniform Color Code is the U.S. standard for temporary paint/flag utility markings after an 811 locate (e.g., red=electric, yellow=gas, orange=communications, blue=potable water, green=sewer, purple=reclaimed water, pink=survey, white=proposed excavation) blank" rel="noopener noreferrer">UNIFORM TEMPORARY MARKING GUIDELINES (APWA). Wait for the positive response confirmation that all utilities have been marked before you pick up an auger. Even a patio that was previously excavated can have utilities running under it.
Permits and code requirements
The IRC provides a common baseline, but every jurisdiction adopts its own amendments. Some municipalities treat any pergola over 200 square feet as a structure requiring a permit; others require permits at 120 square feet or for any attached structure regardless of size. An attached pergola almost universally requires a permit because it connects to the house framing. Call your local building department, describe your project dimensions and whether it's attached or freestanding, and ask directly what's required. A permit typically costs $50 to $200 for a small pergola and buys you a structural review that could prevent a collapse.
Frost depth rules
The IRC (Section R403.1.4) requires footings to extend below the local frost-protection depth. This protects against frost heave: when saturated soil freezes, it expands upward and can lift a footing right out of the ground. Frost depths vary dramatically by region: near zero in southern Florida and coastal California, 12 inches in the mid-Atlantic, 36 to 42 inches in the upper Midwest, and up to 48 to 60 inches in parts of Minnesota and the northern plains. NOAA and the National Weather Service publish frost-depth resources and maps you can consult for your county. Your local building department will also have the adopted frost depth on file. Whatever the number is, your pier or footing bottom must reach it or go below it.
Footing and anchoring methods: an honest comparison
There are four main ways to anchor pergola posts on an existing paver patio. Each has real trade-offs in cost, permanence, and suitability for different conditions. I'll walk through all four so you can match the method to your specific situation.
| Method | Best for | Frost heave risk | Paver disruption | DIY difficulty | Relative cost |
|---|---|---|---|---|---|
| Concrete piers through pavers | Permanent installs, high-wind areas, deep frost zones | Lowest (when at frost depth) | High: cut and remove pavers | Moderate | $$ |
| Socketed sleeves (driven/set in ground) | Moderate climates, lighter pergolas, softer soil | Moderate | Moderate: remove pavers over sleeve area | Low-moderate | $ |
| Surface-mounted anchors with blocking/grouting | Shallow base, can't excavate deep, low-load structures | High if soil freezes beneath | Low: remove only anchor-footprint pavers | Low | $ |
| Independent footings off the pavers | New or enlarged patios, high loads, complex sites | Lowest | None to paver field | Moderate-high | $$-$$$ |
Independent footings placed outside the paver field are the cleanest structural solution if you're building a new patio or have room at the edges, because you never disturb the pavers at all. The footings sit on soil outside the paved area and posts span inward over the patio. This is worth considering if your frost depth is deep or your paver base is thin, because it avoids the awkward challenge of casting a pier through 5 to 8 inches of base material to reach frost depth below.
Concrete piers through pavers: the most reliable permanent method
For most homeowners building a pergola in a zone with any meaningful frost depth, concrete piers poured through the paver base are the gold standard. Done correctly, they transfer post loads straight into undisturbed soil below the frost line and resist uplift from wind.
Pier specifications
For a typical 4x4 or 6x6 pergola post, a 12-inch diameter pier is the most common residential choice. For heavier timber-frame structures or windy sites, 16-inch diameter piers are better. The pier must extend from the surface (or just below the paver base) down to or below your local frost depth. Reinforce each pier with at least two vertical #4 rebar bars (1/2-inch diameter) or one #5 (5/8-inch), set 2 inches clear of the tube form sides. Concrete strength should be 3,000 to 4,000 psi at 28 days, which is standard bag-mix or ready-mix for residential footings.
Step-by-step pier installation
- Mark your post locations with stakes and string lines. Double-check diagonal measurements to confirm square layout before touching any pavers.
- Score and remove pavers in the pier footprint using a chisel or angle grinder with a diamond blade. Work carefully and set pavers aside in order so you can reinstall them later.
- Excavate through the bedding sand and aggregate base with a spade, then switch to a rented gas or electric auger to bore to your required frost depth. A 12-inch auger bit matches a 12-inch tube form.
- Drop in a Sonotube (cardboard pier form) cut to length. The top of the tube should sit 1 to 2 inches above finished grade so water drains away from the pier top.
- Set your rebar cage inside the tube, maintaining 2-inch clearance from the form walls.
- Mix concrete to a 3- to 4-inch slump (stiff enough to hold shape but workable). For a 12-inch pier at 36-inch depth, you need roughly 0.25 cubic feet of concrete, or about one 60-lb bag per linear foot of pier.
- Pour concrete in lifts, rodding or vibrating every 12 inches to eliminate voids. Fill to within 1 to 2 inches of the tube top.
- Set your anchor bolt or Simpson post base hardware (AB, ABU, or equivalent) into the wet concrete. Use a template or string line to position it precisely. Check plumb with a level.
- Allow concrete to cure at least 7 days before loading. Cover with plastic in hot weather or insulate in cold weather to protect curing in the first 24 to 48 hours.
- Trim the Sonotube flush, backfill around it with compacted stone, reinstall the bedding sand, and reset the pavers.
One tip I always pass along: mark the anchor bolt positions precisely before the pour and double-check them immediately after placing the anchor. Wet concrete is forgiving. Hardened concrete is not. A bolt that's 1/2 inch off center means cutting a new post base slot or, worse, breaking out the pier and starting over.
Socketed sleeves and post-in-sleeve anchors
Socketed sleeve systems like Oz-Post or OZCO-style driven sleeves offer a faster alternative in moderate climates and lighter-load situations. The sleeve is driven or set into the ground, and the post drops into it. No concrete form, no long cure time.
Specs and when sleeves work
Driven sleeves are rated for specific lateral and vertical loads by their manufacturer. Check the published load tables against your actual design loads (post height, rafter span, wind speed per ASCE 7 for your region). Sleeves are a reasonable choice where frost depth is 24 inches or less, soil is firm (stiff clay or compacted native soil), and the pergola is a lighter-frame structure. In deep freeze zones or sandy/loose soil, driven sleeves can heave or shift, so concrete piers are the safer call.
Installation steps for socketed sleeves
- Remove the pavers and aggregate base material in a roughly 12-inch square zone around each post location. Protect the surrounding pavers with plywood during driving to avoid cracking them.
- Drive the sleeve to the manufacturer's specified embedment depth using a driving tool or heavy hammer. Most residential sleeves embed 24 to 36 inches.
- Check the sleeve for plumb in both directions before it's fully set. Adjust by tapping the sides gently. Once it's driven home, correction is difficult.
- Backfill the excavated area around the sleeve with compacted granular material, then re-bed and relay the pavers up to the sleeve collar.
- Insert the post into the sleeve. Align and secure per manufacturer specs. Most systems use a through-bolt or wedge lock to pin the post in the sleeve.
- Protect the paver-to-sleeve interface with a flexible sealant or collar cover supplied by the manufacturer to prevent water infiltration into the joint.
An important note on paver protection: the area immediately around any sleeve or pier is vulnerable to edge cracking during driving or if the collar settles. Cut a clean edge around the removal zone before you excavate, and use a sacrificial paver or plywood buffer when driving to absorb impact.
Surface-mounted anchors with blocking and grouting
Surface-mounted post bases, where the anchor plate sits on top of the pavers or on a small grouted pad, are the easiest method to install but the most limited in load capacity and frost resistance. I'd only recommend this approach in specific circumstances.
When surface mounting makes sense
- Frost depth is zero or negligible (deep South, coastal warm climates)
- The paver base is at least 6 inches deep with excellent compaction
- The pergola is a lightweight kit structure, not heavy timber
- Wind loads are low (confirmed by ASCE 7 wind map for your location)
- The installation is intended to be semi-permanent or removable
Anchor specs and installation
Remove the pavers under each post location and pour a small concrete pad or blocking layer directly on the compacted base, sized to match your anchor plate (typically 12 x 12 inches minimum). Use 3,000 psi concrete and allow a full 7-day cure. Set anchor bolts or use epoxy/adhesive anchors (following manufacturer embedment depths and cure times exactly, as published in guides like those from Hilti) into the cured concrete blocking. Simpson Strong-Tie ABU or similar adjustable standoff post bases are a good hardware choice here. Use 1/2-inch anchor bolts at a minimum, with embedment depth per the post base manufacturer's load table.
For the grout joint around the blocking, use a non-shrink grout to fill any gap between the concrete pad and surrounding pavers, and apply a flexible perimeter sealant to keep water from undermining the base. Understand the load limits clearly: most surface-mounted base setups on a paver patio are appropriate for structures under roughly 15 feet tall with modest rafter spans. If you're in any doubt, the method is wrong for your project.
When to walk away from surface mounting
If your soil freezes in winter, surface-mounted anchors on a paver base will eventually heave. If your base is thin (under 4 inches), there's not enough material to develop meaningful anchor capacity. And if you're in a high-wind zone per the ASCE 7 wind speed maps, uplift forces on even a modest pergola can exceed what surface anchors can resist. In any of those three scenarios, go back to concrete piers.
Full installation workflow: step by step
With your footing method chosen and permits in hand, here's the complete sequence from layout to final fasteners.
Phase 1: layout and measurement
- Set up batter boards outside the planned pergola corners and run string lines to establish the post grid. Use the 3-4-5 triangle method or measure both diagonals (they should be equal) to confirm square.
- Drop a plumb bob from each string line intersection to mark the exact center of each post location on the paver surface. Mark with chalk or a lumber crayon.
- Measure post height: decide your finished beam height (typically 8 to 10 feet above the patio surface for comfortable clearance) and add the above-grade pier height to get your post length.
- On a sloped patio, measure the slope difference across the post spacing. Posts at the low end will need to be longer by that amount to keep beams level.
Phase 2: setting footings or anchors
Follow the detailed steps in the concrete pier or socketed sleeve sections above. For an attached pergola, this is also when you install the ledger. Remove siding and house wrap in the ledger zone, install self-adhesive flashing membrane over the sheathing, through-bolt the ledger into the rim joist with 1/2-inch lag screws or through-bolts at the spacing specified in IRC ledger tables, and then lap additional flashing over the top of the ledger and back under the siding. The ledger must be pressure-treated lumber, and all hardware (bolts, joist hangers, post bases) must be rated for exterior use and compatible with pressure-treated wood.
Phase 3: setting posts
- Wait for concrete to reach at least 7 days of cure before loading.
- Set posts into the anchored post bases and hand-tighten the base bolts.
- Plumb each post with a level on two adjacent faces and brace it with 2x4 temporary bracing staked into the ground or clamped to adjacent pavers.
- Tighten all post base hardware per the Simpson or equivalent manufacturer torque requirements.
- Cut posts to final height using a speed square and circular saw, marking all four posts at the same elevation with a laser level or water level.
Phase 4: beams and rafters
- Lift the beam (doubled 2x8, 2x10, or larger depending on span) onto the post tops and secure with post-beam hardware or a notched post cap. Use structural screws or through-bolts, not just nails.
- For an attached pergola, hang the opposite end of the rafters from the ledger with joist hangers.
- Space rafters according to your design (typically 16 to 24 inches on center for a decorative pergola). Secure each rafter end with rafter ties or hurricane clips for wind uplift resistance.
- Add decorative end cuts to rafters if desired before installation—it's much easier on sawhorses than overhead.
- Install any top slat layer perpendicular to the rafters, typically 1x4 or 2x2 spaced 4 to 6 inches apart.
Phase 5: bracing, hardware, and finishing
- Add knee braces or diagonal braces between posts and beams if required by code or recommended for your wind zone. 45-degree 4x4 knee braces are standard.
- Apply exterior wood sealer, stain, or paint to all lumber before or immediately after assembly to extend service life.
- Inspect all hardware for tightness, correct fastener type (no galvanic incompatibility with treated wood), and complete installation.
- Remove temporary bracing only after all structural connections are complete.
- Reset any pavers disturbed during footing work, re-bed in fresh bedding sand, and compact.
Tools and materials you'll actually need
- Rented power auger (12- or 16-inch bit matching pier diameter)
- Circular saw with diamond blade for paver cutting
- Drill/driver with long bit for anchor bolts and lag screws
- Post level or two separate levels
- Laser level or water level for beam height
- String lines, batter boards, and plumb bob for layout
- Concrete tube forms (Sonotube, 12- or 16-inch diameter)
- Concrete: 60-lb bag-mix at 3,000–4,000 psi, or order a small ready-mix batch
- #4 or #5 rebar, wire ties, and a rebar cutter
- Simpson post bases (AB, ABU, ABA, or adjustable standoff base)
- 1/2-inch anchor bolts, at least 3 to 4 inches long for post bases
- Pressure-treated 6x6 posts (or 4x4 for lighter structures)
- Pressure-treated beams: doubled 2x10 or LVL for spans over 10 feet
- Rafter ties, hurricane clips, joist hangers (for attached builds)
- Corrosion-resistant structural screws or through-bolts
- Ledger flashing (for attached builds): self-adhesive membrane and drip cap
- Safety glasses, ear protection, gloves, and work boots with ankle support
Realistic time and cost ranges
A freestanding 12x12-foot pergola on a paver patio with four concrete piers is roughly a 2-weekend project for two people. The first weekend handles permits, utility locates, layout, excavation, and pier pours (with a 7-day cure between weekends). The second weekend handles post setting, beams, rafters, and finishing. If you hit complications like rocky soil, a deep frost requirement, or a sloped patio, add another half-day to a full day.
| Item | DIY cost estimate (2026) |
|---|---|
| Permit fee (if required) | $50–$200 |
| Auger rental (half day) | $80–$150 |
| Concrete (4 piers, 36-inch depth) | $40–$80 in bag mix |
| Post bases and hardware (Simpson or equiv.) | $80–$160 |
| Pressure-treated lumber (posts, beams, rafters) | $400–$900 for 12x12 pergola |
| Structural fasteners and connectors | $60–$120 |
| Total DIY materials + rentals | $700–$1,600 depending on size and complexity |
| Contractor-installed equivalent | $3,500–$8,000+ |
Troubleshooting common problems
Uneven or sinking pavers near post locations
Sinking pavers mean base settlement or washout. Before you pour any pier, excavate to see what's happening under the base. If you find erosion channels, soft spots, or the aggregate base is less than 3 inches thick, you need to recompact or replace the base material in the pier zone before forming the pier. A pier poured into an undermined base can tilt over time even if it extends to frost depth, because the surrounding material won't stay stable.
Sloped patio
A patio with more than 1 inch of drop per foot of run is a legitimate challenge. Your options are: cut posts to different heights (measure carefully and mark all cut lines with a level before cutting), or use adjustable post base hardware that allows minor height variation. Don't try to compensate by pouring piers to different heights above grade; that creates uneven base conditions. Cut the posts, keep the piers uniform, and use the adjustable base to split the difference on minor discrepancies.
Shallow base or very thin paver installation
If you find only 2 to 3 inches of base under your pavers, the surrounding material won't adequately support a tube form during pour. Use a slightly wider tube form (16 inches instead of 12), pack compacted gravel tightly around the outside of the form before pouring, and consider placing a flared bell-bottom at the pier base to spread load over more bearing area. Alternatively, shift to independent footings outside the paver field.
Poor or missing edge restraint
If your edge restraint is inadequate, excavating near the patio edge can cause several rows of pavers to migrate outward during and after the dig. Install or repair edge restraint on at least the two sides nearest your post locations before excavating. Spiked plastic edge restraint is the fastest fix and can be installed with a rubber mallet and 12-inch galvanized spikes.
High-wind sites
Consult the ASCE 7 wind speed map for your county. If your basic design wind speed is above 110 mph (common in coastal regions, hurricane zones, or the Great Plains), a standard residential pergola design may not be adequate without engineering review. Signs you should talk to a structural engineer: you're in a coastal exposure category, your pergola is over 15 feet tall, your rafter spans exceed 12 feet, or you're in a FEMA Special Flood Hazard Area.
When to hire a professional or call an engineer
Most freestanding pergolas in moderate climates with good paver bases are squarely within DIY reach. But there are clear situations where professional help is the smarter, safer call.
- Your frost depth exceeds 42 inches, requiring very deep piers that need a tracked auger, not a rented one-person unit
- Soil investigation reveals expansive clay, loose fill, or poor bearing capacity below the base
- You're in a high-wind zone (ASCE 7 design wind speed above 110 mph) or a seismic zone
- The pergola will support additional loads: a roof, solar panels, a retractable awning system, or a ceiling fan rated for heavy outdoor use
- Your house framing for a ledger attachment is in poor condition or non-standard construction
- Your local building department requires stamped engineered drawings for the permit
- You're not confident working at height during beam and rafter installation
An afternoon with a structural engineer for a simple review typically costs $200 to $500 and can save you from a failed inspection or, worse, a structural failure. Don't let the cost deter you if any of the above conditions apply to your site.
Maintenance and annual safety checks
A well-built pergola on concrete piers is low maintenance, but it's not zero maintenance. Every spring, do a quick walkthrough: check that the pavers around each pier are still level and haven't settled away from the pier collar, inspect post bases for rust or corrosion, look for wood checking or splitting at the beam seats, and tighten any structural screws or bolts that have worked slightly loose from seasonal movement. Re-seal or re-stain wood every 2 to 3 years depending on your climate and sun exposure. If you notice any post base tilting, cracking in the pier collar, or pavers heaving near a post, investigate immediately. Those are signs of footing movement that should be addressed before the next frost cycle.
Related paver patio projects worth planning ahead
If you're already doing the excavation and layout work for a pergola, it's worth thinking about what else you might want to add. For guidance on safely adding a fire pit to a paved surface, see our related guide titled 'can you build a fire pit on a paver patio'. Fire pit patios are a natural pairing with a pergola space, and the base preparation overlaps significantly with what you're already doing. If your patio will support a hot tub or large planters, the base depth and edge restraint requirements are different from a standard pedestrian patio, so it's better to address those conditions before finalizing your pergola footing locations. If you're planning to support a hot tub, consult guidance on how to build a paver patio for a hot tub. And if you're considering a gazebo instead of a pergola, the anchoring principles are very similar, though a fully roofed gazebo carries significantly higher wind uplift loads than an open pergola frame. For specific guidance on anchoring a gazebo to paver surfaces, see our detailed how to anchor a gazebo to a paver patio guide.
FAQ
What building codes and national standards should I consult to teach DIY homeowners how to build a pergola on a paver patio?
Start with the model codes and referenced standards that inspectors and designers use: the International Residential Code (IRC) for footing, ledger and attachment rules (including frost‑protection and ledger flashing/fastener guidance), and ASCE 7 for wind, uplift and snow load criteria. Cite the current adopted edition in your target jurisdiction and note that local amendments may change requirements.
How do I find regionally specific frost‑depth and freeze data for footing depth requirements?
Use NOAA/NWS frost/freeze maps and county‑level frost‑depth tools as the baseline, then cross‑check with your municipality/state building department (some publish local frost tables). Always instruct readers to use the locally adopted frost depth for footing design or to follow approved frost‑protection alternates (e.g., frost‑protected shallow foundations) per the code.
What permitting and local rules must be researched for attached vs freestanding pergolas?
Check local building department resources and adopted code amendments. Many jurisdictions exempt small detached accessory structures below a specified area (commonly ~200 sq ft) but attachment to the house almost always triggers a permit and inspection (ledger, flashing, structural attachment). Include local permit guides, required plan submittal checklist, and inspection triggers.
What utility and excavation guidance should be included?
Require homeowners to call 811 One‑Call before digging and explain local response times (generally 48 hours). Reference APWA color codes for temporary markings so readers can interpret marks. Emphasize verifying positive responses and respecting marked locations when laying out footings or piers.
Which industry/manufacturer resources are needed for paver system and base evaluation?
Use ICPI guidance and major manufacturer installation guides (Belgard, Unilock) that document typical compacted base depths, bedding sand, and edge restraint requirements. These explain why paver systems cannot be relied upon for concentrated post loads and when isolated footings are required.
What authoritative sources cover anchoring and connector options (through‑paver piers, sleeves, surface mounts)?
Reference Simpson Strong‑Tie catalogs/technical bulletins for post bases, surface mounts and ledger hardware; Hilti technical guides for epoxy and post‑installed anchors; and reputable product installation docs for driven‑sleeve or screw‑in systems (e.g., Oz‑Post). Use manufacturer capacity tables and installation steps for selecting anchors and specifying embedment and cure times.
Next Articles
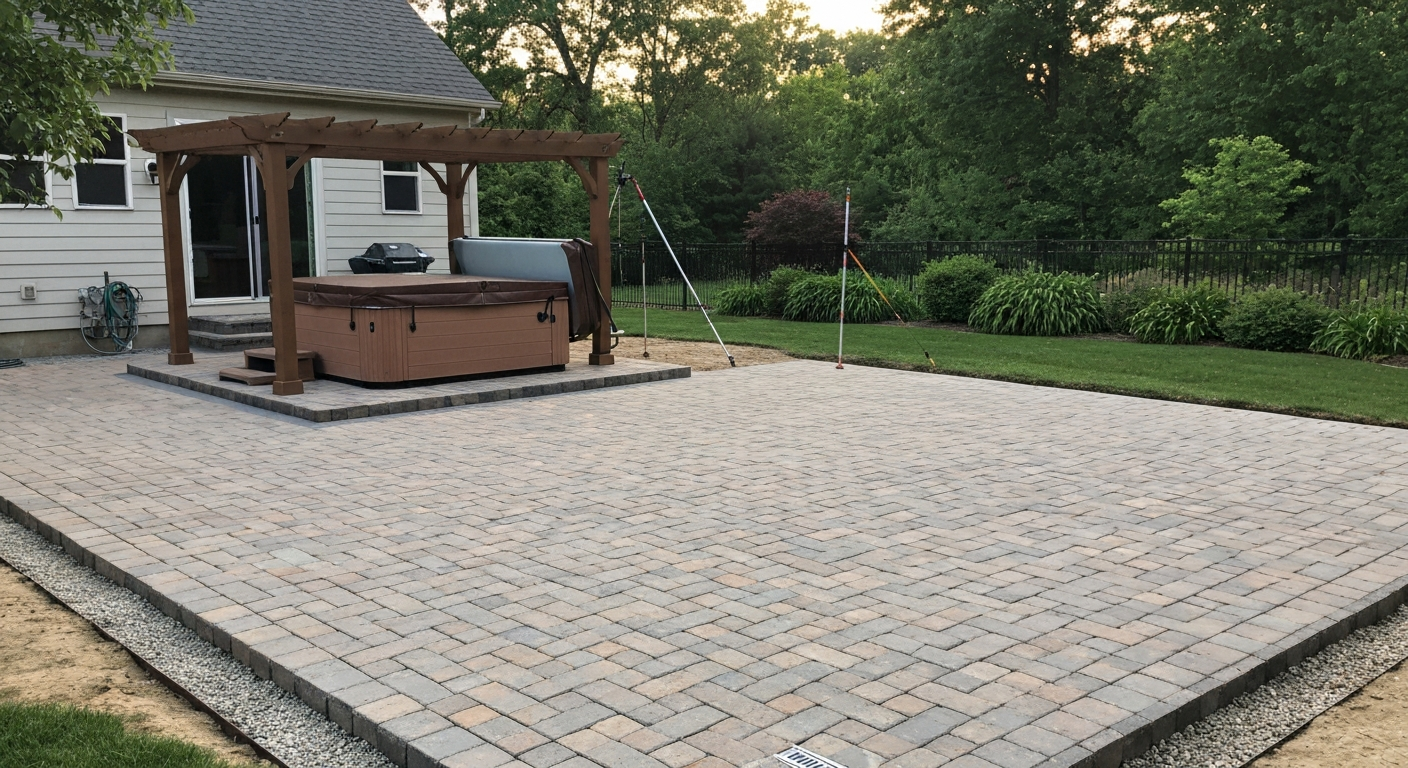
How to Build a Paver Patio for a Hot Tub: Complete Guide
Step-by-step guide to build a paver patio for a hot tub: planning, reinforced bases, drainage, permits, tools and costs.
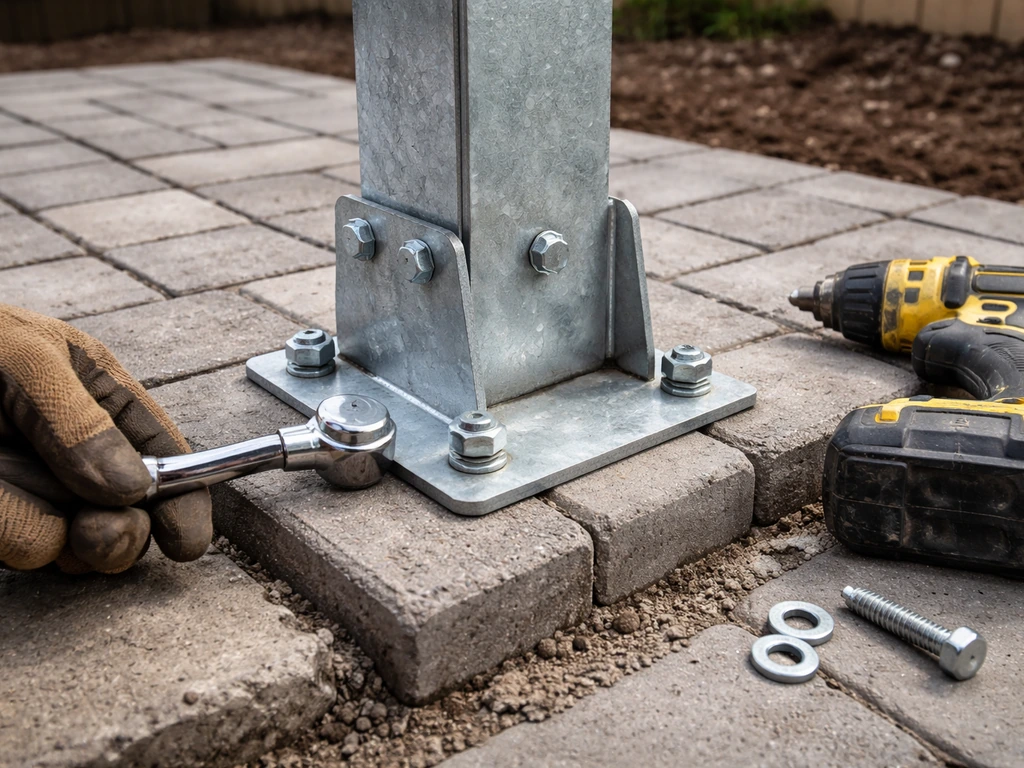
How to Attach a Pergola to a Paver Patio: Secure Anchors
DIY guide to anchor a pergola to a paver patio using post bases and structural footings, avoiding loose posts
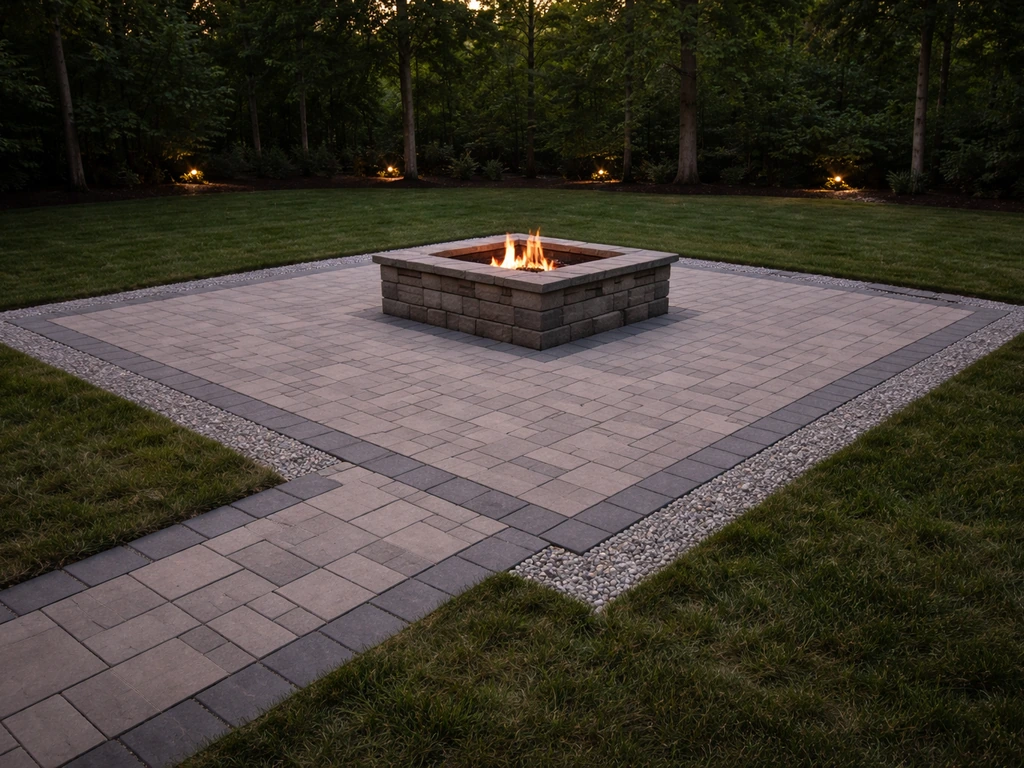
How to Build a Fire Pit Patio With Pavers
Step by step DIY guide to build a square or circular paver fire pit patio, including base, safety clearances, drainage.