You can absolutely install a patio paver project yourself, and thousands of homeowners do it every year without professional help. The full process runs: mark and measure your area, pull permits if needed, excavate, compact a gravel base (4 to 6 inches deep), screed 1 inch of bedding sand, lay pavers to your pattern, cut the edges, install edge restraints, sweep in polymeric sand, and seal if you want. Done right, a sand-set paver patio stays level for decades, drains cleanly, and doesn't shift or sprout weeds. Done sloppily at the base stage, it'll rock and settle within a season. The base is everything.
How to Do Patio Pavers Yourself: Step-by-Step DIY Guide

Felix Rowe
9 Jun 2026
Before You Start: Measuring, Design, Permits, and Materials
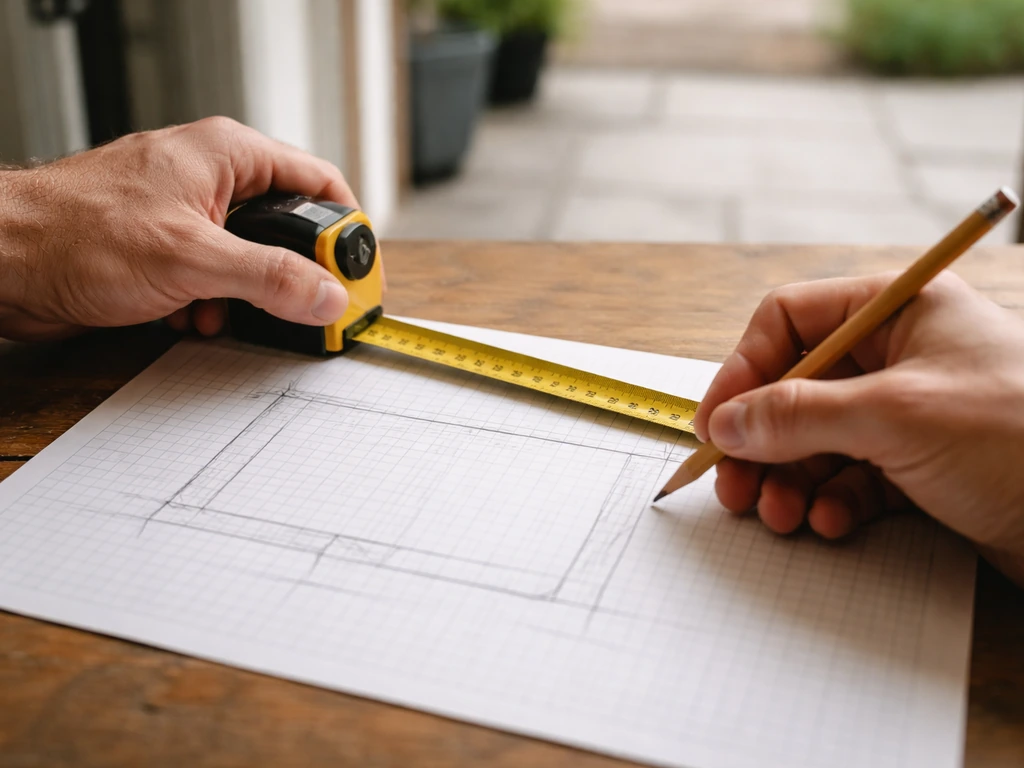
Measure your target area twice and sketch it on paper. Note any obstacles: downspouts, hose bibs, HVAC units, or existing trees whose roots you'll need to work around. Your finished patio needs a slope of about 1/8 to 1/4 inch per foot (roughly 1 to 2 percent) away from your house foundation so water runs off rather than pooling. Factor that slope into your design from day one, not as an afterthought.
For materials, calculate square footage (length x width), then add 10 percent for cuts and breakage. The most common paver choices for DIYers are concrete pavers (affordable, consistent in size, easy to cut), natural stone like bluestone or flagstone (heavier, more irregular, more character), and tumbled brick pavers (classic look, moderately priced). Concrete pavers are the most forgiving for a first project because the dimensions are reliable and cuts are predictable.
Check with your local municipality before you dig. Many jurisdictions require a permit for patios above a certain size (often 200 square feet), especially if you're building a raised patio or adding a structure like a pergola or fire pit. Call 811 (in the US) to have underground utilities marked before any excavation. These two steps take 20 minutes and can save you thousands.
- Measure area and add 10% overage for pavers
- Confirm utility lines are marked before digging
- Check local permit requirements for patio size and any structures
- Plan your drainage slope (1/8 to 1/4 inch per foot away from the house)
- Choose paver type based on budget, load use, and aesthetic
- Order crushed stone base material and coarse bedding sand separately from pavers
Tools and Supplies Checklist for DIY Patio Pavers
You don't need to own all of these. Plate compactors, wet saws, and sometimes even screeding pipes are available at equipment rental yards for $50 to $150 per day. Renting beats buying for a one-time project.
| Item | Purpose | Buy or Rent? |
|---|---|---|
| Plate compactor (electric or gas) | Compact base gravel and set pavers after install | Rent |
| Wet saw or angle grinder with diamond blade | Cut pavers to fit edges and angles | Rent or buy blade |
| Rubber mallet | Tap pavers level without cracking | Buy |
| Hand tamper | Small-area compaction and touch-up work | Buy or rent |
| String line and stakes | Establish grade, slope, and straight lines | Buy |
| Line level or laser level | Check that string lines are accurate | Buy or rent |
| Screed pipes (1-inch OD) | Set consistent sand depth | Buy or rent |
| Long screed board (2x4 works) | Level bedding sand between screed pipes | Buy |
| Pry bar and flat shovel | Excavation and edging | Buy |
| Tape measure | Constant use throughout | Buy |
| Safety glasses and gloves | Protect from dust and cuts during cutting | Buy |
| Polymeric joint sand | Fill gaps and inhibit weeds between pavers | Buy |
| Plastic edge restraints with spikes | Hold the perimeter of the patio in place | Buy |
| Leaf blower | Remove excess sand from paver surface | Buy or borrow |
Site Prep and Base Building: Grass, Concrete, or Uneven Ground
This is the phase most DIYers underestimate. A solid base is the entire reason a paver patio lasts instead of wobbles. Plan to spend at least half your total project time here.
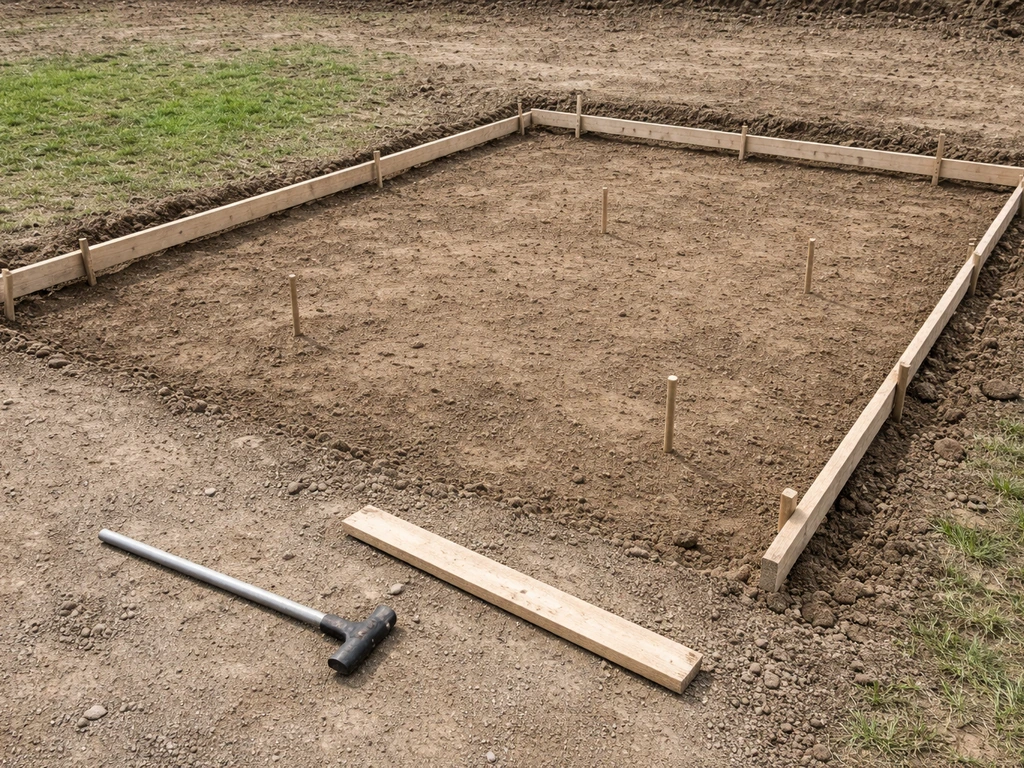
Starting on Grass or Soil
Strip all sod and vegetation using a flat shovel or sod cutter (also rentable). Excavate to a depth that accommodates your base material plus your paver thickness. A standard residential patio target is blank" rel="noopener noreferrer">4 to 6 inches of compacted crushed stone, plus 1 inch of bedding sand, plus the paver thickness (typically 2 to 3 inches for concrete pavers). Total excavation depth is usually 8 to 10 inches below your finished surface grade. Once excavated, compact the native soil with the plate compactor before adding any base material. Add crushed stone in 2-inch lifts, compacting each lift thoroughly. blank" rel="noopener noreferrer">Industry guidelines for pedestrian-use patios target around 95% Modified Proctor density. In practical terms for a DIYer, that means multiple passes with the plate compactor until the gravel doesn't visibly move or shift underfoot.
Starting on Existing Concrete or Asphalt
If the concrete is in good condition (no major cracks, no heaving, structurally sound), you can install pavers directly on top using a thin mortar bed or a layer of coarse sand. This is one scenario where you might reduce excavation significantly. Check that the existing surface drains properly and that adding paver thickness won't create a trip hazard at doors or steps. If the concrete is cracked, heaving, or has drainage problems, it's better to break it out than to pave over the problem.
Dealing with Uneven or Sloped Ground
Gentle slopes (under 5 percent) are manageable: you adjust the depth of your excavation across the slope so the top of your compacted base is consistently at the right elevation. Steeper slopes require either terracing (building a raised patio with retaining walls) or a step-down design. If you're building a raised patio section, you'll need to construct a perimeter frame of retaining wall blocks or a poured edge before filling and compacting base material inside. That's a bigger project, but absolutely DIY-able with the right planning.
Laying Out the Pattern: String Lines, Leveling, Edging, and Drainage Slope
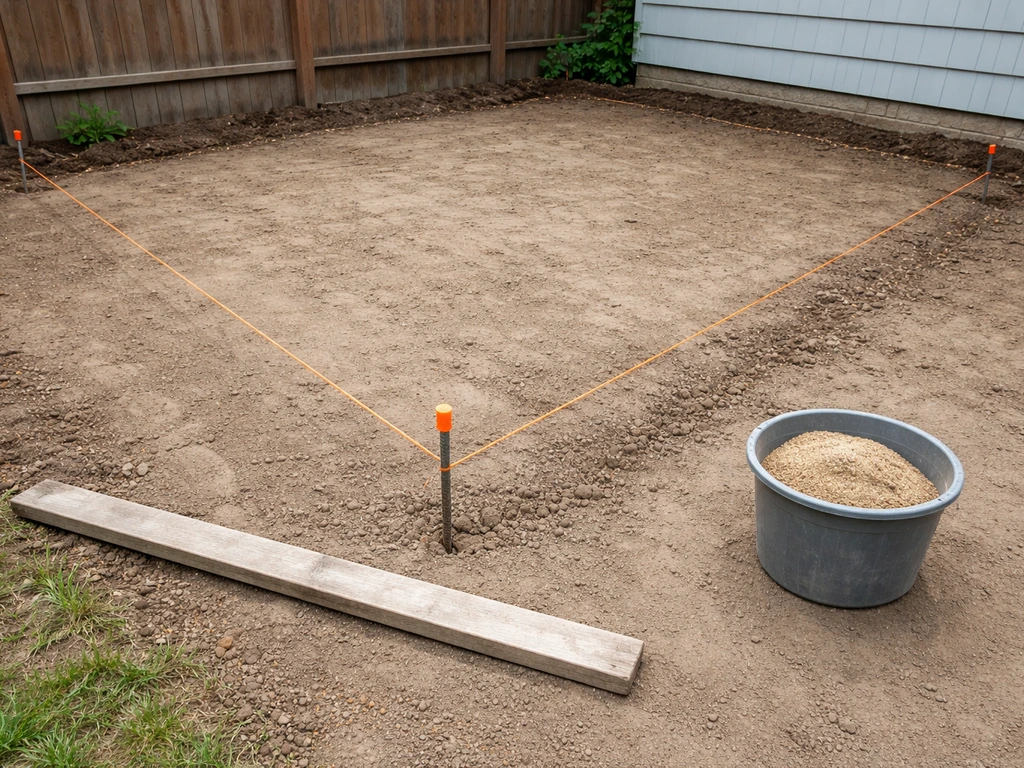
Before a single paver goes down, set your string lines. Drive stakes at the corners of your patio area, run string lines between them at the elevation of your finished paver surface, and use a line level or laser level to confirm they're at the correct height. Tilt the strings slightly (using your 1/8 to 1/4 inch per foot target) away from the house to build in drainage slope. These strings are your reference for everything that follows.
Screed your 1 inch of coarse bedding sand by placing two parallel steel pipes (1-inch OD conduit works perfectly) on top of your compacted base, filling sand between them, and dragging a straight 2x4 across the pipes to create a perfectly flat, 1-inch-deep sand surface. Pull the pipes out, fill the channels with sand, and gently smooth. Do not compact the sand before pavers go down. Techo-Bloc's installation guidelines specifically note this: the bedding sand should stay loose until paver weight and the plate compactor settle it into the base.
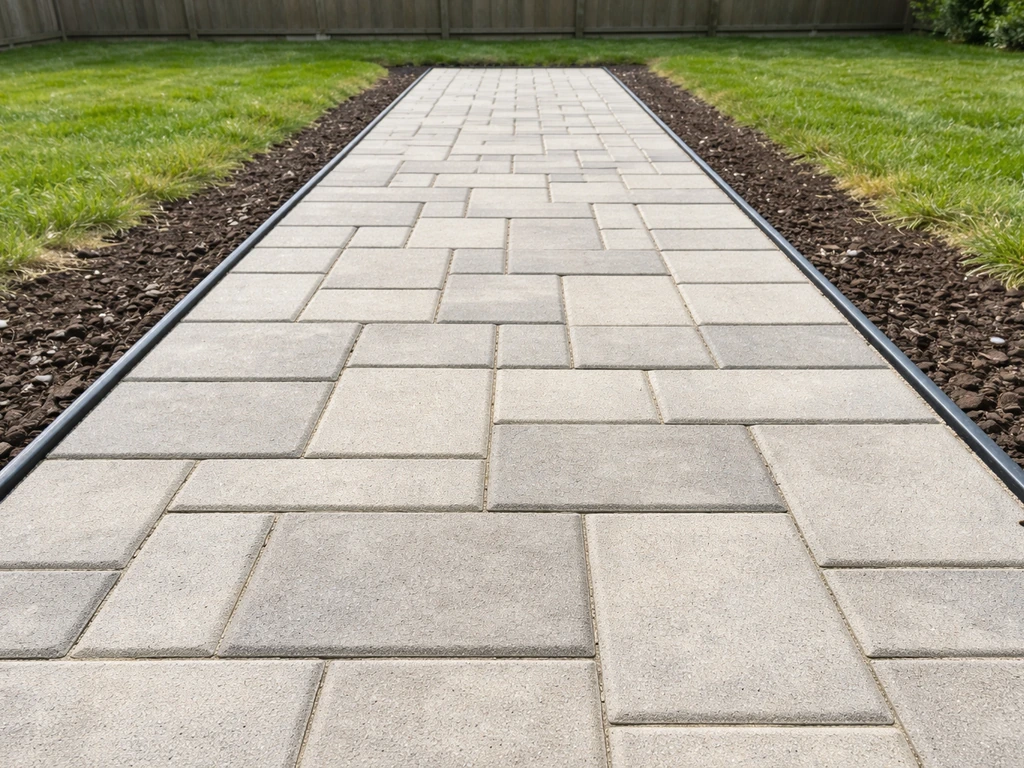
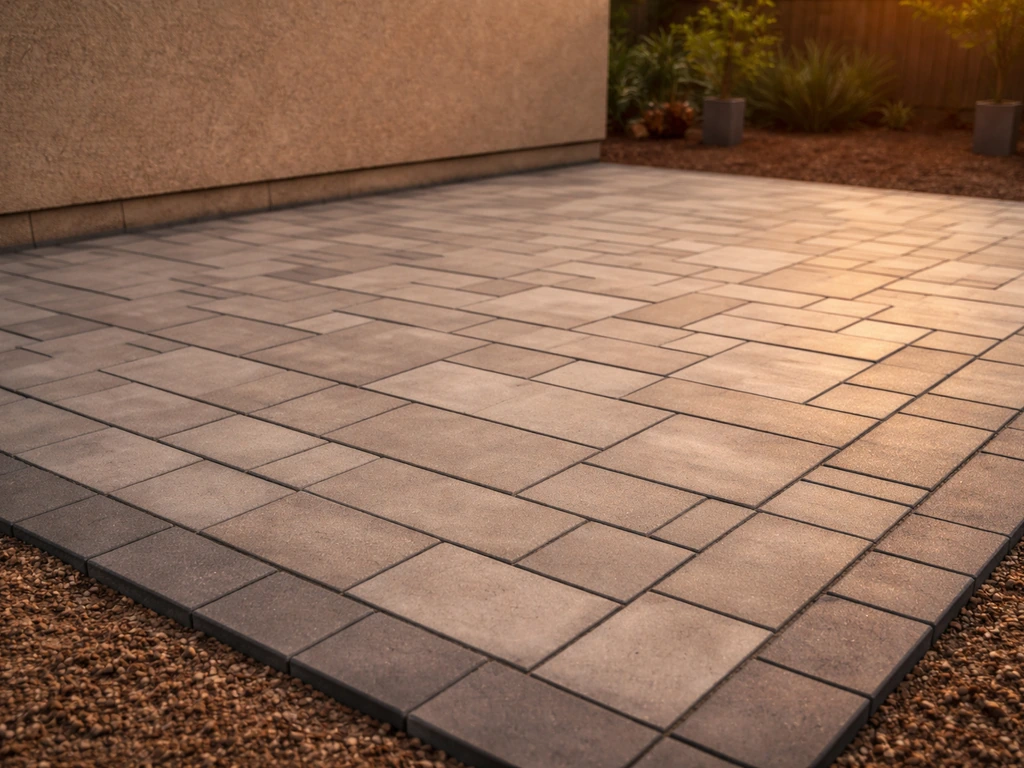
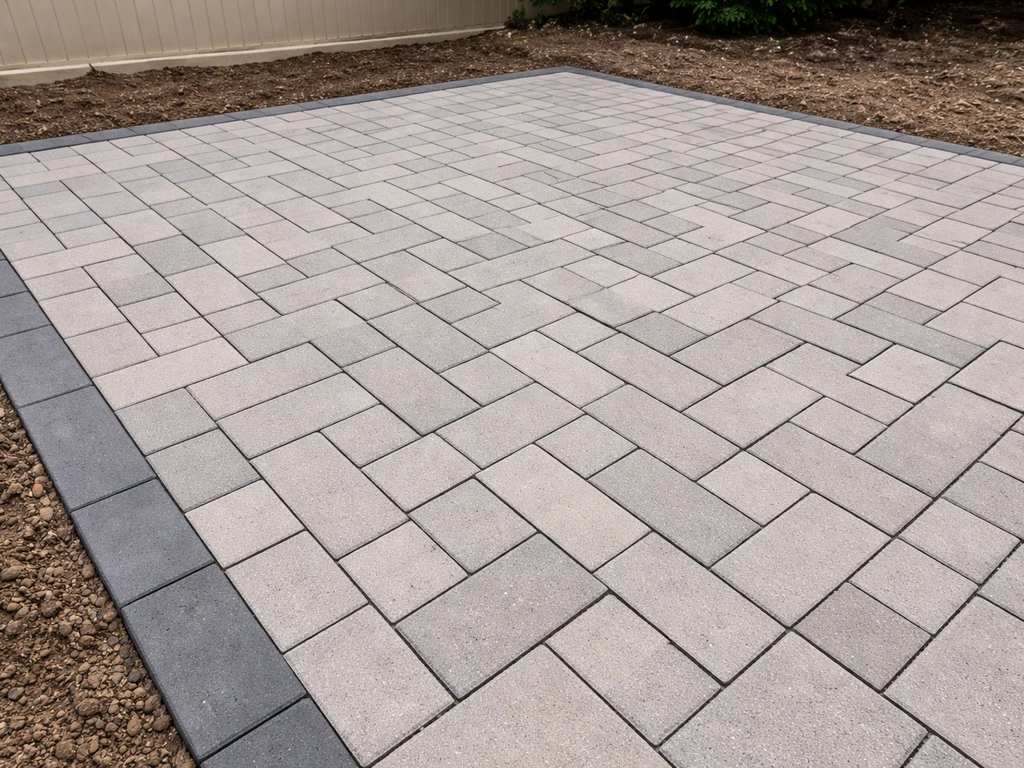
Popular paver patterns include running bond (like brickwork), herringbone (strongest, best for driveways), basket weave, and random/ashlar. Herringbone at 45 or 90 degrees locks pavers together best under load. Running bond is easiest to lay but creates long unbroken joint lines. Choose based on look and use. If you want do it yourself patio paver ideas that still hold up long term, start by picking a pattern and base setup that match your yard and drainage DIY patio paver ideas. If you're going to add a fire pit, plan its location now so you can orient your pattern to flow around it cleanly.
Installing and Setting Pavers: Cutting, Spacing, and Compaction
Start laying from a straight, fixed edge (usually the house wall or a chalk line you've snapped on the screeded sand) and work outward. Place each paver with a gentle press and tap level with a rubber mallet. Use paver spacers or rely on the built-in spacer lugs that most concrete pavers have to maintain consistent joint width (typically 1/16 to 1/8 inch for sand-set pavers). Check your level frequently as you go. If a paver sits too high, pull it, remove a little sand, reset. If it sits too low, add a pinch of sand. Never tap downward forcefully: it disrupts the screeded layer and creates a ripple effect on neighboring pavers.
Cutting Pavers to Fit
Save your cuts for last. Lay all the full pavers first, then measure and mark each cut piece individually rather than assuming cuts will be uniform. Use a wet saw with a diamond blade for clean, precise cuts, especially for curves or angles. An angle grinder with a diamond blade works for straight cuts on concrete pavers but creates a lot of dust: always wear safety glasses and a dust mask. Score-and-snap is an option for straight cuts on thinner pavers, but a wet saw gives far better results. Protect cut edges with edge restraints so they don't chip out over time.
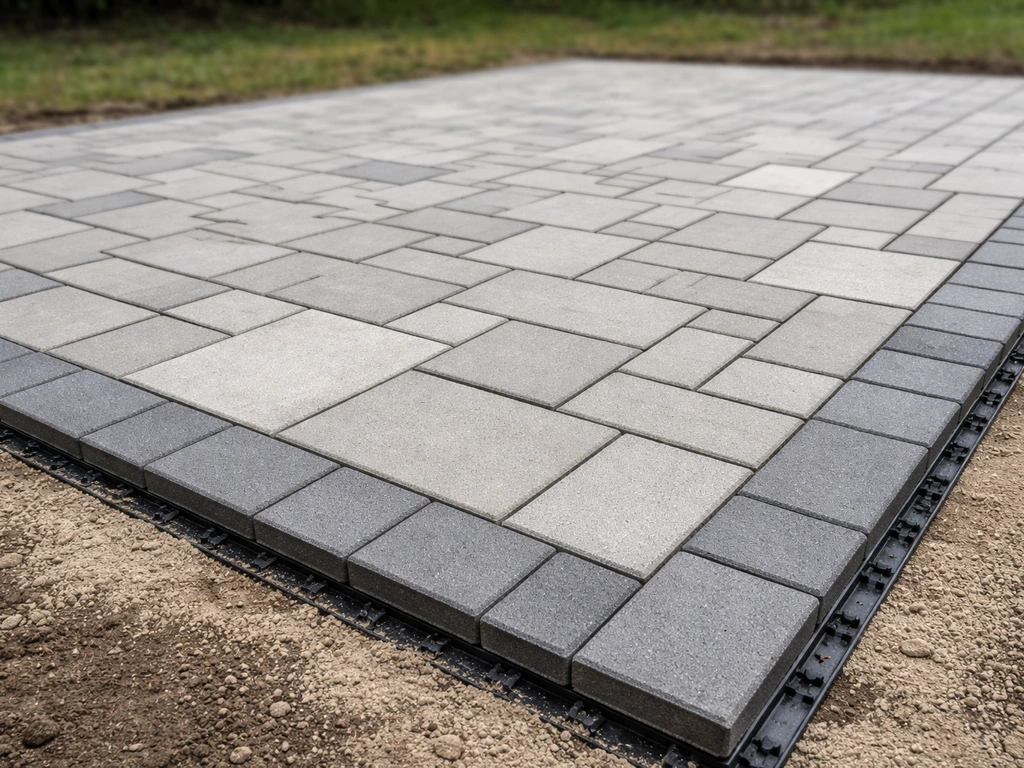
Installing Edge Restraints
Edge restraints (plastic snap-edge or aluminum channel) go in before you compact. Secure them with 10-inch galvanized spikes driven through the restraint flange into the base material every 12 inches. Without these, the outer pavers will migrate outward over time, especially on a herringbone or 45-degree pattern where there's lateral force on every joint.
Final Compaction
Run the plate compactor over the entire paved surface to set the pavers into the bedding sand. Use a rubber pad or paver protection mat under the compactor plate to avoid scratching or chipping the paver surface. Make two or three passes in different directions. This compaction step is critical: it presses pavers into the sand, locks them together, and is what transforms a loosely placed grid into a solid surface.
Finishing: Joint Sand, Sealing, and Cleanup
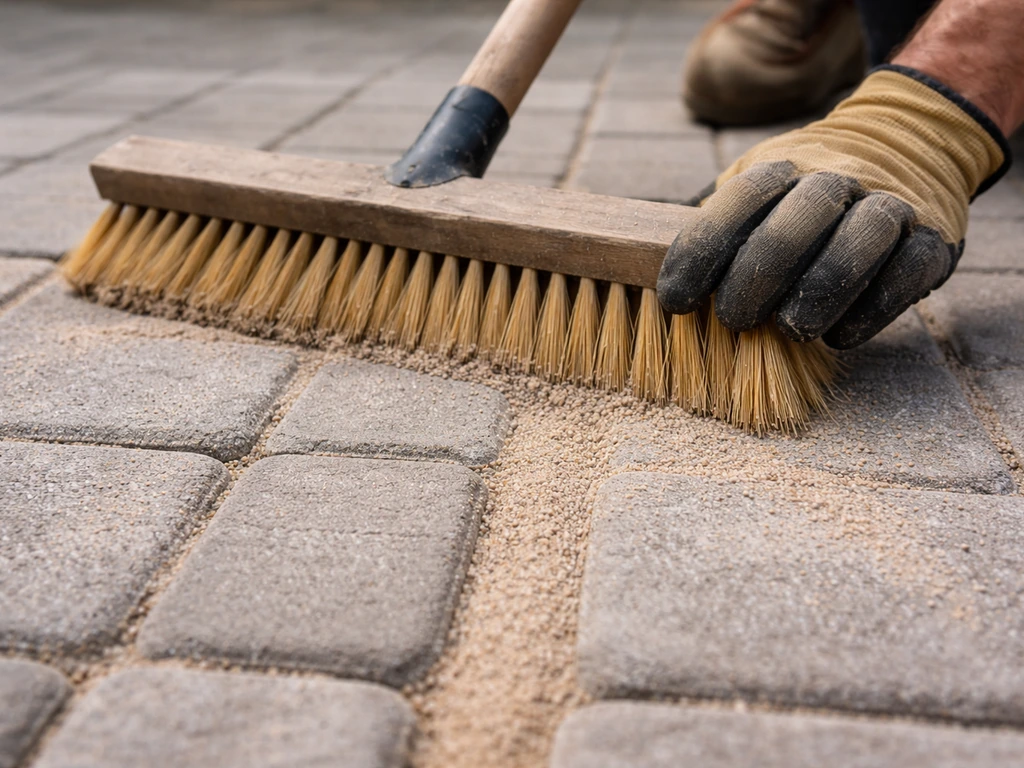
Pour polymeric joint sand over the paved surface and spread it with a broom, working it into all the joints. Blow off excess with a leaf blower (hold it at an angle, not straight down). Then lightly mist the surface with water to activate the polymer binders in the sand. The sand will harden slightly in the joints, bonding together to resist washout and weed growth. Repeat the sand-and-blow process a second time 24 to 48 hours later once the initial sand settles. Cambridge Pavingstones and most paver manufacturers recommend this double-fill approach for best joint performance.
Sealing is optional but recommended if you want to enhance color, protect against staining, and extend the life of your polymeric sand. Wait at least 30 days after installation before sealing to let any efflorescence (the white mineral haze that sometimes appears on new pavers) work itself out. Apply a penetrating or film-forming sealer with a roller or low-pressure sprayer on a dry day when no rain is forecast for 24 hours. Re-seal every 3 to 5 years depending on traffic and climate.
Cleanup is straightforward: sweep the patio, hose down the edges, and haul away your excavated soil and leftover base material. Check all edge restraints one more time to make sure every spike is flush and the restraint is tight against the pavers.
Troubleshooting Common DIY Problems and Rework Tips
Even experienced installers run into issues. Here's what typically goes wrong and how to fix it without starting over.
| Problem | Likely Cause | Fix |
|---|---|---|
| Pavers rocking or uneven after compaction | Inconsistent sand layer or soft spot in base | Pull affected pavers, add/remove sand or recompact base, relay |
| Water pooling on the patio | Insufficient or backward drainage slope | Lift the low section, adjust bedding sand depth to re-slope, relay pavers |
| Joints growing weeds within a season | Regular sand used instead of polymeric, or sand washed out | Remove old sand with a pressure washer, dry the surface, refill with polymeric joint sand |
| Edge pavers shifting outward | Missing or improperly staked edge restraints | Pull back pavers, install or re-spike edge restraints, replace pavers |
| Paver surface is uneven but base is solid | Bedding sand was compacted before laying pavers, or was too thick | Pull pavers in the uneven zone, re-screed sand to exactly 1 inch, relay |
| Cracked or chipped cuts | Wrong blade, no water cooling, or rushing the cut | Re-cut with a wet saw and diamond blade; go slow on curves |
| Efflorescence (white haze) on paver surface | Natural mineral migration in new concrete pavers | Wait it out (it fades), or use an efflorescence cleaner before sealing |
The most common rework scenario is fixing a drainage problem after installation. If water pools toward the house, you need to lift the affected pavers (they come up cleanly since no mortar was used), adjust the sand grade, and relay. It's tedious but totally doable because sand-set systems are fully reversible. That's one of the biggest practical advantages of a sand-set installation over a mortar-set one.
Maintenance and Long-Term Care for Paver Patios
A well-built paver patio is low-maintenance, not no-maintenance. Here's what to do each year to keep it looking and performing well.
- Inspect joints each spring: top off any areas where polymeric sand has washed out or settled low, especially after a wet winter
- Weed any breakthrough growth promptly before roots work under the pavers and lift them
- Re-seal every 3 to 5 years, or when you notice water no longer beads on the surface
- Check edge restraints annually and re-drive any spikes that have worked loose
- After freeze-thaw seasons, scan for any pavers that have heaved: lift, add or remove sand, and relay
- Clean stains promptly: oil stains respond to degreaser, rust stains to oxalic acid cleaner, organic stains to diluted bleach
- Pressure wash carefully (low pressure, wide fan tip) if needed; high-pressure narrow tips will dislodge joint sand
One maintenance tip that's easy to overlook: keep mulch and soil from adjacent garden beds from migrating onto the patio. Organic matter sitting in paver joints accelerates weed growth dramatically. A simple metal or plastic border between beds and pavers makes a real difference.
If you started this project by reading about patio pavers do it yourself options or browsed do it yourself paver patio ideas before landing on a design, the installation process described here is the core skill set that applies to almost every variation, whether you're building a simple rectangular patio, a raised multi-level design, a curved garden patio, or integrating a fire pit ring into the layout. The patterns and shapes change. The base work, drainage planning, edge restraint, and joint sand process stay the same. Get those fundamentals right and the project becomes a lot more forgiving.
FAQ
Can I install patio pavers over existing concrete or asphalt?
Sometimes, but only if the existing surface is stable and drains correctly. If there is heaving, major cracking, or ongoing water pooling, breaking it out is usually the better move. Also plan for the added height so doors, thresholds, and step-ups do not end up as trip hazards after installation.
What slope should I use if my patio is small or mostly flat?
A common target is about 1/8 to 1/4 inch per foot away from the structure. For small patios, that still matters, but using a level reference string line helps you avoid “almost flat” layouts. If you cannot achieve the slope everywhere, consider step-down design instead of relying on a barely sloped surface.
How do I know I compacted the base enough before laying sand and pavers?
A practical test is walking on the gravel area after compaction, the base should not visibly pump, shift, or rut under foot pressure. Re-pass the plate compactor on the full footprint until the gravel stays firm and you stop seeing movement. If you can still carve the base with a boot or shovel, it is not compacted enough.
Do I need a permit for every DIY patio paver project?
Not always, but many areas require permits based on size, height, and whether you are adding structures like pergolas, fire pits, or raised platforms. The safe approach is to check with your municipality before excavation, since the rule can also depend on drainage impact or proximity to utilities.
Can I skip the 811 utility marking call if I’m not digging deep?
No. Even shallow excavation can hit underground lines, and utilities often sit shallower than you expect. Calling before you dig protects you, and the marks also help you plan your string line and base layout around protected areas.
How thick should the pavers and base be, and what excavation depth should I target?
A typical pedestrian-use patio uses about 4 to 6 inches of compacted crushed stone, 1 inch of bedding sand, and pavers that are commonly 2 to 3 inches thick, so excavation is often about 8 to 10 inches below finished grade. If you use thicker pavers, a different base rock, or want a different strength class, you should adjust excavation depth accordingly to keep final surface height correct.
What’s the difference between leveling with a screed and compacting bedding sand?
Screeding is about making the sand surface flat and consistent in depth (often loose). Compaction is meant for the base rock, and you typically do not compact the bedding sand with a power plate before pavers go down. The pavers and their compaction pass should lock the sand into place under load.
How do I prevent pavers from rocking or settling after installation?
Rocking usually means the base is uneven or not compacted uniformly, or a section was set on a sand layer that was disturbed during installation. Use string lines for height, keep the base free of voids, compact gravel in lifts, and avoid tapping pavers downward aggressively because that can disrupt the screeded sand layer.
Should I use a wet saw or an angle grinder for cuts?
A wet saw with a diamond blade generally produces cleaner, more accurate cuts with less chipping, especially for precise edges and curves. Angle grinders can work for straight cuts on concrete pavers, but they create a lot of dust, so you should plan on proper respiratory protection and better-than-average cleanup.
What joint width should I leave between pavers?
For sand-set concrete pavers, many products target roughly 1/16 to 1/8 inch. Use built-in spacer lugs when available, or use paver spacers consistently. Inconsistent joints often show up later as uneven sand distribution and weaker interlock.
Is polymeric sand required, and what if I don’t use it?
Polymeric joint sand is used to harden in joints and resist washout and weed growth, which is why many installers recommend it for long-term performance. If you use regular sand instead, joints are more likely to wash out and require more frequent re-filling, and weeds can emerge more easily.
When is sealing actually worth it on a polymeric sand patio?
Sealing can help reduce staining and enhance color, but it can also change how water and residues behave on the surface. If you seal, do it only after the patio has cured enough (commonly waiting at least 30 days) and apply on a dry day when no rain is forecast for the next day to help prevent blotchiness.
How long do I need to wait before putting furniture, a grill, or heavy items on the patio?
After installation and joint sand activation, avoid heavy traffic while the joints are still curing. A common approach is to wait at least 24 to 48 hours after the second sand fill before normal foot traffic and avoid dragging heavy equipment across the surface until the joints have fully hardened.
What maintenance mistake causes weeds even on polymeric-sand patios?
Organic material is a major trigger, soil or mulch that migrates into joints speeds weed growth. Keep adjacent beds bordered away from the patio and avoid topdressing soil near edges, since weeds often start from the perimeter where debris collects.
Can I fix a section that settles or fails without redoing the whole patio?
Often yes. Because sand-set systems are reversible, you can lift the affected pavers, adjust the base and sand where the settlement occurred, and relay. The key is to identify why water moved or why the base compacting was inconsistent, otherwise the problem will return in the same zone.
Next Articles
How to DIY Paver Patio: Step-by-Step Installation Guide
Step-by-step DIY paver patio guide: prep, graded drainage, compacted base, leveling, cutting, sand finishing, and mainte
Do It Yourself Paver Patio Installation: Step by Step
Step-by-step guide to DIY paver patio installation: grading, base prep, paver setting, edging, joint sand, sealing and f
Do It Yourself Patio Paver Ideas: Layout, Prep, Install
DIY patio paver ideas with layout patterns, site prep, base thickness, leveling, edging, and fixing sinking, gaps, weeds