
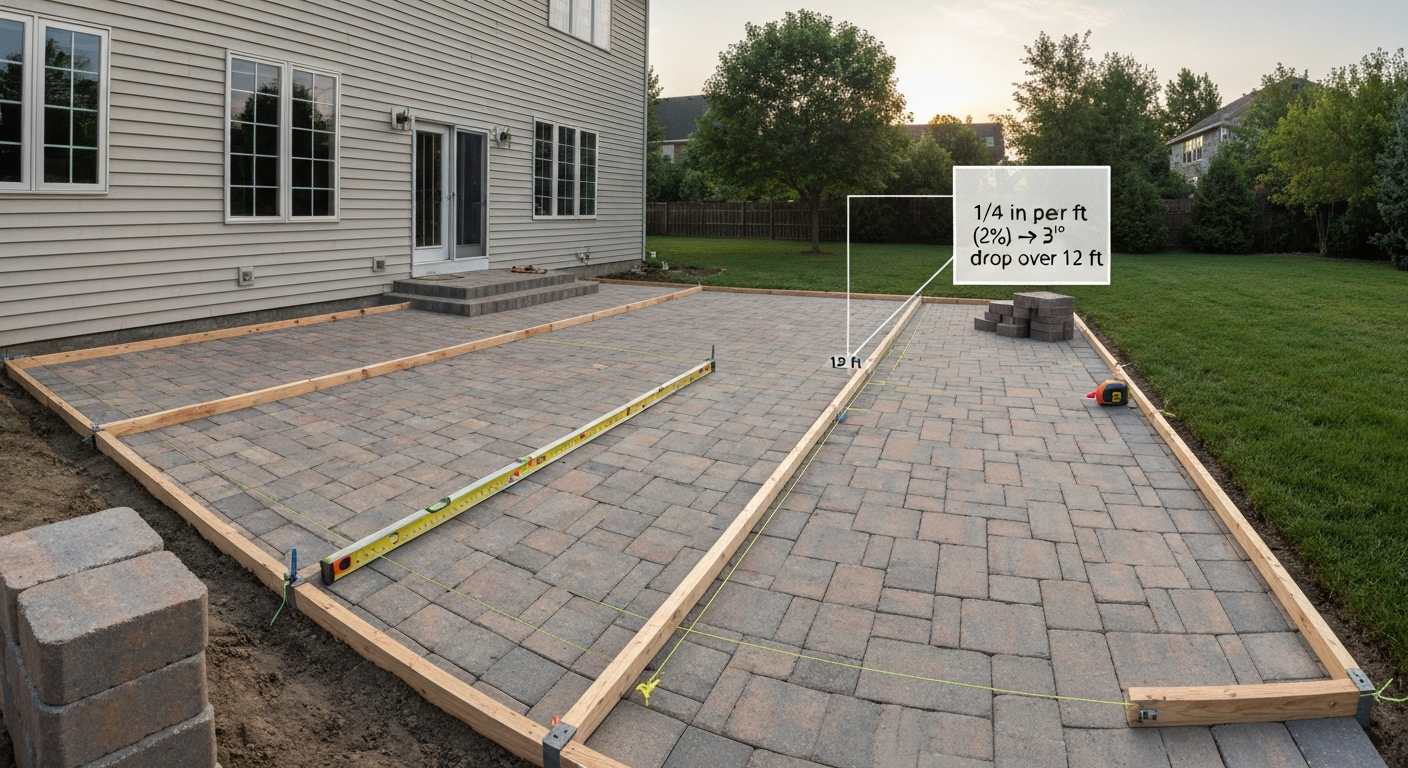
For a paver patio to drain properly and stay flat over time, you need a consistent fall of 1/8 inch to 1/4 inch per linear foot away from the house, which works out to roughly 1% to 2% grade. The ICPI (Interlocking Concrete Pavement Institute, now part of CMHA) recommends a minimum of 1.5% (about 3/16 inch per foot) for pedestrian sand-set patios, and at least 2% (1/4 inch per foot) as the practical sweet spot most contractors aim for. Get that slope dialed in before you set a single paver, and every phase after that becomes measurably easier.
How to Measure Slope for Paver Patio: A DIY Guide

Felix Rowe
4 Aug 2026
What this guide covers and who it's for
This is a hands-on measurement guide for DIY homeowners who are planning a new paver patio, fixing an existing one that puddles, or upgrading a flat slab into a properly graded surface. It applies whether you're working on a flat backyard, an already sloped lot, or a multi-level design with steps and retaining walls. You'll find the exact slope numbers to aim for, a full tool list from basic to pro-grade, two complete step-by-step measurement methods (string line and long bubble level), and practical math examples for common patio sizes. The drainage planning, threshold height rules, and troubleshooting sections apply across all those scenarios, so read through even if your situation seems straightforward.
The slope numbers you're actually aiming for
Slope is expressed two ways: inches of drop per linear foot, and as a percentage. They describe the same thing and you'll see both in specs, so it's worth knowing how to read each one. The table below shows the key targets and what each one means in practice.
| Slope | Inches per Foot | What It Means in Practice |
|---|---|---|
| 1% (absolute minimum) | ~1/8" per ft | Technically drains, but any settling or unevenness creates puddles. High risk — not recommended. |
| 1.5% (ICPI minimum for pedestrian) | ~3/16" per ft | ICPI/CMHA minimum for sand-set pedestrian pavers. Acceptable if your base and screeding are very precise. |
| 2% (practical target) | ~1/4" per ft | The standard most contractors use. Forgiving of minor tolerances. Aim here. |
| Max at door landing (IRC) | 1/4" per ft (2%) | IRC code limits exterior landings directly at a door to a maximum 2% slope. |
| Max for accessible routes (ADA) | ~5/8" per ft (5%) | ADA caps running slope on accessible routes at 1:20 (5%). Steeper = treated as a ramp. |
The reason the minimum exists is simple: water sits on flat surfaces, and even a nominally level patio has micro-low spots after settling. At 2% (1/4 inch per foot), you have enough fall to push sheet flow off the surface before it has a chance to pond or seep under the bedding sand. The reason there's a cap near the house is equally simple: a steeply sloping slab right at your back door is a trip hazard and potentially a code violation. Keep the zone within about 36 inches of a door threshold at or below 2%, and plan your drainage to carry water away from that flat zone toward the yard.
Simple slope math you'll actually use
The core formula is: Total Drop = Run (in feet) x Drop per Foot (in inches). That's it. You don't need a calculator for most patio layouts if you internalize this formula and run through a few examples.
To convert slope in inches/foot to a percentage: divide the drop per foot (in inches) by 12 (inches per foot), then multiply by 100. So 1/4 inch per foot becomes (0.25 / 12) x 100 = 2.08%, which rounds cleanly to 2%. Going the other direction, to find drop per foot from a percentage: multiply the percentage by 0.12. So 1.5% x 0.12 = 0.18 inches per foot, or just under 3/16 inch.
Here are worked examples for three common patio depths, all at the target 2% (1/4 inch per foot) slope:
| Patio Depth (away from house) | Drop per Foot | Total Drop at 2% |
|---|---|---|
| 8 ft | 1/4" per ft | 2" total drop |
| 12 ft | 1/4" per ft | 3" total drop |
| 16 ft | 1/4" per ft | 4" total drop |
| 20 ft | 1/4" per ft | 5" total drop |
A 12-foot-deep patio with 3 inches of total drop is easy to feel underfoot but not enough to look obviously tilted. That's the sweet spot. If your patio runs 20 feet from the house, 5 inches of total drop is still visually gentle (you'd barely notice it walking across) but more than enough to keep water moving. On wider patios that run parallel to the house, you can slope toward one side or split the grade into two planes that both drain away from the house, both approaches work as long as you plan where the water goes.
Your complete tool list
You don't need every tool on this list for a basic 10x10 patio, but knowing what each one does helps you decide where to spend money versus improvise. I've split them into must-haves (you can't reliably do the job without these) and nice-to-haves (they save time and improve accuracy on larger or more complex jobs).
Must-have tools
- Tape measure (25 ft minimum, 100 ft for large patios): for measuring run, marking layout, and confirming total drop calculations.
- Mason's line (string): bright-colored braided nylon, 50–100 ft. This is your visual reference plane for the entire patio.
- Line stakes or batter boards: wooden 1x4 boards and 2x4 stakes set outside the patio footprint so your strings stay in place during excavation.
- Line level: a small bubble level that clips onto your mason's line. Cheap and essential for leveling the reference string before you measure drop.
- 4–6 ft carpenter's level: for checking individual screed rails, checking the base as you compact, and spot-checking finished pavers.
- Screed rails or pipes: smooth-walled metal conduit or purpose-made screed rails, used in pairs to produce a consistent nominal 1-inch bedding sand layer under your pavers.
- Screed board (straight 2x4 or aluminum): dragged across the screed rails to level the bedding sand.
- Plate compactor: for compacting the crushed stone aggregate base in lifts. Rent one — don't skip this step. A hand tamper is adequate for very small patches only.
- Pencil, lumber crayon, or marking spray paint: for transferring grade marks to stakes.
Nice-to-have tools (bigger jobs, better accuracy)
- Long bubble level (8–12 ft): more accurate than a short level for checking grade across a run because it averages out small surface irregularities.
- Rotary or self-leveling laser level with grade rod and receiver: the fastest way to establish and transfer accurate grade across a large patio. Pro-grade rotary lasers are accurate to ±1/16" to ±1/8" at 100 ft. Rent for around $50–$80/day — worth every dollar on a patio over 15 ft in any dimension.
- Grade rod (8–16 ft): a graduated measuring rod used with a laser receiver or optical transit to read elevations at multiple points across the site.
- Optical transit or builder's level: overkill for most residential patios but useful if you're grading a large area or terracing a sloped lot.
- Water level (clear vinyl tubing, 25–50 ft): a low-tech but surprisingly effective tool for transferring a known elevation around corners or obstructions. Works on the principle that water finds its own level. Accuracy is moderate — good for rough layout, not final screeding.
- Digital angle finder or inclinometer: clips to a level or screed rail and gives you a precise readout in degrees and percent — faster than calculating from bubble position.
- String reel or dispensing tool: keeps 100 ft of mason's line taut and tangle-free.
- Speed square or framing square: for checking that your layout corners are true 90 degrees.
Planning your drainage direction before you dig
Before you measure a single grade stake, you need a plan for where the water is going. This decision drives every slope measurement you'll make. Water has to go somewhere, and 'off the edge into the yard' is a valid answer only if your yard can absorb or redirect it. If your lawn drains well and sits lower than the patio, grading the patio to sheet-flow into the grass is the simplest and most environmentally sound option. Directing runoff to an infiltration area, a bioswale, or a rain garden is even better, it keeps water on-site and out of storm drains.
If you have a patio that's enclosed on multiple sides, or a low spot you can't easily grade out of, you'll need a catch basin or a trench/slot drain at the low point. Catch basins work best when runoff converges at a single point; trench drains work better for linear sheet flow, like along the far edge of the patio or across a threshold. Either way, those drains need to connect to a legal outlet, a dry well, a storm sewer connection, or a daylight pipe at the yard's edge.
One rule that doesn't bend: never slope the patio toward the house. Water graded toward a foundation will eventually find its way into the basement or crawl space. The patio should fall away from the house at the correct slope from the very first inch outside the threshold. On a patio that runs parallel to the house on two sides (like an L-shape or a corner patio), you can slope away from both walls toward the open yard corner, just make sure both planes of slope meet at a low point that you've planned for.
Protecting your door threshold
The finished paver surface at your door needs to sit at the right height relative to the threshold. A common target is about 1 inch below the door sill or threshold nosing, which keeps rain from splashing back under the door and gives you room to accommodate the 1-inch bedding sand layer, the paver thickness (typically 2 3/8 inch or 3 1/8 inch for standard units), and any base adjustments. Measure from your door sill down before you excavate, and mark that target finished elevation on the house wall or doorframe with a pencil line. Everything else works backward from that mark. The IRC caps the slope of an exterior landing at 1/4 inch per foot (2%), so if your 2% target slope starts right at the door, you're within code.
Preparing the site before you measure
Trying to measure slope on an overgrown, cluttered, or rough-graded site leads to bad readings. Spend an hour doing this prep work and your measurements will actually mean something.
- Clear the patio footprint: remove all sod, loose soil, debris, roots, and any existing gravel or sand that isn't part of a planned base. You need to see the actual ground.
- Do your rough excavation: dig to approximately the right depth for your base layers before you set slope stakes. The total excavation depth is your compacted base (typically 4 inches for a pedestrian patio), plus 1 inch of bedding sand, plus your paver thickness. For a standard 2 3/8-inch paver on 4 inches of base and 1 inch of sand, that's about 7 3/8 inches below finished grade.
- Mark your patio perimeter: use spray paint or stakes and string to mark all four corners and edges of the finished patio. Note where thresholds, steps, or other patios connect.
- Mark your finished height reference at the house: find or set a nail or pencil mark on the house foundation, door threshold trim, or a nearby stake that represents your desired finished paver elevation at the house-side edge. Everything else is measured from this point.
- Identify your high and low points in the existing grade: walk the site and note which corners are naturally higher or lower. This tells you how much cutting or filling you'll need to do during base installation to hit your target slope — and whether you're working with the natural grade or fighting against it.
Step-by-step: the string-line method
The string-line method is the go-to approach for most DIY patios. It's low-tech, surprisingly accurate for patios up to about 20 feet in any direction, and it gives you a physical visual reference you can see and measure from at any point during the job. For step-by-step instructions on how to level patio pavers, see the dedicated leveling guide. You'll need two people for setup, but one person can take readings after the strings are set. For step-by-step instructions and clear examples on how to slope a paver patio, see this practical guide.
Setup
- Set batter boards outside each corner of your patio, about 12–18 inches beyond the edge. Each batter board is a horizontal crosspiece nailed between two stakes. Place them far enough outside the footprint that they won't be disturbed when you're digging or compacting.
- Run mason's lines from batter board to batter board along each edge of the patio and, for larger patios, across the interior at regular intervals (every 4–6 feet). You'll use the lines parallel to the direction of slope (running away from the house) most actively — those are your grade lines.
- Set the reference line at the house-side edge first. Tie the string at your known finished elevation mark on the house wall (or on a stake right at the house). Pull the string taut to a stake or batter board at the far end of the patio and clip a line level to the middle of the string.
- Adjust the far-end stake height until the line level bubble is centered. This gives you a level string at the elevation of the finished paver surface at the house-side edge.
Measuring and setting the slope
- With the string level and at the correct elevation at the house end, measure the horizontal distance (the run) from the house-side stake to the far-end stake along the string. For a 12-foot patio depth, the run is 12 feet.
- Calculate the required total drop: multiply the run by your target drop per foot. At 1/4 inch per foot over 12 feet: 12 x 0.25 = 3 inches total drop.
- Lower the far-end string attachment point by exactly 3 inches. The string now represents a surface that drops 3 inches over 12 feet — a 2% slope, falling away from the house. Remove the line level at this point; you no longer need it to be level because the drop is intentional.
- Repeat this process for each grade line across the patio width. Each line should have its house-side end at the same elevation and its far end dropped by the same calculated amount.
- Now use these strings as your reference plane. Drive grade stakes at regular intervals (every 3–4 feet along the run) and mark each stake at the string elevation. These marks become your targets for the compacted base and, later, for screed rail placement.
Common pitfalls with the string-line method
- Sagging strings: on runs over 20 feet, strings sag even when pulled tight. Use a hard, tightly-braided mason's line (not soft twine) and check tension regularly. A visual sag of even 1/4 inch at midspan will throw off your measurements.
- Wind interference: a breeze moves light strings. Take your readings on a calm day or use a more stable method (laser level) if wind is persistent.
- Bumping a batter board: one nudge can shift your reference by 1/2 inch or more. Check that batter boards are firmly staked and always recheck the string level before taking critical measurements.
- Forgetting to account for paver thickness: strings should represent finished paver surface elevation. If you measure to the top of the compacted base instead, account for 1 inch of bedding sand plus your paver thickness before comparing to the string.
Sample calculation for a 14 x 18 ft patio
Say your patio is 14 feet deep (away from the house) and 18 feet wide (parallel to the house). You want to slope the 14-foot dimension at 2% (1/4 inch per foot) and keep the 18-foot dimension level (all water drains away from the house in one direction). Total drop over the 14-foot run: 14 x 0.25 = 3.5 inches. Your house-side string sits at finished elevation. Your yard-side string sits 3.5 inches lower. All four grade lines running across the 14-foot span are parallel to each other, each dropping 3.5 inches from one end to the other. The 18-foot strings running parallel to the house are all set level, they connect the house-side and yard-side strings at the same elevation at each position across the width.
Step-by-step: the two-point long bubble level method
The long bubble level method is a great complement to the string-line approach, especially for confirming grade across short distances during base installation and screeding. It works by measuring the elevation difference between two known points directly with a level and a ruler, rather than referencing a string. An 8-foot or longer level gives you much better accuracy than a short torpedo level because small surface bumps have less effect on the reading.
Setup and process
- Place your long level (8 ft or longer) on the surface you want to measure — this could be the compacted base, a screed rail, or the finished paver surface. Orient it along the direction of intended slope (perpendicular to the house, running away from it).
- Lift the lower end of the level until the bubble is exactly centered. This is the 'level' position.
- While holding the level in this position, measure the gap between the bottom of the level's low end and the surface below it. This gap is the actual rise (or drop) over the length of the level.
- Divide the measured gap by the length of the level (in feet) to get the slope in inches per foot. For example: a 3/4-inch gap under an 8-foot level = 3/4 divided by 8 = 0.09375 inches per foot, or about 0.78% — too flat.
- To check the opposite: set the level without lifting, note whether the bubble is toward the high end or low end, and by how much it's off-center. Most 4-foot levels have vials graduated in 1/8-inch-per-foot increments — useful for quick field checks.
- Record your readings at multiple points across the patio (every 3–4 feet along the slope direction and across the width) to build a picture of where the grade is high or low relative to your target.
Sample calculation for a 10 x 12 ft patio
Target slope is 1/4 inch per foot (2%) over a 10-foot run. Total drop needed: 10 x 0.25 = 2.5 inches. You're using an 8-foot level. The expected drop over the level's 8-foot span should be: 8 x 0.25 = 2.0 inches. Set your level at the house-side edge of the patio and check that the gap at the low (yard) end is 2.0 inches when the bubble is centered. If you read 1.5 inches instead, the slope is too shallow, the base needs to come down another 0.5 inches at the yard end. If you read 2.5 inches, the slope is too steep, raise the yard end of the base slightly and recheck.
Tips for getting accurate readings
- Always orient the level along the slope direction, not across it. Reading across a slope gives you a meaningless cross-fall number unless that's what you're checking.
- Don't span a bump or depression with the level — you'll get a false reading. Lay the level on a flat screed board or a known straight pipe if the surface is rough.
- Make at least three readings per zone (left side, center, right side) and average them. One reading on a rough base can be misleading.
- Use the same level for all readings on the same project. Different levels can have different vial calibration tolerances.
- Combine this method with grade stakes marked from your string lines for a double-check. If both methods agree, you can be confident in your grade.
Transferring your measured slope into the base and screed
Measuring slope accurately is only useful if you translate those measurements into the actual base layers. Once your grade stakes are in place (marked from string lines or level readings), use them to guide your compacted aggregate base. The top of the compacted base should sit exactly one nominal inch below your finished paver surface, because that inch is reserved for the bedding sand layer. So if your grade stake marks 'finished surface here,' your compacted base should sit 1 inch plus the paver thickness below that mark, or simply: your base target = finished paver elevation minus 1 inch (sand) minus paver thickness.
With the base compacted to grade, position your screed rails (smooth metal conduit or purpose-made rails) on top of the compacted base, parallel to each other and running in the direction of slope. The rails should be set at the exact elevation of the top of the bedding sand, which is the finished paver surface minus paver thickness. Drag your screed board across the rails to produce a flat, sloped sand surface. Pull the rails out after screeding, fill the voids with bedding sand, and tamp lightly. This is the ICPI-recommended method for achieving a consistent nominal 1-inch bedding layer.
ICPI surface tolerance specs are tight: finished paver surfaces should be within ±3/8 inch over a 10-foot straightedge, with no more than 1/8 inch of lippage (height difference) between adjacent pavers. Getting your base and screed within tolerance before you lay a single paver is the only way to hit those specs consistently. You cannot compensate for a bad base by adjusting individual pavers.
Adjustments for tricky situations
Sloped yards and hillside patios
If your yard already slopes steeply, you have two basic options: cut into the slope to create a level-ish pad (with a retaining wall at the uphill side to hold the cut), or build up the downhill side with fill and a retaining wall at the low side. See our guide on how to install a paver patio on uneven ground for step-by-step methods for cutting into slopes, building up with fill, and managing retaining walls. For a step-by-step walkthrough and earthwork tips, see our guide on how to build a paver patio on a slope. Either way, the patio surface itself still needs a 2% fall away from the house. The complexity is in managing the earthwork and wall design around that grade. On a hillside, water management becomes critical, a retaining wall uphill of the patio may collect and concentrate runoff against the wall, so drainage behind the wall (weep holes, gravel backfill, perforated pipe) is essential.
Installing over existing concrete
If the existing concrete is in good condition and slopes reasonably close to 2% already, you can lay pavers directly on it with a polymer-modified sand or thin-set mortar setting bed. Measure the existing concrete slope first using the two-point method. If it's within about 0.5% of your target, you can use your setting bed to fine-tune the slope. If the concrete slopes toward the house, is severely cracked, or heaves in multiple spots, removal and proper excavation is the more reliable path, setting a new base that slopes correctly is much easier than compensating for a bad slab.
Multi-level and terraced patios
Each level of a multi-level patio is graded independently, each tier needs its own 2% slope, and the direction of each slope must be planned so runoff from the upper tier doesn't dump onto a lower tier near the house or near a seating area. Steps between levels are typically not sloped for drainage (they're flat), so drainage at the base of steps is important. A channel drain or a slightly sloped apron at the base of each step set helps redirect water without making the steps slippery or creating erosion at the riser base.
Drainage details that matter
Surface slope gets the water moving, but edge restraints and base drainage complete the system. All sand-set paver patios require edge restraints (plastic spike-down restraints for pedestrian patios, spaced 12 inches on center, and 6–10 inches on curves) to prevent the pavers from spreading. But those edge restraints also affect where water exits the patio, make sure there's a gap or low-point in the edge restraint at the intended drainage outlet, or that water can flow over the edge freely into a planted area.
At patio low points where water converges and cannot exit as sheet flow, install a catch basin with a grate or a trench drain before you lay the patio. Set the drain grate 1/8 to 3/8 inch below the surrounding finished paver surface so water flows into it rather than around it. This matches ICPI guidance for paver elevations adjacent to drainage inlets. Connect the drain to a pipe that daylights at a lower point in the yard or connects to an approved storm drainage outlet.
Troubleshooting common slope and drainage problems
| Problem | Likely Cause | Fix |
|---|---|---|
| Water ponds in the center of the patio | Base settled unevenly; center is low relative to edges | Pull up pavers in the affected area, re-grade and re-compact the base, re-screed, and relay. |
| Water runs toward the house | Slope set in the wrong direction; house-side edge is lower than yard-side | Raise the house-side edge of the base and re-screed. May require full re-excavation if the problem is in the base depth. |
| Water drains sideways instead of straight out | Patio is cross-sloped or corners are out of plane | Re-check grade with string lines in both directions. Adjust the low corner of the base. |
| Uneven paver lippage after installation | Bedding sand uneven; screed rails not set to grade | Lift affected pavers, add or remove sand as needed, re-settle pavers. Check ICPI tolerance: max 1/8" lippage. |
| String lines are showing inconsistent slope readings | Sagging string, bumped batter board, or wind interference | Re-tension string, re-check batter board positions, and consider switching to a laser level for confirmation. |
| Water pools at the base of the door | Finished patio elevation is higher than planned, or threshold not accounted for | Lower the finished grade at the house end; recheck paver elevation against the door sill target. |
Pre-work checklist before you measure
- Identify and mark your target finished elevation at the door threshold.
- Determine your drainage direction and confirm there is a legal, functioning outlet for the runoff.
- Check whether any drainage inlets, catch basins, or trench drains are needed before you can finalize the slope plan.
- Clear and rough-excavate the entire patio footprint to the approximate base depth.
- Set batter boards or stakes at all corners and along all edges, placed outside the footprint.
- Gather your measurement tools: mason's line, line level, tape measure, grade stakes, and a long bubble level at minimum.
- Calculate your total required drop for each dimension of the patio and write those numbers down where you can reference them.
- Confirm your paver thickness and bedding sand depth so you know the exact target elevation for the top of your compacted base.
When to DIY and when to call a pro
You can confidently DIY the slope measurement and setting process if your patio is roughly rectangular, the finished elevation change is less than about 8–10 inches across the entire surface, and your soil is stable with no major drainage issues. The string-line and long-bubble-level methods are learnable in an afternoon and accurate enough for a well-executed residential patio.
Consider hiring a pro or at minimum renting a rotary laser level if any of the following apply: your patio is larger than about 400 square feet; the lot slopes steeply in multiple directions; you need retaining walls over 24–30 inches tall (which typically require engineered design and permits); your existing drainage situation is complex with multiple input sources; or your string-line readings are inconsistent and you can't diagnose why. How to Set Grade with a Rotary Laser, Gradelog field guide (step‑by‑step) explains the single‑operator rotary laser method: set the laser on a stable tripod, establish a benchmark and Height‑of‑Instrument (HI) with a grade rod and receiver, compute the target rod readings for desired slope at each stake, then move the receiver to verify and mark on‑grade positions for the screed/subbase How to Set Grade with a Rotary Laser — Gradelog field guide (step‑by‑step) explains the single‑operator rotary laser method: set the laser on a stable tripod, establish a benchmark and Height‑of‑Instrument (HI) with a grade rod and receiver, compute the target rod readings for desired slope at each stake, then move the receiver to verify and mark on‑grade positions for the screed/subbase.. A rotary laser costs $50–$80 per day to rent and gives you accuracy of ±1/16 to ±1/8 inch at 100 feet, meaningfully better than a string line on larger jobs.
Getting the slope right at the measurement and base stage is the single highest-leverage thing you can do for a paver patio. A perfectly cut and laid patio that drains poorly will become a headache within two or three wet seasons. But a cleanly graded, well-compacted base that holds its slope over time, that's the foundation of a patio you'll actually enjoy using for decades.
FAQ
What slope (grade/fall) should I target for a paver patio and why?
Target a running slope of 1.5%–2% (≈3/16"–1/4" drop per foot) for pedestrian patios to ensure reliable sheet drainage off the surface and out of the bedding sand. ICPI/CMHA guidance commonly recommends ~2% for good drainage; 1% (≈1/8"/ft) is sometimes used as a minimum but has higher ponding risk if tolerances slip. For vehicular areas use ~2% or slightly more (commonly 2%–3%). Keep crossfall away from doors and transitions within code/ADA limits (see accessibility FAQ). These values balance drainage, comfort, and constructability while allowing for the standard 1" screeded bedding sand and base construction tolerances.
What tools do I need to measure and set slope for a DIY paver patio?
Essential tools: 25–100 ft tape measure, mason's line and stakes (batter boards), line level or small torpedo level, 4–12 ft carpenter/box level (long bubble level), marking paint, stakes/flagging. Recommended for accuracy and longer runs: rotary/rotating laser level + receiver and grade rod (best ±1/16"–1/8" @100'), or a transit for survey accuracy. Low‑cost alternative: water level (clear tubing) for long transfers. Also useful: straight 10‑12 ft screed board or pipe, compacting plate, shovel/hoe, stringing tools, and an assistant for two‑person string methods.
How do I measure slope using the string‑line (batter board) method?
1) Establish a fixed benchmark (door threshold, finished floor, or datum stake). 2) Set batter boards or stakes beyond the patio corners and run a taut mason's line across parallel to the direction of slope. Use a line level to make the string level relative to the benchmark. 3) Calculate required drop: drop = run × slope (in inches). Example: 10 ft run at 2% → drop = 10 ft × 0.02 × 12" = 2.4" (2 3/8"). 4) Lower the far string end by that drop (measure vertical difference from the benchmark) and re‑tighten. 5) Transfer vertical marks at intermediate points along the string to grade stakes; these marks are targets for subbase excavation and screeding.
How do I measure and set slope with a rotary/grade laser (single‑operator)?
1) Mount the rotary laser on a tripod and set it level. 2) Establish your benchmark and record the Height‑of‑Instrument (HI) by taking a rod reading with the receiver at the benchmark. 3) For each stake/location compute the target rod reading = HI − benchmark elevation − (run × slope). Example: HI at 48.00" above datum, benchmark = 0, run 12 ft at 2% → drop = 12×0.02×12"=2.88" → target rod = 48.00 − 2.88 = 45.12". 4) Move the receiver to each stake and adjust the stake elevation until the receiver reads the calculated target. Use these marks to cut/fill and screw the bedding sand/base to grade.
How does a water level method work and when should I use it?
A water level is a loop of clear tubing partially filled with water that finds the same elevation at both ends. Use when laser is unavailable or for long runs where obstructions exist. Procedure: fix one tube end at the benchmark elevation, move the other end to the target location, allow water to settle, then measure vertical difference and adjust to the desired drop by lowering the far end relative to the benchmark. It’s accurate for elevation transfer but slower and more cumbersome; it does not provide a continuous numeric readout like a laser.
Can you show simple sample calculations for common patio sizes?
Example A — small patio 8 ft deep sloping away from house at 2%: drop = 8 ft × 0.02 × 12" = 1.92" (≈1 15/16"). Example B — 15 ft patio at 1.5%: drop = 15 × 0.015 × 12 = 2.7" (≈2 11/16"). Example C — 24 ft patio on a hill at 2% = 24×0.02×12 = 5.76" (≈5 3/4"). Use these drops to set your far‑edge string/laser target relative to your reference (door threshold or benchmark). Remember to account for bedding sand (nominal 1") and compacted base depth when cutting/filling.
Next Articles
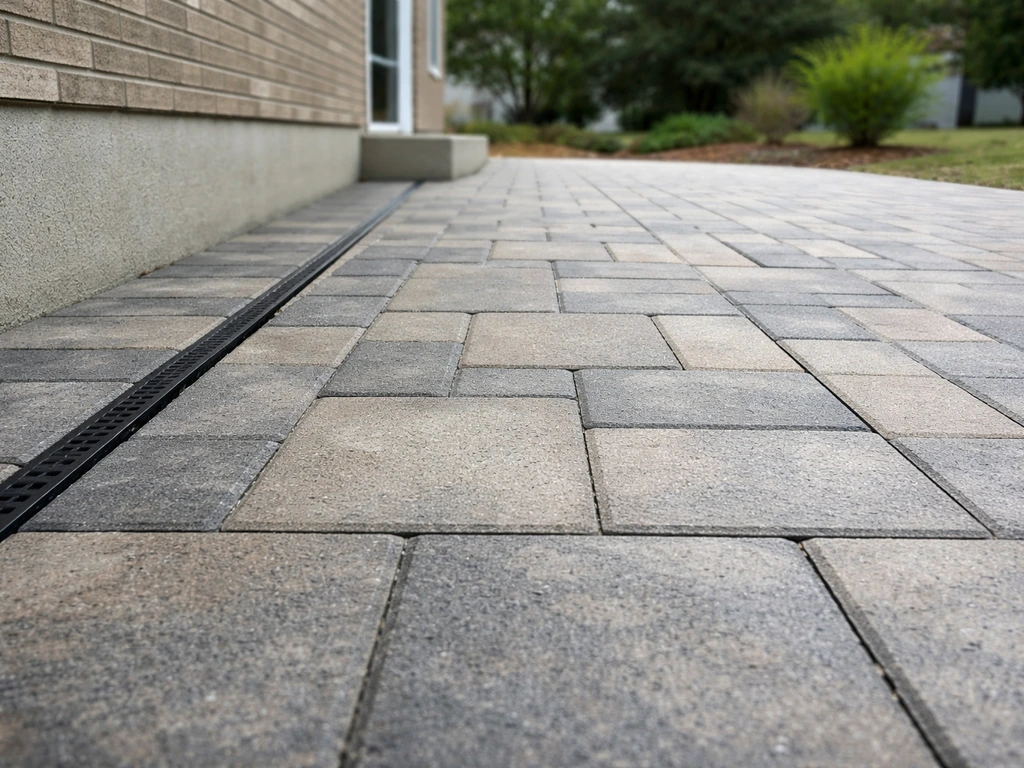
How to Slope a Paver Patio Away From the House
Step-by-step DIY guide to slope a paver patio away from the house, prevent puddles with correct base and grades.
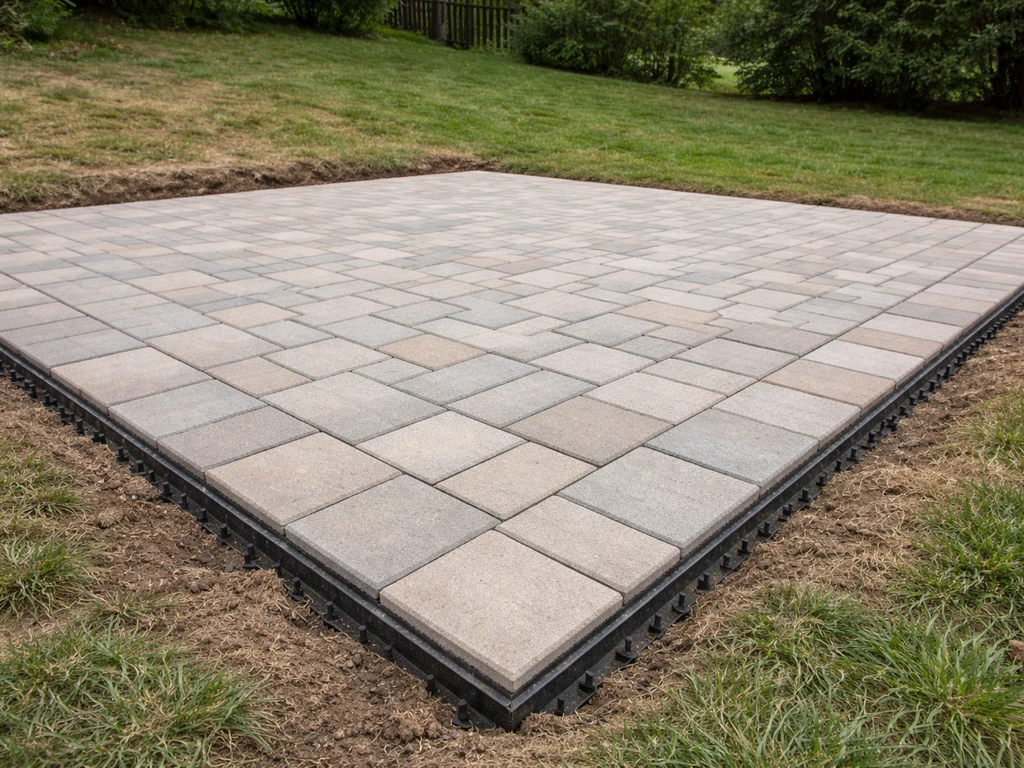
How to Install a Paver Patio on Uneven Ground
Step-by-step DIY guide for installing paver patio on uneven ground, leveling, base prep, edge restraint, and troubleshoo
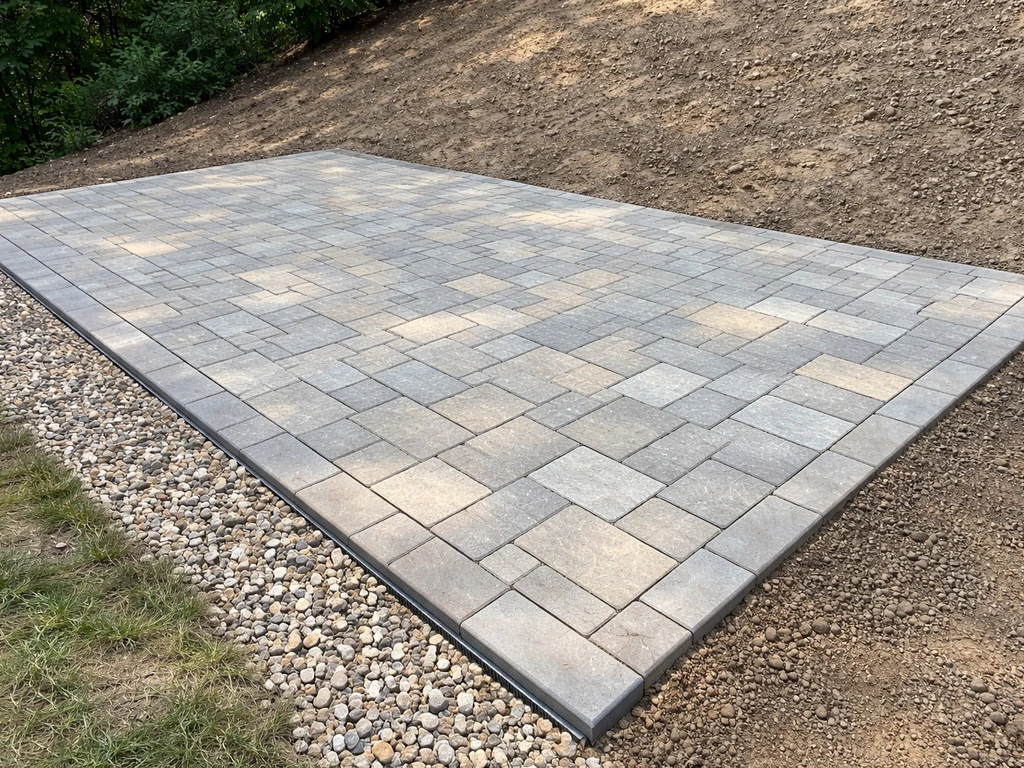
How to Build a Paver Patio on a Slope: Step-by-Step DIY
Step-by-step DIY for building a level paver patio on a slope, with grading, drainage, base prep, and anti-shift tips.