
Replacing patio pavers is a project most homeowners can handle over a weekend or two, depending on the size of the area. You remove the old pavers, inspect and rebuild the base if it has failed, re-screed a 1-inch layer of bedding sand, relay the pavers in your chosen pattern, compact them, and lock everything together with polymeric jointing sand. The work is physical but not complicated, and doing it yourself saves a significant chunk of labor cost compared to hiring a crew. This guide walks you through every stage, from deciding whether you even need a full replacement, to the final pass with the plate compactor. For detailed step-by-step instructions on restoration, see our guide on how to restore a paver patio.
How to Replace Patio Pavers: Step-by-Step DIY Guide

Felix Rowe
22 Jul 2026
Who this guide is for and what you'll achieve
This article is written for homeowners who have a sand-set interlocking paver patio that has seen better days, sunken sections, cracked or stained pavers, persistent weeds pushing through joints, or a base that has simply shifted over time. It covers full replacement as well as the targeted repair scenarios that are really just a partial replacement (resetting a section, relaying a sunken area, or restoring an aged surface). By the end, you'll know how to assess your specific situation, gather the right materials, work safely, and complete the job to a professional standard without needing a contractor.
Repair in place or full replacement? A quick decision guide
Before you rent a plate compactor and order a pallet of pavers, it is worth spending 20 minutes figuring out how much work you actually need to do. Not every problem requires tearing everything out, but some problems absolutely do, and starting with a repair when the base has failed just means doing the job twice.
Choose repair in place (reset or relay a section) when: fewer than 20% of pavers are affected, the sunken or cracked pavers are isolated to one zone, the surrounding pavers are solid and level, and when you lift a few pavers you find the compacted aggregate base is intact with no soft spots or standing water underneath.
Go with full replacement when: wide-spread settlement across most of the patio, visible base failure (soft, muddy, or completely washed-out aggregate), water pooling on the surface or draining toward the house, major pattern damage that cannot be matched with available pavers, or you want to change the layout entirely. Relaying or resetting a sunken section is a closely related task covered in detail in companion guides on this site, the substrate assessment section below will help you diagnose which path is yours. See our companion guide on how to relay patio pavers for step-by-step instructions on resetting sections and relaying patterns. For step-by-step instructions on how to fix patio pavers yourself, see our detailed guide on how to fix patio pavers.
| Symptom | Likely cause | Recommended action |
|---|---|---|
| 1–4 sunken pavers in one spot | Sand migration or void under base | Reset those pavers, add compacted base material if needed |
| Rocking pavers with no settlement | Bedding sand washed out laterally | Relay affected section, re-screed sand |
| Cracks in 10–20% of pavers | Impact damage or freeze-thaw | Replace individual cracked units |
| Wide-spread settlement across patio | Base failure or subgrade erosion | Full replacement |
| Water draining toward house | Incorrect slope or base washout | Full replacement with corrected drainage slope |
| Weed growth through joints only | Jointing sand degraded | Re-sand with polymeric sand, no removal needed |
| Staining or faded color | UV exposure and dirt accumulation | Clean and seal — no removal needed |
Tools and materials checklist
Hand tools
- Pry bar (flat bar) — 18 to 24 inches, for lifting individual pavers
- Rubber mallet — for tapping pavers into position
- Screed rails and screed board (aluminum or 1-inch pipe works well)
- Long level — at least 4 feet, ideally 6 feet
- Tape measure
- Broom — stiff-bristle for joint sand, soft-bristle for final sweep
- Garden hose with spray nozzle (for activating polymeric sand)
- Wheelbarrow and shovel
- Knee pads — essential, not optional
Power tools
- Plate compactor (rent one — typically $60–$100/day) for compacting base and setting pavers
- Angle grinder or circular saw fitted with a dry-cut diamond blade — for cutting pavers to fit edges
- Wet-cut paver saw (rental ~$80–$120/day) — cleaner cuts, especially for curves or intricate patterns
- Reciprocating saw with demolition blade — useful for cutting edge restraints
Safety gear
- Safety glasses or goggles — mandatory when cutting or prying
- Hearing protection — plate compactors and power saws are loud
- Dust mask (N95 minimum) or respirator — cutting concrete pavers produces silica dust
- Work gloves — cut-resistant gloves when handling pavers, grip gloves for general work
- Steel-toed boots
- High-visibility vest if working near a road or driveway
Materials
- Replacement pavers (matching type and thickness — see quantity table below)
- Compactable aggregate base (crushed stone, typically 3/4-inch minus or road base)
- Bedding sand conforming to ASTM C33 gradation (coarse concrete sand)
- Polymeric jointing sand — check manufacturer's TDS for your joint width
- Plastic or metal edge restraints with spikes
- Landscape fabric (optional, for weed suppression below base)
- Geotextile filter fabric if installing drainage
Material quantity reference table
These are estimates based on standard sand-set installation guidelines from ICPI and Belgard. Always add 5–10% waste factor to paver quantities and 10% overage to base material to account for grading. Depths shown are for pedestrian residential patios, driveways need a 6-inch minimum base.
| Material | Standard depth/thickness | Coverage per ton or bag | Estimate for 100 sq ft | Estimate for 300 sq ft |
|---|---|---|---|---|
| Compacted aggregate base (3/4-inch minus crushed stone) | 4 inches compacted (ICPI pedestrian minimum) | ~1 ton covers ~65 sq ft at 4 in depth | ~1.5–2 tons | ~4.5–5 tons |
| ASTM C33 bedding sand | 1 inch screeded and compacted | ~1 ton covers ~150 sq ft at 1 in depth | ~0.7 tons | ~2 tons |
| Concrete pavers (standard 60mm/2.375-inch) | Single layer | ~4.5 pavers per sq ft (varies by size) | ~450–500 pavers + 10% waste | ~1,350–1,500 + waste |
| Polymeric jointing sand | Joint width 1/8 to 3/8 inch | 50-lb bag covers ~40–60 sq ft | ~2 bags | ~5–7 bags |
| Plastic edge restraint | Standard 8-ft sections | 8 linear feet per section | Measure perimeter + 10% | Measure perimeter + 10% |
| Edge restraint spikes | 12-inch galvanized | 1 spike per 12 inches of restraint | Measure perimeter ÷ 1 ft | Measure perimeter ÷ 1 ft |
Safety notes and site prep before you touch a single paver
Call 811 (the national dig-safe hotline in the US) at least three business days before you start digging or pulling base material. Underground utilities, gas, water, electric, and irrigation lines, run at surprisingly shallow depths and a pry bar can reach them. The call is free and the service will mark your yard. Do not skip this step.
Silica dust is a real hazard. Cutting concrete pavers with a dry-cut diamond blade generates respirable crystalline silica, which causes permanent lung damage with repeated exposure. Always wear at least an N95 mask, ideally a half-face respirator with P100 filters. If you're doing a lot of cutting, wet-cut methods (a paver wet saw with water supply) dramatically reduce airborne dust and give cleaner edges anyway.
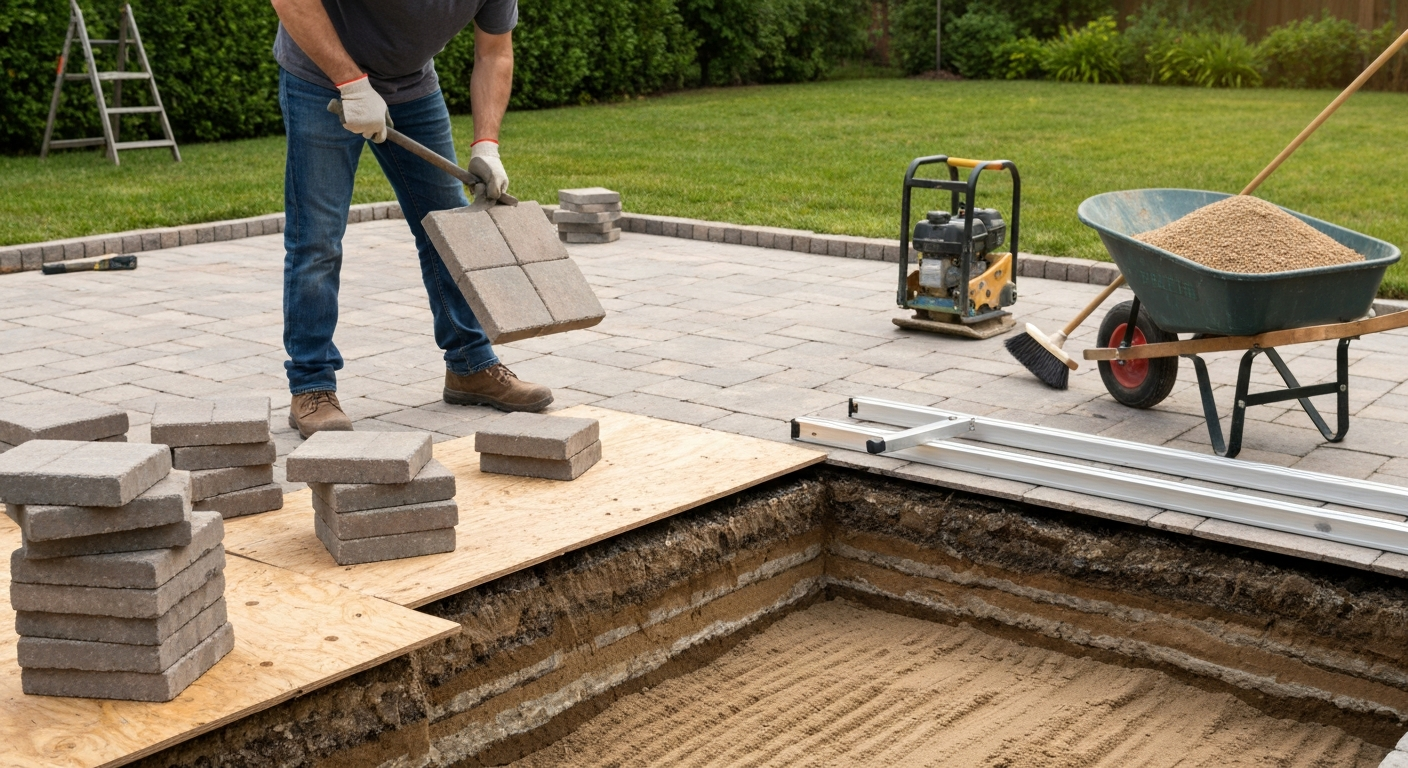
Protect surrounding landscaping before you start. Lay plywood sheets over lawn areas where you'll be staging base material and rolling a loaded wheelbarrow, this prevents ruts and compaction damage to turf root zones. Cover nearby garden beds with plastic sheeting to keep them free of aggregate dust and sand. For tips on restoring color and removing stains, see our guide on how to brighten patio pavers.
- Call 811 before digging — minimum 3 days in advance
- Wear PPE: safety glasses, N95 or respirator, hearing protection, gloves, and steel-toed boots every time you cut pavers
- Stage materials on plywood to protect lawn and landscaping
- Check local code for required drainage slope — many jurisdictions reference IRC R401.3, which typically requires the grade to drain away from structures; a 2% slope (about 1/4 inch per foot) is the practical target
- Have a first aid kit on site — paver edges are sharp and scrapes are common
- Work with a partner when moving pallets or heavy pavers — a single 4x8-inch paver weighs 8–10 lbs and repetitive handling adds up fast
Realistic time and cost estimates by project size
These ranges assume a DIY homeowner with one helper, standard sand-set installation, and no major drainage problems requiring French drain work. Time includes removal, base work, laying, compacting, and sanding, not drying/curing time for polymeric sand. Material costs are based on mid-2026 US averages and will vary by region and material choice.
| Project size | Approximate area | DIY time estimate | Material cost estimate | Tool rental cost estimate | Pro labor comparison |
|---|---|---|---|---|---|
| Small | Up to 100 sq ft (e.g., small stoop or section) | 1–2 days (1–2 people) | $300–$700 | $80–$150 | $600–$1,500 labor only |
| Medium | 100–300 sq ft (typical backyard patio) | 2–4 days (2 people) | $700–$2,000 | $150–$300 | $1,500–$4,500 labor only |
| Large | 300–600 sq ft (large patio or multi-zone) | 4–7 days (2 people) | $2,000–$4,500 | $300–$500 | $4,500–$10,000+ labor only |
These numbers assume you are reusing existing pavers where possible. If you need to purchase all new pavers, add $2–$8 per square foot depending on the paver style. An experienced three-to-four person professional crew can reinstate roughly 500 to 1,500 square feet of pavers per day under favorable conditions, that productivity benchmark, drawn from ICPI reinstatement guidance, explains why pro quotes can seem high but are often reasonable for large areas.
When to call a pro instead of DIY-ing it
Most patio paver replacements are well within DIY reach. Call a professional when you find: large underground voids or severely eroded subgrade that require engineered fill, drainage problems that need a French drain system or regrading beyond the patio footprint, any work within two feet of a structural foundation, or a project over 600 square feet where the physical and logistical demands exceed what a two-person team can manage safely. If your inspection reveals soft, saturated soil that does not firm up after a few dry days, a soil or drainage professional should assess it before you lay a new base.
Removing the old pavers
Removal is the most physically demanding phase. The approach you take depends on whether you are saving pavers for reuse (careful lift) or clearing the entire area (demolition mode). If you plan to relay or reset the same pavers, which saves significant money, photograph the pattern before you touch anything. Pavers in a herringbone or complex fan pattern are surprisingly hard to reconstruct from memory. For step-by-step techniques on lifting, cleaning, and relaying existing units, see our detailed guide on how to redo patio pavers.
Careful lift method (for reuse)
- Find the starting point: locate a corner or an edge where edge restraint spikes are accessible, or find a paver that already has a loose or lifted edge — this is your entry point.
- Remove edge restraints first: pull the spikes with a pry bar or hammer claw, then pop the plastic restraint sections free. This releases the border pavers.
- Insert a flat pry bar under the first paver at the edge and lever it up gently. Avoid slamming or twisting — the goal is to get enough lift to grip the paver with both hands.
- Once the first paver is out, you have room to maneuver. Subsequent pavers come out much easier because you can slide the pry bar into the joint from above.
- Stack salvaged pavers on pallets or plywood sheets in groups of 10–12. Don't stack more than two layers high — they're heavy and stacks tip.
- Mark any cracked or chipped pavers with chalk so you know they need replacement before relaying.
- Work in rows from the open edge inward, not from the center outward — pulling from the center risks cracking pavers as you lever against the surrounding locked units.
Demolition mode (full replacement, new pavers)
If you are not reusing pavers, speed up removal with a reciprocating saw to cut through polymeric sand joints where necessary, and use a larger pry bar or a dedicated paver puller tool (a T-bar lifter designed to grip under a paver edge) to flip pavers quickly. Rent a debris dumpster, a 10-yard roll-off handles about 200 to 300 square feet of pavers and base material comfortably. Broken concrete pavers are heavy: a typical 4x8-inch paver weighs about 8 to 10 pounds and a 100-square-foot patio holds roughly 450 of them, so plan your disposal accordingly.
Salvage tips
- Keep matching pavers from the same production batch — color and texture can vary between batches from the same manufacturer
- Store salvaged pavers flat, not on edge; stacking on edge leads to chips
- Polymeric sand residue on paver edges is normal — it brushes off after soaking; don't try to chip it off dry
- If fewer than 10% of pavers are cracked during removal, that's a normal attrition rate; order replacements before starting the project
- Old pavers that are structurally sound but stained can be restored with cleaning and sealing after relay — see the companion guide on how to restore a paver patio for cleaning protocols
Assessing what's underneath: your substrate determines everything next
Once the pavers are off, you are looking at the bedding sand layer (or whatever remains of it). Scoop it aside in one area with a flat shovel and examine the compacted aggregate base below. What you find here determines how much base work you face, and skipping this inspection is the single most common reason a paved patio fails again within a few years.
Condition 1: intact compacted aggregate base
The base looks like tightly packed crushed stone, it does not yield when you press your boot heel into it firmly, and there are no soft spots or dark wet areas. This is the best-case scenario. Scrape off the old bedding sand completely (do not leave it in place and screed over it, mixed sand layers compact unevenly), lightly re-compact the exposed base surface with the plate compactor, and proceed directly to screeding fresh bedding sand. You do not need to add base depth unless it measures less than 4 inches.
Condition 2: degraded or thin aggregate base
The base is less than 4 inches deep, has soft patches, or consists of sand and soil mixed together rather than crushed aggregate. This is partial base failure and the most common finding in older patios. Excavate the soft or thin zones, add new compacted aggregate base material in lifts of no more than 4 inches at a time, and compact each lift with the plate compactor. The ICPI pedestrian patio standard calls for a minimum 4-inch compacted aggregate base, Belgard's technical resource guide often shows 6 inches as a more conservative target for residential use, and 6 inches is the smart choice if your soil is clay-heavy or if you have any drainage concerns.
Condition 3: soil or no base at all (common in older or DIY-built patios)
The pavers were laid directly on compacted soil or with only an inch or two of sand. Excavate to a total depth that allows for your base depth plus 1 inch of bedding sand plus the paver thickness, with the finished surface at the correct elevation. For most 60mm (2.375-inch) concrete pavers, that means excavating to roughly 7 to 8 inches below finished grade to accommodate a 4-inch base, 1-inch bedding sand, and the paver itself. The subgrade (native soil at the bottom of the excavation) should be compacted to at least 95% of Standard Proctor density (ASTM D698), in practical terms, stomp it, roll the plate compactor over it, and it should feel firm and unyielding before you add base material. If it is soft and wet, let it dry out over several days before proceeding; laying base on saturated subgrade is a guaranteed repeat failure.
Condition 4: existing concrete slab
Some patios have pavers set over a concrete slab, either mortar-set or sand-set as an overlay. If the concrete is structurally sound, no major cracks, no hollow spots when you tap it, no heaving, you can relay pavers over it using a sand-set overlay method. The slab must slope at least 2% away from the house (about 1/4 inch per foot) and you need to account for drainage at the edges so water does not pond between the pavers and the slab. Manufacturers like Techo-Bloc and Belgard publish specific overlay guides for this scenario, and it is worth reviewing those before proceeding. blank" rel="noopener noreferrer">Techo‑Bloc Overlay Installation Guide (overlay of existing concrete) provides step‑by‑step methods for sand‑set, mortar‑set, and bituminous overlay systems and specifies the requirement for sound concrete plus surface preparation and drainage controls. If the slab is cracked, heaving, or hollow in sections, those sections need to be broken out and replaced, you cannot hide a failing slab under pavers.
Drainage: fix it now or deal with it forever
While the pavers are off, verify your drainage slope. The finished paver surface needs to pitch away from any structure at a minimum of 1.5 to 2%, that is 3/16 to 1/4 inch of drop per foot. Belgard, Installation guidance (slope and drainage recommendations) recommends minimum slopes of about 1.5–2% away from buildings and advises using positive collection (for example trench or French drains) where concentrated groundwater or weak subgrades exist rather than relying on surface sheet flow alone Belgard — Installation guidance (slope and drainage recommendations). If the area has been collecting water or you notice persistent wet soil that does not dry out in a few days after rain, plan for a French drain. A typical residential French drain uses a 4-inch perforated pipe wrapped in filter fabric, set in a gravel-filled trench at least 8 to 12 inches deep, sloped at a minimum of 1% toward a daylight outlet or dry well. Install the drain before you rebuild your base, doing it afterward means tearing out everything again.
FAQ
What authoritative industry standards and technical specs must I reference to produce an accurate DIY guide for replacing patio pavers?
Cite ICPI installation guidance and tech specs (base depths, lift compaction, PICP details, reinstatement/productivity notes). Cite ASTM standards used in paver work — at minimum ASTM D698 (compaction/Standard Proctor) and ASTM C33 (bedding sand gradation); cite ASTM C936 for concrete paver manufacturing/performance. Include manufacturer technical guides (Belgard, Techo‑Bloc or similar) for bedding, base depths, tolerances, edge restraints, and overlay systems.
Which measurable installation parameters should be verified and quoted (with source) in the article?
Compacted base depth by use-case (pedestrian patio typically 4 in compacted aggregate; residential patios often 4–6 in; refer to ICPI and manufacturer guidance). Bedding sand thickness: 1 in (screeded, ASTM C33). Compaction targets: subgrade and base density ≥95% to 98% of Standard Proctor (ASTM D698) as specified for residential work. Surface tolerance: ±3/8 in over 10 ft (manufacturer tech guides). Minimum slope to drain: ~1.5–2% away from structures (manufacturer/ICPI guidance). These numbers must be footnoted to ICPI, ASTM, and manufacturer documents.
What product‑specific documents are necessary to give correct material selection and installation windows?
Manufacturer Technical Resource Guides and Installation Guides (Belgard, Techo‑Bloc, etc.) for bedding/base recommendations and edge restraints. Polymeric joint sand Technical Data Sheets (Techniseal, Quikrete, Polybind) for application, weather windows, allowable joint widths and curing. Manufacturer overlay systems documentation if advising paver overlays on concrete. Use the product TDS/SDS for correct safety and handling instructions.
What drainage, grading and local code information must the article cover and where to verify it?
Quote recommended minimum slope away from structures (≥1.5–2%) from ICPI/manufacturer guides. Explain when to install a trench/French drain and provide design basics (4" perforated pipe, gravel envelope, trench depth and slope guidance) with sources such as NDS and ICPI. Advise readers to check local building codes and IRC R401.3 (and municipal code examples) for enforceable grading/drainage requirements; link to local authority having jurisdiction for final compliance.
What measurable troubleshooting and repair thresholds should be included (when to repair in place vs fully replace)?
List clear inspection thresholds: localized sunken pavers with intact base → reset/relay; pervasive base failure (potholes, soft subgrade across large area, or standing water after compacted base) → remove and rebuild base. If bedding sand contamination or >1/4" unevenness after relaying → replace bedding and recompact base. Cite ICPI reinstatement guidance and productivity notes for reasoning and acceptable practices.
What realistic productivity, time and cost estimates should I provide and what sources back them up?
Provide a productivity range: a 3–4 person crew can reinstate 500–1,500 ft² per day depending on conditions (ICPI Tech Spec/reinstatement notes). Give homeowner DIY benchmarks: a single experienced DIYer might remove, rebed, and relay ~50–150 ft²/day depending on tools and site. For costs, provide material unit prices ranges and labor-hour assumptions and instruct readers to check current local supplier prices; reference ICPI/industry guidance for labor productivity and RemodelCalculators/industry pricing calculators for unit cost approximations.
Next Articles
How to Brighten Patio Pavers: Step-by-Step DIY Guide
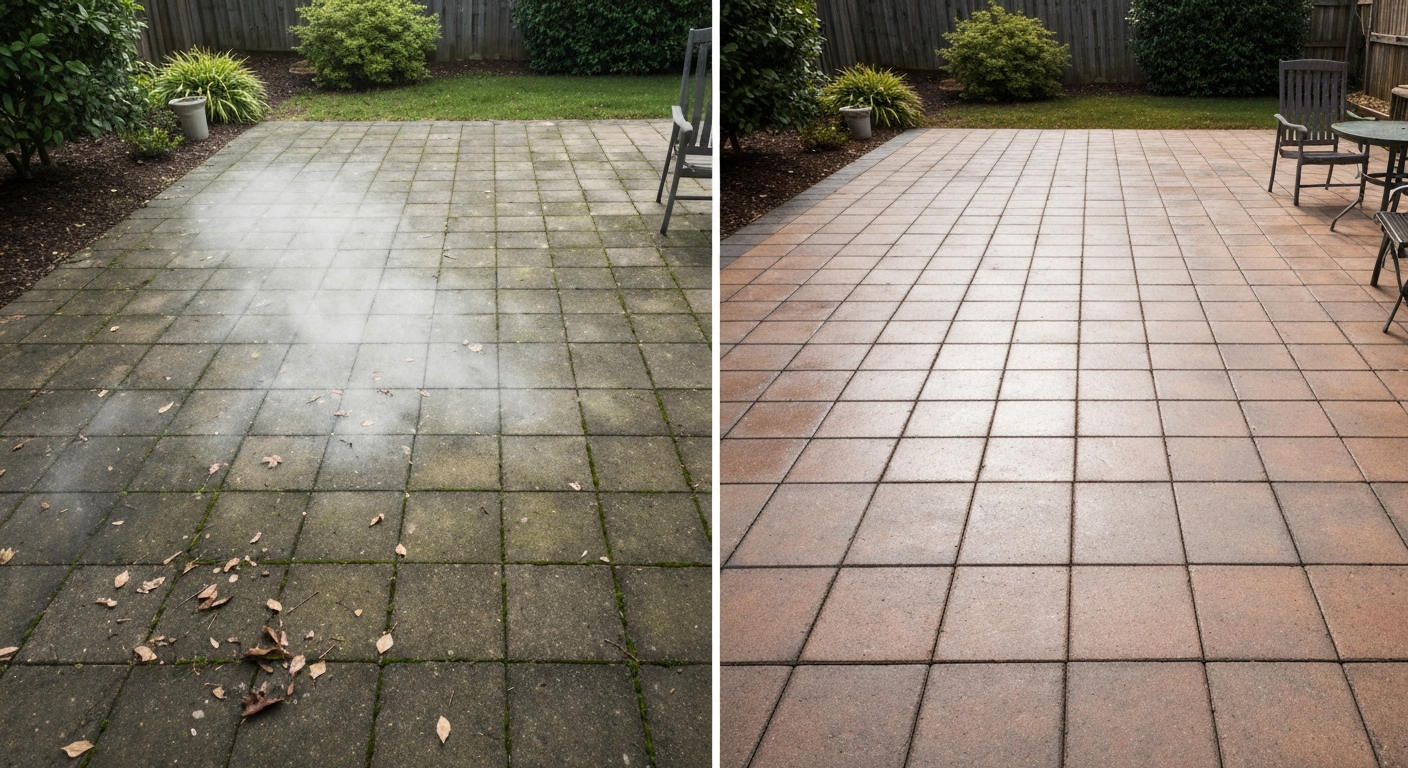
How to brighten patio pavers: a step-by-step DIY for cleaning, repairs, resealing, and ongoing maintenance.
How to Restore a Paver Patio: DIY Steps, Repair vs Replace
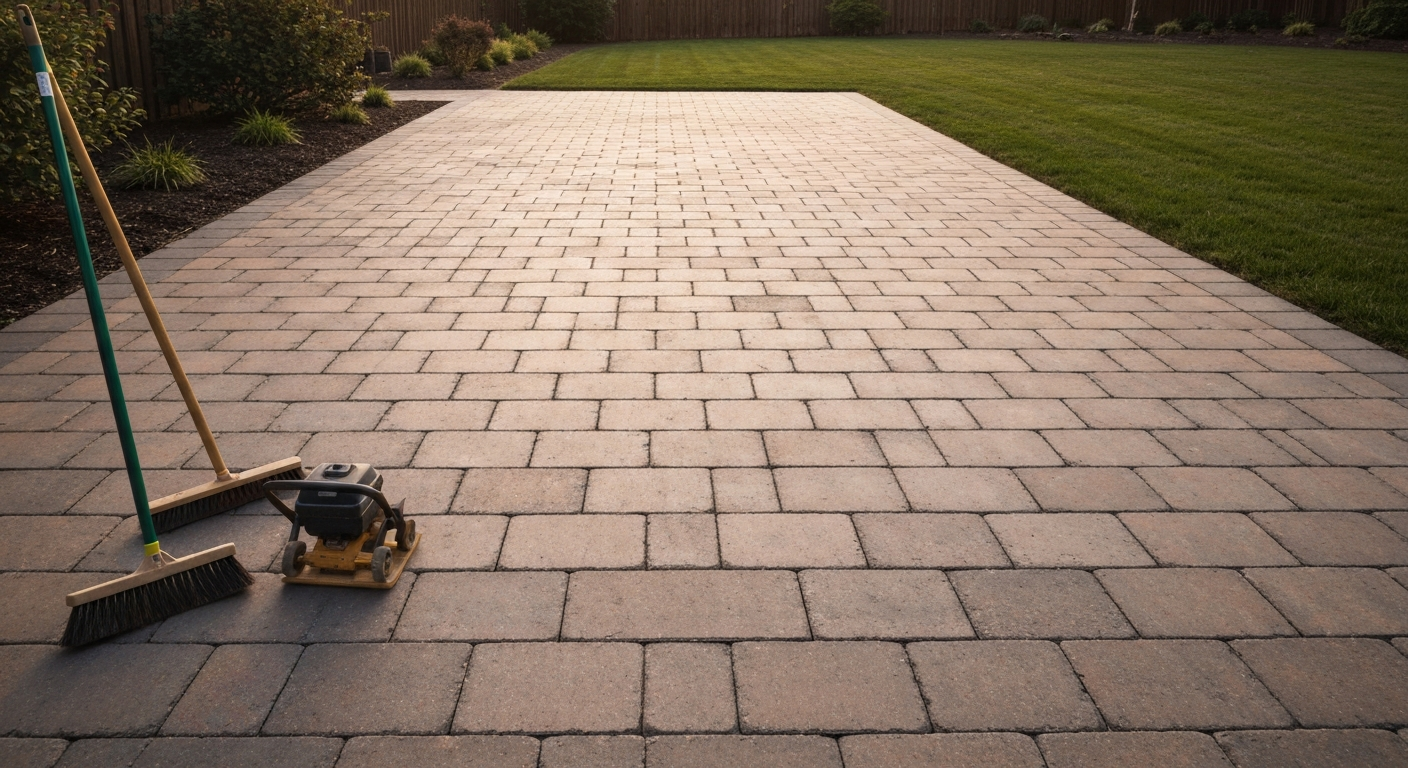
How to restore a paver patio: clear step‑by‑step cleaning, reset, relay or replace pavers, tools, costs and decision aid
How to Space Patio Pavers: Joint Widths & Finishing Tips
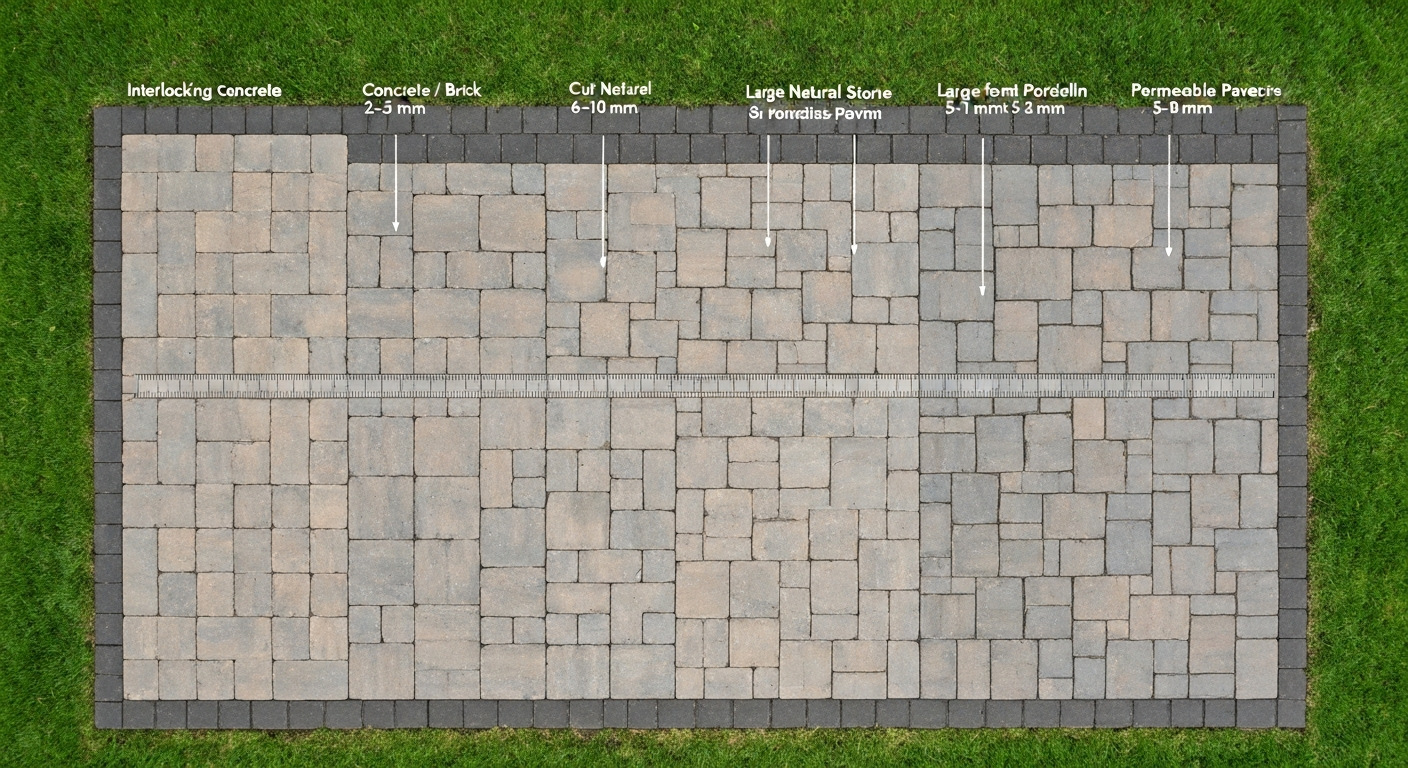
How to space patio pavers: exact joint widths by paver type, step‑by‑step spacing, jointing & finishing tips.