
YouTube is genuinely one of the best places to learn how to install a paver patio, because watching someone screed sand, cut a paver, or set edge restraints is worth more than a thousand words of text. The key is knowing which videos to trust, how to watch them so they actually translate to your backyard, and how to pair them with solid written steps so nothing falls through the cracks. This guide does exactly that: it helps you find and use the best video walkthroughs, gives you a complete tools and materials checklist, walks you through every phase of installation in sequence, covers special scenarios like sloped ground or laying over concrete, and sets realistic expectations about time and skill before you move a single shovel.
How to Install a Paver Patio YouTube Guide: Step-by-Step

Felix Rowe
20 Jul 2026
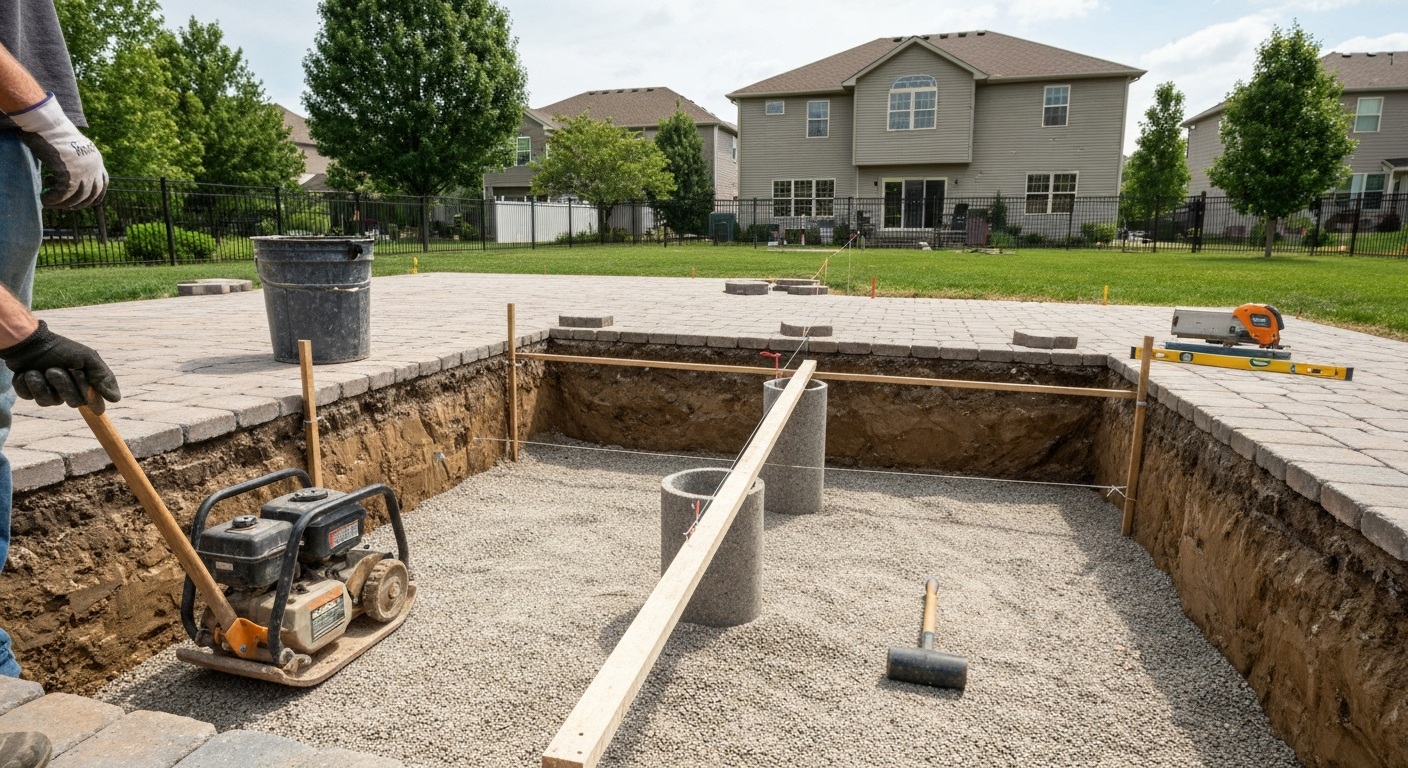
How to Choose a Good YouTube Tutorial
Not every paver patio video on YouTube is worth your time, and some will actually steer you wrong on details that matter, like base depth, slope, or edge restraints. Here is what to look for before you commit to following a video start to finish.
Green flags: signs a video is worth trusting
- The creator shows a real project from start to finish, not just highlight clips. You want to see the excavation, base compaction, screeding, and jointing, not just the glamour shots.
- They specify base depth. A trustworthy video will call out at least 4 inches of compacted gravel for a pedestrian patio (6 inches is better for most residential projects). Vague guidance like 'a few inches of gravel' is a red flag.
- They use and name a plate compactor at the base and again after laying pavers. Hand-tamping a base is not adequate for long-term results.
- They install edge restraints before the bedding sand goes down and explicitly explain why. Without edge restraints, sand-set pavers will spread and sink at the edges.
- They show a 1 inch bedding sand layer screeded smooth, not dumped and roughly leveled.
- The slope is mentioned. A minimum drop of about 1 inch per 8 feet away from the house is the practical homeowner benchmark; ICPI technical standards reference a 1.5% minimum slope for pedestrian pavements.
- The channel has a track record: construction or landscaping professionals, established DIY channels with hundreds of thousands of views on similar projects, or official retailer/manufacturer content.
- Comments are open and the creator responds to real questions about problems that came up.
Red flags: videos to skip or watch with caution
- No plate compactor used anywhere in the process.
- Pavers laid directly on dirt or a thin sand layer with no gravel base.
- No mention of slope or drainage.
- Edge restraints skipped or described as optional.
- The patio is finished in a single afternoon with no explanation of how the base was already prepared off-camera.
- The creator is selling a specific product in every step and the advice conveniently requires that product.
- No cutting shown at all, meaning the layout was deliberately kept simple and your real-world project edges will be left as a mystery.
Retailer and Branded Video Resources Worth Knowing
The major retailers and a few premium DIY brands produce some of the most watched paver patio videos online, and most of them are genuinely solid starting points. Here is an honest breakdown of what each one offers and where they fall short.
| Resource | Strengths | Limitations | Best Used For |
|---|---|---|---|
| Home Depot (videos.homedepot.com) | Clean step-by-step format, consistent product specs (4-6 in. base, 1 in. sand, 1 in./8 ft slope), matches products sold in-store | Simplified for beginners; skips some technical detail on compaction and drainage | First-time overview; pairing tool/material lists with in-store shopping |
| Lowe's How-To Videos | Good production quality, covers layout through jointing, PDF companion guide available | Tends toward smaller/simpler projects; porcelain and special scenarios are not covered | Confirming basic steps; understanding edge restraint and jointing products |
| This Old House (YouTube) | Deep technical knowledge, licensed contractors on camera, covers base preparation and drainage in detail | Projects can be higher-budget than typical DIY; some steps assume more skill | Understanding the why behind each step; more complex or large-format projects |
| Belgard (manufacturer) | Product-specific installation PDFs, porcelain and concrete paver differences explained, sealing guidance included | Naturally promotes Belgard products; some guidance assumes professional tools | Paver-specific installation details; porcelain cutting and setting methods |
| Unilock (manufacturer) | Complete step sequence in downloadable PDF, maps well to video timestamps, contractor-level depth | Can feel technical for first-timers | Mapping a video walkthrough to a written checklist; understanding base lift compaction |
Home Depot and Lowe's videos are the most practical starting point for a standard residential patio. This Old House is worth watching if your project involves drainage challenges, heavy use, or a raised design. For a detailed step-by-step video on challenging drainage and raised designs, see This Old House's patio installation walkthrough. Manufacturer channels from Belgard and Unilock fill in the product-specific details those retailer videos leave out. Using two or three sources together gives you the most complete picture.
Recommended YouTube Walkthroughs to Start With
Rather than searching blind, these are the types of channels and videos that consistently deliver accurate, complete guidance for DIY homeowners. Search for these specifically: Try searching specifically for how to make a paver patio video to surface step-by-step walkthroughs that match the tasks outlined here.
- Home Depot's 'How to Install Patio Pavers' (search 'Home Depot paver patio installation' on YouTube): a structured retailer video that covers layout through jointing with consistent specs. Good first watch.
- Lowe's 'How to Design and Build a Paver Patio': pairs well with their written guide and covers layout, base, bedding, edge restraints, and jointing in one sitting.
- This Old House 'How to Build a Paver Patio': stronger on base preparation, drainage slope, and the reasoning behind each step. Especially useful if you have clay soil or a site with water issues.
- Unilock's installation video series on their YouTube channel: manufacturer-produced, precise on bedding sand depth, compaction lift heights (3-inch lifts), and joint sand application.
- A reputable independent DIY channel with 500K+ subscribers showing a full weekend project: search 'paver patio full installation DIY' and filter by view count. Look for videos over 20 minutes long that show every phase.
If you want to explore the related angle of store-specific project guides alongside video content, the Home Depot and Lowe's how-to resources are covered in more depth in companion articles on this site covering those specific retailer guides. See the Lowe's how to paver patio guide for step-by-step retailer-specific instructions and tools recommendations. For Lowe's-specific step-by-step instructions, see our how to install patio pavers Lowes guide for retailer-tailored tips and videos. For a Home Depot–specific walkthrough and recommended products, see our how to install patio pavers Home Depot guide on this site. For a step-by-step retailer-specific walkthrough, see our guide on how to build a paver patio Home Depot.
How to Watch Video Tutorials So They Actually Help
Most people watch a paver video once, feel confident, then get outside and realize they forgot half of it. The problem is not the video; it is how you watched it. Here is a system that works.
- Watch the full video once without stopping. Get the big picture before you fixate on details. Note roughly how long each phase takes on camera.
- Watch it a second time with a notepad. Write down every measurement mentioned: base depth, sand depth, slope, paver thickness, spacing. These are the numbers that matter.
- Pause at every tool the creator picks up. Write down the tool name and the specific step it is used for. If you do not own it, add it to your rental or purchase list.
- Screenshot or note the timestamps for each phase (excavation, base, screeding, laying, cutting, compaction, jointing). When you are mid-project and confused, you can jump straight to that part of the video instead of rewatching everything.
- Compare your site to the video. Is your ground level or sloped? Are you starting on grass or concrete? If the video does not match your scenario, find a second video that does.
- Watch the cutting and edging section at least twice. This is where most DIYers lose time on the actual day.
- On install day, keep the video accessible on a phone or tablet in a zip-lock bag or case. Pause and rewatch every time you move to a new phase.
Planning and Layout Before You Buy a Single Paver
The planning phase is where most patio mistakes get made or avoided, and it is the part videos tend to rush through. Take it seriously.
Measurements and paver selection
Measure your patio area and add 5-10% to your paver order for cuts and breakage. Standard concrete pavers for residential pedestrian patios should be at least 60 mm thick (approximately 2 3/8 inches) per ICPI guidance. For anything that will see vehicle traffic, 80 mm (about 3 1/8 inches) is the minimum. Thinner decorative pavers are not a substitute. Belgard, Unilock, and other manufacturers publish specific paver thickness requirements in their installation PDFs, so download the guide for whichever product you buy.
Slope and drainage
Your finished patio surface must slope away from your house. The practical homeowner standard is 1 inch of drop for every 8 feet of patio (roughly 1%). ICPI Tech Spec 2 recommends a minimum 1.5% slope for pedestrian interlocking pavements in most installations. Use the more conservative 1.5% (about 1.8 inches per 10 feet) if you have heavy rainfall, clay soil, or a patio that wraps around a low corner of the house. Mark your slope before excavation by driving stakes and running string lines with a line level so you are building drainage in from the start, not trying to fix it at the end.
Permits
Most municipalities do not require a permit for a ground-level paver patio under a certain square footage, but rules vary significantly. Check with your local building department before you start. Raised patios, patios attached to the house structure, or any project involving drainage alterations are more likely to need a permit. Call 811 (in the US) to have underground utilities marked before you excavate anything.
Matching your paver choice to the videos you watch
If you are buying Belgard or Unilock pavers, prioritize those manufacturers' own videos and installation PDFs, because joint spacing, edge restraint systems, and polymeric sand recommendations can vary by product. Porcelain pavers in particular require different cutting tools (a wet-saw tile blade rather than a standard diamond blade) and different setting methods than concrete pavers, as Belgard's porcelain installation guide makes clear. Do not follow a concrete paver video for a porcelain installation and expect the same result.
Tools and Materials Checklist
This checklist is organized by task phase so you can check off what you have before each stage rather than hunting for a missing tool mid-project.
| Phase | Tools | Materials |
|---|---|---|
| Layout | Tape measure, string line, stakes, line level or laser level, spray paint or marking chalk | None (planning phase) |
| Excavation | Flat spade, square spade, wheelbarrow, sod cutter (rental for large areas) | Dumpster or haul-away bags for removed soil/sod |
| Base preparation | Plate compactor (rental), hand tamper for tight edges, long level or screed board, rubber mallet | Compactable gravel aggregate (Class II or crushed stone), geotextile landscape fabric (for weak/saturated soils) |
| Bedding sand | 2 x screed pipes or conduit (1 in. diameter), screed board (straight 2x4), level | ASTM C33 coarse concrete sand (1 in. depth after screeding) |
| Laying pavers | Rubber mallet, string line and chalk line, kneeling pad or plywood to kneel on | Pavers (add 5-10% for cuts), paver spacers if needed per manufacturer spec |
| Cutting | Wet saw with diamond blade or angle grinder with segmented diamond blade; ear protection, safety glasses, dust mask, gloves | Spare pavers for practice cuts; water supply for wet saw |
| Edge restraints | Mallet, drill or spike driver | Plastic or aluminum paver edge restraints rated for your paver weight, 12-in. galvanized spikes (1 per foot minimum) |
| Compaction | Plate compactor with rubber pad attachment (mandatory: bare plate will chip pavers) | None |
| Jointing | Leaf blower, broom, garden hose or watering can with gentle rose head | Polymeric jointing sand (follow manufacturer's square-footage coverage rate) |
| Finishing/sealing | Low-pressure sprayer or roller, stiff brush for cleaning | Paver sealer (wet-look or natural finish per preference), paver cleaner/degreaser |
Rent the plate compactor. Buying one for a single project is rarely worth it, and rental yards stock the right size for residential work. Budget about 1 to 2 full days of rental time: one for base compaction and one for post-lay compaction and jointing.
Step-by-Step Installation: What the Videos Show (and Why Each Step Matters)
Phase 1: Mark the area and excavate
Use string lines and stakes to mark the patio perimeter, including your drainage slope. For a standard pedestrian patio, dig down 7 to 8 inches below your desired finished paver surface: 4 to 6 inches for compacted base, 1 inch for bedding sand, and the thickness of your paver (typically 2 3/8 inches for a 60 mm unit). Round up slightly rather than down. Remove all sod, roots, and organic material. Soft or saturated soil should be over-excavated and replaced with compactable aggregate. If your native soil is weak clay or prone to frost heave, lay geotextile fabric in the bottom of the excavation before adding base material, lapping the edges 12 inches up the sides.
Phase 2: Build and compact the aggregate base
Add compactable gravel in lifts no deeper than 3 inches, compacting each lift with a plate compactor before adding the next. For a pedestrian residential patio, 4 inches compacted is the minimum; 6 inches is safer and is what most professional installations use. The compaction target is 95% Standard Proctor density (ASTM D698). You cannot check this with a hand test; proper compaction is why you do not skip the plate compactor. After all lifts are compacted, the top of the base should be flat and within 3/8 inch over any 10-foot span. Use a long level or straightedge to verify this before moving on.
Phase 3: Install edge restraints
Edge restraints go in before you screed your bedding sand, not after. This is one of the most common sequencing mistakes shown in lower-quality videos. Plastic or aluminum paver edging is secured with 12-inch galvanized spikes driven into the compacted base at least every 12 inches (every 6 inches on curves). Without edge restraints, a sand-set patio will slowly spread outward at the edges over years of use, causing uneven surfaces and sunken sections. ICPI Tech Spec 3 is explicit: edge restraints are not optional for sand-set interlocking paver installations. CMHA/ICPI guidance lists Tech Spec 2 (construction), Tech Spec 3 (edge restraints), Tech Spec 4 (structural design) and other ICPI technical bulletins as the authoritative standard references for paver installations in the U.S./Canada construction industry See the CMHA guide spec (references ICPI Tech Spec 2, 3, 4 etc.) for ICPI Tech Spec 3 and related authoritative installation standards..
Phase 4: Screed the bedding sand
Lay two 1-inch-diameter screed pipes or conduit on the compacted base, parallel to each other and spaced about 6 feet apart. Pour ASTM C33 coarse concrete sand between and around them to roughly the right depth. Set a straight 2x4 across both pipes and drag it toward you to create a perfectly flat 1-inch sand layer. Lift the pipes out carefully and fill the channels with loose sand. Do not compact the sand and do not walk on it after screeding. The sand is a setting bed, not a structural layer; it conforms to the bottom of each paver to give full contact. Keep it dry: wet bedding sand during installation causes uneven settling.
Phase 5: Lay the pavers
Start from a straight, fixed edge (a wall, a step, or an established string line) and work outward. Set each paver down without sliding it; sliding drags sand up and creates high spots. Keep a consistent joint gap of about 1/16 to 1/8 inch between pavers (most manufacturers specify the exact joint width for their product). Use a rubber mallet to gently seat each unit. Check your string lines frequently: even a small consistent error compounds quickly. Do not step on laid pavers until you have filled in enough area to kneel on a piece of plywood spread across the surface.
Phase 6: Cut and fit edge pavers
Measure and mark each cut paver individually; do not assume all edge cuts are the same. A wet saw with a diamond blade gives the cleanest cuts and is the right tool for most concrete and natural stone pavers. An angle grinder with a segmented diamond blade works for occasional straight cuts in the field. Always wear safety glasses, ear protection, a dust mask (silica dust is a serious respiratory hazard), and gloves. Practice your first cut on a spare paver before cutting the real one. For porcelain pavers, use a tile-rated diamond blade and keep water running continuously.
Phase 7: Compact the laid surface
Once all pavers are laid and cut pieces are in place, make two to three passes with a plate compactor fitted with a rubber pad. The rubber pad is non-negotiable: a bare metal plate will chip and crack pavers on the first pass. Compaction seats the pavers fully into the bedding sand and brings the surface to a consistent plane. Make your passes in two perpendicular directions. After compaction, check for any high or low pavers with a level and address them now by lifting the paver and adding or removing a small amount of sand beneath it.
Phase 8: Fill joints with polymeric sand
Pour polymeric jointing sand over the compacted patio surface and sweep it into all joints with a stiff broom. Make multiple passes to fill the joints fully. Blow off any excess sand from paver faces with a leaf blower set to low. Then mist the surface with a gentle spray of water (a rose-head watering can or hose nozzle on mist setting) to activate the polymer binder. Follow the manufacturer's specific wetting instructions exactly; too little water leaves joints weak, too much washes the binder out. Let it cure for the recommended time (typically 24 hours minimum) before allowing foot traffic.
Phase 9: Seal (optional but recommended)
Sealing is not strictly required but it locks in joint sand, enhances color, and makes cleaning much easier. Wait at least 30 days after installation before sealing new pavers, to allow any efflorescence (white mineral haze) to work its way out. Clean the surface thoroughly first. Apply sealer with a low-pressure sprayer or roller on a dry day when temperatures are between 50 and 90 degrees Fahrenheit. Most residential paver sealers need reapplication every 3 to 5 years depending on traffic and UV exposure.
Special Scenarios: When Your Project Does Not Match a Standard Video
Installing over grass
You cannot simply lay pavers over sod. The grass and its root system will decompose unevenly, creating soft spots and settling. Remove all sod and the top layer of organic topsoil (typically 4 to 6 inches) down to native subgrade before building your base. If you are in a frost-prone area, your excavation depth increases further to account for frost depth. Videos that show quick installs on grass without full removal and base preparation will lead to a sunken, uneven patio within a season or two.
Installing over an existing concrete slab
Laying pavers over a sound concrete slab is a legitimate approach that can save significant excavation work. The concrete must be structurally sound (no major cracks or heaved sections) and have adequate drainage slope already built in. You lay pavers directly on a thin sand setting bed (or a mortar-set approach for a more permanent result). The challenge is that your finished patio will be 2 to 3 inches higher than before, which affects doorway thresholds, drainage edges, and transitions to other surfaces. Plan these details before you start.
Uneven or sloped ground
Moderate slopes can be accommodated by adjusting your base depth across the site so the top of the compacted aggregate is level (or at your intended drainage pitch) even though the native ground is not. Steeper slopes require terracing or a raised/retaining wall system. If the grade change across your patio site is more than 12 inches over its length, watch specifically for videos covering raised or terraced paver patios rather than trying to adapt a flat-grade tutorial.
Raised patios
Raised patios require retaining wall blocks or paver wall systems to contain the built-up base material. The wall must be designed to handle the lateral pressure of the fill behind it. For walls over 24 to 30 inches in height, consult a structural engineer or follow the manufacturer's engineered design (Belgard, Unilock, and similar brands publish wall design guides with specific footing and geogrid requirements). Do not improvise a tall retaining wall based on a simple flat-patio video.
Integrating a fire pit
A fire pit area on a paver patio needs a few specific accommodations. Use pavers that are rated for heat exposure near the fire ring; standard concrete pavers can crack or spall from intense heat if used directly as the fire ring surround. Plan the patio layout so the fire pit sits on the paver field but the actual fire ring (whether a pre-made metal insert or a block ring) is positioned for safety: a minimum 10 feet from any structure per most fire codes, and accessible from multiple sides. Mark the fire pit center point early in your layout so paver joints and patterns line up symmetrically around it.
Permeable paver installations
Permeable interlocking concrete pavers (PICP) manage stormwater by allowing rain to pass through open joints filled with crushed stone into an open-graded aggregate base. The installation method differs significantly from standard sand-set pavers: the base is an open-graded aggregate (not dense-graded compactable gravel), there is no bedding sand, and joint material is angular chip stone rather than polymeric sand. The EPA's permeable pavement guidance and ICPI's PICP-specific tech specs are the right references if you want to go this route. Standard paver patio videos do not apply to permeable installations.
Realistic Time, Crew, and Skill-Level Expectations
One of the most valuable things you can take from a good YouTube video is a realistic timeline. Here is how to think about the scope of your project honestly.
| Project Size | Typical Timeline | Minimum Crew | Power Tools Required | Skill Level |
|---|---|---|---|---|
| Under 100 sq ft (small accent patio) | 1 full day for experienced DIYer; 1.5 days for first-timer | 1-2 people | Plate compactor (rental), wet saw (rental) | Beginner-friendly with good video prep |
| 100-300 sq ft (standard patio) | 2-day weekend project | 2 people strongly recommended | Plate compactor, wet saw, possibly a sod cutter | Moderate; physically demanding |
| 300-600 sq ft (larger patio) | 3-4 days; plan for a long weekend plus a day | 2-3 people | Plate compactor, wet saw, wheelbarrow, possibly mini-excavator rental | Moderate to advanced; base volume is significant |
| 600+ sq ft or raised/complex | 5+ days; may span two weekends | 3+ people or professional help for base work | All above plus possibly laser level and larger compactor | Advanced; consider pro for base preparation at minimum |
The base preparation phase (excavation, base material delivery and spreading, compaction) is almost always the most physically demanding and time-consuming part of the job, and it is the part videos tend to compress most. Budget more time for it than you think you need. If you are tackling a project over 400 square feet alone, seriously consider hiring a crew for the excavation and base work, then doing the paver laying yourself. This hybrid approach saves money while protecting your back and your schedule.
You do not need to be an experienced contractor to install a beautiful paver patio. You do need patience, a willingness to check your work at every phase, and an honest assessment of your physical capacity for a project that involves moving thousands of pounds of material. Most first-time DIYers who end up with a patio they are proud of succeeded because they prepared carefully, watched good videos multiple times, and did not rush the base.
Common Mistakes and How to Fix Them
Inadequate base compaction
This is the number-one cause of paver patio failures. If your base was not compacted in 3-inch lifts with a plate compactor, the patio will settle unevenly over time, especially in wet winters or high-traffic areas. The fix after the fact is invasive: you have to lift pavers, re-excavate, and redo the base. Prevention is the only realistic solution.
Pavers rocking or high spots after laying
This usually means the bedding sand was not screeded flat, or the base has a high spot. Lift the affected paver, adjust the sand level, and reset. Check with a level across multiple pavers. Catching this before final compaction is easy; catching it after is still possible but more work.
Edges spreading or pavers shifting outward
This is almost always a missing or improperly spiked edge restraint. Re-install edge restraint with spikes at 6-inch intervals. If pavers have already shifted significantly, you may need to re-lay the outer courses after resetting the restraint.
Polymeric sand washing out of joints
This happens when the sand was activated with too much water pressure or before it was fully swept into the joints. Sweep in additional polymeric sand and reactivate with a gentle mist following the manufacturer's instructions precisely. Do not use a hose set to jet or stream.
Water pooling on the finished surface
Inadequate slope is the cause. If it is minor (water sits but eventually drains), adjusting a few pavers in the low area may help. If the entire patio pitches toward the house, you have a drainage problem that requires lifting and re-sloping a significant section. This is why establishing and verifying slope with string lines before excavation is so critical.
Maintenance and Sealing Schedule
A well-installed paver patio is low-maintenance, but it is not zero-maintenance. Keeping up with a simple schedule protects your investment and keeps the surface looking good for decades.
- Every spring: inspect joints for weed growth or ant activity. Spot-treat weeds and refill any depleted joint sand before it becomes a larger problem.
- Every spring: inspect edge restraints for any sections that have lifted or shifted. Re-spike immediately to prevent paver movement.
- Every year: clean the surface with a paver-appropriate cleaner (pH-neutral or manufacturer-recommended). Avoid pressure washing with high-pressure direct nozzles, which dislodge joint sand.
- Every 3 to 5 years (or when water no longer beads on the surface): reapply sealer after cleaning and allowing the surface to dry completely for at least 48 hours.
- After any harsh winter: check for frost-heaved pavers. Lift, adjust the bedding sand, and reset. Pavers are actually easier to repair than a concrete slab precisely because individual units can be lifted and reset without replacing the whole surface.
Installing a paver patio is a genuine weekend project for a capable homeowner, and the combination of good video resources and solid written steps gives you everything you need to do it right. Take your time with the base, match the videos to your specific scenario, and check your slope and edge restraints before you lay a single paver. The result, a durable, beautiful outdoor space you built yourself, is absolutely worth the effort.
FAQ
Which YouTube videos and channels are trustworthy for learning how to install a paver patio?
Start with retailer and manufacturer-produced walkthroughs plus established trade programs: Home Depot ‘How to Install Patio Pavers’ video, Lowe’s paver patio how‑to video, Unilock and Belgard installation videos, and This Old House paver projects. These sources pair video demonstration with written specs or PDFs. Also look for ICPI/CMHA references in the video description or linked PDFs. Favor videos that show the full sequence (excavation through jointing), list materials and tools, and cite standards or manufacturer guides.
How do I choose a good YouTube tutorial and what should I skip?
Choose videos that (1) show the entire workflow in real time or clear chapters, (2) list tools/material specs (base depth, bedding sand type, compaction requirements), (3) reference manufacturer or ICPI guidance, (4) demonstrate safety and measuring, and (5) show troubleshooting/cutting. Skip short clips that only show laying pavers without base prep, videos with no measurements/standards, DIY hacks that ignore edge restraint or compaction, and those using unknown or unsafe cutting methods.
What is a concise, complete tools and materials checklist?
Tools: tape measure, string line & stakes, marking spray, shovel, plate compactor (with rubber mat), vibrating plate with protective mat, hand tamper, 2x4 screed board and screed rails, level & transit or line level, masonry saw/wet saw or diamond blade angle grinder, paver splitter or block chisel, broom, wheelbarrow, rake, gloves, safety glasses, ear protection, knee pads. Materials: concrete or clay pavers (60–80 mm per use), edge restraint (plastic/metal/concrete), ASTM C33 sand for bedding (screeding sand), coarse aggregate base (clean crushed stone/road base), geotextile (if weak soils), polymeric sand or ASTM‑approved joint sand, paver sealer (optional), edging spikes/adhesive, landscape fabric (optional), drain/pipe as needed.
What are the written step-by-step installation stages to match typical video tutorials?
1) Plan & measure: mark patio, calculate pavers & materials. 2) Mark & remove surface: outline with stakes/string and excavate to required depth (paver + 1" bedding + compacted base + 3–4" subgrade allowance). 3) Subgrade prep: compact native soil to spec and slope for drainage (1–1.5% min; Home Depot commonly uses 1" in 8'). 4) Geotextile (if needed): place fabric over weak/saturated soils. 5) Aggregate base: place crushed stone in lifts (typical 4" pedestrian; 6" residential recommended), compact each lift to ≥95% where required. 6) Edge restraints: install rigid restraints secured to compacted base. 7) Bedding: screed 1" ASTM C33 sand over leveling screeds. 8) Lay pavers: start from straight edge, maintain pattern/joints and spacing. 9) Cutting: cut pavers to fit edges with saw or splitter. 10) Compacting: vibrate pavers with plate compactor and rubber pad. 11) Jointing: sweep polymeric sand or ASTM joint sand into joints, compact again and remove excess. 12) Sealing (optional): apply sealer per manufacturer after cleaning and cure time. 13) Final grading & cleanup: check drainage and finish adjacent transitions.
What exact base and bedding depths should I follow for a standard residential patio?
Manufacturer and ICPI guidance commonly call for: 1" screeded bedding sand (ASTM C33); aggregate base compacted thickness: 4" minimum for pedestrian areas (homeowner patios) but 6" is commonly recommended for typical residential patio loads and better longevity. For heavy loads or weak soils, increase base depth (6–8" or more) and verify compaction targets (≥95% Standard Proctor for pedestrian). Always factor paver thickness (60 mm typical for patios). Adjust depths per manufacturer PDF and soil test results.
How do installation steps differ for porcelain, natural stone, or thicker concrete pavers?
Porcelain often requires manufacturer-specific bedding adhesives, different cutting blades (porcelain blade) and tighter tolerances; follow porcelain vendor instructions. Natural stone sometimes needs bedding mortar or special bedding techniques and more careful leveling; cutting and sealing vary by stone. Thicker concrete pavers (80 mm and up) tolerate lighter aggregate adjustments but still need proper compaction and edge restraint. Always consult the paver manufacturer’s installation PDF for product‑specific tolerances and cutting guidance.
Next Articles
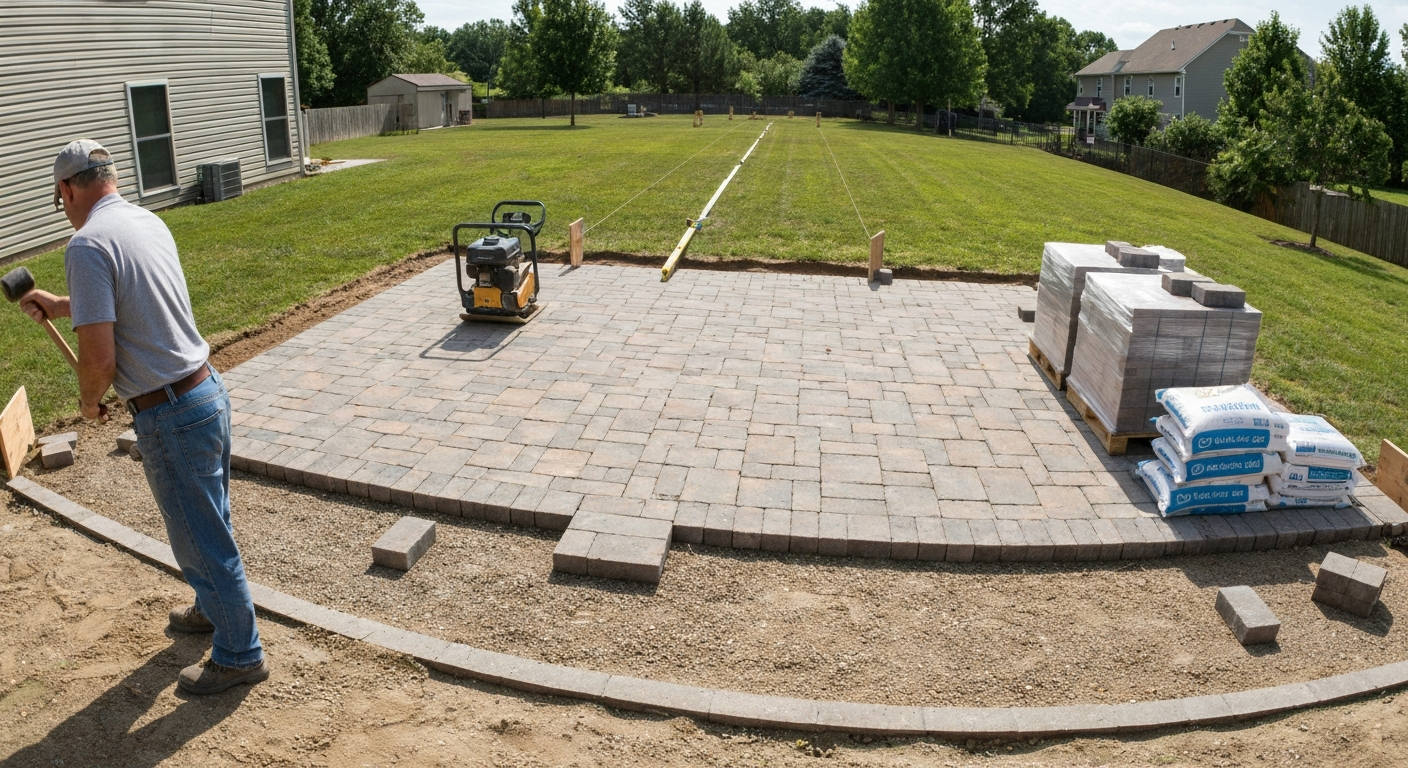
Lowe’s How to Paver Patio: Complete DIY Guide for Homeowners
Lowes how to paver patio: step-by-step DIY with Lowe's materials, tool checklist, time & cost estimates, and fixes.
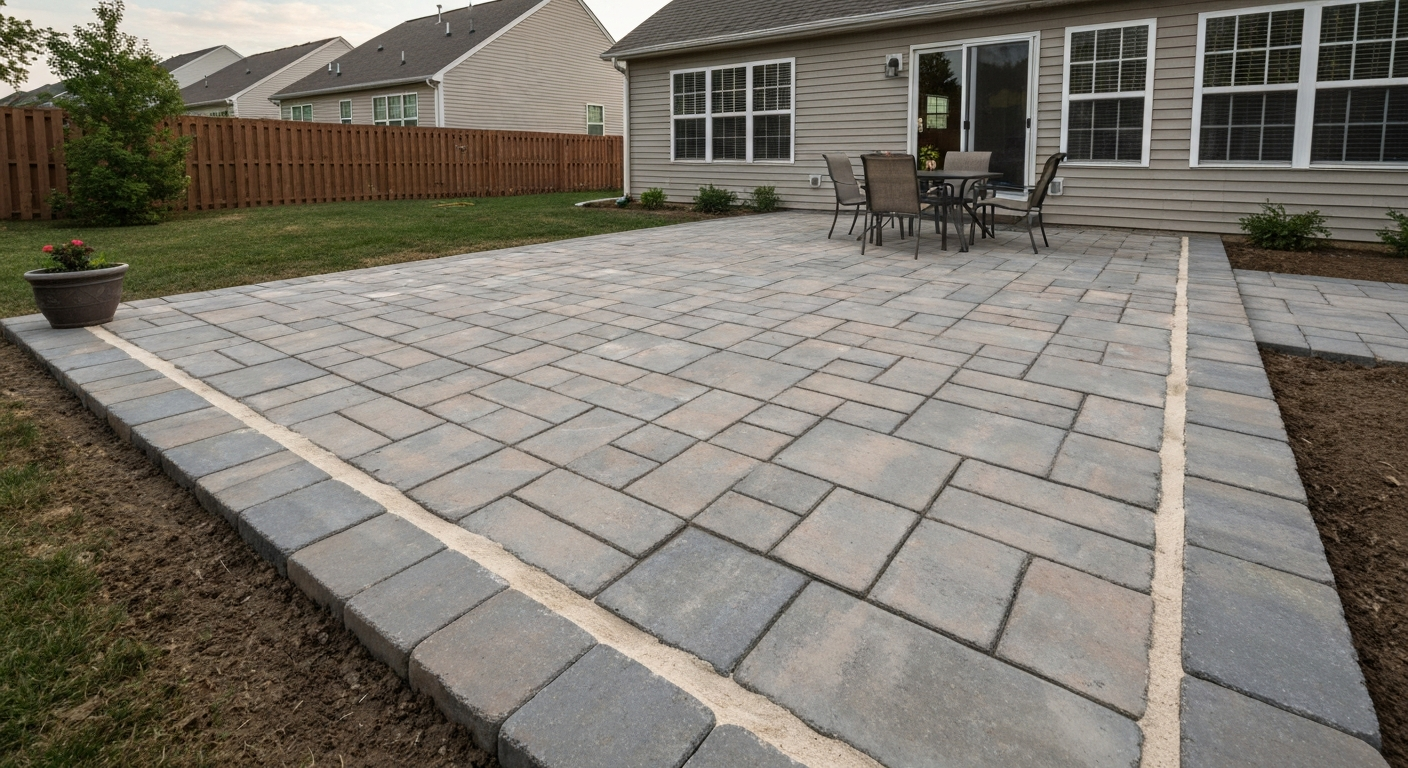
How to Install Patio Pavers (Lowe’s): Complete DIY Guide
How to install patio pavers Lowes: step-by-step DIY using Lowe’s materials, tools, costs, cuts, sealing & tips.
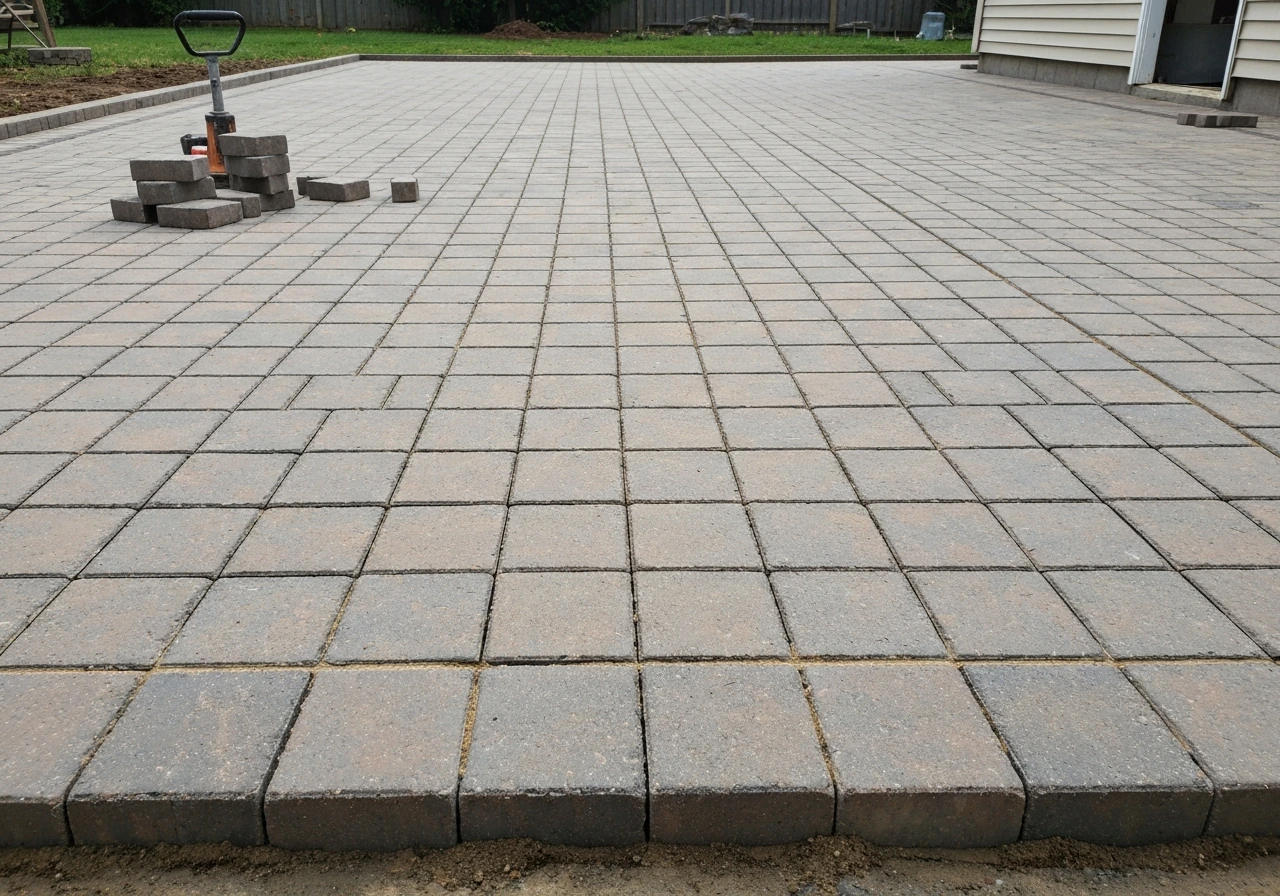
How to Make a Paver Patio Video: DIY Shot List
DIY paver patio video shot list for planning, site prep, base, leveling, cutting, installing, and editing tips.