
You can absolutely install patio pavers using materials from Lowe's, and the process is more manageable than most people expect. The basic sequence is: plan your layout, excavate 7 to 9 inches below finished grade for a patio, compact a gravel base, screed a 1-inch sand bedding layer, lay and cut pavers, compact the surface, sweep in polymeric sand, and seal if desired. Lowe's carries everything from Pavestone concrete pavers and base gravel to polymeric sand, edge restraints, and diamond blades, and most stores also rent plate compactors and masonry saws. This guide walks you through every phase with the specific products, measurements, and decisions that actually matter. For an alternative step-by-step visual walkthrough, see the This Old House guide “How to Install a Paver Patio.” This Old House guide “How to Install a Paver Patio”.
How to Install Patio Pavers (Lowe’s): Complete DIY Guide

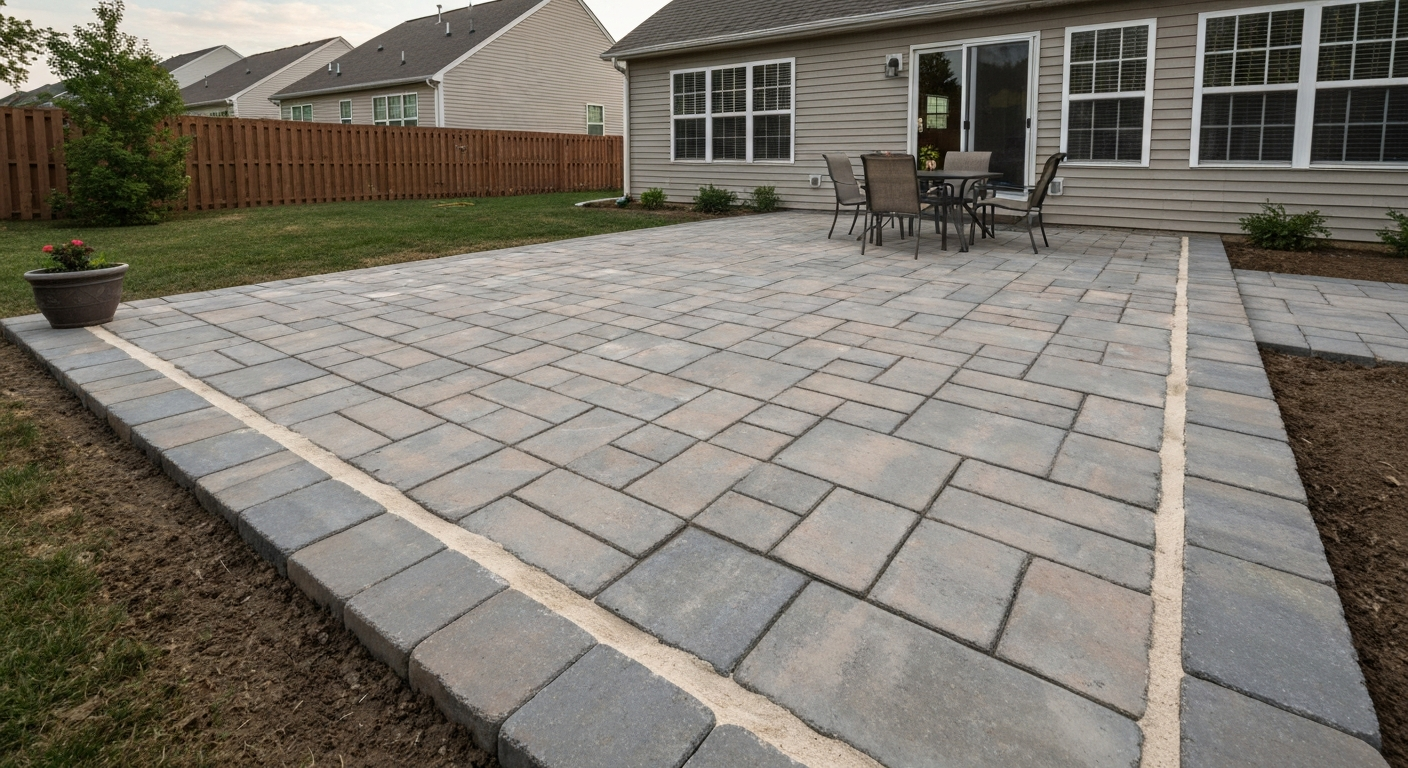
Who this guide is for and what you'll have when you're done
This is written for homeowners tackling a ground-level patio on a budget, working weekends, and shopping primarily at Lowe's. You don't need professional hardscaping experience, but you do need a willingness to dig, a basic grasp of slopes and drainage, and a half-decent back. A typical 10x12-foot patio (120 sq ft) is a solid first project and takes most DIYers one to two full weekends, not counting drying time for polymeric sand. By the end of this guide you'll have a detailed shopping list, a tool plan (what to buy vs rent), and a phase-by-phase installation sequence you can actually follow in the field. If you've also looked at how similar retailers frame this kind of project, the fundamentals are essentially the same across sources, but the specific products and rental options here are Lowe's-specific. For a Home Depot–focused walkthrough, see How to install patio pavers Home Depot for a retailer-specific shopping and rental perspective.
Plan the project before you buy a single paver
Define your goals and layout
Sketch the patio shape on paper, even roughly. Decide whether you want a simple rectangle, an L-shape, or a freeform curve, because that affects how many cuts you'll need and which paver sizes make sense. Rectangular layouts with larger pavers (like 24x24-inch slabs) go down faster and require fewer cuts. Smaller unit pavers (4x8-inch bricks or similar) allow more pattern flexibility, running bond, herringbone, basketweave, and they're easier to manage individually but require more pieces. Think through how you'll use the space: seating only, dining with a grill, a fire pit area? That affects size and whether you need to keep a clear zone for clearances around heat sources.
Permits and local codes
Most ground-level patios under a certain square footage don't require a permit, but the threshold varies by municipality. Some areas require permits for any hardscape above a certain area, any structure within setback zones, or any work that alters drainage onto a neighboring property. Before you break ground, call your local building department or check their website. It takes ten minutes and can save you a costly redo if an inspector flags unpermitted work when you sell the house. Also check HOA rules if applicable, particularly around materials, colors, and proximity to property lines.
Call 811 before you dig
In the United States, dialing 811 connects you to your local utility locating service, which will mark underground lines (gas, electric, water, communications) for free. This is not optional. Patio excavation typically goes 8 to 10 inches deep, which is enough to hit a shallow utility line. Call at least three business days before you plan to dig and wait for the all-clear. This step is required by law in most states.
Measuring and calculating your materials
Accurate quantities save you money and extra trips. Start with the patio square footage, then add 5 to 10 percent for cuts and waste. For pavers sold by the piece (like Pavestone 8x4-inch rectangulars), calculate how many pieces fit your square footage using the coverage listed on the product page. For larger format pavers like the Pavestone 24x24-inch patio stones, one paver covers 4 square feet, so a 120 sq ft patio needs 30 pavers plus 2 to 3 extras for cuts.
Base gravel is calculated by volume. For a 4-inch compacted base, estimate the loose depth at about 5 to 5.5 inches before compaction (gravel compacts roughly 15 to 20 percent). For 120 sq ft at 5 inches loose depth, you need roughly 0.185 cubic yards per square foot... or more practically, about 1.85 tons of 3/4-inch clean crushed stone for a small patio. Bags are fine for small projects; bulk delivery is cheaper and easier for anything over about 75 sq ft. Bedding sand goes at 1 inch deep, so the same 120 sq ft patio needs about 0.37 cubic yards of coarse concrete sand (ASTM C33). One 50-lb bag of polymeric sand typically covers 15 to 25 sq ft depending on joint width and paver size, so plan on 5 to 8 bags for 120 sq ft.
| Material | Depth / Rate | Qty for 120 sq ft | Notes |
|---|---|---|---|
| Crushed gravel base (compacted) | 4 inches compacted | Approx. 0.75–1 ton | Add 15–20% for loose-to-compacted factor |
| Bedding sand (ASTM C33) | 1 inch screeded | Approx. 0.37 cu yd / ~550 lbs | Do NOT use play sand or stone dust |
| Pavers (24x24 inch) | Single layer | 30 pieces + 3 extra | Based on 4 sq ft per paver |
| Pavers (8x4 inch brick) | Single layer | Approx. 450 pieces + 45 extra | Based on 0.22 sq ft per brick |
| Polymeric sand | Joint fill | 5–8 bags (50 lb each) | Adjust for joint width and paver size |
| Edge restraint (plastic) | Perimeter lineal feet | Measure perimeter + 10% | Steel spikes included or sold separately |
| Paver sealer (optional) | Per label coverage | 1–2 gallons for 120 sq ft | Check label; coverage varies by product |
What Lowe's actually carries for paver projects
Pavers
Lowe's primarily carries Pavestone-brand concrete pavers in most regions. The lineup includes smaller brick-style units (the 8-in x 4-in x 2-in rectangular paver in colors like charcoal, tan, and red) and larger format patio stones (the 24-in x 24-in x 2-in square patio stone in shades like dark slate). Lowe's product page lists the Pavestone 24-in L x 24-in W x 2-in H Square Dark Slate Concrete Patio stone with dimensions and images Pavestone 24-in L x 24-in W x 2-in H Square Dark Slate Concrete Patio stone | Lowes.com. Availability varies by store, so check the product page for in-store vs ship-to-store options and confirm stock before your shopping trip. The 2-inch nominal thickness on Pavestone's pedestrian pavers is appropriate for patios and walkways based on industry guidance, though technically ICPI and manufacturers like Belgard recommend a minimum of 2-3/8 inches for applications that might see any vehicular traffic. For a foot-traffic-only patio, the 2-inch units available at Lowe's are fine.
Base and bedding materials
Lowe's carries bagged and sometimes bulk crushed gravel, paver base, and concrete sand. Look for 'Paver Base' (crushed aggregate) and 'Paver Sand' or 'All-Purpose Sand' products in the bagged materials aisle. For bedding, you want coarse concrete sand meeting ASTM C33. Avoid fine play sand (too compressible) and stone dust or decomposed granite (it locks up and can hold moisture). If your project is large enough to warrant bulk delivery, Lowe's or your local supplier can often deliver a yard of crushed stone and a yard of sand for less than the equivalent in bags.
Polymeric sand and sealers
Lowe's carries SAKRETE Paver Set polymeric sand, and you'll find it in the concrete products aisle. This is the joint-locking sand that hardens when you mist it with water, keeping the joints stable and resisting weeds. It's worth spending the extra money on polymeric vs plain sand for a permanent installation. Lowe's also stocks paver sealers, typically penetrating silane-siloxane products or film-forming acrylic sealers, in the concrete care aisle. Sealing is optional but extends paver life and simplifies cleaning.
Edge restraints and accessories
Plastic snap-together edge restraints (often sold under the Pavestone or EasyFlex brand at Lowe's) are available in the paver aisle. You'll also find the 10-inch or 12-inch galvanized steel spikes used to anchor them. Buy enough for your full perimeter. Other accessories to pick up: a rubber mallet, a hand tamper for tight corners, a long straightedge or 8-foot level for screeding, and a broom or push brush for sweeping in polymeric sand.
What to buy vs what to rent at Lowe's
Lowe's has a nationwide Tool Rental program, though availability varies by store. Before your project starts, call or visit your local Lowe's Tool Rental desk (or check the store page online) to confirm what's available and to reserve equipment, especially for weekend projects when compactors get booked up fast.
| Item | Buy or Rent? | Approximate Cost | Notes |
|---|---|---|---|
| Plate compactor | Rent | $50–$150/day (varies by store) | Essential for base and final surface compaction |
| Masonry wet saw / concrete saw | Rent | Varies; call your store | Lowe's also sells Kobalt 12-in cordless concrete saw |
| Hand tamper | Buy | $20–$40 | Useful for edges and small spots the plate compactor can't reach |
| Rubber mallet | Buy | $10–$20 | Used to seat pavers |
| Screed pipes (conduit) | Buy | $5–$10 each | 2 lengths of 1-in conduit; pulled out after screeding |
| Long level or straightedge (8 ft) | Buy | $20–$50 | Check base flatness; tolerance is ±3/8 in over 10 ft |
| Garden hose / sprayer | Buy/Own | Already owned by most | Needed for activating polymeric sand |
| Safety glasses, gloves, ear protection | Buy | $15–$30 total | Non-negotiable for cutting and compacting |
| N95 or P100 respirator | Buy | $10–$30 | Required when cutting pavers; silica dust is a serious health hazard |
| Diamond blade (for angle grinder) | Buy | $15–$40 | Spyder or Norton blades available at Lowe's; wet/dry rated |
| Wheelbarrow | Rent or borrow | Varies | Critical for moving gravel and sand |
The plate compactor is the one tool you should absolutely not skip and not try to substitute with a hand tamper alone. Proper compaction of the base is what keeps your patio from sinking or shifting over time. The typical one-day rental cost from big-box rental programs runs roughly $50 to $150 depending on the model and your location, but actual Lowe's rates vary, so call ahead. Pair it with the wet saw rental if you have a lot of cuts; for a simple rectangular patio with minimal cuts, an angle grinder with a diamond blade is a workable alternative for straight cuts.
Site preparation: marking, safety, and drainage
Mark your layout
Use stakes and string lines to define your patio boundary. Check corners for square using the 3-4-5 triangle method: measure 3 feet along one string and 4 feet along the perpendicular string; if the diagonal between those two points is exactly 5 feet, you have a 90-degree corner. Mark the strings 1 to 2 inches outside your intended paved area to account for edge restraints. Spray paint the ground along the string line before you remove anything.
Drainage and slope
Every patio needs to slope away from the house. The standard minimum is 1/8 inch per foot, with 1/4 inch per foot being more reliable in wet climates. On a 12-foot-deep patio, that means the outer edge sits 1.5 to 3 inches lower than the house edge. Set your string lines to reflect this slope from the very beginning so your excavation and base both follow it. Water that pools on your patio, or worse, drains toward your foundation, is one of the most common and costly mistakes DIYers make.
Safety gear setup
Before digging begins, confirm your 811 utility locate is complete and all marks are visible. Wear steel-toed boots for the excavation phase, especially when moving heavy stones or operating a compactor. During any cutting of concrete pavers, wear safety glasses, hearing protection, and a properly fitted N95 or P100 respirator. Cutting concrete pavers generates respirable crystalline silica, which causes irreversible lung damage with repeated exposure. OSHA's construction silica standard (29 CFR 1926.1153) specifically requires dust controls during masonry cutting, and wet cutting is the most effective control available to DIYers. When you rent or buy a concrete saw, always use water.
Excavation and grading: getting the depth right
How deep to dig
For a ground-level patio that gets foot traffic only, your total excavation depth is the sum of your paver thickness plus 1 inch of bedding sand plus your compacted base depth. Using standard Pavestone 2-inch pavers, a 4-inch compacted base (the ICPI and Belgard minimum for pedestrian applications), and 1 inch of bedding sand, you're excavating 7 inches below finished grade. Since you want the finished patio surface to sit about 1/2 to 1 inch above surrounding grade for drainage, your actual dig depth from existing ground level is more like 6 to 6.5 inches. In freeze-thaw climates, many experienced installers bump the base to 6 inches for added stability, making total excavation roughly 9 inches.
| Application | Compacted Base (ICPI min.) | Bedding Sand | Paver Thickness | Total Depth Below Finished Grade |
|---|---|---|---|---|
| Foot-traffic patio | 4 inches | 1 inch | 2 inches | 7 inches |
| Patio in freeze-thaw zone | 6 inches | 1 inch | 2 inches | 9 inches |
| Residential driveway | 6 inches | 1 inch | 2 3/8 inches min. | 9–10 inches |
Working with slopes and uneven ground
If your yard already slopes away from the house, that's actually an advantage for drainage, but you still need to establish a flat, consistent base surface. Use your string lines as reference points and remove high spots by digging deeper; fill low spots with additional compacted base gravel rather than soil. Never use loose fill soil to build up low areas under a paver base, it will settle. If you have a significant slope (more than 6 to 8 inches of fall across the patio width), you may need to step the base or use a raised patio design, which is a more involved project.
Subgrade compaction
Before adding any base material, compact the exposed native soil with your plate compactor. Make two to three passes in perpendicular directions. If the soil is very dry and dusty, lightly water it first to get better compaction. If you find soft, spongy, or organic-rich soil (like old buried lawn debris or topsoil), remove it and replace it with compacted gravel. Organic material decomposes and causes settling no matter how well you compact on top of it.
Installing over grass or soil: the step-by-step base conversion
This is the most common starting scenario for DIYers, and it's completely doable. Here's the full sequence from turf to a paver-ready base.
- Mark and spray the patio boundary (as described above), then stake your string lines at finished patio height with the correct slope.
- Strip the sod. Use a flat spade or a sod cutter (rentable at Lowe's) to cut and remove all grass and roots to a depth of about 2 to 3 inches. Dispose of sod rather than burying it.
- Excavate to your target depth (7 to 9 inches below finished grade depending on climate) using a flat spade or mini excavator. Measure frequently from your string lines to keep depth consistent.
- Compact the exposed subgrade with a plate compactor. Make two perpendicular passes and check for soft spots.
- Optional: Install a layer of geotextile landscape fabric over the compacted subgrade to prevent gravel migration into the soil. Overlap seams by at least 6 inches.
- Add gravel base in 2 to 3 inch lifts, not all at once. Compact each lift thoroughly before adding the next. Check base level and slope with your string lines and straightedge. The finished base surface should be within ±3/8 inch over 10 feet.
- Install edge restraints along all sides now, before bedding sand goes in. Drive 10-inch spikes every 12 inches through the restraint flange and into the compacted base.
- Set two 1-inch diameter metal conduit pipes parallel to each other across the base surface, spaced 4 to 6 feet apart, as depth guides for screeding.
- Add ASTM C33 coarse bedding sand to roughly 1.5 inches depth, then drag a straight board or screed board across the two conduit pipes to pull off the excess and leave a perfectly flat 1-inch layer.
- Carefully remove the conduit pipes and fill the voids left behind with loose sand, gently smoothed by hand. Do not walk on the screeded sand.
- Begin laying pavers from a corner or a straight edge, working outward. Set each paver down straight, do not slide it across the sand. Tap gently with a rubber mallet to seat it. Maintain consistent joint gaps (typically 1/16 to 3/16 inch for most pavers).
- Periodically check for level and consistent slope with your string lines and straightedge. Adjust individual pavers by adding or removing a small pinch of sand underneath.
- Cut border pavers as needed using a wet saw or angle grinder with a diamond blade. Always wet-cut and wear your respirator.
- Once all pavers are laid, run the plate compactor over the entire surface (use a rubber pad or paver protection mat under the compactor plate to avoid surface scratching). Make two to three passes in perpendicular directions. This seats pavers firmly and levels minor height differences.
- Sweep polymeric sand across the surface, working it into all joints with a push broom. Make multiple passes. Compact again with the plate compactor to vibrate sand deeper into joints. Repeat sweeping until joints are filled to within 1/8 inch of the top.
- Blow off all excess polymeric sand from paver surfaces (a leaf blower on low works well), then activate with a gentle mist of water per the SAKRETE instructions. Do not drench it. Let it cure undisturbed for 24 hours.
Drainage tips for grass-to-patio conversions
When you replace lawn with an impermeable paved surface, you're changing how water moves across that area. Make sure your 1/4-inch-per-foot slope is directing water toward an existing drainage path, not toward a fence, a low spot, or a neighbor's yard. For projects over about 200 sq ft, it's worth running a quick sketch of where water currently drains and confirming your patio slope aligns with that. If water will have nowhere to go, consider a channel drain or French drain along the low edge of the patio before you start.
Cutting pavers cleanly and safely
For a simple rectangular patio, you'll mainly make straight cuts on border pavers. A rented wet masonry saw makes this fast and precise. For curves or angles, an angle grinder with a Spyder or Norton 4 to 4.5-inch diamond blade works well for occasional cuts. Lowe's also carries the Kobalt 12-inch cordless concrete saw with an onboard water port, which is a solid option if you want to own the tool for future projects. Whatever you use, always run water on the blade to suppress silica dust and extend blade life. Score the cut line first with a dry pass at slow speed, then make the full cut with water running. Wear your respirator, safety glasses, and hearing protection every single time.
Polymeric sand: the right way to use it
Polymeric sand is one of those products where following the instructions exactly actually matters. The polymer binders activate with water, and the most common mistake is over-wetting, which pushes the polymer to the paver surface and creates a white hazy residue that's very hard to remove. Follow the SAKRETE Paver Set instructions precisely: joints must be clean and dry before application, sand must be compacted into joints with the plate compactor, excess sand must be blown or brushed completely off paver faces before activation, and water should be applied as a gentle mist rather than a stream. See the blank" rel="noopener noreferrer">SAKRETE Paver Set Polymeric Sand Use & Care (Lowes-hosted PDF) for manufacturer application steps, water-activation instructions, and warnings that over-wetting can produce a white polymer film. After the first mist pass, wait a few minutes, then mist again. Most products need 24 to 48 hours to fully cure before foot traffic.
- Joints must be dry and clean before polymeric sand goes in
- Compact sand into joints with the plate compactor before misting
- Remove all surface residue before activating with water (use a leaf blower)
- Mist gently; do not flood or use a strong spray
- Keep off the patio for at least 24 hours after activation
- Avoid applying if rain is expected within 24 hours of installation
Sealing: optional but worth understanding
Sealing isn't required for a properly installed paver patio, but it does help in a few specific situations: if your pavers are a color you want to protect from fading, if you want easier cleanup of oil or food stains (common on outdoor dining patios), or if you're in a climate with significant freeze-thaw cycling and want to reduce moisture absorption. Penetrating sealers (silane-siloxane based) don't change the appearance and last 3 to 5 years. Film-forming acrylic sealers enhance color and sheen but can become slippery when wet if over-applied. Apply sealer to clean, dry pavers at least 30 days after installation so any efflorescence has a chance to dissipate. Follow the label coverage rate; more is not better with sealers.
Realistic time and cost breakdown
A 120 sq ft patio is a reasonable first project. Here's what to realistically expect for time and budget, assuming you're doing all the labor yourself and shopping at Lowe's.
| Phase | Estimated Time | Main Costs |
|---|---|---|
| Planning, measuring, utility locate | 2–4 hours | Free (stakes, string: ~$10) |
| Materials shopping and delivery | Half day | Pavers, gravel, sand, edging, poly sand |
| Sod removal and excavation | 4–8 hours (120 sq ft) | Sod cutter rental if desired: ~$75/day |
| Base gravel install and compaction | 3–5 hours | Compactor rental: $50–$150/day |
| Screeding and laying pavers | 4–6 hours | Screed pipes: ~$10 |
| Cuts and edging | 1–3 hours | Wet saw rental or diamond blade: $20–$60 |
| Polymeric sand and compaction | 1–2 hours | 5–8 bags @ ~$20–$30 each |
| Cleanup and cure time | 1 hour + 24 hrs | Minimal |
| Optional sealing (30+ days later) | 1–2 hours | 1–2 gallons sealer: $30–$60 |
For a 120 sq ft patio using Pavestone 24x24 pavers, expect total material costs in the range of $600 to $1,100 depending on paver choice, local gravel prices, and whether you seal. Tool rentals add $100 to $250 for a weekend. Labor is your own time: plan on two full days minimum, and three if you're new to this or hit unexpected issues. Larger format pavers and simple rectangular layouts are the fastest to install.
Troubleshooting common problems
Pavers are rocking or uneven after installation
This usually means the bedding sand layer wasn't consistent or a low spot exists in the base. Pull the affected pavers, check the base level, add or remove sand as needed, and re-lay. If the base itself is low, add a thin layer of compacted gravel before re-screeding. Rocking pavers are almost always a base or bedding issue, not a paver defect.
White haze on pavers after polymeric sand activation
This is the polymer residue that happens when sand is activated before surface residue is fully removed, or when too much water is used. Light haze sometimes weathers away in a few weeks. For stubborn residue, an efflorescence cleaner (available at Lowe's) applied carefully per its instructions can help. The best fix is prevention: blow off every grain of surface sand before you touch that hose.
Pavers sinking in one area over time
Localized sinking usually means either organic material (old roots, buried debris) decomposed under that section, or a drainage issue is eroding the base. Pull the sunken pavers, dig out the base, find and remove the cause, refill with compacted gravel, re-screed, and relay. It's annoying but totally fixable without replacing pavers, which is one of the big advantages of an interlocking paver system.
When to call a professional
Most ground-level patio projects are well within DIY range. But if you discover very soft or unstable soil (including filled areas, former drainage swales, or high clay content that swells with moisture), if your patio needs significant slope correction across more than 6 to 8 inches of fall, or if you're building over an existing concrete slab that has structural cracks or serious heaving, it's worth getting a professional assessment before investing in materials. The same goes for any project near a foundation that could be affected by changing drainage patterns.
A quick note on additional project types
This guide covers the ground-level grass-to-patio conversion in full detail, but the same fundamental sequence (excavate, compact base in lifts, screed, lay, compact, joint) applies to most paver projects with some adjustments. Installing over an existing concrete slab is faster on excavation but requires the concrete to be stable, level, and well-drained before you lay pavers on top. Sloped designs or raised patios involve retaining edges and possibly stepped base sections. Fire pit integration means keeping a code-compliant clearance and using non-combustible materials in the immediate surround. For those variations, the core installation principles here still apply as your foundation.
Video resources and next steps
Seeing the screeding and compaction steps in action makes a real difference if you're a visual learner. Lowe's posts how-to paver content on their website and YouTube channel, and searching for paver installation walkthroughs from both Lowe's and other sources is worthwhile before you start. Search youtube how to build a paver patio for short, step-by-step videos that demonstrate screeding, compaction, cutting, and polymeric sand application. For a Lowe's-specific walkthrough, see Lowe's 'How to Install a Paver Patio' guide for step-by-step video and product recommendations. For a clear step-by-step video walkthrough, search YouTube for "how to install a paver patio" how to install a paver patio youtube. For an alternative retailer's step-by-step, see how to build a paver patio Home Depot for a comparable walkthrough and product list. The fundamentals shown in those videos match what's here because the material science doesn't change. If you find a step confusing in text, a short video of that specific phase (screeding sand, compacting with a plate compactor, activating polymeric sand) will clarify it immediately. For a concise step-by-step visual, watch a how to make a paver patio video that demonstrates screeding, compaction, and polymeric sand activation.
FAQ
What Lowe’s paver products and sizes are commonly used for DIY patios?
Lowe’s carries concrete paver brands like Pavestone in multiple sizes and nominal 2" thicknesses (examples: 8"×4"×2" rectangular pavers and 24"×24"×2" square patio stones). Choose sizes/patterns that suit your design and check local store availability on Lowes.com.
How thick should pavers and the base be for a pedestrian patio installed from Lowe’s materials?
Follow industry guidance: use pavers appropriate for pedestrian use (commonly ~2" nominal thickness for patio stones). Compact the aggregate base to typical minima: 4" compacted aggregate base for patios/walkways (ICPI/Belgard guidance) with a 1" screeded bedding sand layer (ASTM C33 or manufacturer-specified bedding sand).
Which materials and jointing sands does Lowe’s sell and which should I use?
Lowe’s stocks bedding sand, washed concrete sand, and polymeric jointing sands (examples: SAKRETE Paver Set Polymeric Sand, Alliance Gator products). For regular joints use kiln‑dried sand and for long-lasting, weed/ant resistant joints use polymeric sand following the manufacturer’s prep and activation instructions exactly (clean dry joints, compact sand into joints, mist to activate).
What tools can I buy or rent at Lowe’s for a paver patio project?
Common purchases: plate compactor (can also be rented), vibratory plate compactor, rubber mallet, paver spacers, joint broom, level, stringline, edging restraints, diamond blades for cutting. Lowe’s offers a Tool Rental program for equipment like plate compactors and wet/corrosive-capable concrete saws—check your store’s rental page or call to confirm availability and pricing.
Should I buy or rent a plate compactor and a saw from Lowe’s?
Rent bulky, expensive items you’ll use briefly (plate compactor, masonry/wet saw) — typical one-day plate compactor rental ranges widely (~$50–$150/day); check your local Lowe’s Tool Rental for exact rates. Buy smaller hand tools, jointing sand, and consumables.
How do I prepare the site and set elevations for a patio using Lowe’s materials?
Mark the patio area, remove sod/topsoil, establish subgrade and slope for drainage (aim 1/8"–1/4" per ft away from structures), compact the subgrade, install a geotextile fabric if needed, place aggregate base in lifts (e.g., 2" lifts), compact each lift to spec, then screed 1" bedding sand prior to laying pavers. Follow Belgard/ICPI tolerances: top-of-base variation ±3/8" over 10 ft and bedding nominal 1".
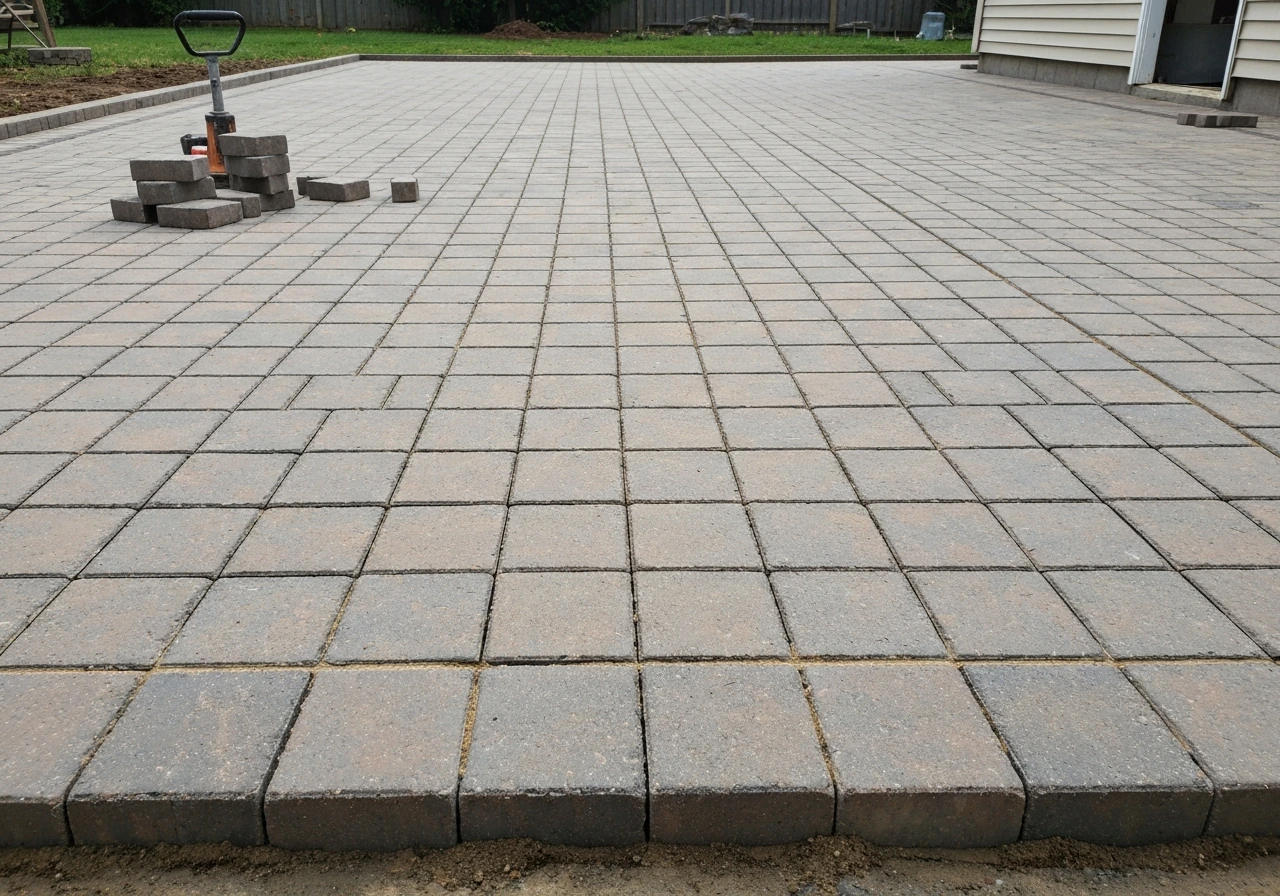
DIY paver patio video shot list for planning, site prep, base, leveling, cutting, installing, and editing tips.
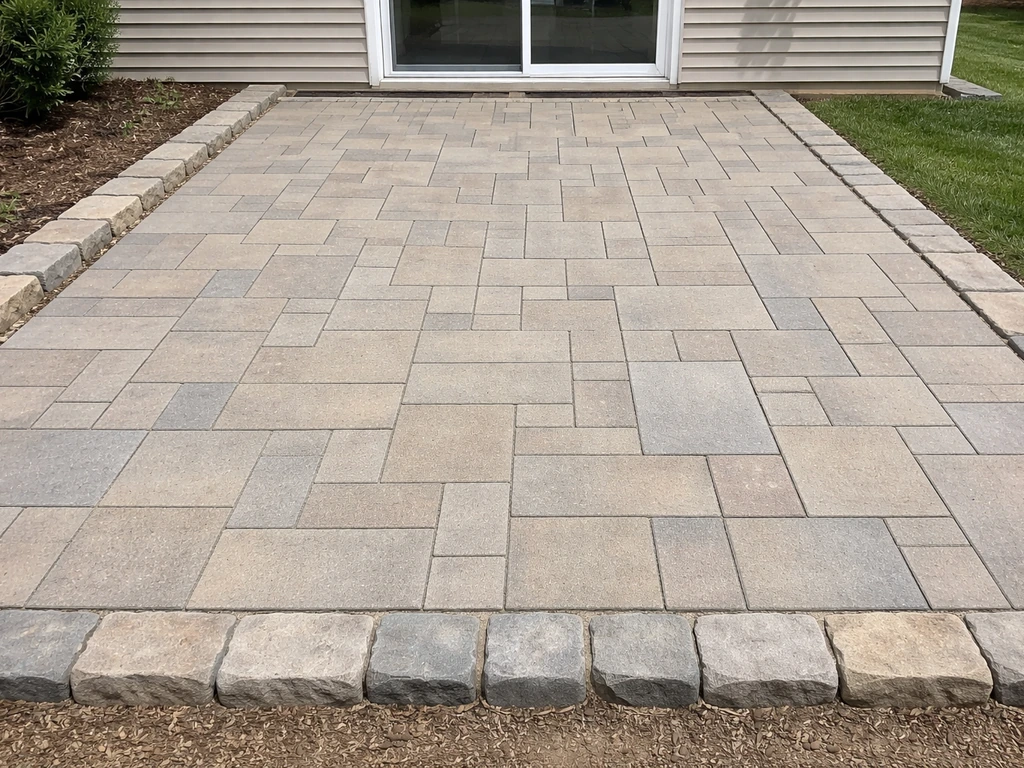
Step-by-step patio paver install using Home Depot materials: base, slope, edging, laying, cutting, joint sand, sealing,
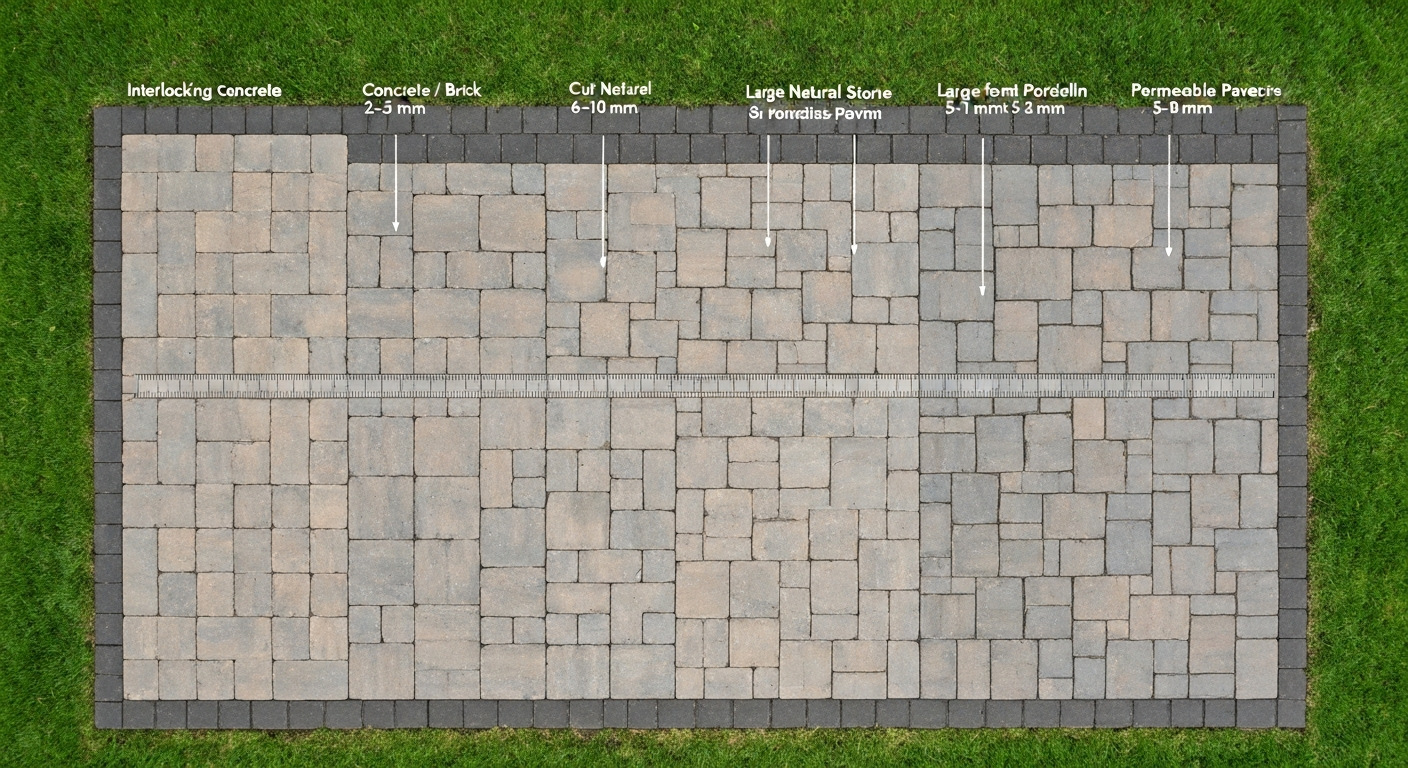
How to space patio pavers: exact joint widths by paver type, step‑by‑step spacing, jointing & finishing tips.