
Yes, you can install pavers over an existing concrete patio, and it works really well when the slab underneath is structurally sound. The concrete essentially becomes your subbase, which saves you the cost and effort of full demolition. The process involves cleaning and repairing the slab, laying a 1-inch bedding sand layer, setting your pavers, cutting edges to fit, and locking everything in with edge restraints and jointing sand. Done right, the result is a flat, stable patio that looks like a professional install and lasts for years.
How to Install Pavers Over Existing Concrete Patio

Felix Rowe
23 Jun 2026
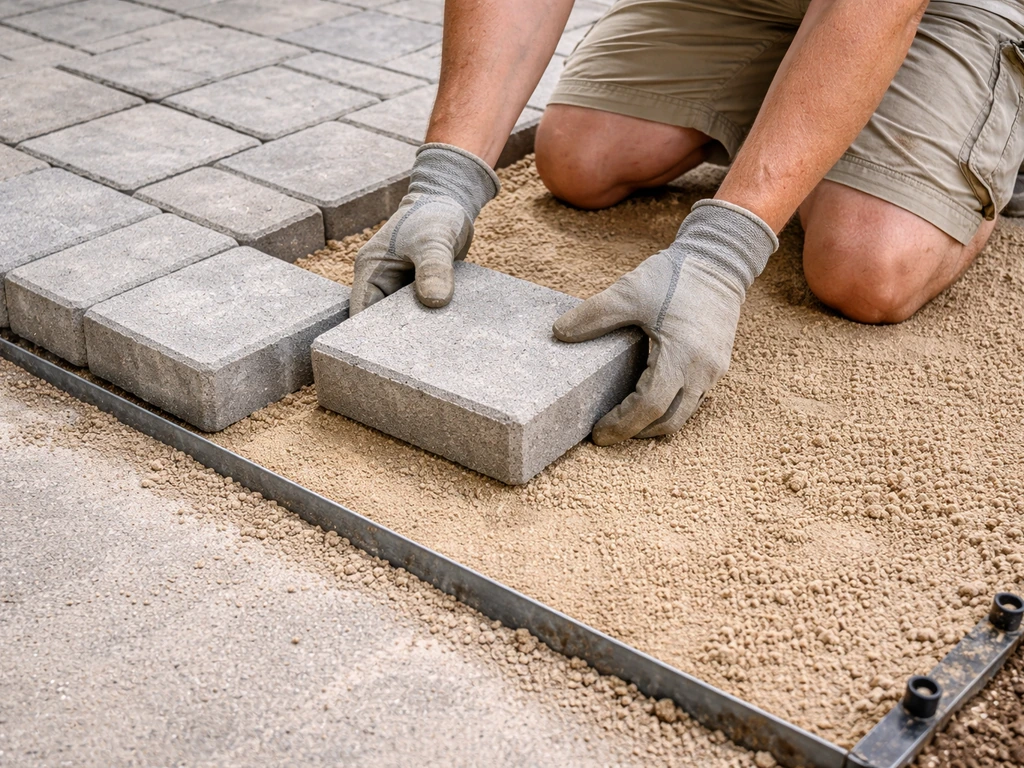
First, make sure your concrete slab is actually overlay-ready
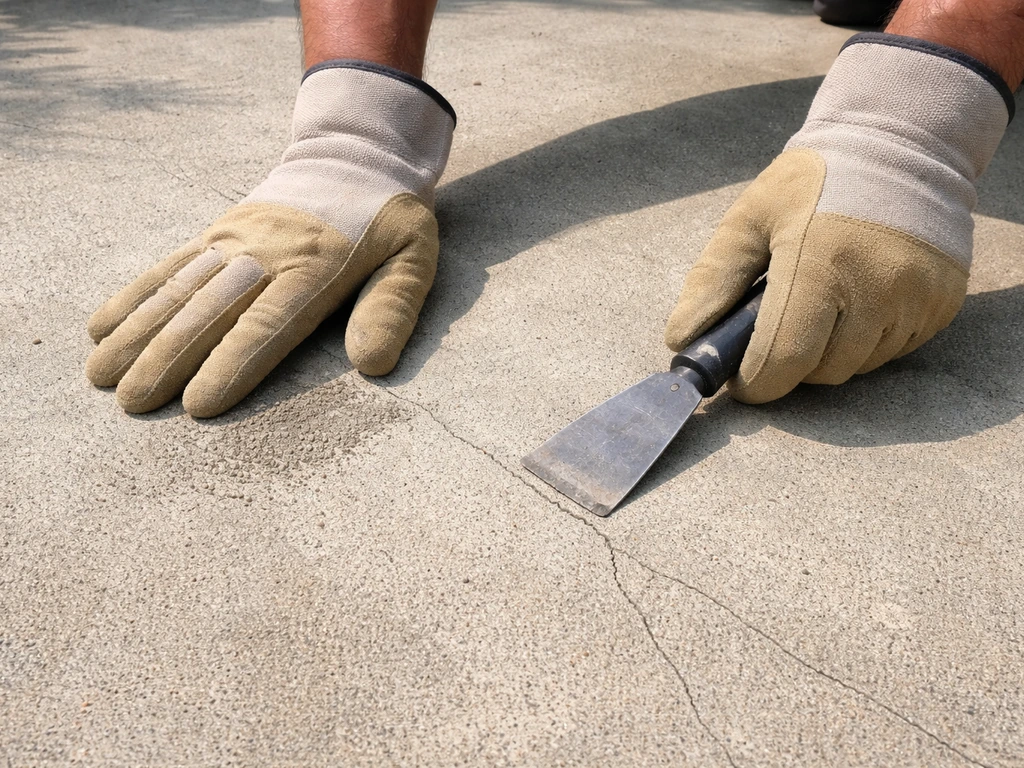
Not every concrete patio is a good candidate for an overlay, and this is the most important thing to figure out before you buy a single paver. The good news is that most residential concrete patios pass the test. The bad news is that some genuinely don't, and covering up a failing slab just pushes the problem upward into your new pavers.
Hairline cracks are completely fine. Concrete develops those over time from normal curing and minor movement, and they won't affect the overlay as long as the slab isn't shifting. What you're looking for are signs of structural failure: large cracks with vertical displacement (one side is higher than the other), heaving from tree roots or frost damage, shattered sections with loose chunks, or soft pockets where the concrete sounds hollow when you tap it. If you have any of those, overlay isn't your answer. You'll need to either remove the damaged sections or demolish the slab entirely and start fresh.
Also check the slab's height relative to your door thresholds, any steps, and adjacent surfaces. Adding pavers plus a bedding layer raises the finished surface by about 2 to 3.5 inches depending on your paver thickness. If that puts you above your door threshold or creates a trip hazard at a transition, you need to plan around it before you start. Measure carefully now so you're not cutting pavers to odd heights later.
- Hairline cracks: acceptable, proceed with overlay
- Cracks with vertical displacement or heaving: slab removal required
- Isolated soft or hollow sections: full-depth repair or removal needed
- Surface spalling (flaking surface layer): acceptable if the slab structure is still solid
- Height conflicts with door thresholds or steps: plan your paver and sand thickness carefully before starting
Prep the concrete surface before anything else goes down
Think of the existing concrete as your new subbase. You're not building on top of a slab, you're building on top of a foundation, and it needs to be clean, flat, and stable. Surface prep is the step most DIYers rush through, and it's almost always the reason overlays fail.
Clean it thoroughly
Pressure wash the entire slab at minimum 3,000 PSI to remove dirt, algae, moss, and any loose debris. If there's oil staining from a grill or vehicle, use a concrete degreaser and scrub it in before rinsing. You want the surface clean enough that sand or a mortar-based adhesive can make solid contact with it. Let it dry completely, at least 24 to 48 hours in warm weather, before moving on.
Repair cracks and uneven spots
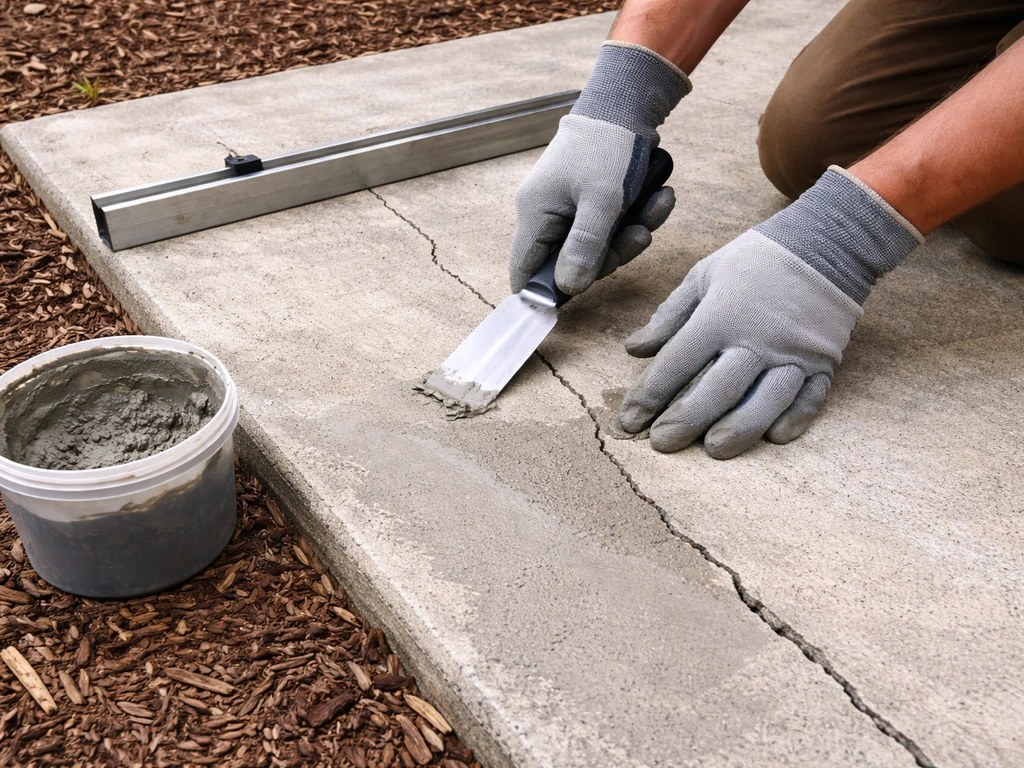
Fill any cracks wider than 1/4 inch with a concrete crack filler or hydraulic cement. For low spots deeper than half an inch, use a self-leveling concrete resurfacer. For high spots, you have two options: grind them down with a concrete angle grinder or account for them in your bedding sand layer. Small variations (under half an inch) are manageable in sand. Bigger than that, grind or fill before you set a single paver, because the bedding layer isn't a substitute for a flat base.
Check and mark the existing slope
Concrete patios are (or should be) sloped away from the house at about 1/8 inch per foot for drainage. Use a long level or a laser level to confirm where the slope runs and how much you have. Note any areas where water pools, because those spots tell you exactly where your drainage challenges will be. You'll carry this slope through into the finished paver surface, so understanding it now shapes your entire layout.
Pick the right pavers and base system for an overlay
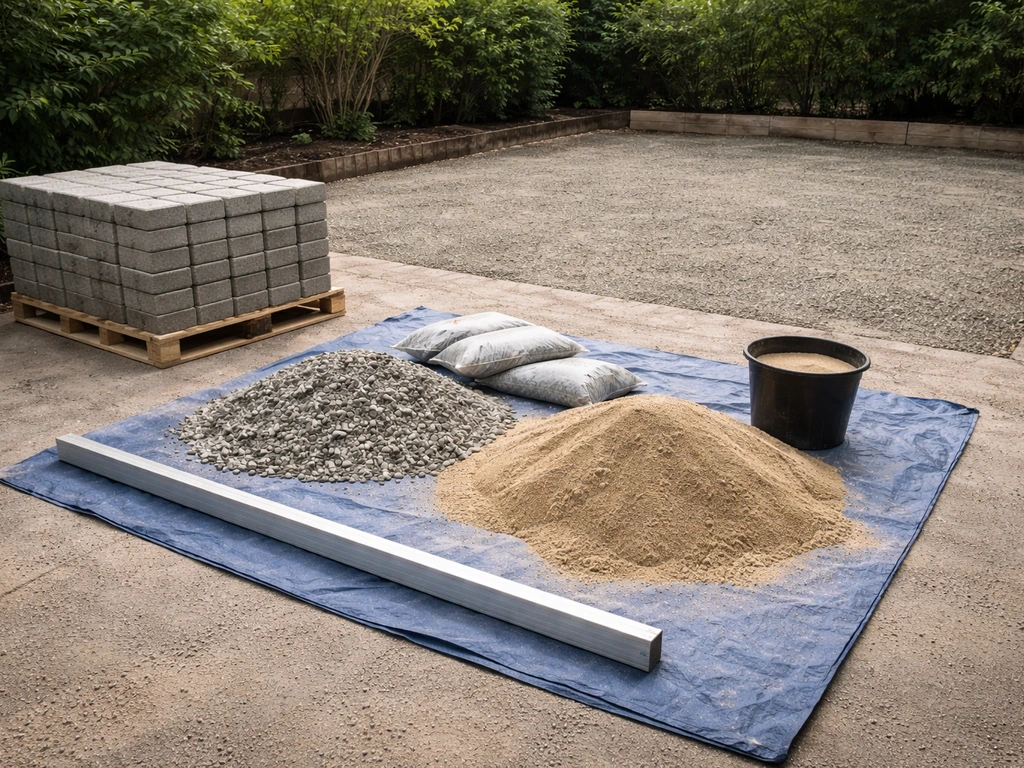
When you're overlaying on concrete, you're not following the standard ICPI system exactly, because the concrete replaces the compacted aggregate base you'd normally build from scratch. But the rest of the stack still applies: bedding sand, pavers, jointing sand, and edge restraints. The key is choosing materials that work within this thinner system.
Paver types and thickness
Standard interlocking concrete pavers at 2-3/8 inches thick are the most common choice and work great on concrete overlays. Brick pavers at similar thickness are equally solid. Natural stone like bluestone or travertine works too, but it demands more precision in the bedding layer because it doesn't have the uniform thickness of manufactured pavers. Avoid anything thinner than 1.5 inches for a patio that will see foot traffic; it just doesn't have enough body to stay stable in a sand-set system.
The bedding layer: sand vs. other options
A 1-inch layer of coarse bedding sand (concrete sand or ASTM C33 sand) is the standard approach and the one I'd recommend for most DIYers. It's forgiving enough to accommodate minor surface imperfections in the concrete, and it gives you something to screed flat. Do not use fine play sand or polymeric sand as your bedding layer. Fine sand shifts too easily, and polymeric sand sets up hard, which means you lose the ability to make adjustments.
Some contractors use a dry-set mortar mix or a thin-set adhesive when the concrete is very smooth and flat. This is a more permanent system with less room for error. For a first-time DIY overlay, bedding sand gives you more control and the ability to lift and reset pavers if something goes wrong during placement.
| Option | Best For | DIY Friendliness | Adjustability |
|---|---|---|---|
| Coarse bedding sand (1 inch) | Most residential overlays | High | Easy to lift and reset pavers |
| Dry-set mortar | Very flat, smooth slabs | Moderate | Limited once set |
| Thin-set adhesive | Tile-like precision installs, natural stone | Low | Very difficult to adjust |
A word on underlayment and geotextile
On a new ground-level base, contractors often lay geotextile fabric between the soil and aggregate to prevent mixing. On a concrete overlay, you don't need it under the sand. The concrete itself is an impermeable layer. Some installers put a thin foam or rubber mat underlayment under the sand to add a slight cushion and reduce noise, particularly for covered patio areas. It's optional and mostly cosmetic for a standard outdoor patio.
Plan your layout before you touch the sand
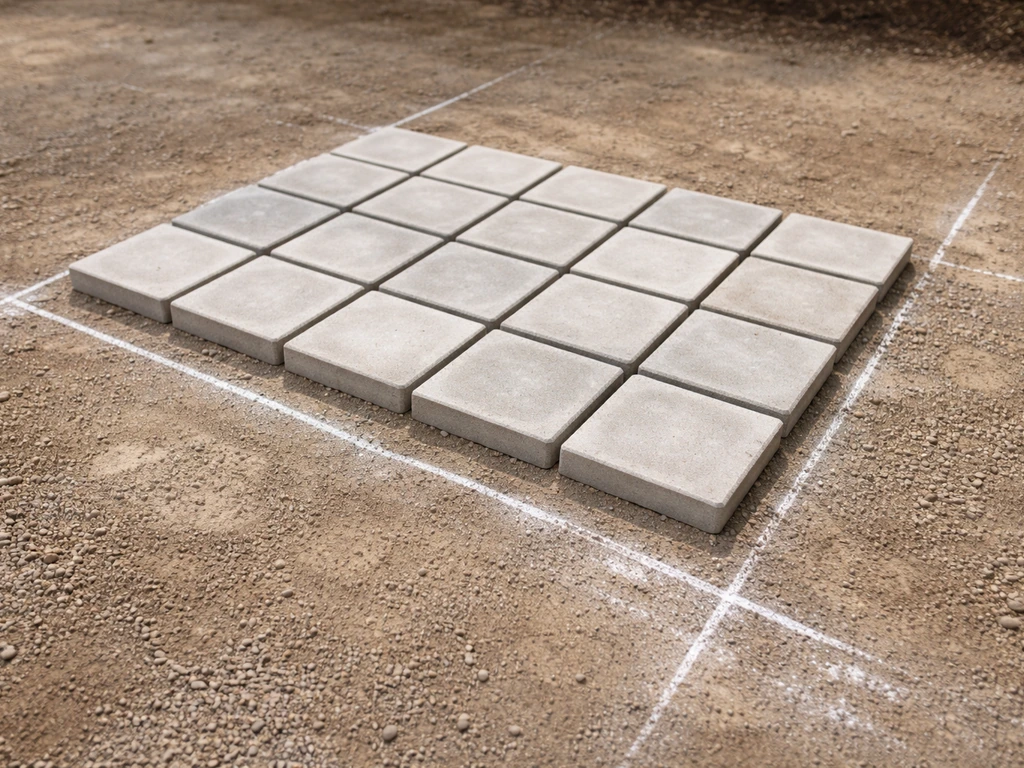
Good layout planning saves you from a lot of awkward cuts and ugly edges. Spend an hour on this step and your installation will go much more smoothly.
Choose your pattern
Running bond (like standard brick) and herringbone are the two most popular choices for concrete overlays. Running bond is the easiest to lay and cut. Herringbone at 45 degrees looks great but requires more angled cuts at the perimeter. Basketweave is simple but requires a very consistent paver size to look right. For a first-time overlay, I'd stick with running bond unless you're confident with an angle grinder or wet saw.
Establish your reference lines
Snap a chalk line parallel to the house wall as your primary reference. This keeps your rows straight relative to the most visible edge. Then snap a perpendicular line to divide the space into quadrants. Check that your lines are actually square using the 3-4-5 triangle method: measure 3 feet along one line, 4 feet along the perpendicular, and confirm the diagonal between those two points is exactly 5 feet. If it's not, your corner isn't square and your cuts at the far edges will be uneven.
Dry fit a section first
Before you spread any sand, lay out a dry run of pavers from your reference lines outward toward the edges. This shows you exactly what size the cuts at the perimeter will be. Aim for edge cuts that are at least half a paver wide. If your dry fit shows you'll have slivers of 2 inches or less at the edges, shift your starting point by half a paver in one direction. That small adjustment now prevents fiddly, fragile cuts later. Mark any obstacles like drains or hose bibs on the slab with chalk so you can plan around them.
Step-by-step installation
Once your slab is prepped, your layout is planned, and your materials are on site, installation moves at a pretty good pace. For more on the full patio build-out, see how to cover a concrete patio with pavers. A 200 to 300 square foot patio is typically a solid weekend project for two people.
Step 1: Install edge restraints first (if working to a defined perimeter)
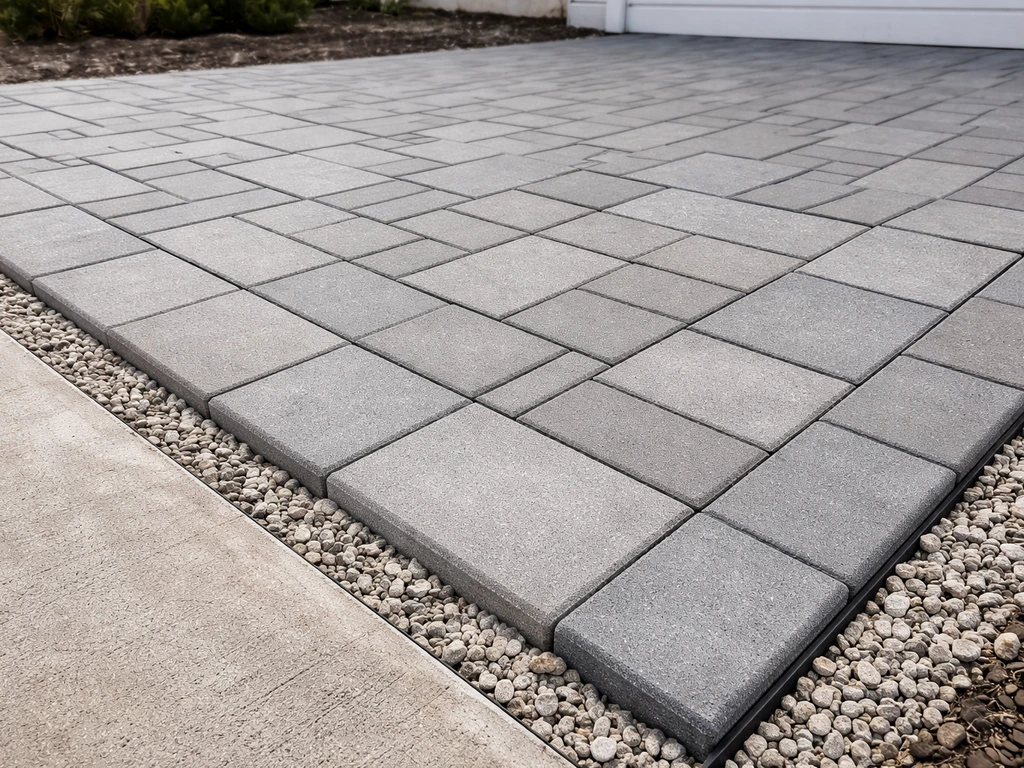
If your patio has open edges (not bounded by a wall or step on all sides), install plastic or aluminum edge restraints along those open edges before spreading sand. Secure them to the concrete with concrete nails or masonry anchors every 12 inches. Edge restraints do one job: they keep your pavers from creeping outward over time. Skipping them is one of the top reasons overlays spread, loosen, and rock. For edges that terminate against a house wall or existing step, the solid structure acts as your restraint on that side. To lay pavers next to an existing patio, focus on matching the finished height and using solid edging so the new section and the old one stay stable together.
Step 2: Spread and screed the bedding sand
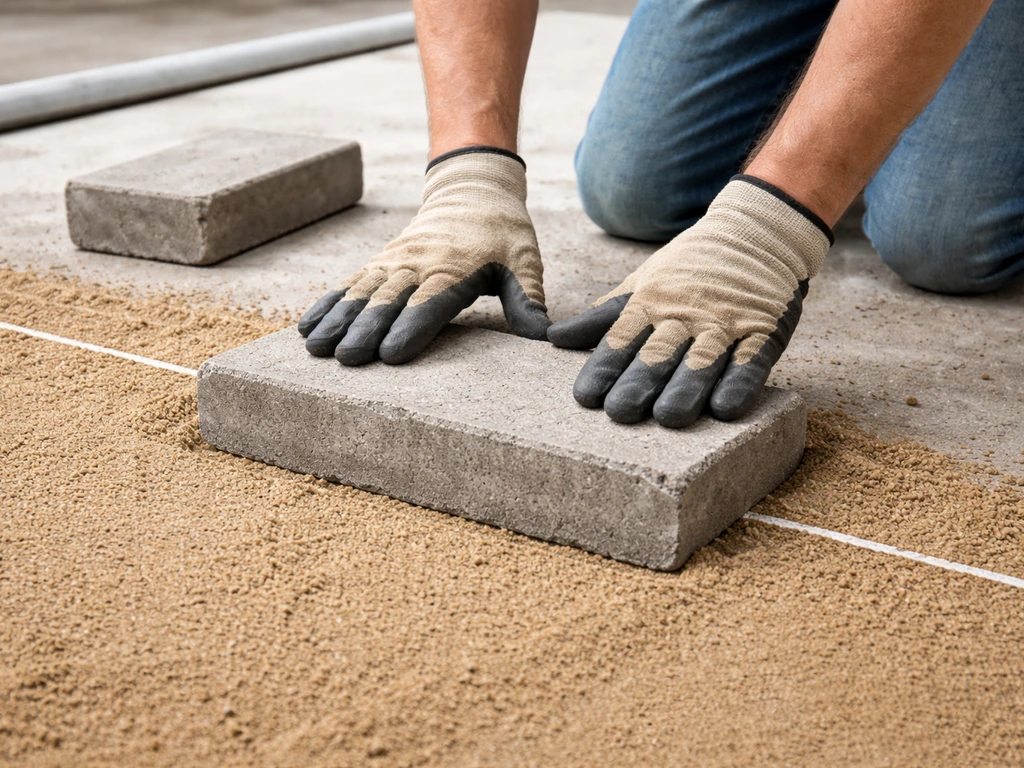
Dump coarse bedding sand onto the slab and spread it roughly 1 to 1.5 inches deep. Then screed it flat using two pieces of EMT conduit pipe (or screed rails) set 1 inch above the concrete surface as depth guides. Pull a straight 2x4 or screed board across the pipes in a sawing motion to create a flat, consistent sand bed. Fill any low spots and screed again. Pull the pipes out, fill the tracks with sand, and lightly smooth them. Do not walk on the screeded sand; work in sections and place your first pavers before moving forward. This is exactly the same technique used for any flat paver install, concrete base or not.
Step 3: Set the pavers
Start at your reference line, place the first paver, and set it by pressing it firmly down into the sand. Don't slide it horizontally once it touches the sand; that disturbs the bed. Work outward from your reference lines in rows, keeping joints tight and consistent (most pavers have built-in spacer nubs that handle this automatically). Check your lines every 5 to 6 rows with a string line or long straight edge. It's much easier to make small corrections early than to try to realign a section after 50 pavers are down.
Step 4: Cut pavers for edges and obstacles
A wet saw (masonry saw with a diamond blade) gives you the cleanest, most accurate cuts and is worth renting for any patio over 100 square feet. An angle grinder with a dry-cut diamond blade works for straight cuts on concrete pavers but produces a lot of dust and less precision. For curves around drains, posts, or fire pit edges, mark your cut line with a pencil or chalk, make a series of closely spaced straight cuts to create a rough curve, then clean it up with the grinder. Always wear eye protection, hearing protection, and a dust mask when cutting.
Step 5: Check for level and make adjustments
Once a section is laid, lay a long straight edge or level across multiple pavers to check for high and low spots. A paver that's sitting too high can usually be lifted, a little sand removed, and reset. One that's too low gets lifted and a small amount of sand added underneath. This is why bedding sand is so forgiving. Make your adjustments before you compact or add jointing sand, because it's much harder to lift pavers after that point.
Finishing: jointing sand, compaction, and sealing
Sweep in jointing sand
Once all pavers are set and you're happy with the level, sweep jointing sand across the entire surface with a push broom, working it into the joints from multiple directions. Polymeric jointing sand is worth the extra cost here. It's stabilized with a binder that activates when you mist it with water, locking the sand in place and resisting ant infiltration and washout. Regular sand works too but tends to wash out after heavy rain and needs to be topped up more often.
Compact carefully
Run a plate compactor over the finished surface to seat the pavers firmly into the bedding sand and consolidate the jointing sand into the joints. Use a rubber or foam pad on the compactor base (most rental units come with one or you can get a paver pad attachment) to avoid scratching or chipping the paver surface. Make two or three passes in different directions. After compacting, sweep in a second, lighter application of jointing sand to refill any joints that opened up, then mist with water per the polymeric sand manufacturer's instructions.
To seal or not to seal
Sealing is optional but I usually recommend it, especially for concrete pavers and brick. A penetrating paver sealer locks the jointing sand in place, enhances color, and makes cleaning much easier going forward. Apply it after the polymeric sand has fully cured (typically 24 to 48 hours after misting). Use a pump sprayer or roller, work in small sections, and apply two thin coats rather than one heavy one. Avoid sealing in direct hot sun or when rain is forecast within 24 hours.
Drainage, slope, and how to troubleshoot common problems
Getting drainage right
Your finished paver surface needs to drain away from the house at a minimum slope of 1/8 inch per foot, and ideally 1/4 inch per foot. If your existing concrete already has this slope, great, your screeded sand bed will follow it naturally. If the concrete slopes toward the house or is dead flat, you need to build the slope into your bedding sand layer by screeding it at an angle rather than flat. This is harder to do accurately but very manageable with a laser level and patience. Pavers are permeable at the joints to some degree, but water mostly sheds off the surface, so surface slope matters a lot more on an overlay than it does on a permeable base system.
Rocking or uneven pavers
If a paver rocks when you step on it, it's not fully supported in the bedding sand. Lift it out, add or redistribute sand underneath to fill any voids, and reset it. This is almost always caused by a low spot in the concrete base that wasn't properly filled during prep, or by screeding the sand too thin. If multiple pavers in a zone are rocking, lift the whole section, add sand, re-screed, and relay.
Settling or sinking over time
Settling in an overlay system usually means the bedding sand has migrated or been washed out through the joints. This is why proper edge restraints and polymeric jointing sand matter so much. If you see a sunken area, lift the affected pavers, add bedding sand to bring the level back up, reset the pavers, and refill the joints with polymeric sand. It's a straightforward repair and one of the advantages of a sand-set system over a mortared one.
Crack reflection from the concrete below
Crack reflection is a concern people worry about more than it actually happens in practice. If the underlying concrete crack is truly stable (not moving), the sand bedding layer absorbs enough minor flex that the crack doesn't telegraph up through the pavers. Where you do see problems is when a crack is actively moving, as in heaving or thermal cycling cracks in climates with hard freezes. That's exactly why the feasibility check at the start matters: if a crack has displacement or is in a heaving section, the overlay will eventually show movement in the same area.
Edge restraints pulling away or failing
Plastic edge restraints anchored with regular nails into concrete sometimes pull loose over a season or two, especially if the anchors were too widely spaced or the concrete had surface spalling. Use masonry anchors (not just nails) every 12 inches, and choose a heavy-duty aluminum edge restraint for any section that will see vehicle weight or heavy foot traffic. If an edge is already failing, re-anchor it immediately before the pavers behind it start to spread. Once pavers fan outward, the joints widen and jointing sand washes out, which accelerates the whole problem.
When to call in a pro
Most homeowners can handle a standard flat overlay just fine. Call a contractor if the existing slab has significant heaving, if the patio has complex drainage challenges like low spots that collect water with no clear outlet, or if you're working around a structural feature like a deck footing or foundation wall. Also get a pro involved if your overlay needs to match existing hardscape precisely, like extending an existing paved driveway or connecting to a pool deck with very specific slip-resistance requirements. If you're extending a patio with pavers, the same overlay prep and layout steps help you blend the new section cleanly with the existing surface how to extend patio with pavers. For a straightforward backyard patio overlay, though, this is absolutely a DIY project worth doing yourself.
FAQ
Can I install pavers over existing concrete even if some areas are uneven?
Yes, but only if the concrete is stable and you can hit the same finished elevation everywhere. If the slab has a noticeable dip or hump, plan on fixing it with resurfacer, grinding, or by intentionally shaping the sand bed with a laser level. Also confirm you will still meet the minimum drainage slope, because adjusting for height should not eliminate the away-from-house fall.
What concrete problems are still acceptable for a paver overlay?
Treat one-off repairs differently from widespread damage. If you have isolated surface issues (like a few small low spots or hairline cracking) you can patch and overlay. If you find multiple soft or hollow-sounding areas, broad vertical displacement, or heaving across a section, remove and replace that slab portion or the movement will likely reappear through the pavers.
How long should I wait after pressure washing before installing the pavers?
It should be at least 24 to 48 hours in warm weather after washing and any degreasing, and longer if the slab is damp or shaded. Before you lay sand, check by taping a small plastic sheet to the surface for a few hours, if condensation appears, wait. Sand set on a still-damp slab can lead to poor bedding contact and faster joint sand loss.
Do I need to fill all concrete cracks before adding pavers?
It depends on what you are fixing. For cracks wider than about 1/4 inch, use a concrete crack filler or hydraulic cement, then allow it to cure fully before bedding sand goes down. For shallow surface roughness, you generally do not need patching because the bedding sand layer will level minor irregularities under about half an inch.
When should I install edge restraints for an overlay, and where are they required?
Yes, but do it before you bring the sand in. Install plastic or aluminum edge restraints on open sides, and secure them to the concrete with anchors spaced closely (about every 12 inches). If you wait until after pavers are down, the outward pressure and rocking can loosen the edging and cause joint sand to wash out.
Can I use polymeric sand or fine sand as the bedding layer under pavers?
Generally no, not as the bedding layer for a patio overlay. Fine play sand shifts, and polymeric jointing sand should be reserved for filling joints after compaction. Using the wrong sand can cause pavers to loosen, fail to lock properly, and lead to uneven settling.
Is geotextile fabric or rubber underlayment needed under the sand on a concrete overlay?
Yes, but it is an extra step and only helps in specific situations. If you want reduced noise, a thin foam or rubber mat under the sand can provide a modest cushion, but it does not replace proper slope, flatness, and edge restraint performance. Make sure the material is meant for outdoor paver installations so it does not break down and create voids.
How do I prevent the new paver patio from creating a trip hazard at doors or steps?
You should be able to handle height changes, but plan transitions like thresholds and steps using a measured target finished height. Since the typical build-up raises the surface roughly 2 to 3.5 inches, confirm the door clearances now. If the new surface would exceed code-like trip expectations or block a door swing, consider reducing paver thickness, changing the design, or removing portions of the existing slab.
What is the correct way to fix rocking pavers after the sand is installed?
If a paver rocks, it is usually a void or insufficient sand thickness under that area. Lift the affected pavers, remove loose sand, add bedding sand, screed back to level, then relay. Avoid compacting or moving ahead to jointing until the rocking issue is corrected, because fixing it later usually means lifting more pavers than you expect.
Why do joint sand areas sometimes wash out or settle after compaction?
Start with proper compaction of the pavers, then focus on joint completion. Sweep in jointing sand until joints are full, compact the surface, then top off with a lighter second application and mist only per the manufacturer instructions. Too little polymeric sand, missed joints, or over-watering can reduce locking and lead to washout or settlement.
Should I seal pavers installed over concrete, and when is it safe to apply sealer?
Sealing is most helpful when you want easier cleaning and more consistent color, and it can reduce staining. However, you still need to let polymeric joints cure fully first (often 24 to 48 hours after misting) and avoid sealing in hot sun or right before rain. Also note that sealing does not fix drainage issues, so only seal after you verify the surface slope is correct.
What if my existing concrete patio is flat or slopes toward the house?
For an overlay, aim to keep water moving away from the house, and check the fall visually with a level or laser. If the existing concrete is dead flat or slopes toward the house, you need to recreate the slope in the bedding sand bed. Trying to correct drainage by sealing or relying on joint permeability usually does not solve the real problem.
When should I stop DIY and hire a pro for a concrete-to-paver overlay?
Call a contractor if the slab shows signs of active movement, like heaving, vertical displacement, or repeatedly hollow-sounding areas. Also get help if the overlay must match a driveway or pool deck precisely, or if you have complex drainage with no clear outlet path for runoff. These cases often need targeted engineering or at least a more controlled leveling plan than typical DIY.
Next Articles
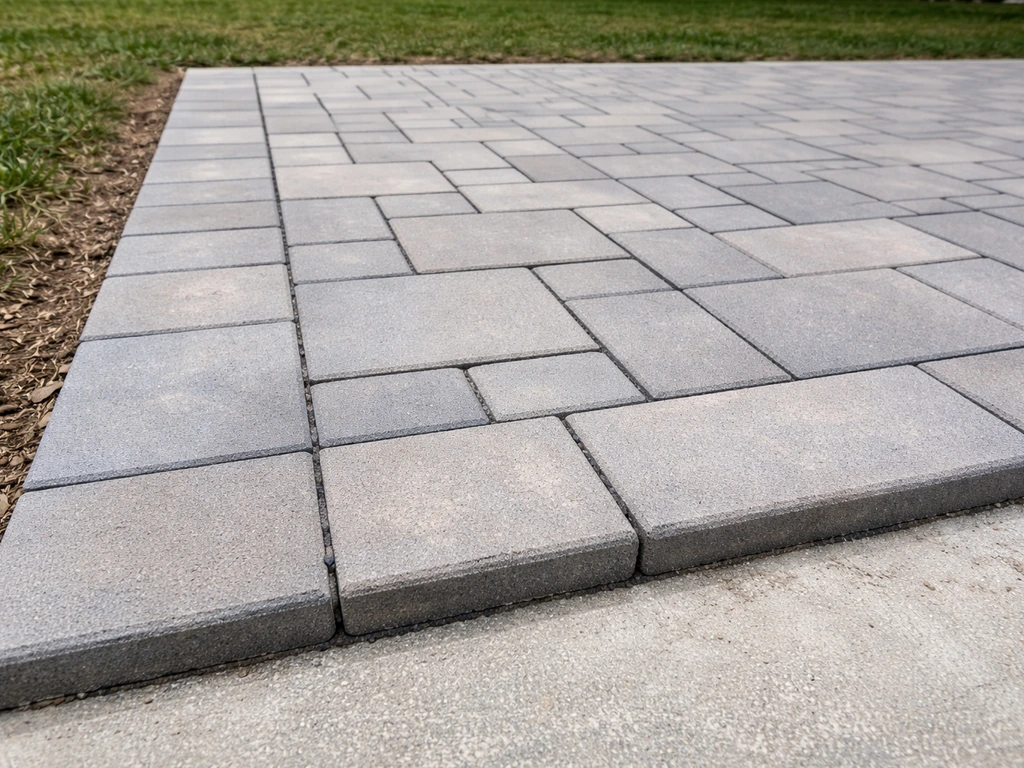
How to Add Pavers to an Existing Patio: Step-by-Step
Step-by-step DIY for adding paver overlays to an existing patio, including prep, base, leveling, cuts, drainage, and tro
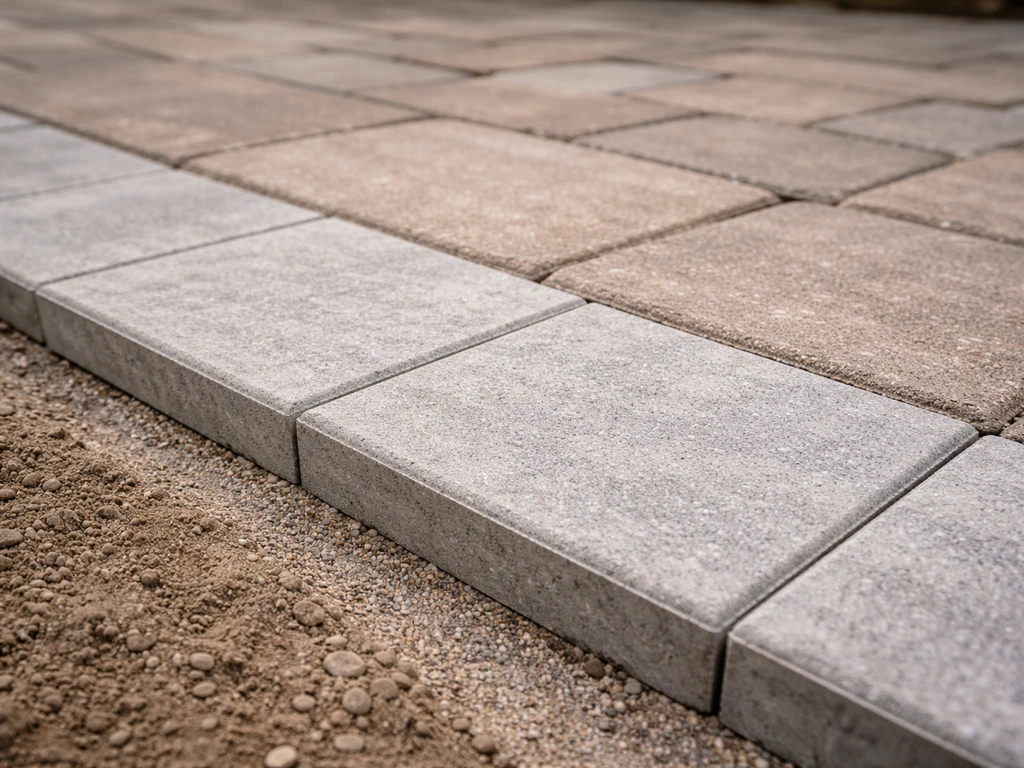
How to Lay Pavers Next to an Existing Patio Seamlessly
Step-by-step DIY for laying pavers next to an existing patio: matching heights, building base, seamless transitions, lev
Can You Lay Patio Pavers Over Concrete? How to Do It Right
Learn when you can lay patio pavers over concrete, how to prep, add base, ensure drainage, and avoid rocking or pooling.